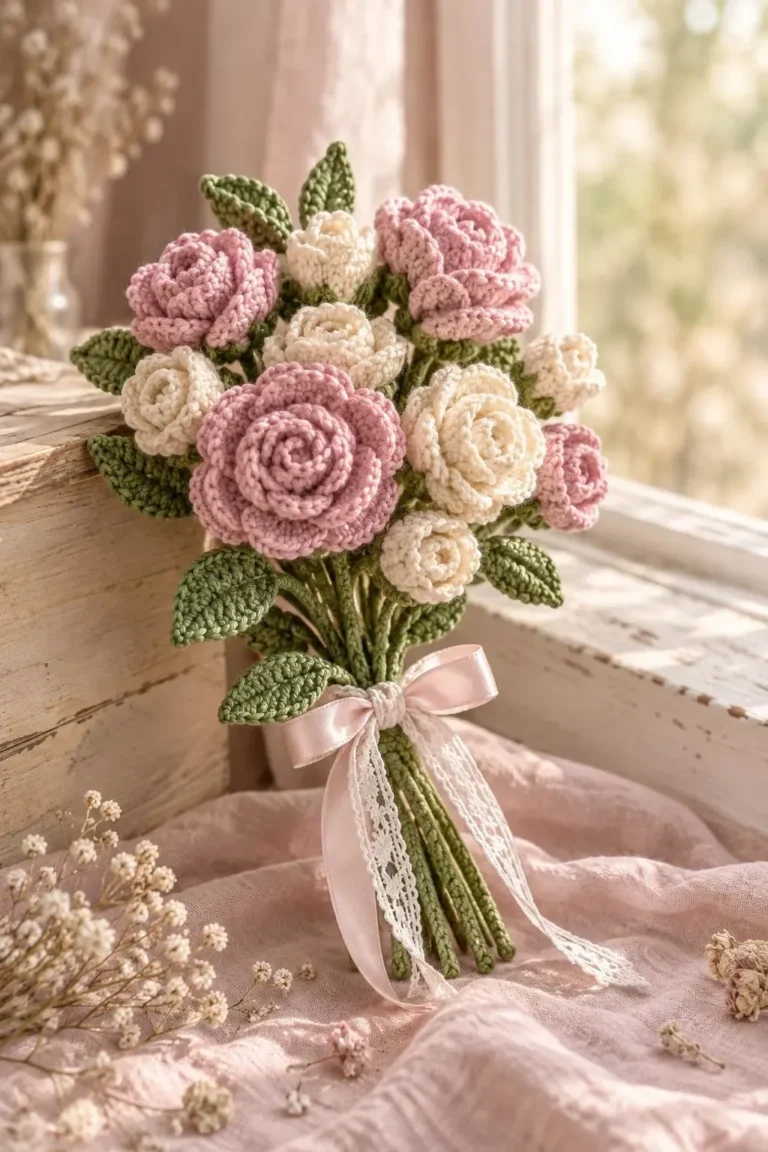
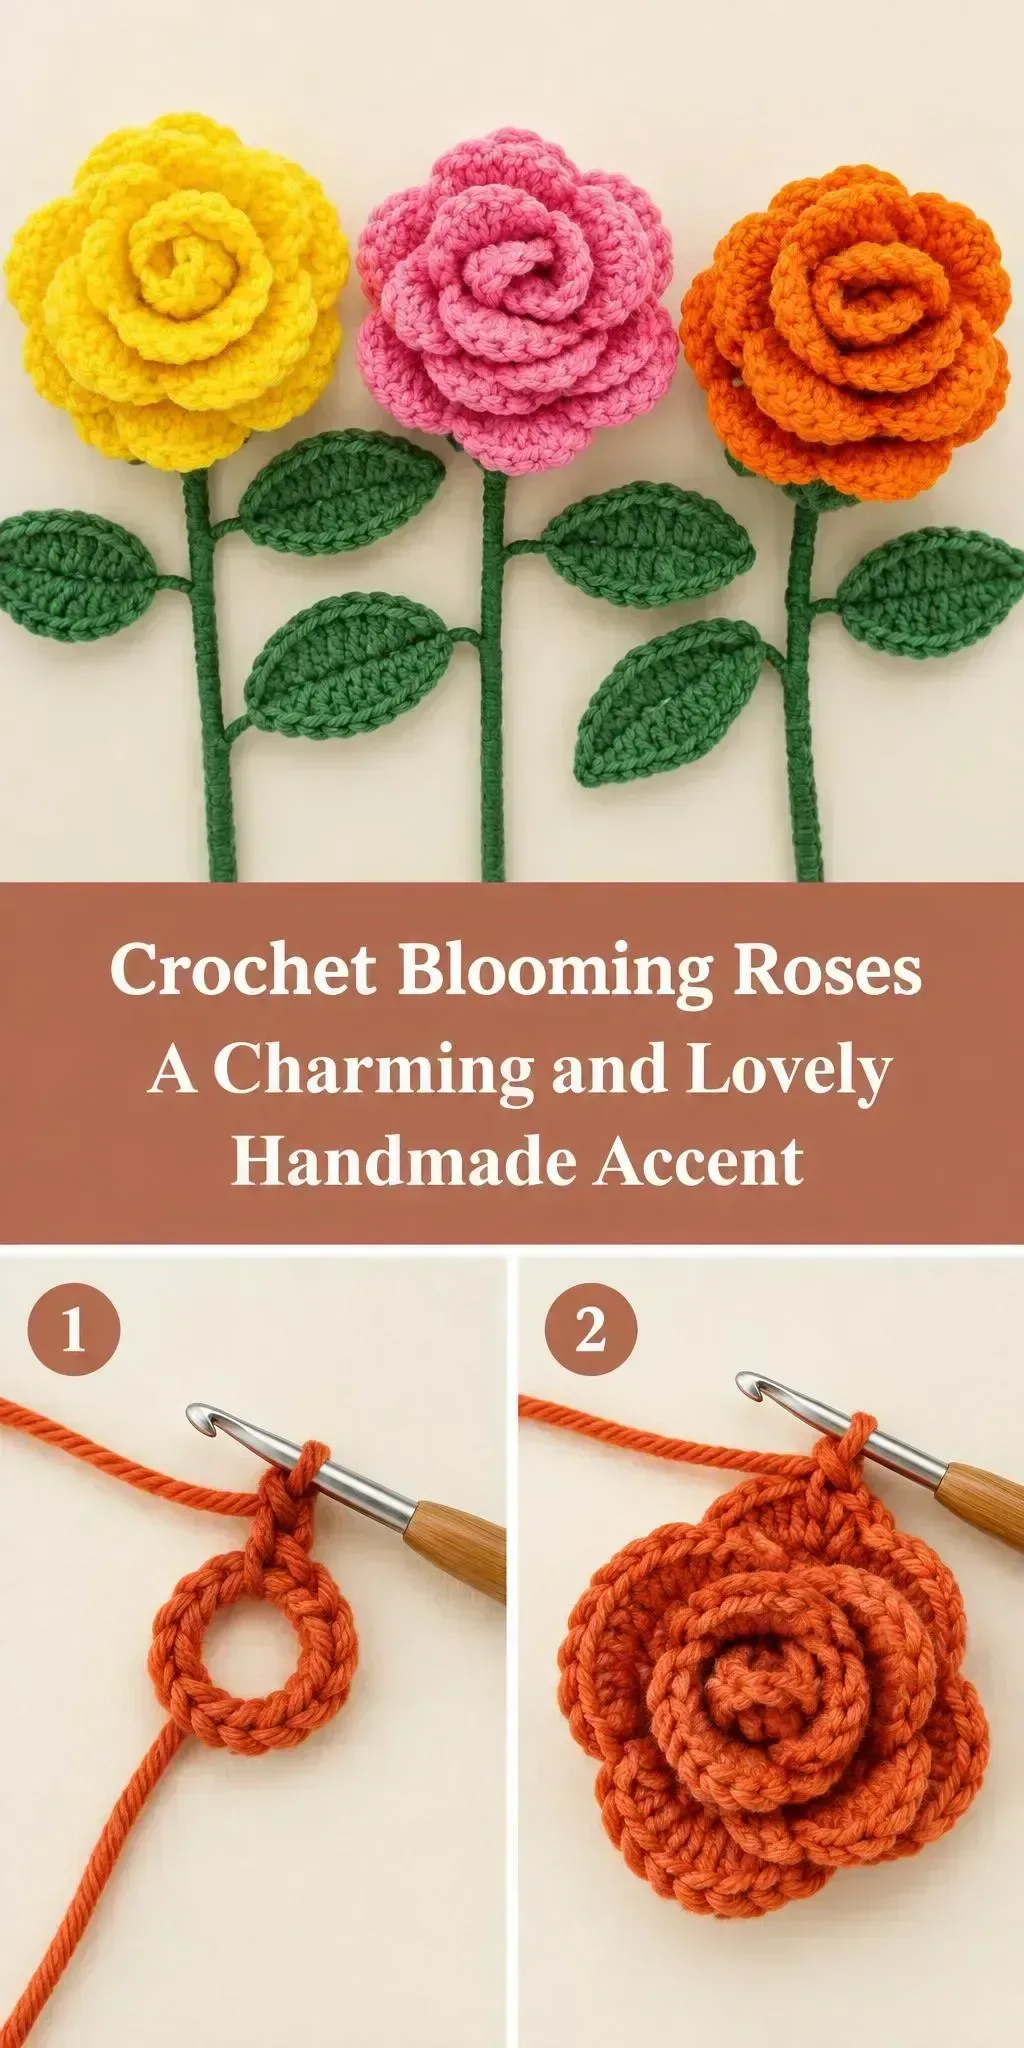
Welcome! Today we’re making a lovely set of Crochet Blooming Roses, and they’re a fun project for any crocheter who loves a handmade flower that looks almost real.
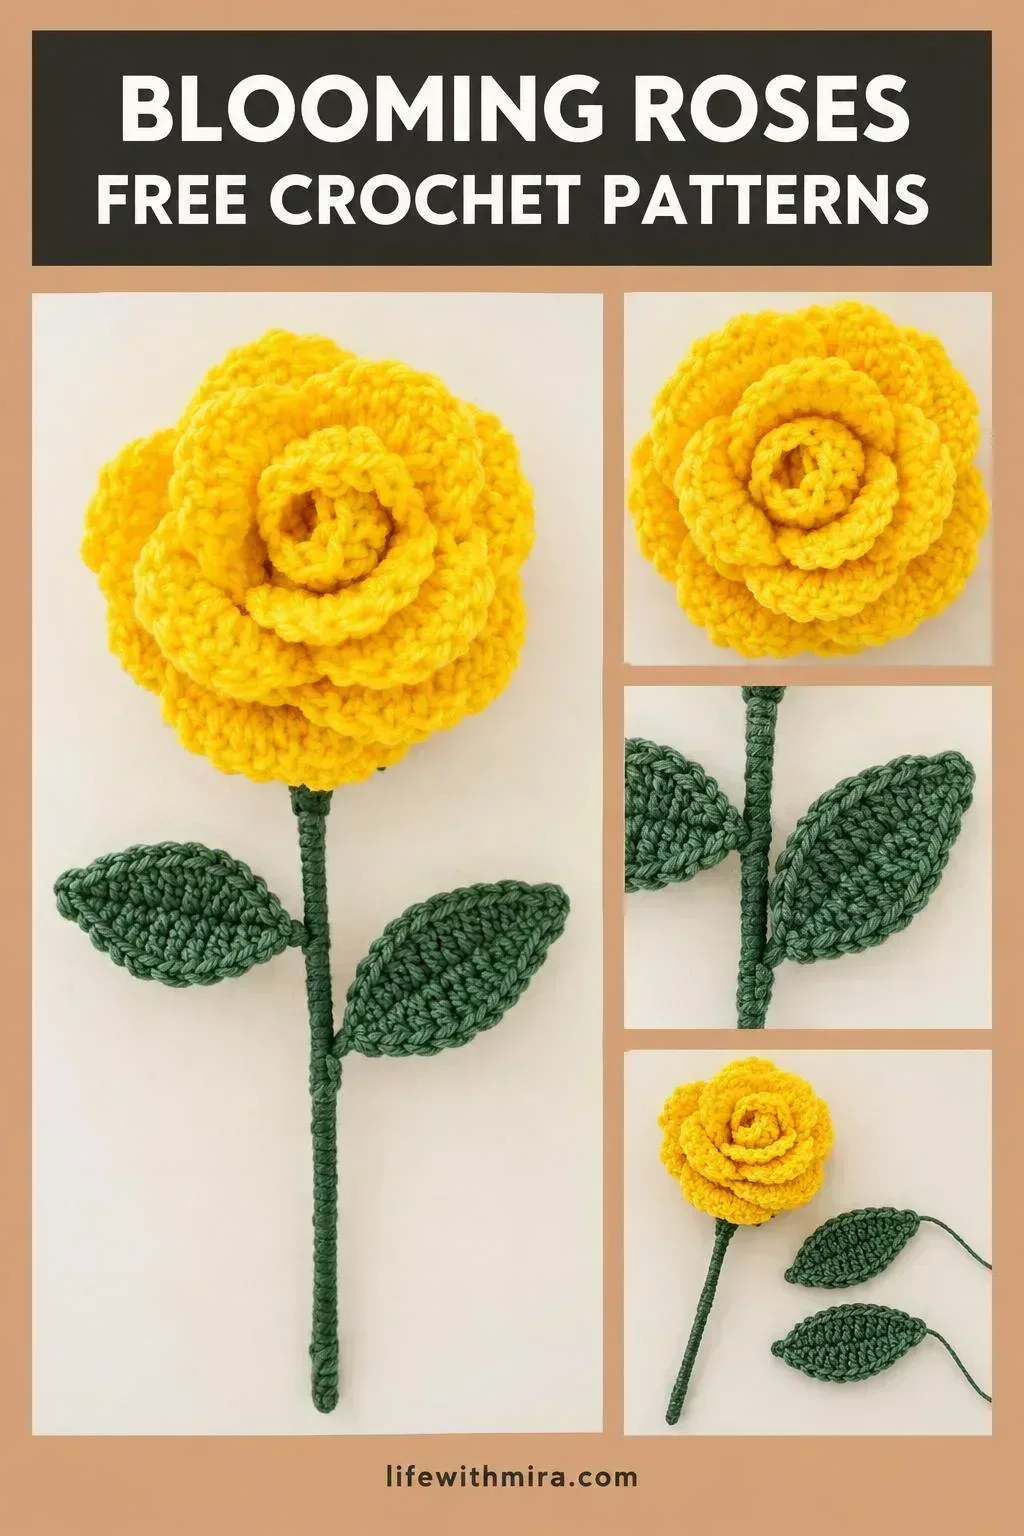
The rose is built from layered petals that curl around a tight center, so each bloom has depth and movement. Each petal is worked in the round and then folded and stacked, which gives the flower its full, open shape. Add a green leaf and stem, and you have a bright bloom that never needs watering.
These roses suit many moments. They make cheerful table accents, sweet gifts for a friend, or a long-lasting bouquet for a windowsill. Try a single bloom in a vase or a whole bunch in mixed colors. The full step-by-step tutorial is in the video, and this page helps you prepare and crochet with confidence.
In this post
Skill Level
Intermediate. The petals rely on shaping and tight, even stitches, and the leaves and stems need neat finishing, but the basic stitches are simple to learn.
Blooming Roses Related Posts:
- Crochet Jacob’s Ladder Stitch Blanket: A Textured and Eye-Catching Handmade Treasure
- Crochet Bucket Hat: A Trendy and Cozy Accessory
- Crochet Mesh Bag: A Chic and Versatile Handmade Essential
- Crochet Halter Top: A Stylish Handmade Staple
Materials
- Yarn: a medium weight (category 4) acrylic or cotton blend works well. It holds its shape for the petals and gives the leaves a sturdy feel. Choose a soft green for leaves and stems.
- Hook: a 3.5 mm to 4 mm hook suits most medium weight yarns. A slightly smaller hook gives firmer petals.
- Scissors and a yarn or tapestry needle for weaving in ends and joining pieces.
- Floral wire or a sturdy pipe cleaner, only if you want the stem to bend and hold a shape.
Stitches and Abbreviations
- sc: single crochet. Insert the hook, yarn over, pull up a loop, then yarn over and pull through both loops.
- hdc: half double crochet. Yarn over, insert the hook, yarn over and pull up a loop, yarn over and pull through all three loops.
- dc: double crochet. Yarn over, insert the hook, yarn over and pull up a loop, then work off two loops twice.
- sl st: slip stitch. Insert the hook, yarn over, and pull through both the stitch and the loop on the hook.
- ch: chain. Yarn over and pull through the loop on the hook to make a foundation of stitches.
Pattern Notes
- US terms are used throughout, so check the abbreviations before you start.
- Keep your tension even, since uneven petals will not stack neatly.
- Petals may look a little uneven before shaping, and that is normal.
- Leaves can be made in your chosen green and sized to suit the bloom.
- Block the leaves lightly if they curl, so they lie flat against the stem.
How It’s Made
- Make the petals in the round, starting from a small center and working outward.
- Shape each layer so the petals curl away from the center.
- Stack the petal layers and secure them together at the base.
- Form the rosebud center, tucking the first petals inward.
- Crochet the leaves, working them flat and neat.
- Make the stem and attach the leaves along its length.
- Join the bloom to the stem and finish the base.
Watch the video for the exact rounds and shaping steps.
Assembly and Finishing Tips
Stack the petals one layer at a time, and check that each layer sits neatly around the one below before you move on.
Weave in all ends on the back of the work, since loose ends can pull apart the petals over time.
Sew the bloom to the stem with a few firm stitches, keeping the base snug so the flower does not wobble.
Use the needle to gently shape each petal edge outward for a more natural, open look.
Make It Yours
- Try a color mix of soft pink, cream and yellow for a gentle garden look.
- Make a single bold red rose as a simple romantic gift.
- Use a smaller hook for tighter buds, or a larger one for a fuller, looser bloom.
- Pair several roses with mixed leaves for a bouquet you can give or keep.
Happy crocheting, and I would love to see your finished roses. Share your blooms with other makers.
Follow us on Pinterest and subscribe to the Newsletter so you don’t miss a thing!
Tutorial and photos of this blooming roses by: naztazia.