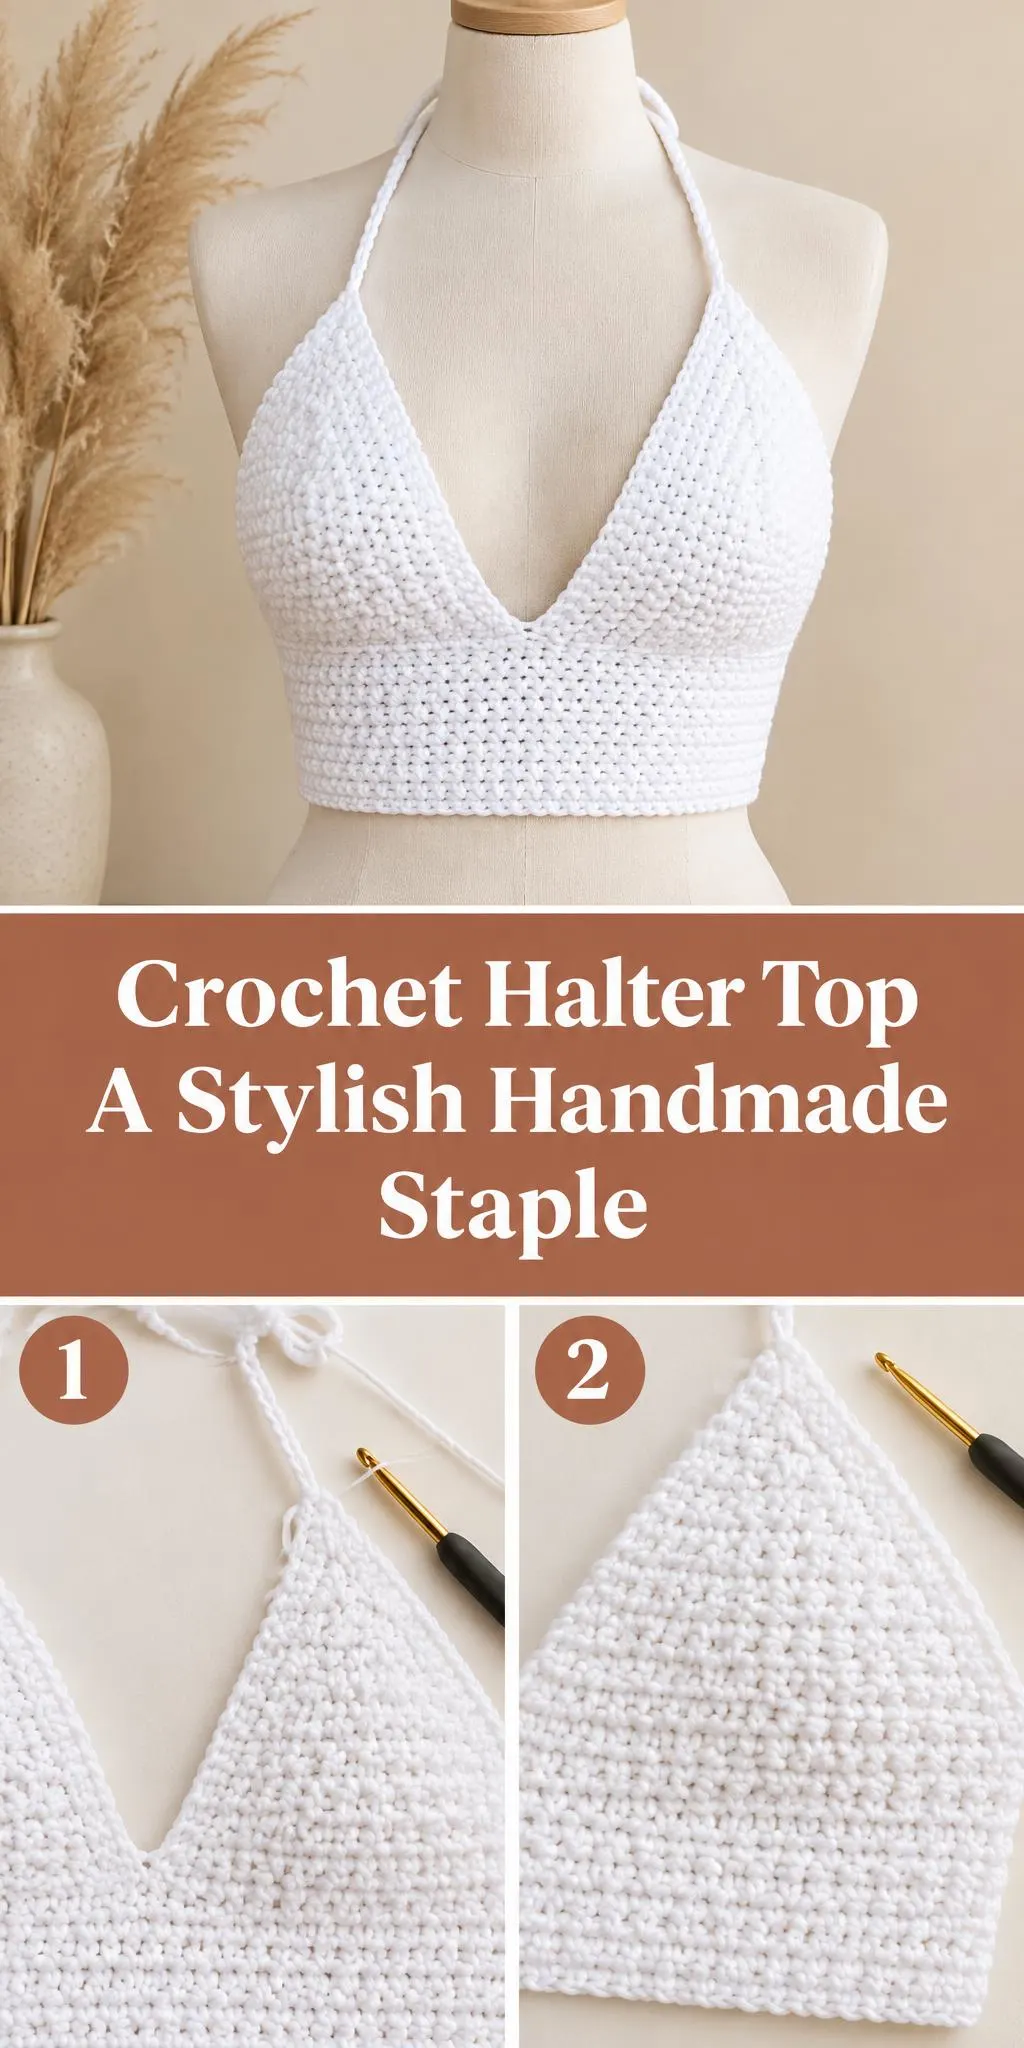
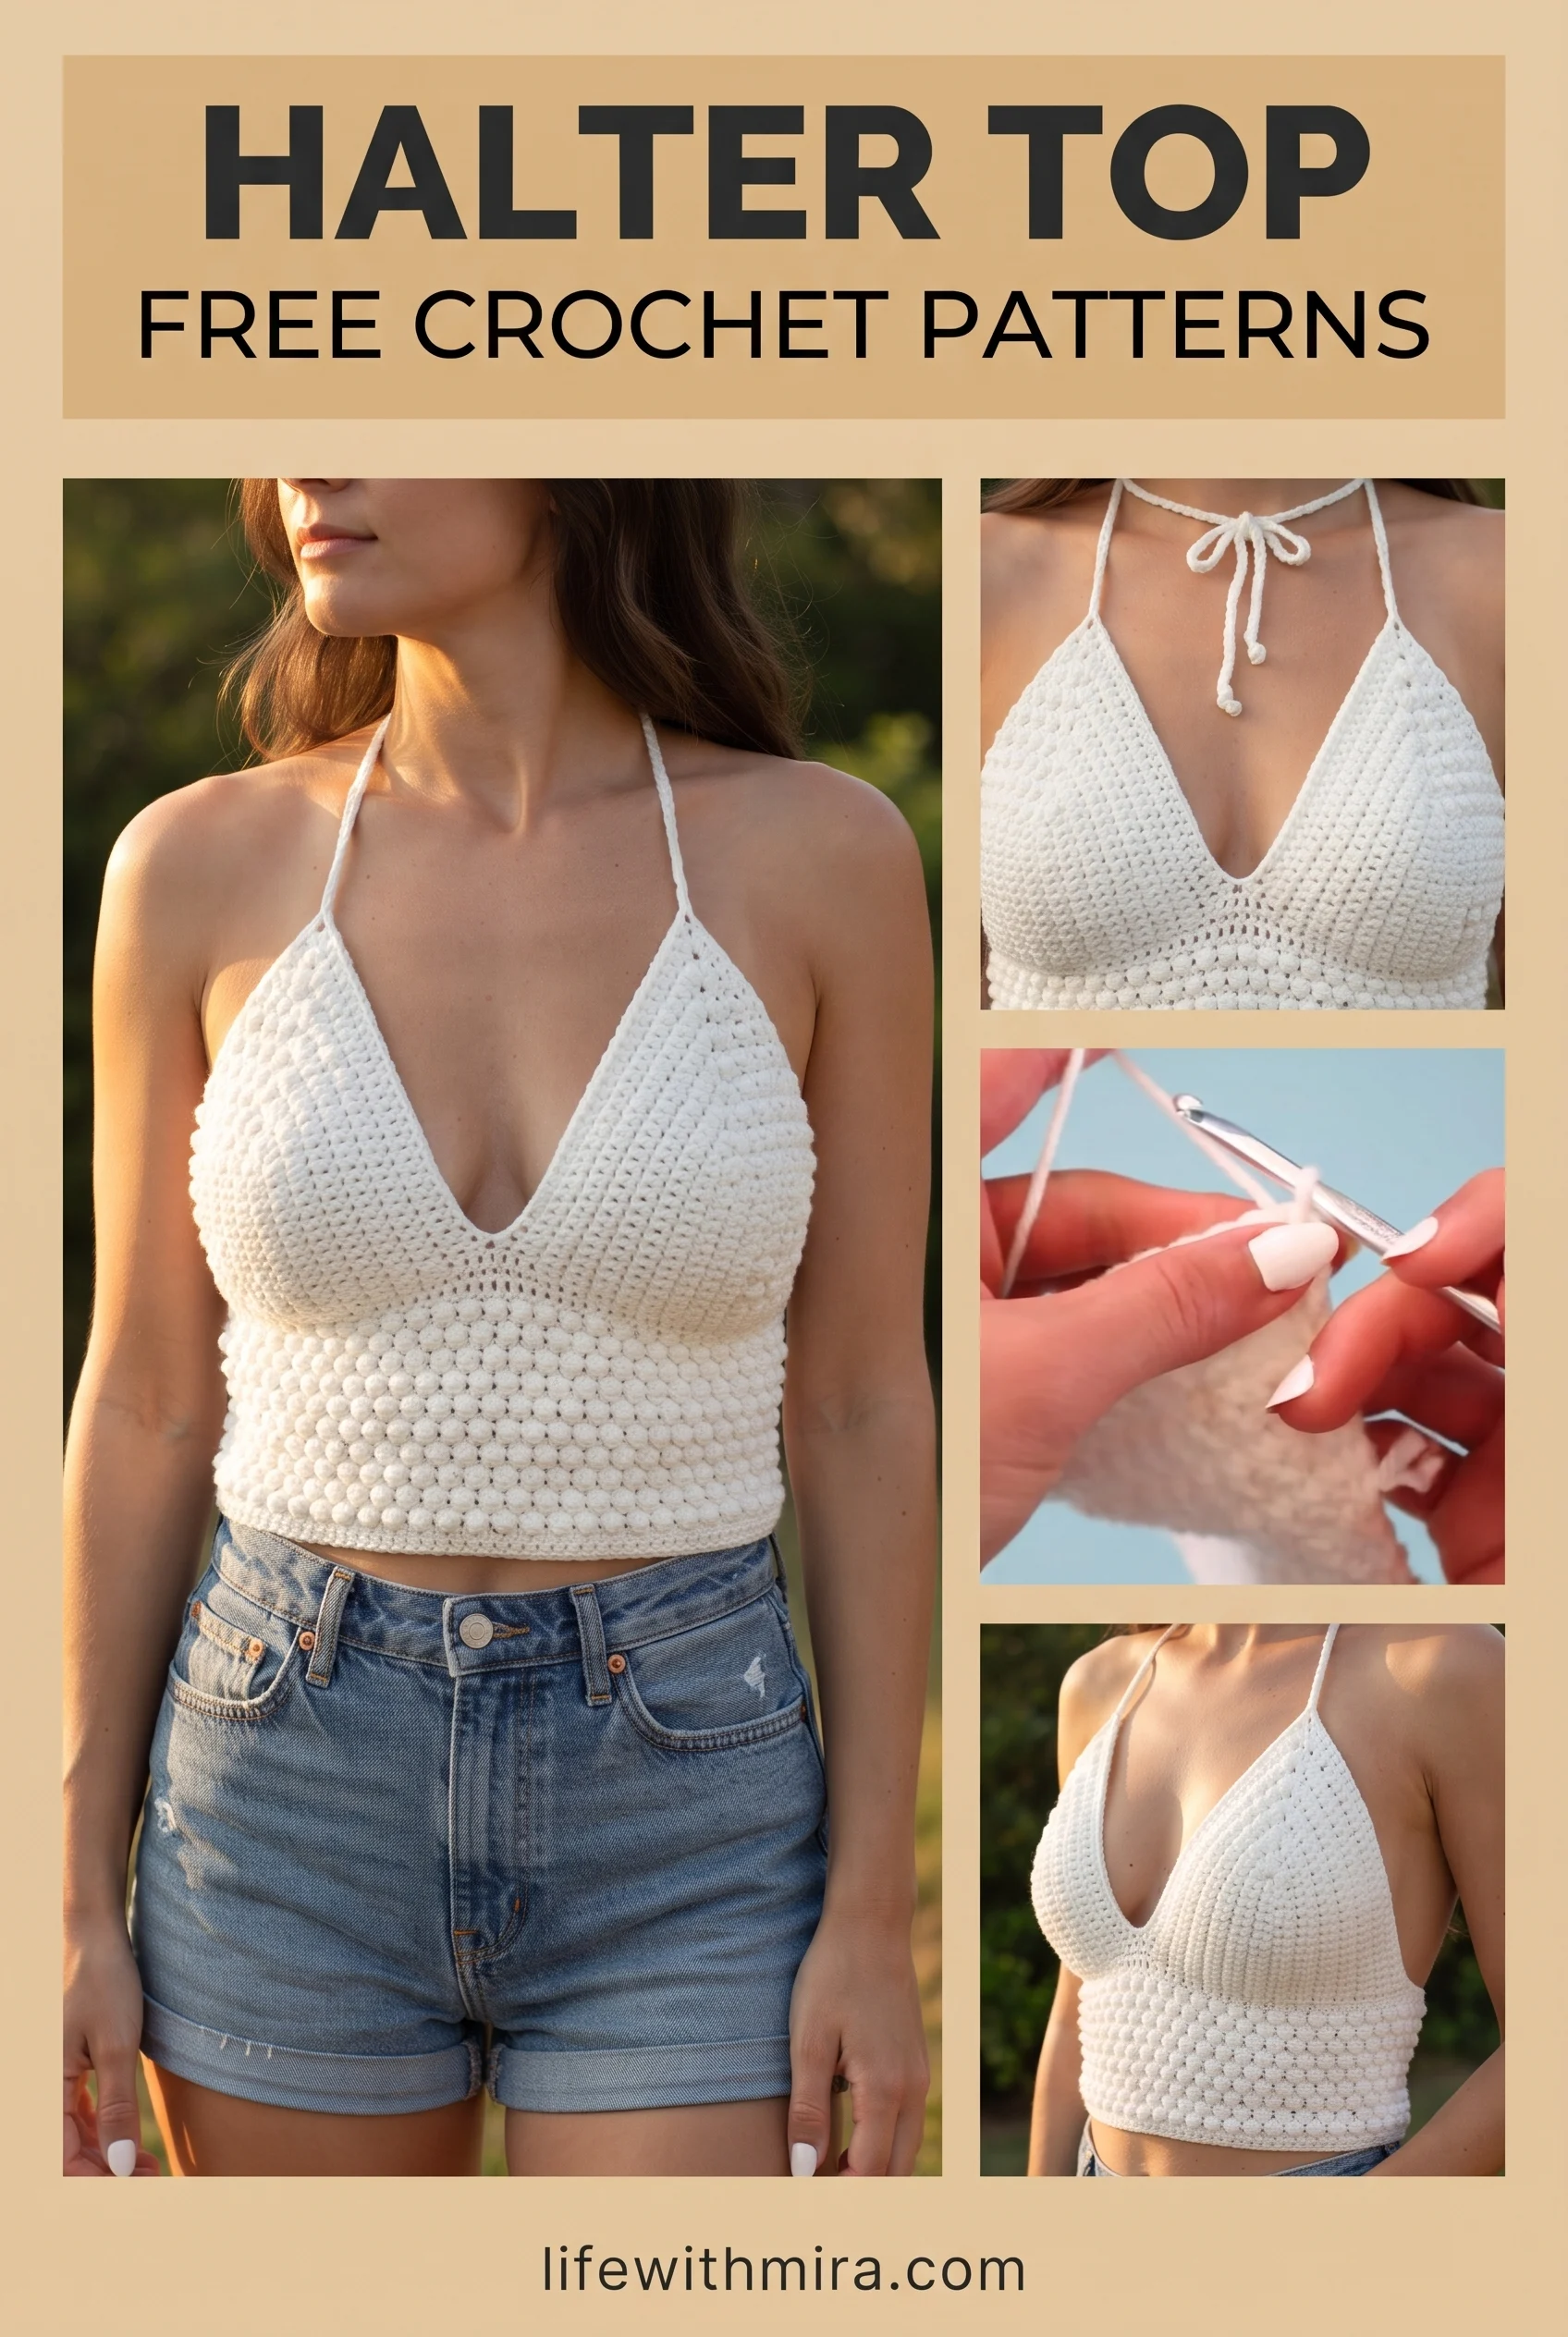
Welcome! Today we’re looking at a Crochet Halter Top, a light and breezy piece that works beautifully for warm days.
This top is all about its clean triangle neckline and the tie-back halter straps that wrap around your neck and tie behind you. The bodice has a soft V at the front, and the body is worked in a textured stitch that gives it a little structure without feeling heavy.
It suits anyone who loves wearing handmade pieces in the summer, and it is a lovely project for crocheters who want something wearable and stylish. The full step-by-step tutorial is in the video linked on this page, and this guide will help you prepare and understand the process before you start.
In this post
Skill Level
Intermediate. The shaping at the V-neck and the fitted bodice require some attention to where your stitches sit, though the repeated stitch pattern is comfortable once you settle in.
Halter Top Related Posts:
- Crochet Mini Hearts: A Sweet and Lovable Handmade Accent
- Crochet Bow Keychain: A Charming and Versatile Accessory
- Crochet Savvy Handbag: A Chic and Timeless Accessory
- Crochet Mesh Hairband: A Light and Airy Accessory
Materials
- Yarn: a medium weight cotton or cotton blend works well here. Cotton holds its shape, drapes nicely, and is comfortable against the skin in warm weather.
- Hook: a size that matches your yarn label, typically somewhere in the 4 mm to 5 mm range for medium weight cotton.
- Scissors and a yarn or tapestry needle for weaving in ends.
- Stitch markers to keep track of the V-neck shaping and the start of each round.
- Measuring tape to check the fit as you work.
Stitches and Abbreviations
- sc: single crochet. Insert your hook, yarn over, pull up a loop, then yarn over and pull through both loops on the hook.
- dc: double crochet. Yarn over, insert your hook, pull up a loop, then work off two loops twice.
- ch: chain. Yarn over and pull through the loop on your hook to make a foundation stitch.
- sl st: slip stitch. Insert your hook, yarn over, and pull through both the stitch and the loop on your hook, used for joining and smooth edges.
Pattern Notes
- This guide uses US crochet terms throughout.
- Check your gauge with a small swatch before starting, since cotton can stretch and change shape.
- Size can be adjusted by working a larger or smaller swatch width and adding or removing stitches across the band.
- The edges may look a little uneven before blocking, and this is completely normal.
- Keep your tension even across the bodice so the cups and sides sit neatly.
How It’s Made
- Start with the foundation chain that sets the width of the band.
- Work the band in rows, building up the base that sits around your ribcage.
- Shape the bodice upward, working the front panel so it forms the triangle and V-neck.
- Work the cups and the front shaping, adjusting the stitch count as the shape develops.
- Add the halter straps by working long chains or rows from each side of the bodice.
- Finish the edging around the neckline, armholes and band for a clean, polished look.
- Weave in all loose ends and check the fit before finishing.
You can follow along with the video for the exact rounds and shaping as you go.
Assembly and Finishing Tips
Take your time with the V-neck shaping, since small changes in stitch count will shift the point of the V. Place stitch markers at the centre front so you always know where to decrease or increase.
Make your halter straps a little longer than you think you need. You can always adjust the tie length once the top is finished.
Weave in your ends carefully on the inside, and use the tail to reinforce any joins that will take stress, like the strap attachments.
Blocking will help the stitches relax and even out. Pin the top gently to the shape you want and let it dry fully before wearing.
Make It Yours
Try a bold color like sage green, coral or deep navy for a fresh summer look, or stick with classic cream or white. Work in a lighter or heavier yarn to change the drape and feel of the finished top. Swap the plain edging for a picot or shell border around the neckline and straps for a more decorative finish. A Crochet Halter Top also makes a thoughtful handmade gift for a friend who loves summer style.
Happy crocheting! We’d love to see your finished project, so share it with us once you’ve made your own.
Follow us on Pinterest and subscribe to the Newsletter so you don’t miss a thing!
Tutorial and photos of this halter top by: Krystal Everdeen.