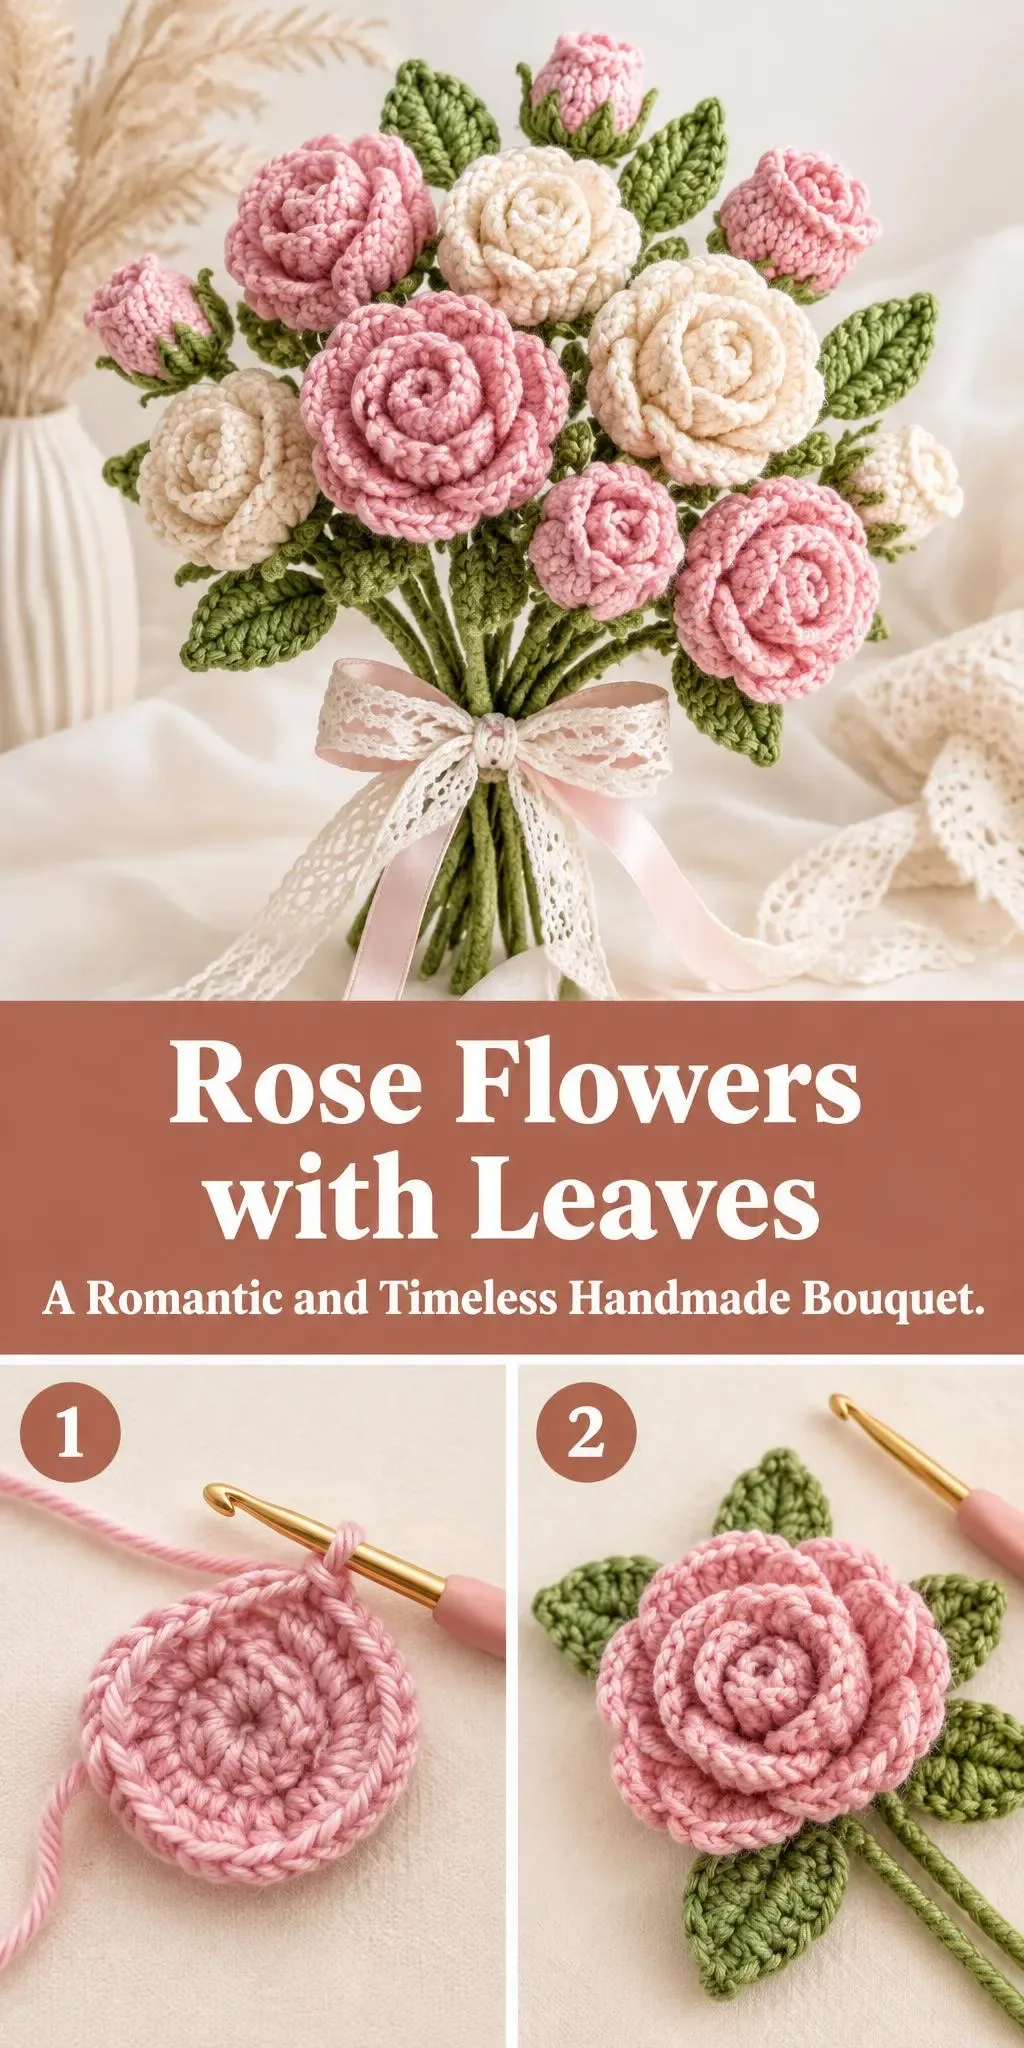
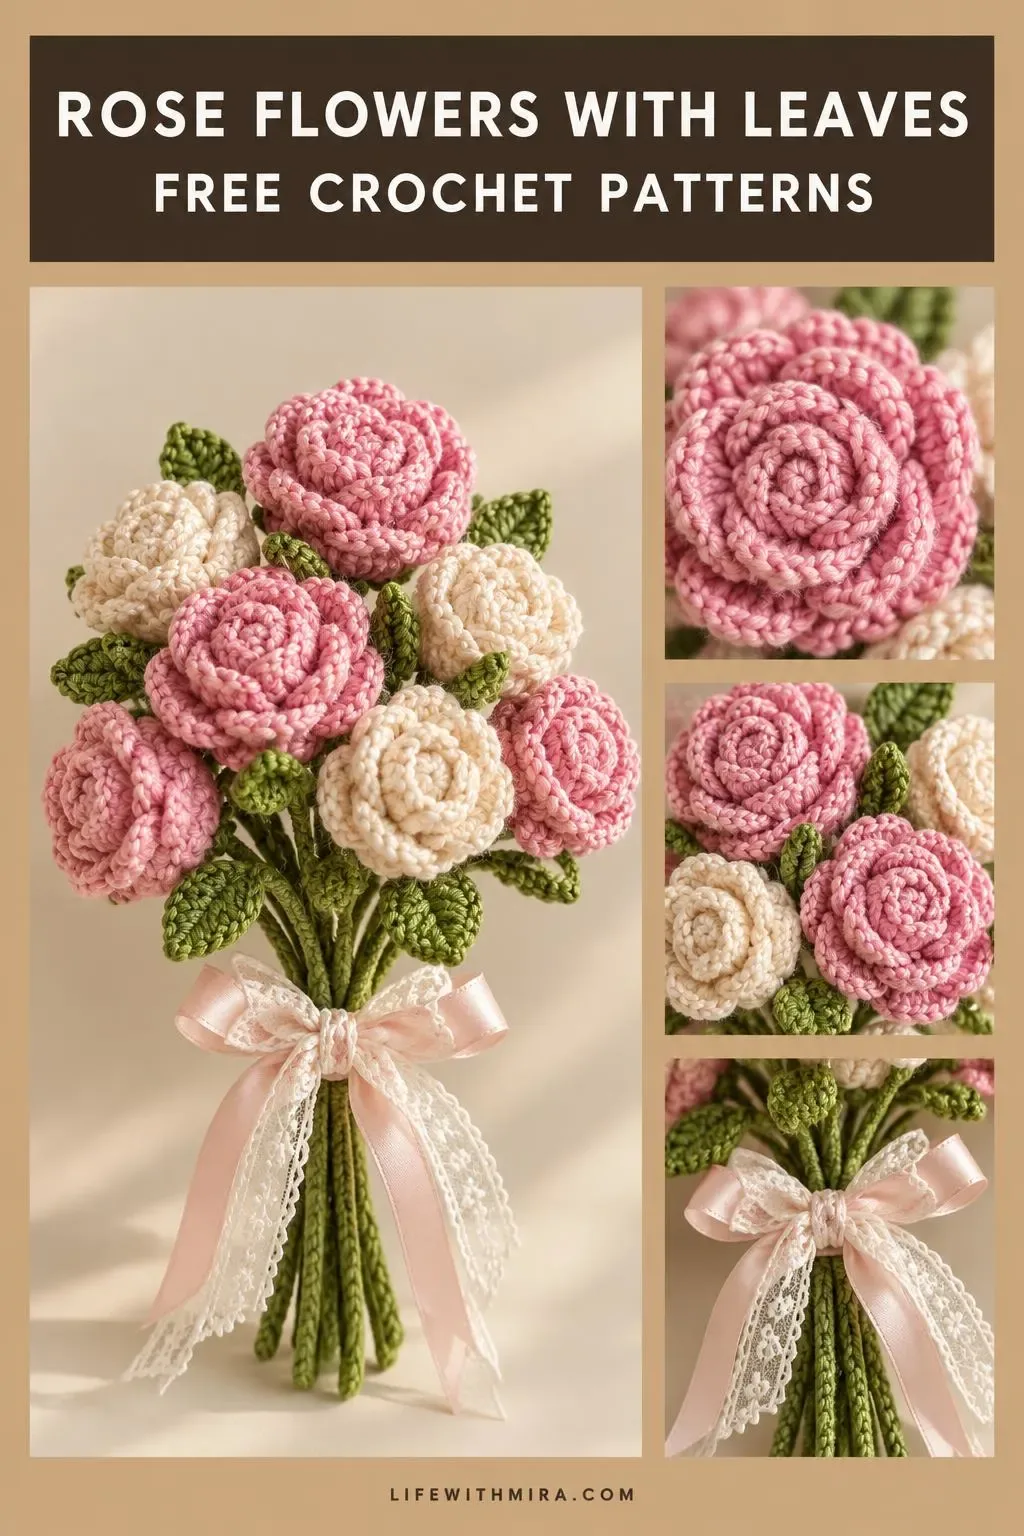
Welcome! Today we’re making crochet rose flowers with leaves, a sweet little bouquet that never wilts.
What makes these roses so special is how they look like real blooms while being made from simple, repeating motifs. Each rose is built up petal by petal, so the finished flower has soft layers and a lovely curled center. The leaves are added to the stems, giving the whole bouquet a fresh, garden-style look.
This project is perfect for anyone who loves romantic, vintage-inspired decor. Pink and cream roses look beautiful on a windowsill, in a small vase, or tied with ribbon as a gift. The full step-by-step tutorial is in the video, and this page will help you prepare and crochet with confidence.
In this post
Skill Level
Intermediate
The roses rely on working into chain spaces and triangle spaces, and they are assembled in several small pieces, so a bit of crochet experience helps.
with Leaves Related Posts:
- Crochet Mobius Shawl Wrap: A Cozy and Elegant Essential
- Crochet Irish Beret Hat: A Charming Handmade Classic
- Crochet Mesh Hairband: A Light and Airy Accessory
- Crochet Knit Beanie: A Cozy and Timeless Winter Essential
Materials
- Yarn: a light worsted or DK weight cotton or acrylic yarn works well. Use one color for the pink roses, one for the cream roses, and a green for the leaves and stems.
- Hook: a small hook, usually around 3.5 mm or 4 mm, keeps the stitches tight so the rose petals hold their shape.
- Scissors and a yarn or tapestry needle for weaving in ends and joining pieces.
- Stem wire or floral wire, if you want the stems to be bendable and hold their position in a bouquet.
- Ribbon and lace, optional, for tying the finished bouquet together.
Stitches and Abbreviations
- sc: single crochet. Insert the hook, yarn over, pull up a loop, yarn over again and pull through both loops.
- dc: double crochet. Yarn over, insert, pull up a loop, then work off two loops twice.
- ch: chain. The basic foundation stitch that builds length and creates spaces.
Pattern Notes
- US terms are used throughout.
- Tight stitches help the roses keep their rounded shape, so check your tension as you go.
- Each rose is worked in small sections, so take your time and keep the pieces organized.
- Leaves may look a little uneven before assembly, and that is completely normal.
- Adjust the number of roses and leaves to make a bouquet as big or small as you like.
How It’s Made
- Make the rose centers, working tightly so they form the core of each bloom.
- Add the petal layers around the center, building them up until the rose looks full.
- Crochet the leaves, making several so the stems look lush.
- Make the stems, adding leaves along them for a natural look.
- Join the roses to the stems and arrange the finished flowers into a bouquet.
- Tie the bouquet with ribbon or lace to finish.
For the exact rounds and rows, follow the video tutorial step by step.
Assembly and Finishing Tips
Attach each rose to its stem firmly, pushing the stem through the base and securing it with a few stitches so it does not wobble.
Weave in all ends neatly on the back of the leaves and petals, so the flowers look clean from every angle.
Arrange the leaves so they sit around the roses rather than all on one side, which makes the bouquet look fuller.
Gently shape the petals with your fingers after finishing, so each rose opens up nicely.
Make It Yours
Try a soft peach and cream combination for a warm, sunset-inspired bouquet.
Make a single rose and attach it to a hair clip, brooch, or bag charm.
Use a deep red for a classic Valentine’s look, or mix in white for a bridal feel.
Make a mini bouquet as a thoughtful handmade gift for a friend or teacher.
Happy crocheting! Share your finished bouquet with us, and we would love to see what you create.
Follow us on Pinterest and subscribe to the Newsletter so you don’t miss a thing!
Tutorial and photos of this rose flowers with leaves by: mahum 🎀.