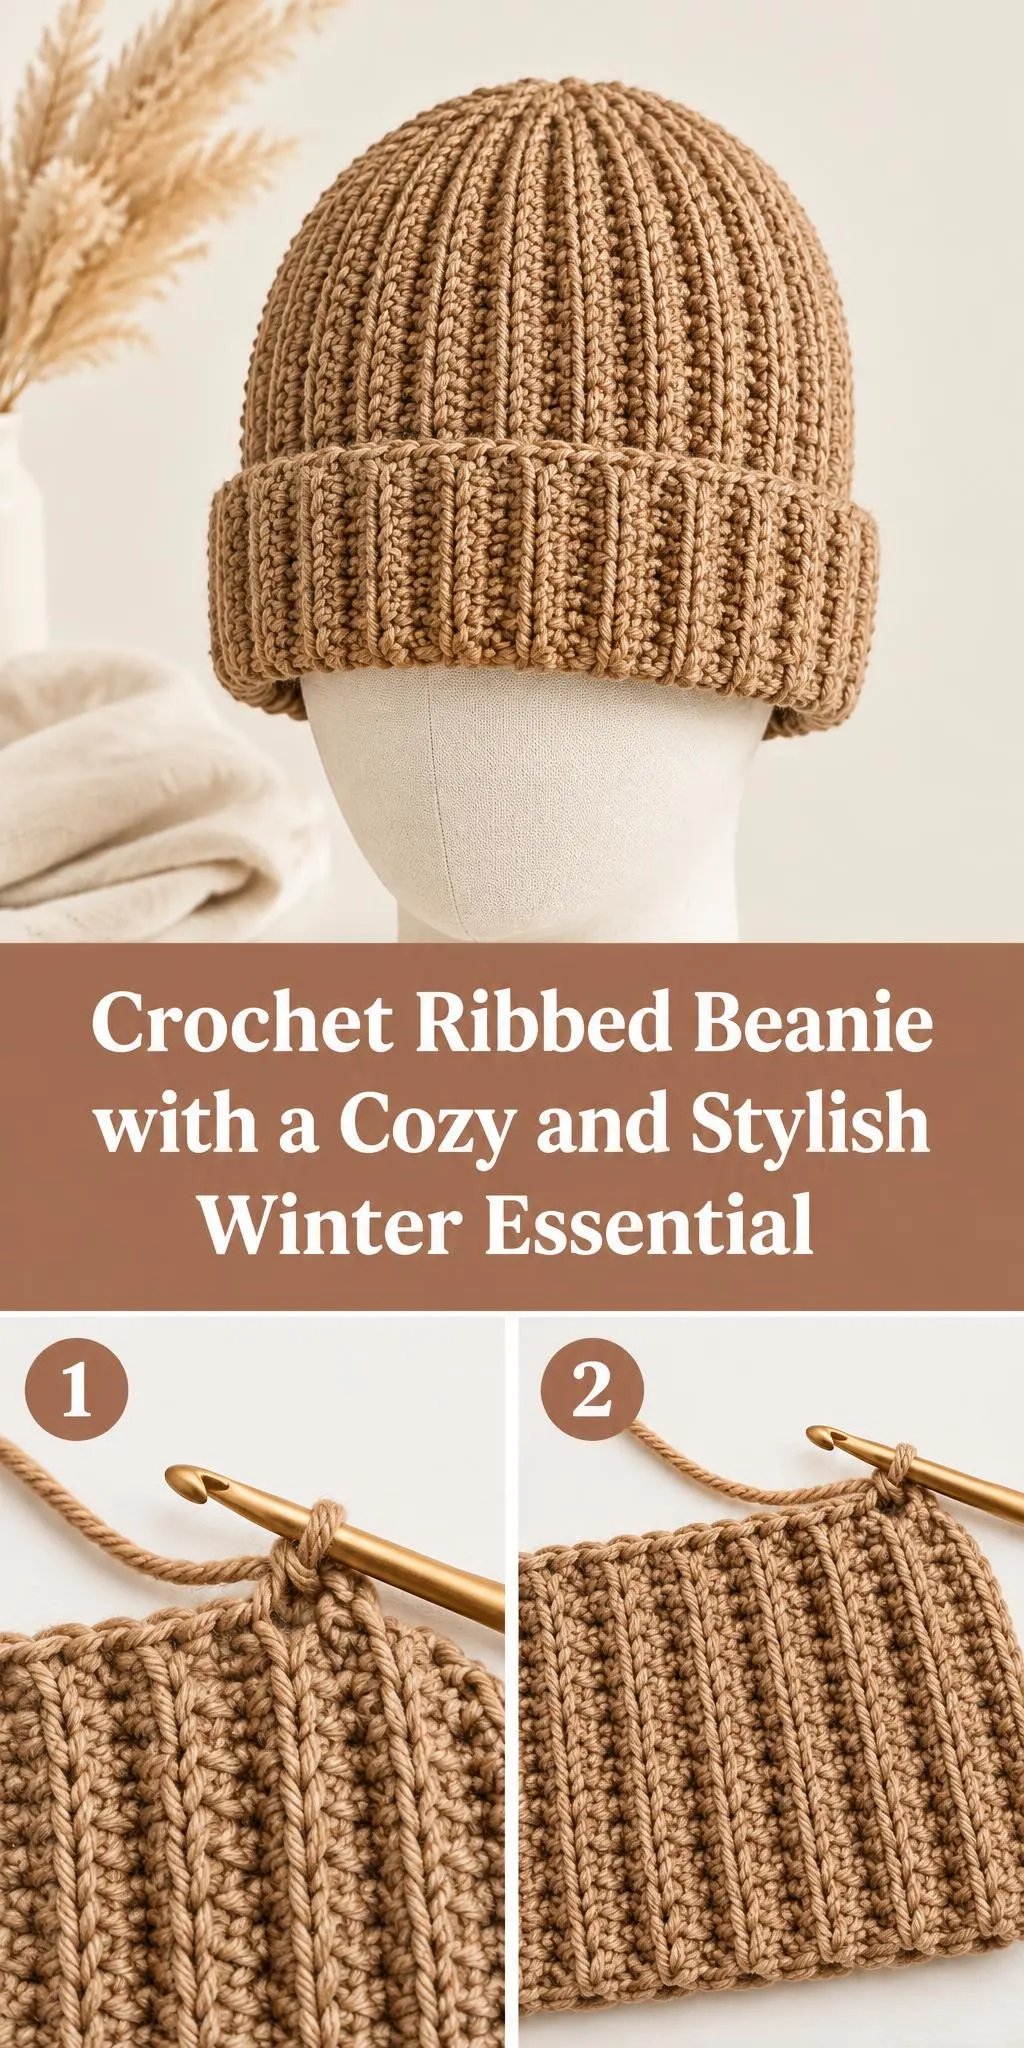
Welcome! Today we’re making a cozy Crochet Ribbed Beanie that you’ll reach for all winter long.
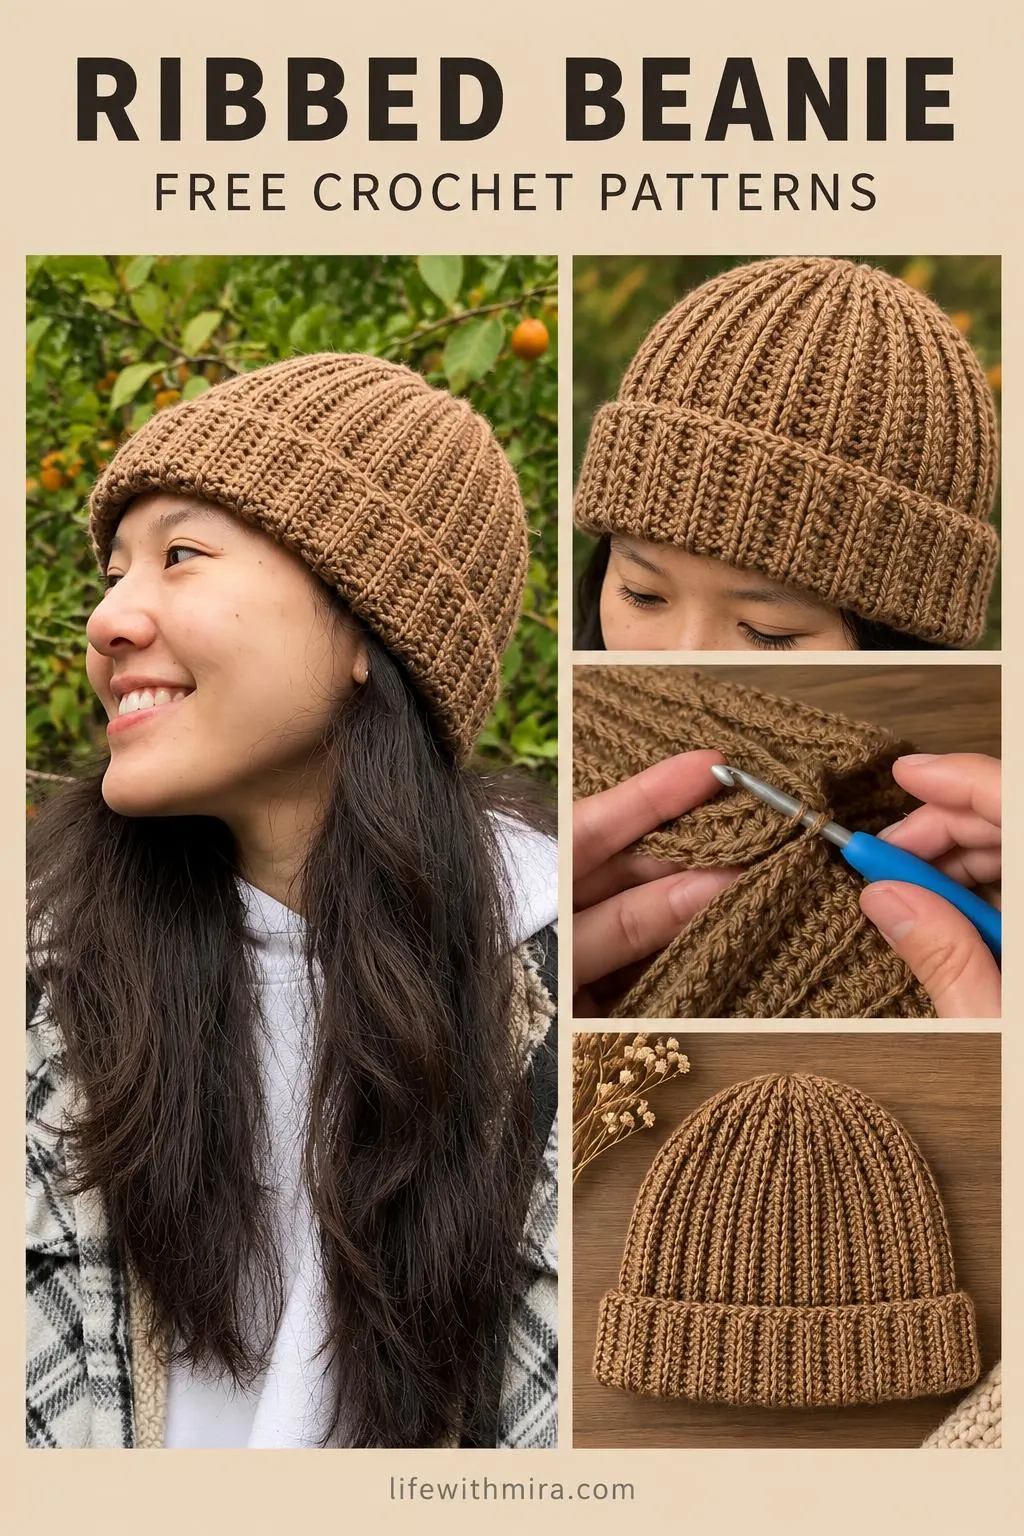
This hat is all about texture. The vertical ribbing gives it a snug, stretchy feel that hugs your head comfortably, and the folded brim adds a neat, finished look. The warm camel-brown shade pairs easily with plaid jackets, chunky scarves and everyday jeans.
I think this is a lovely project for anyone who wants a practical hat that still looks polished. It’s a great choice for cold walks, commutes and gift-giving. The full step-by-step tutorial is in the video, and this page is here to help you prepare and crochet with confidence.
In this post
Skill Level
Easy. The ribbing is worked in simple repeating stitches, and the construction is straightforward, so it’s a good step up for those who have made a few basic projects.
Ribbed Beanie Related Posts:
- Crochet Rainbow Stitch Coaster: A Bright and Cheerful Handmade Essential
- Crochet Rose Bouquet Blanket: A Charming and Romantic Handmade Accent
- Crochet Basic Stitch Fabric: A Simple and Versatile Foundation
- Crochet Mini Hearts: A Sweet and Lovable Handmade Accent
Materials
- Yarn: a worsted weight (medium, category 4) yarn works well here. It gives the ribbing good definition and a warm, dense fabric. Choose a soft, slightly textured yarn for the best stitch clarity.
- Hook: a size that matches your yarn label, usually around 5 mm (H-8) for worsted weight. A slightly smaller hook gives a firmer, more structured beanie.
- Scissors and a yarn or tapestry needle for weaving in ends.
- Stitch marker: helpful for keeping track of your rounds as you work.
Stitches and Abbreviations
- sc: single crochet. Insert hook, yarn over, pull up a loop, yarn over and pull through both loops.
- dc: double crochet. Yarn over, insert hook, pull up a loop, then work off two loops twice.
- FLO: front loop only. Insert your hook under only the front loop of the stitch, which creates the ribbed texture.
- BLO: back loop only. Insert your hook under only the back loop of the stitch, which creates the ribbed texture.
- sl st: slip stitch. Insert hook, yarn over and pull through both the stitch and loop on hook, used for joining and smooth finishes.
Pattern Notes
- US terms are used throughout, so check that your abbreviations match your pattern.
- Ribbing stretches, so trying the hat on as you go helps you judge the fit.
- Switching between front and back loops is what forms the ridges, so work each row carefully.
- Edges may look slightly uneven before you finish, and this is normal.
- To adjust the size, you can change your hook size or the number of stitches at the start.
How It’s Made
- Foundation: you start by creating the base ring that sets the width of the hat.
- Ribbed body: you work the body in rounds, alternating front and back loops to build the vertical ribs.
- Crown shaping: you gradually reduce stitches to close the top of the beanie neatly.
- Brim: you add the folded band at the bottom, worked in the same ribbed texture for a snug edge.
- Finishing: you weave in your ends and tidy up the edges for a clean look.
For the exact rounds and stitch placement, follow along with the video tutorial.
Assembly and Finishing Tips
- Keep your tension even, especially in the ribbing, so the ridges stay crisp.
- Weave in your ends securely along the inside of the hat so they don’t work loose.
- Use a stitch marker at the start of each round to keep your place.
- Block the hat lightly with a little steam or water to help the ribs settle and even out.
Make It Yours
- Try a two-tone look by adding a contrasting brim in a cream or charcoal shade.
- Make a slouchy version by working a few extra rounds for a looser fit.
- Switch to a chunky yarn for a quicker, bulkier beanie that’s extra warm.
- Make a matching set with a scarf or pair of mittens for a thoughtful handmade gift.
Happy crocheting! I’d love to see your finished hat, so share your version and let us know how it turned out.
Follow us on Pinterest and subscribe to the Newsletter so you don’t miss a thing!
Tutorial and photos of this ribbed beanie by: VivCrochets.