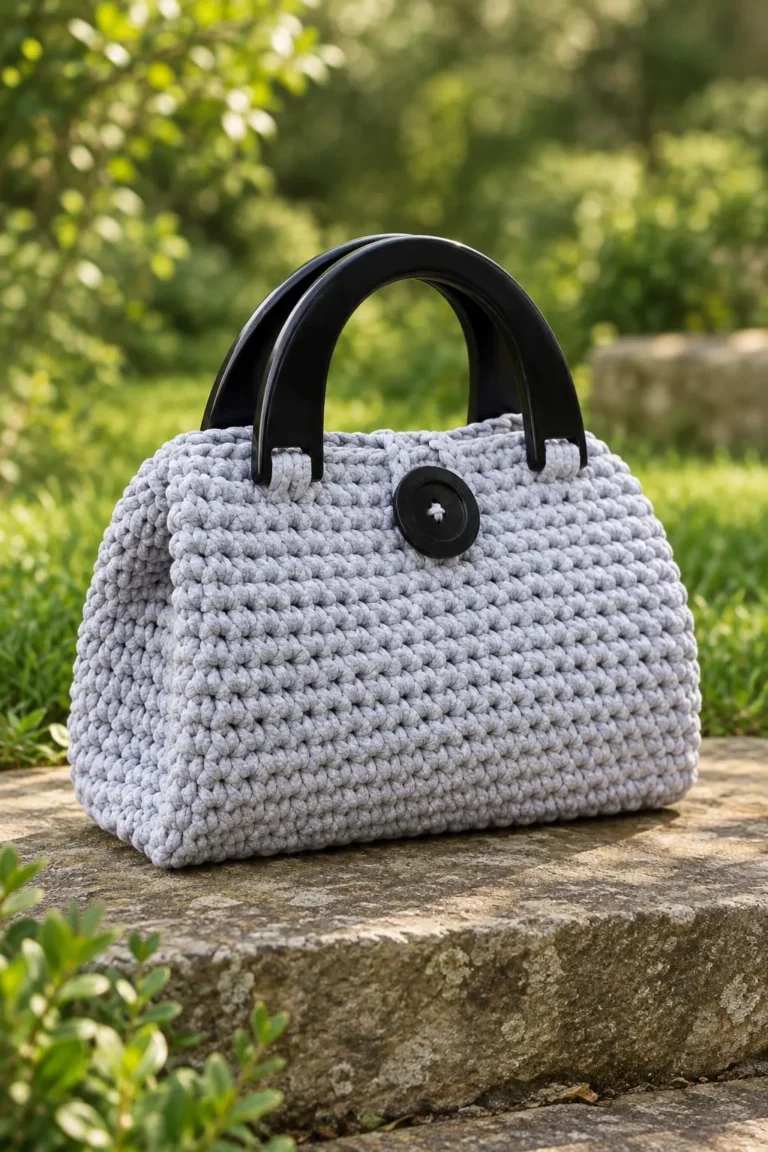
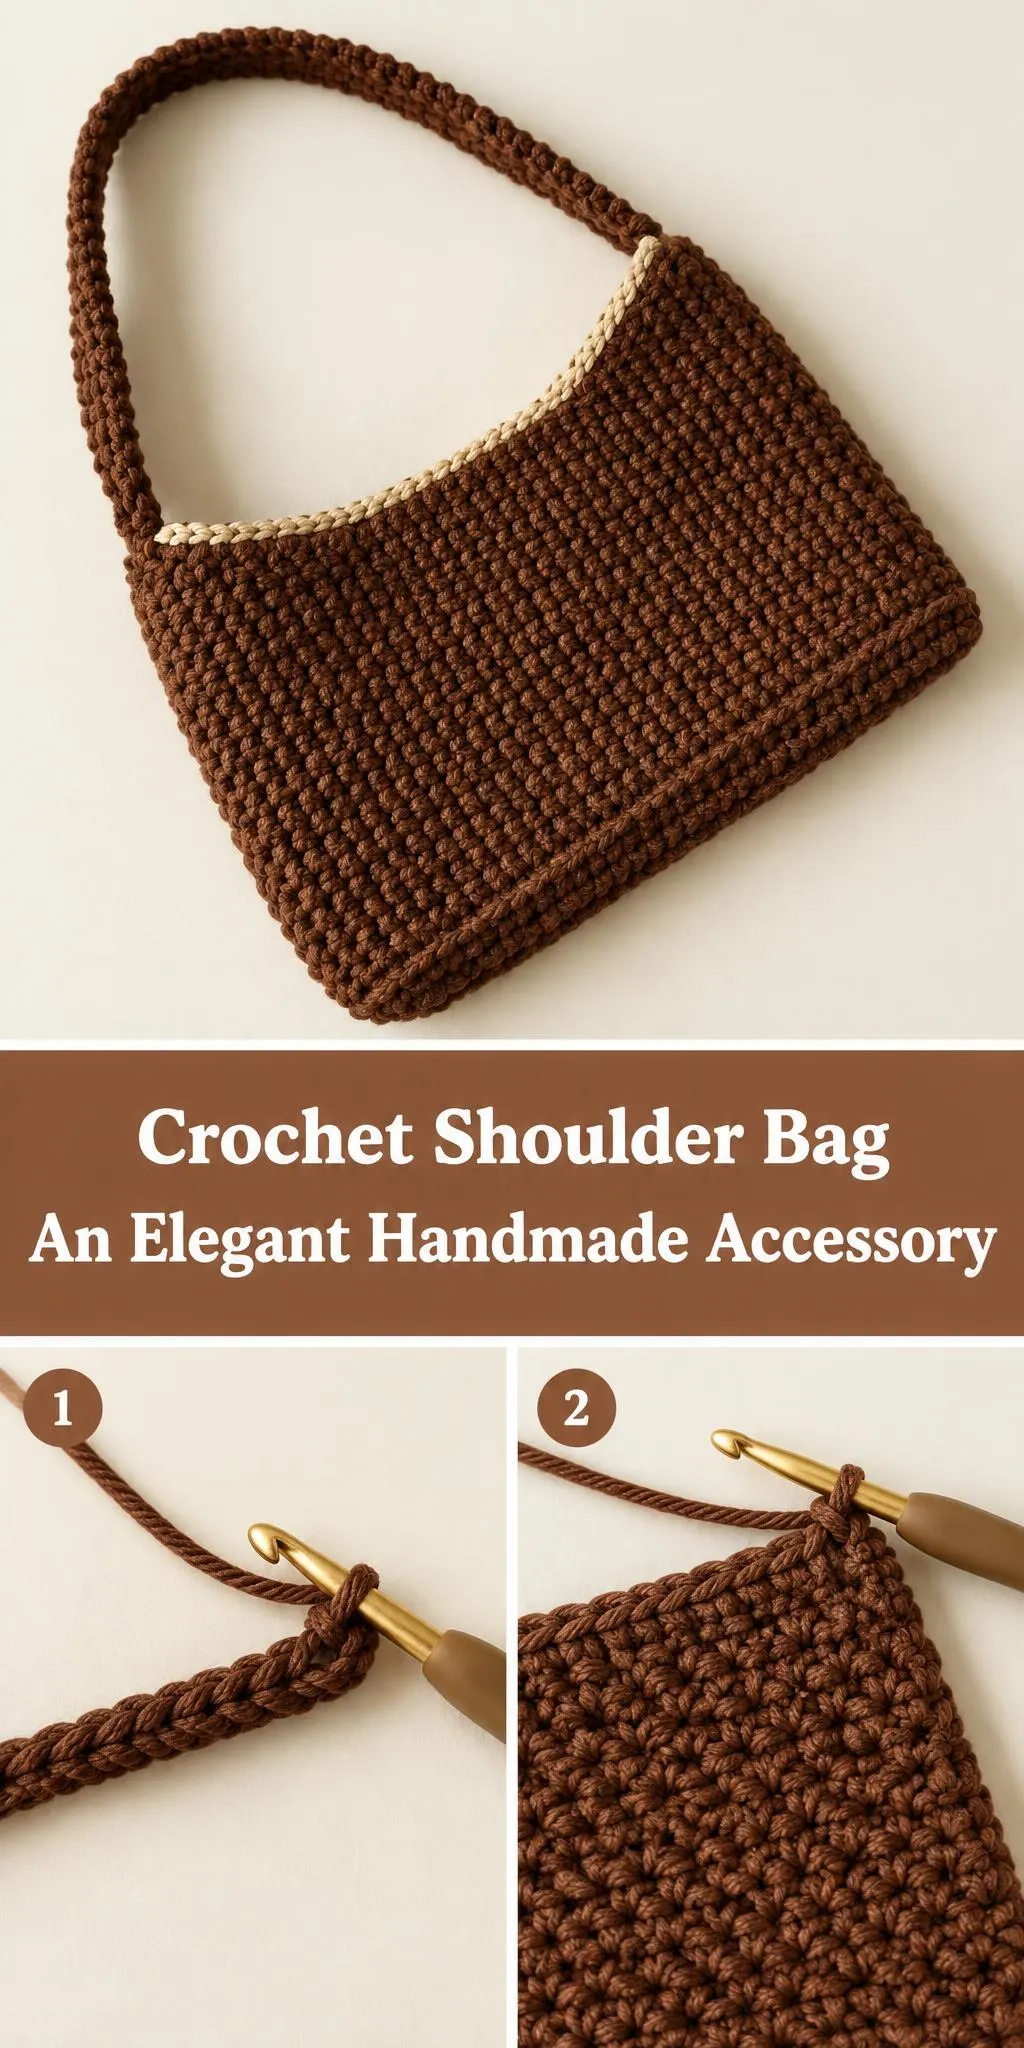
Welcome! Today we’re looking at a lovely crochet shoulder bag that works for everyday errands and special outings alike.
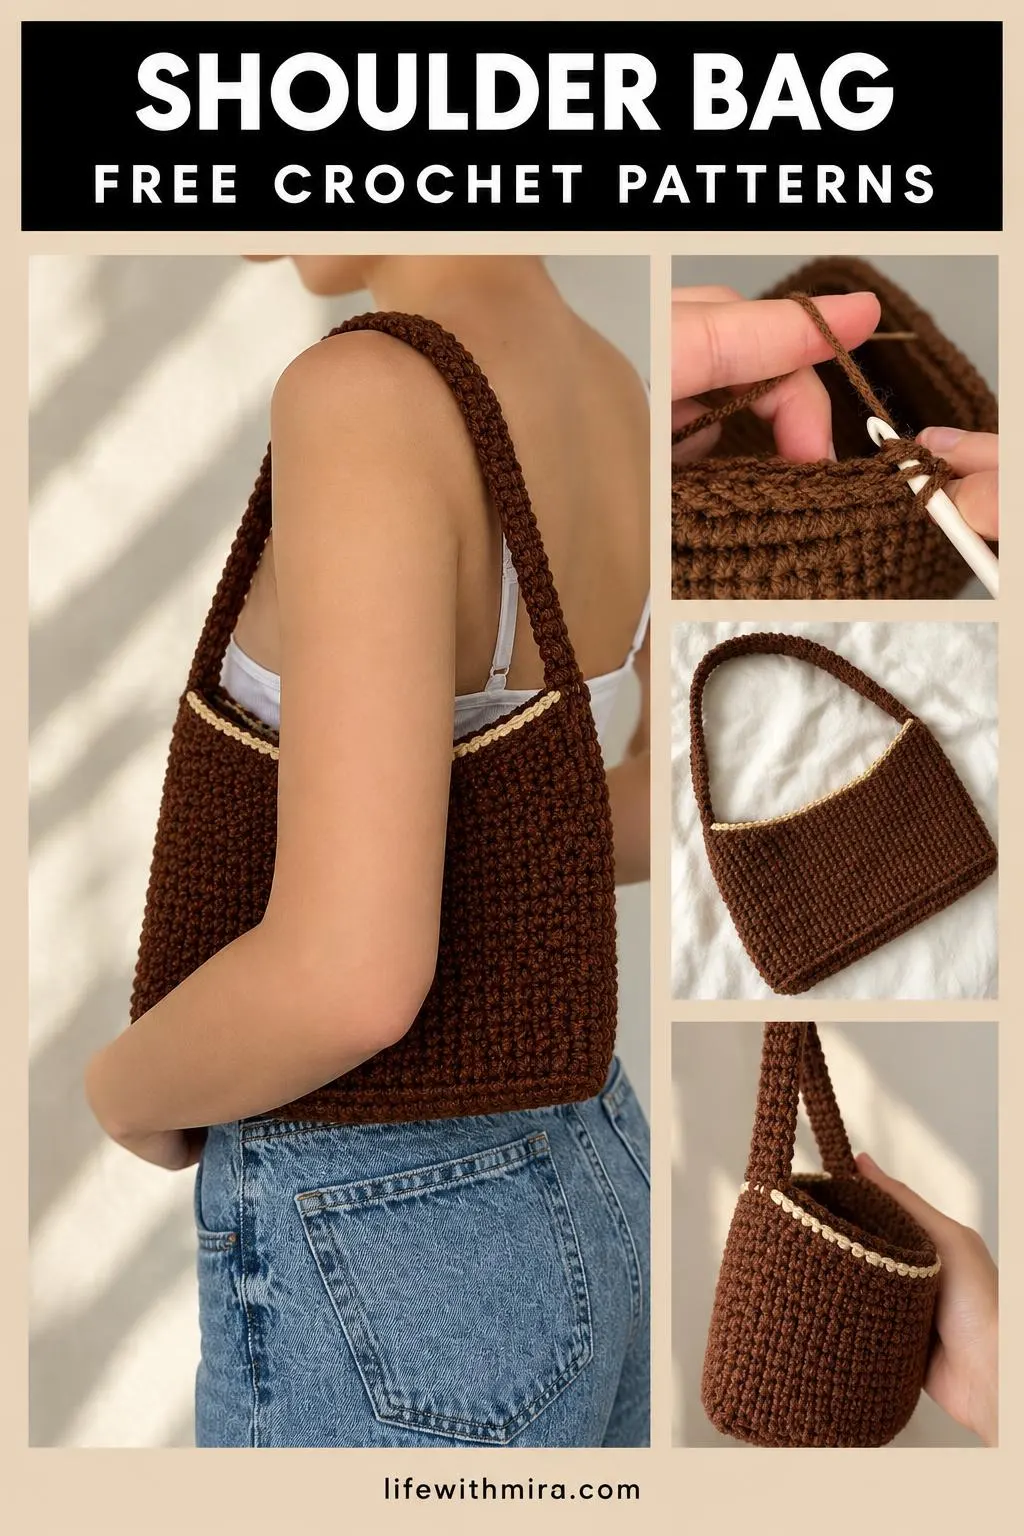
What makes this crochet shoulder bag special is its warm brown colour and the soft cream edging that frames the opening. The rich, textured body gives it a handmade charm that feels both cosy and polished.
This is a great project for crocheters who enjoy seeing a practical accessory take shape over time. It pairs easily with jeans, knitwear and simple everyday outfits, and it sits comfortably on the shoulder for daily use.
The full step-by-step tutorial is in the video, and this page is here to help you prepare and crochet with confidence.
In this post
Skill Level
Intermediate. The textured stitch pattern, shaped body and attached strap require steady tension and some confidence with shaping and joining.
Shoulder Bag Related Posts:
- Crochet Heart Granny Square: A Sweet and Charming Handmade Accent
- Crochet Entrelac Patchwork Diamonds: A Vibrant and Textured Showstopper
- Crochet Solomon’s Knot Stitch Mesh: A Lacy and Vibrant Handmade Statement
- Crochet Heart Granny Square Book Cover: A Cozy and Adorable Handmade Accessory
Materials
- Yarn: a medium weight (category 4) acrylic or cotton blend works well. Choose a sturdy yarn so the bag holds its shape, and pick a cream or beige shade for the contrast edging.
- Hook: a hook size suited to your chosen yarn, usually around 4 to 5 mm for a firm fabric.
- Scissors and a yarn or tapestry needle for weaving in ends and finishing.
- Stitch markers to keep track of shaping and the opening edge.
Stitches and Abbreviations
- sc: single crochet. Insert the hook, yarn over, pull up a loop, then yarn over and pull through both loops.
- dc: double crochet. Yarn over, insert the hook, pull up a loop, then work off two loops twice.
- ch: chain. Yarn over and pull through the loop on your hook to create a foundation.
- sl st: slip stitch. Insert the hook, yarn over, and pull through both the stitch and the loop on the hook.
Pattern Notes
- This page uses US crochet terms throughout.
- Keep your tension even, since the textured body looks best when the stitches are uniform.
- You can make the bag larger or smaller by adjusting the starting chain, as long as you keep the shaping proportional.
- Edges may look slightly uneven before blocking, which is completely normal.
How It’s Made
- Start with a foundation chain that sets the width of the base.
- Work the textured body in rounds or rows, building up the bag’s walls.
- Shape the curved opening by adjusting stitch counts at the top edge.
- Add the contrasting cream edging along the opening for a crisp finish.
- Crochet the long shoulder strap and attach it securely at both ends.
- Weave in all loose ends and give the bag a final check for neatness.
For the exact rounds and stitch counts, follow along with the video tutorial.
Assembly and Finishing Tips
Attach the strap with a few extra stitches at each join so it can handle the weight of everyday items.
Weave in your ends carefully on the inside of the bag so the outside stays tidy.
Block your finished bag gently to help the edges sit straight and the texture look even.
When changing colours for the edging, take time to fasten off neatly so the join is invisible.
Make It Yours
- Try a different colour pairing, such as deep green with a soft ivory edge, for a fresh look.
- Make a smaller version as a cosmetics pouch or a little evening bag.
- Swap the edging colour to match a favourite outfit or a gift recipient’s style.
- Make a crochet shoulder bag as a thoughtful handmade present for a friend.
Happy crocheting! I’d love to see your finished bag, so share your project with us when it’s ready.
Follow us on Pinterest and subscribe to the Newsletter so you don’t miss a thing!
Tutorial and photos of this shoulder bag by: crochet daniela .