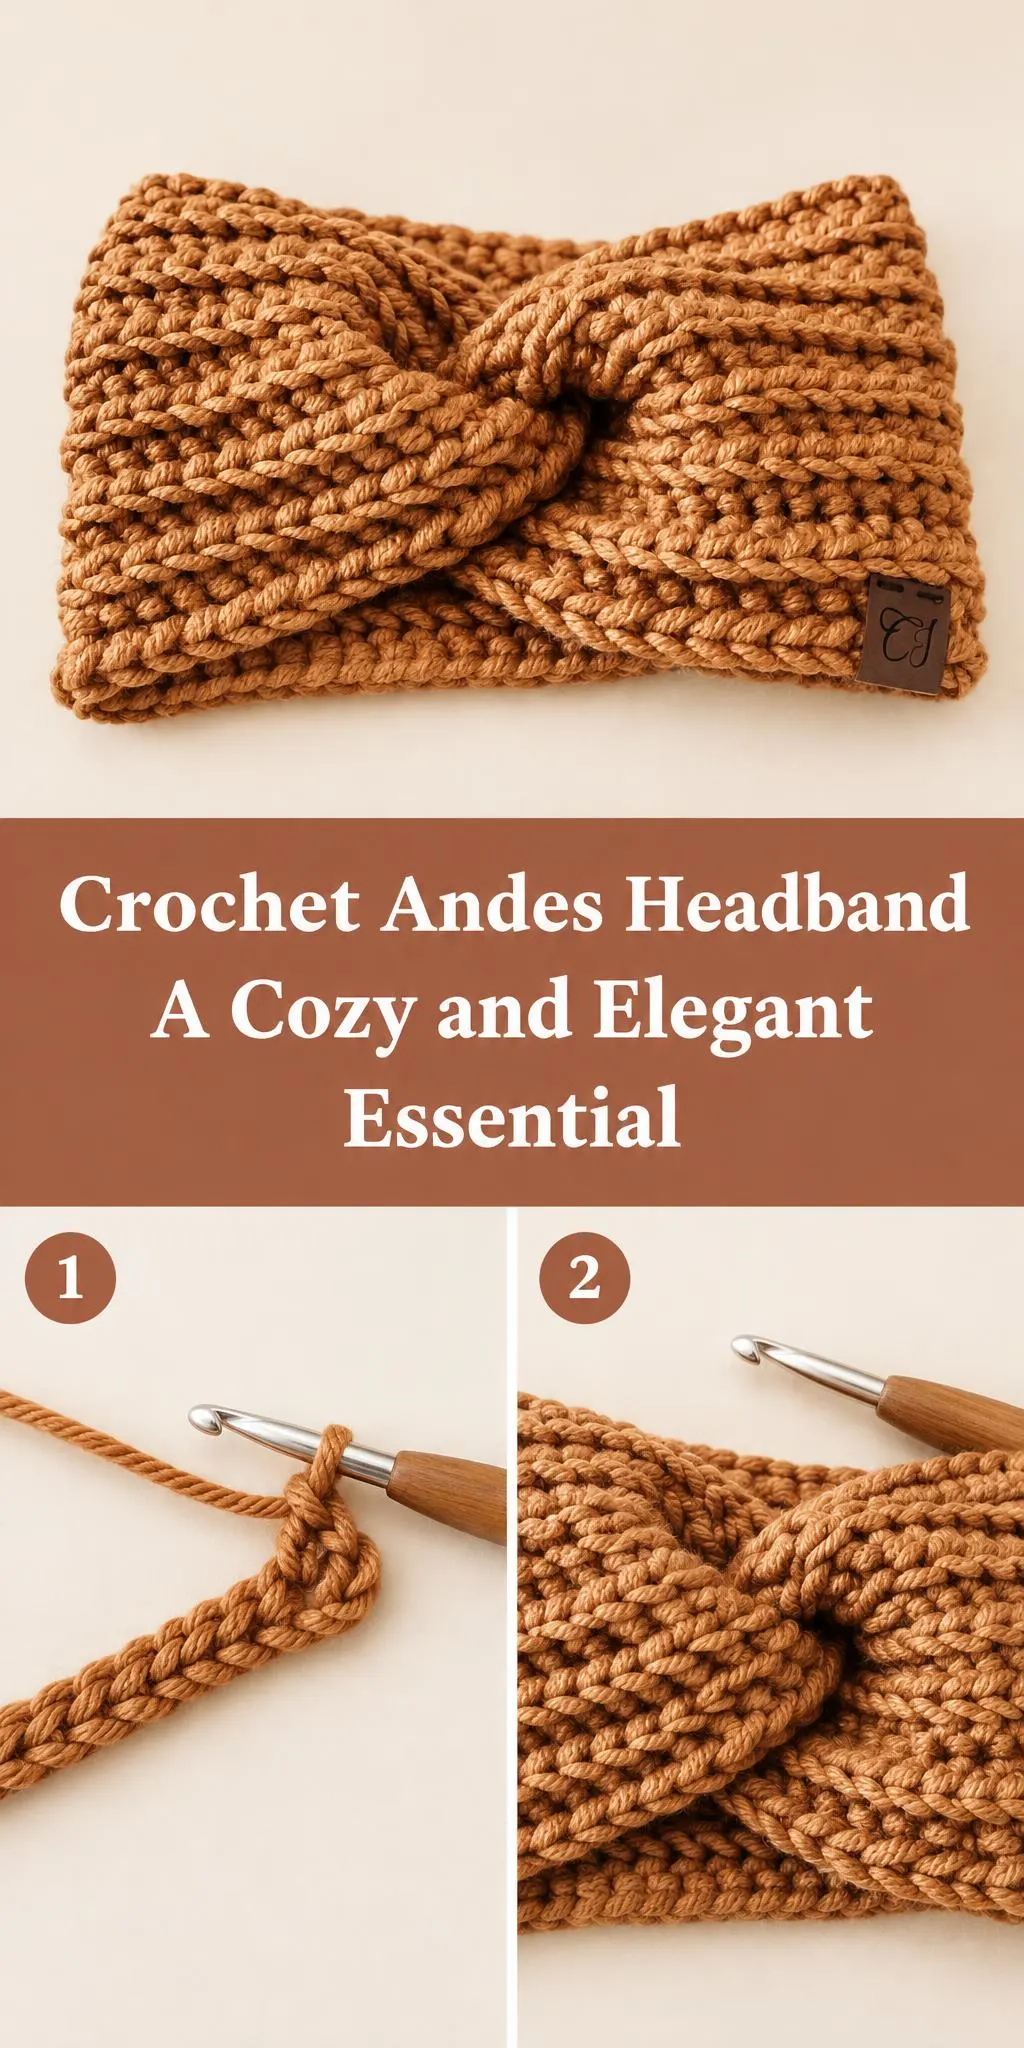
Welcome! Today we’re looking at the Crochet Andes Headband, a cozy little accessory that works for almost any season.
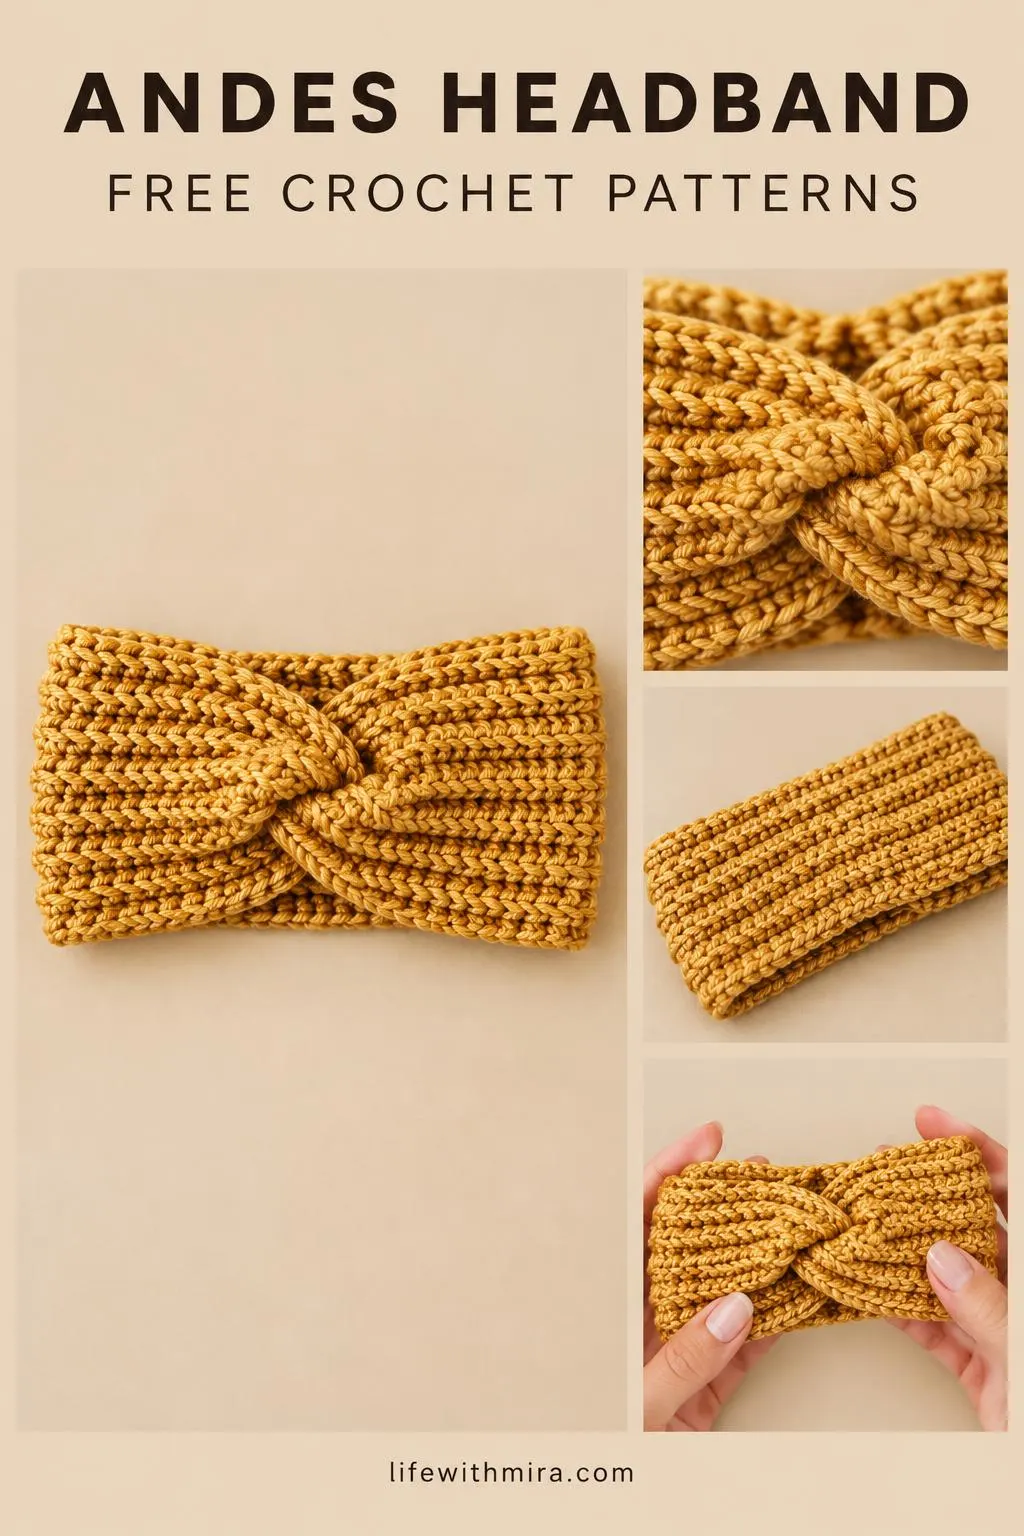
The Andes Headband is special because of its twisted front. That small knot gives it a polished look that feels a bit dressier than a plain ear warmer, while the chunky texture keeps it practical on cold mornings. It suits fall walks, winter errands, and those first chilly spring days when you want something warm without a hat.
This project is a lovely choice if you want a quick, satisfying make that still looks special when it’s finished. The full step-by-step tutorial is in the video, and this page is here to help you prepare, understand the construction, and finish your headband neatly.
In this post
Skill Level
Intermediate. The twisted front and the way the band is shaped take a little more attention than a simple strip, but the stitches themselves are repetitive and easy to settle into once you get going.
Andes Headband Related Posts:
- Crochet Ribbed Beanie: A Cozy and Stylish Winter Essential
- Crochet Kanzashi Flower: An Elegant Handmade Accent
- Crochet Irish Beret Hat: A Charming Handmade Classic
- Crochet Granny Square Joining Techniques: A Stylish Handmade Staple
Materials
- Yarn: a bulky or chunky weight yarn works well here. It gives the band its warm, dense texture and holds the twist nicely. Choose a soft acrylic or wool blend if you plan to wear it all day. BULLET: Hook: a size that matches your yarn’s label, usually in the range for bulky yarn. Going slightly down a size can make the fabric firmer and more structured. BULLET: Scissors and a yarn or tapestry needle for weaving in your ends and closing the seam. BULLET: Stitch markers, useful for keeping track of your rows and the spot where the twist begins.
Stitches and Abbreviations
- sc: single crochet. Insert the hook, yarn over, pull up a loop, then yarn over and pull through both loops on the hook. BULLET: dc: double crochet. Yarn over, insert the hook, pull up a loop, then work off two loops twice. BULLET: ch: chain. Yarn over and pull through the loop on your hook to make a foundation or turning chain. BULLET: sl st: slip stitch. Insert the hook, yarn over, and pull through both the stitch and the loop on the hook. Good for joining and neat edges.
Pattern Notes
- US terms are used throughout the tutorial, so keep that in mind if you’re working from a different reference. BULLET: The twist is formed by crossing the band over itself, so pay attention to which side faces you before you join. BULLET: You can adjust the length of the band to suit your head size, so measure before you finish. BULLET: Keep your tension relaxed so the fabric stays flexible and the twist sits comfortably. BULLET: Edges can look a little uneven before you block or tidy the ends, and that is completely normal.
How It’s Made
- Foundation: you start with a chain long enough to wrap around your head. BULLET: Body: you work rows across the chain to build the band’s width and texture. BULLET: The twist: you cross the band over itself to create the signature knot at the front. BULLET: Joining: the ends are brought together to form a continuous loop around the head. BULLET: Edging: a final round tidies the outer edges and gives the band a clean finish. BULLET: Finishing: loose ends are woven in and the seam is closed neatly. Watch the video for the exact rounds and how each step fits together.
Assembly and Finishing Tips
Take your time when joining the ends. A neat seam keeps the headband comfortable against your head, so pin or hold the pieces in place before stitching.
Weave in your ends carefully, running the needle through several stitches in different directions so they stay put after washing.
If you want the twist to sit crisp and flat, gently shape it by hand and let the piece rest in its final position. Light steam blocking can help too, as long as your yarn label allows it.
Make It Yours
- Try a neutral palette like cream, camel, or charcoal for an everyday accessory that goes with everything. BULLET: Use a slightly thicker or thinner yarn to make the band wider or narrower for a different look. BULLET: Add a fun contrasting shade for the twist or the edging to highlight the knot. BULLET: Make a few in different colors as thoughtful gifts for friends, coworkers, or family members who love cozy accessories.
Happy crocheting, and we’d love to see your finished Crochet Andes Headband when you share it!
Follow us on Pinterest and subscribe to the Newsletter so you don’t miss a thing!
Tutorial and photos of this andes headband by: CJ Design.