Welcome! Today we’re looking at Crochet Granny Square Joining Techniques, the handy skill that turns a pile of colorful squares into a cosy blanket, bag or cardigan.
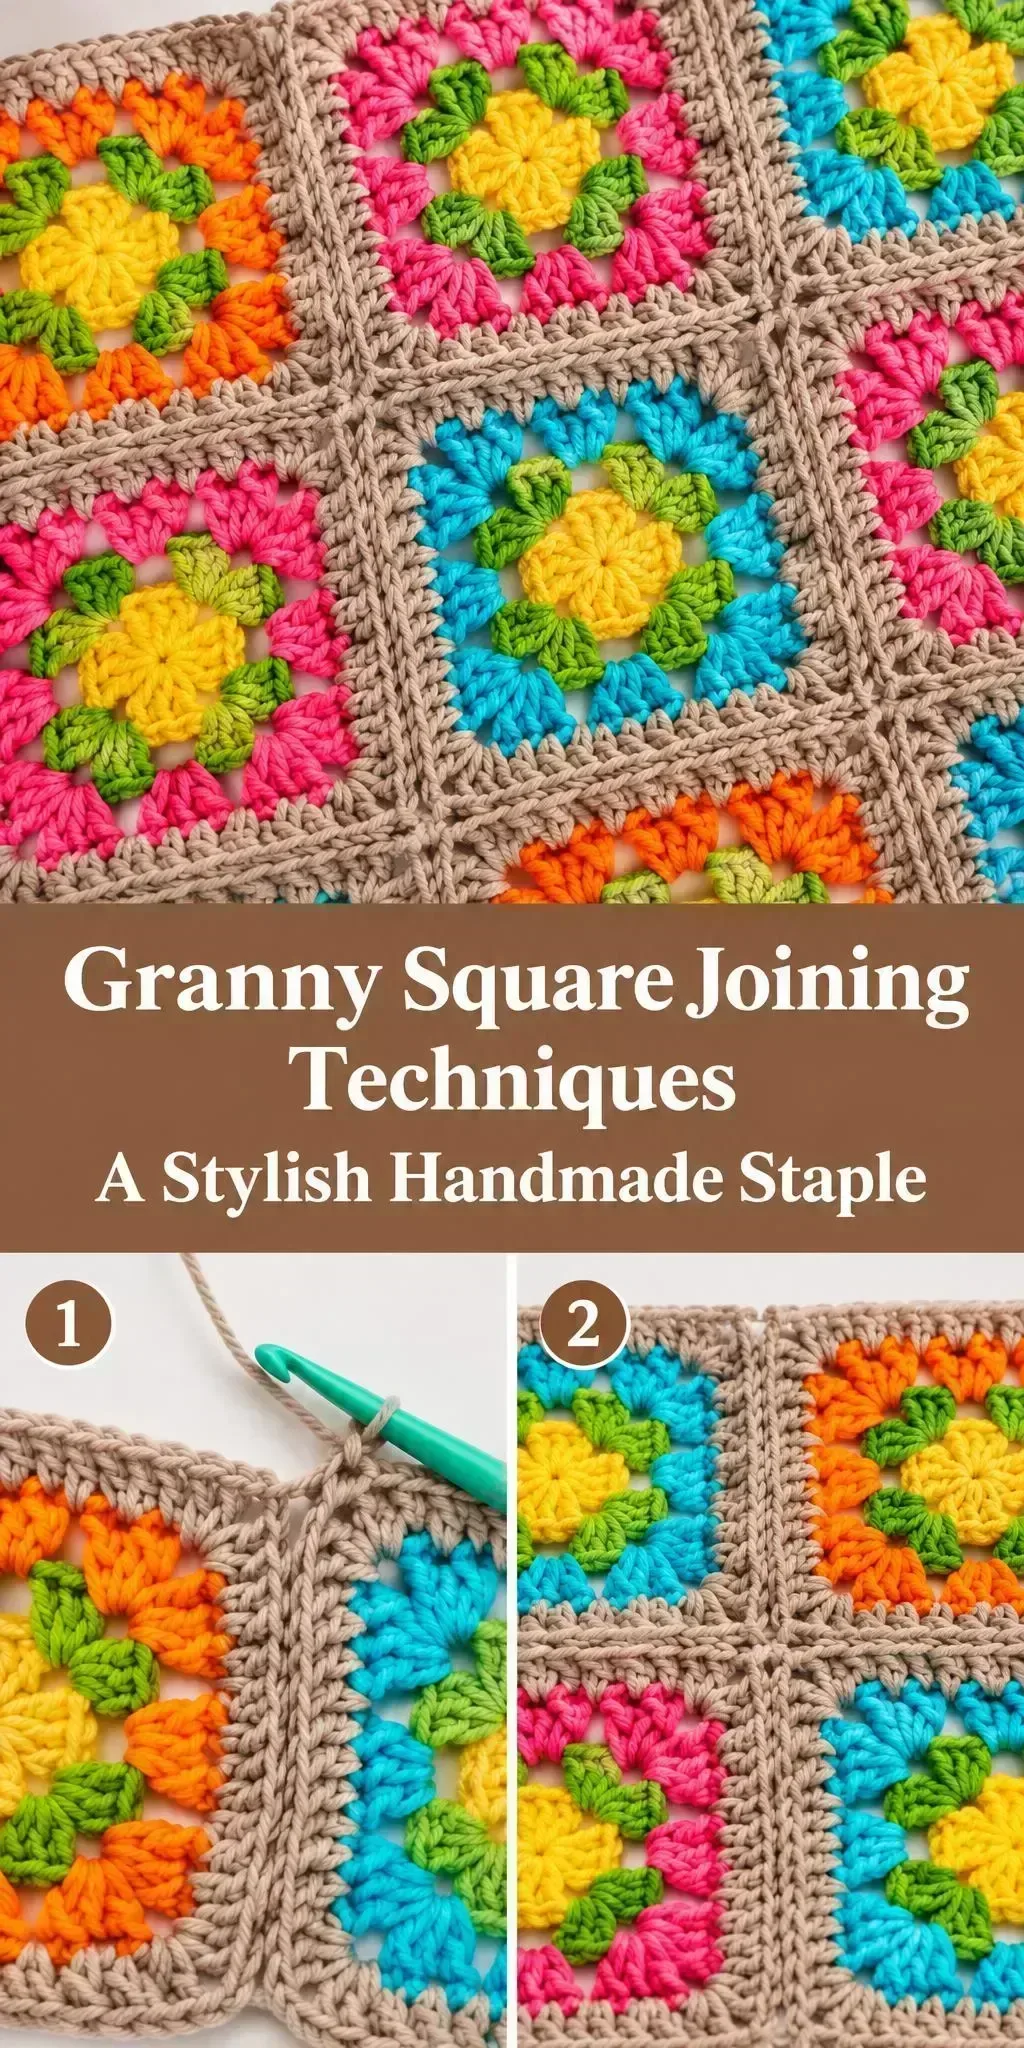
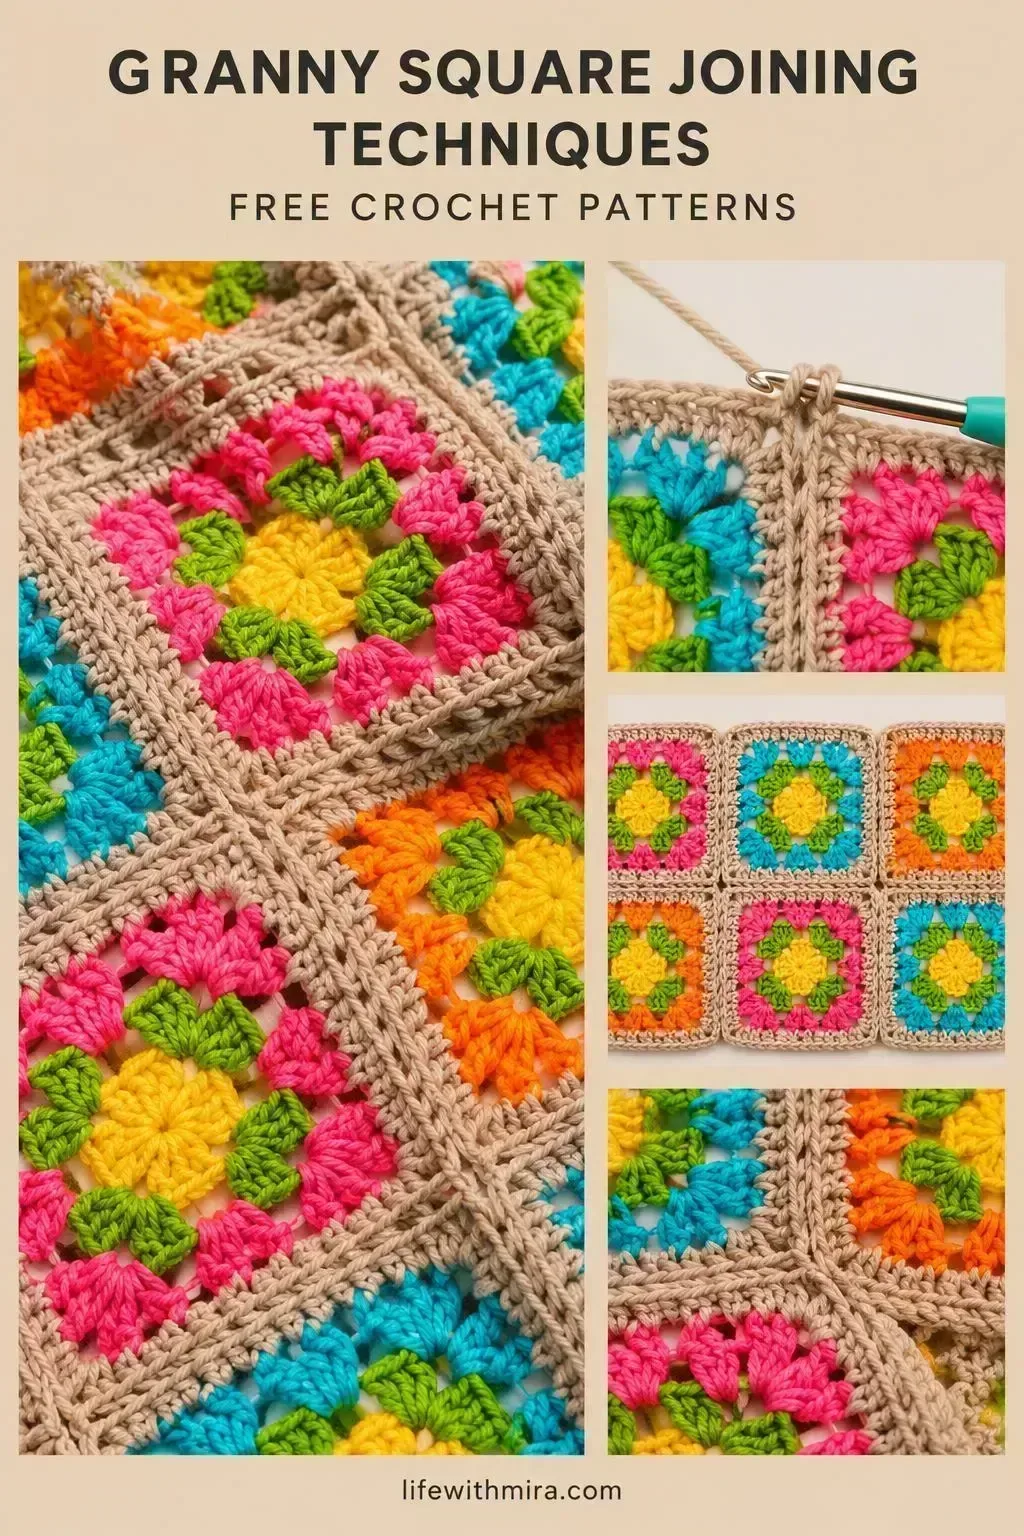
What makes this project special is the frame of soft taupe edging around every square. It pulls the bright motifs together and gives the whole piece a tidy, finished look.
This is a lovely make for anyone who enjoys colour and wants to see their squares come together. The full step-by-step tutorial is in the video, and this page is here to help you prepare and crochet with confidence.
In this post
Skill Level
Intermediate. You will be working with several squares, carrying yarn between motifs and keeping edges straight, which takes a little practice and patience.
Joining Techniques Related Posts:
- Crochet Heart Granny Square Book Cover: A Cozy and Adorable Handmade Accessory
- Crochet Blooming Roses: A Charming and Lovely Handmade Accent
- Crochet Basic Stitch Fabric: A Simple and Versatile Foundation
- Crochet Halter Top: A Stylish Handmade Staple
Materials
- Yarn: a medium weight (worsted or aran) acrylic or cotton blend works well. Choose a few bright shades for the motifs and one neutral shade for the edging so the joins stand out nicely.
- Hook: a 4 mm to 5 mm hook is the usual choice for medium-weight yarn. Pick the size that gives you a firm, even fabric.
- Scissors and a yarn or tapestry needle for weaving in ends.
- Stitch markers: helpful for keeping track of the first stitch of each round when you join.
Stitches and Abbreviations
- sc: single crochet. Insert the hook, yarn over, pull up a loop, then yarn over and pull through both loops.
- dc: double crochet. Yarn over, insert the hook, pull up a loop, then work off two loops twice.
- ch: chain. A series of loops that forms the base of many stitches and the spaces between them.
- sl st: slip stitch. Insert the hook, yarn over, and pull through both the stitch and loop on the hook, used for joining and moving across.
Pattern Notes
- This page uses US crochet terms, so check your abbreviations before you start.
- Keep the same tension throughout so your squares finish at the same size.
- Join your squares as you go where possible, which saves finishing time later.
- Edges may look a little wavy before blocking, and that is normal.
How It’s Made
- Make the centre motifs in your chosen colours, working outward in rounds.
- Add the bright outer rounds that give each square its colourful pattern.
- Work the neutral edging around each square to create a clean frame.
- Join the squares together in rows, using the edging as your guide.
- Work any border or finishing rounds around the outside of the whole piece.
- Weave in all loose ends neatly.
You will find the exact rounds and joining steps in the video tutorial.
Assembly and Finishing Tips
Join the squares with the wrong sides facing each other, and work through the back loops of the edging so the seam sits neatly.
Check that all corners are the same before you begin joining, since small differences add up across a large piece.
Weave in your ends as you go, tucking them through the stitches on the back of the work to keep the front clean.
Block the finished piece gently with a little steam or a light spray of water and let it dry flat. This will straighten the edges and even out the stitches.
Make It Yours
- Try a rainbow of bright motifs for a cheerful baby blanket.
- Use earthy tones like rust, sage and cream for a calm throw.
- Change the edging colour to match your favourite shade.
- Make a set of joined squares as a gift for a friend who loves colour.
Happy crocheting! We would love to see your finished project, so share your squares with us.
Follow us on Pinterest and subscribe to the Newsletter so you don’t miss a thing!
Tutorial and photos of this granny square joining techniques by: naztazia.