Welcome! Today we’re making a Crochet Rainbow Stitch Coaster, a bright little project that turns any table into a happy spot.
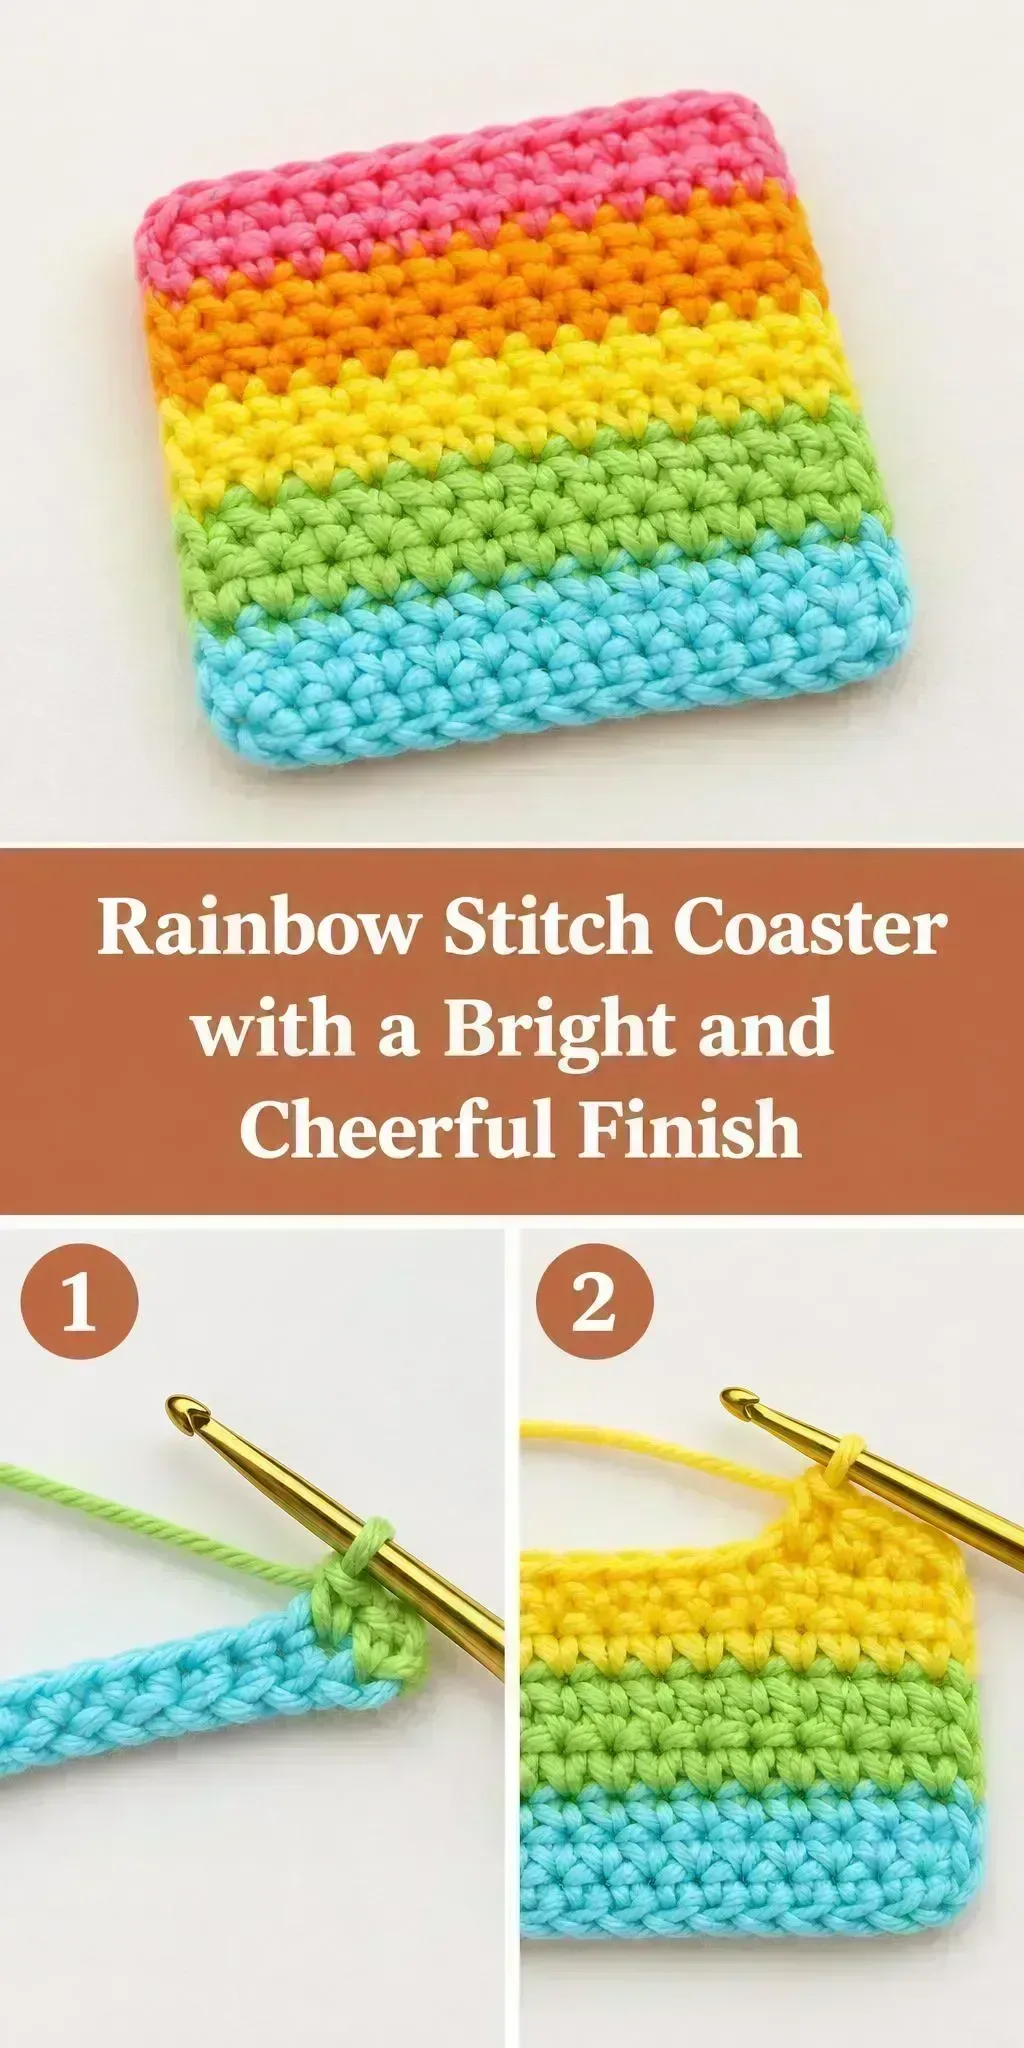
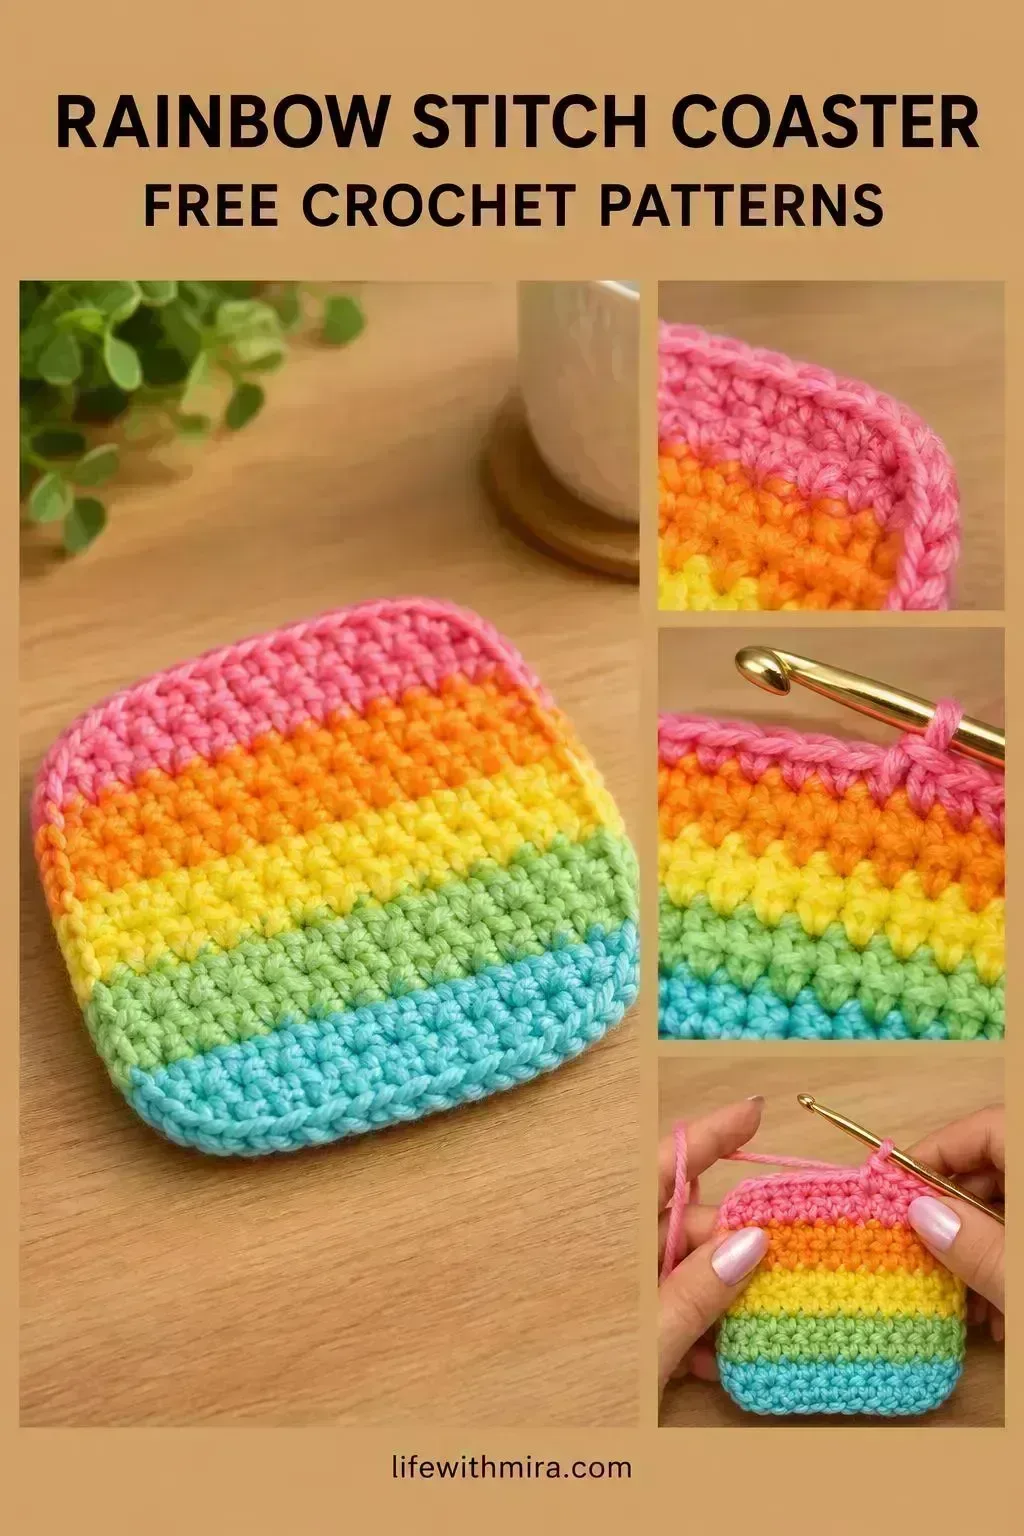
The first thing you notice about this coaster is the stripes. Each band of color, from soft pink through orange, yellow, lime green and aqua, stacks neatly on top of the last, so the piece looks like a small rainbow sitting on your table.
This is a lovely project for a quiet afternoon or a gift for a friend who loves color. It works up quickly, so it is also a good choice when you want a finished item without a long commitment. The full step-by-step tutorial is in the video, and this page covers the practical details you need before you start.
In this post
Skill Level
Beginner. The coaster uses basic stitches worked in simple rounds, and the color changes are the only part that needs a little attention.
Stitch Coaster Related Posts:
- Crochet Cropped Triangle Top: A Charming and Versatile Handmade Essential
- Crochet Blooming Roses: A Charming and Lovely Handmade Accent
- Crochet Solomon’s Knot Stitch Mesh: A Lacy and Vibrant Handmade Statement
- Crochet Striped Blanket: A Cozy and Elegant Essential
Materials
- Yarn: a medium weight (category 4) acrylic or acrylic blend works well. It is soft, washable and holds the stripes crisply. Choose one color per stripe, with a few spare yards of each in case you want to adjust the widths.
- Hook: a 5 mm hook is a common choice for medium-weight yarn. Go up or down a size if your stitches feel too tight or too loose.
- Scissors and a yarn or tapestry needle for weaving in the ends.
- Stitch marker, useful for keeping track of where each round begins.
Stitches and Abbreviations
- sc: single crochet. Insert the hook, yarn over, pull up a loop, yarn over and pull through both loops on the hook.
- dc: double crochet. Yarn over, insert the hook, pull up a loop, then work off two loops twice.
- ch: chain. Yarn over and pull through the loop on your hook to make a basic foundation stitch.
- sl st: slip stitch. Insert the hook, yarn over and pull through both the stitch and the loop on your hook, used for joining rounds.
Pattern Notes
- This page uses US crochet terms throughout, so check your abbreviations if you are coming from a UK pattern.
- Change color at the start of a new round or stripe, carrying the new yarn up neatly as you go.
- Stripe widths can be adjusted by working a few more or fewer rounds in each color.
- Edges can look slightly uneven before blocking, which is completely normal.
- Keep your tension even so the coaster lies flat on the table.
How It’s Made
- Start from a small center and work outward in rounds to form a flat circle.
- Build the base, keeping the shape even as the circle grows.
- Work each stripe in its own color, changing yarn at the start of each new band.
- Continue stacking the rainbow bands until the coaster reaches the size you want.
- Finish with a neat edge round that tidies the outer ring.
- Weave in all the ends and give the coaster a gentle block to settle the shape.
- For the exact rounds and color changes, follow along with the tutorial video.
Assembly and Finishing Tips
Weave in your ends as you go where you can, since a few tucked ends are much easier than a pile at the finish. When changing colors, pull the new yarn firmly for the first stitch so the stripe edge stays crisp. Block the finished coaster by dampening it slightly and pinning it flat to dry, which helps it lie flat and sit neatly on your table.
Make It Yours
Try a pastel palette for a softer look, or switch to bold primary colors for a playful set. Make a larger coaster for a mug and a smaller one for a candle, then give them together as a gift. Swap the rainbow stripes for a single color with a contrasting edging for a simpler, calmer version. Stack a few coasters in a matching set and tie them with a ribbon for a cheerful housewarming present.
Happy crocheting! We would love to see your finished coaster, so share your rainbow with us.
Follow us on Pinterest and subscribe to the Newsletter so you don’t miss a thing!
Tutorial and photos of this rainbow stitch coaster by: naztazia.