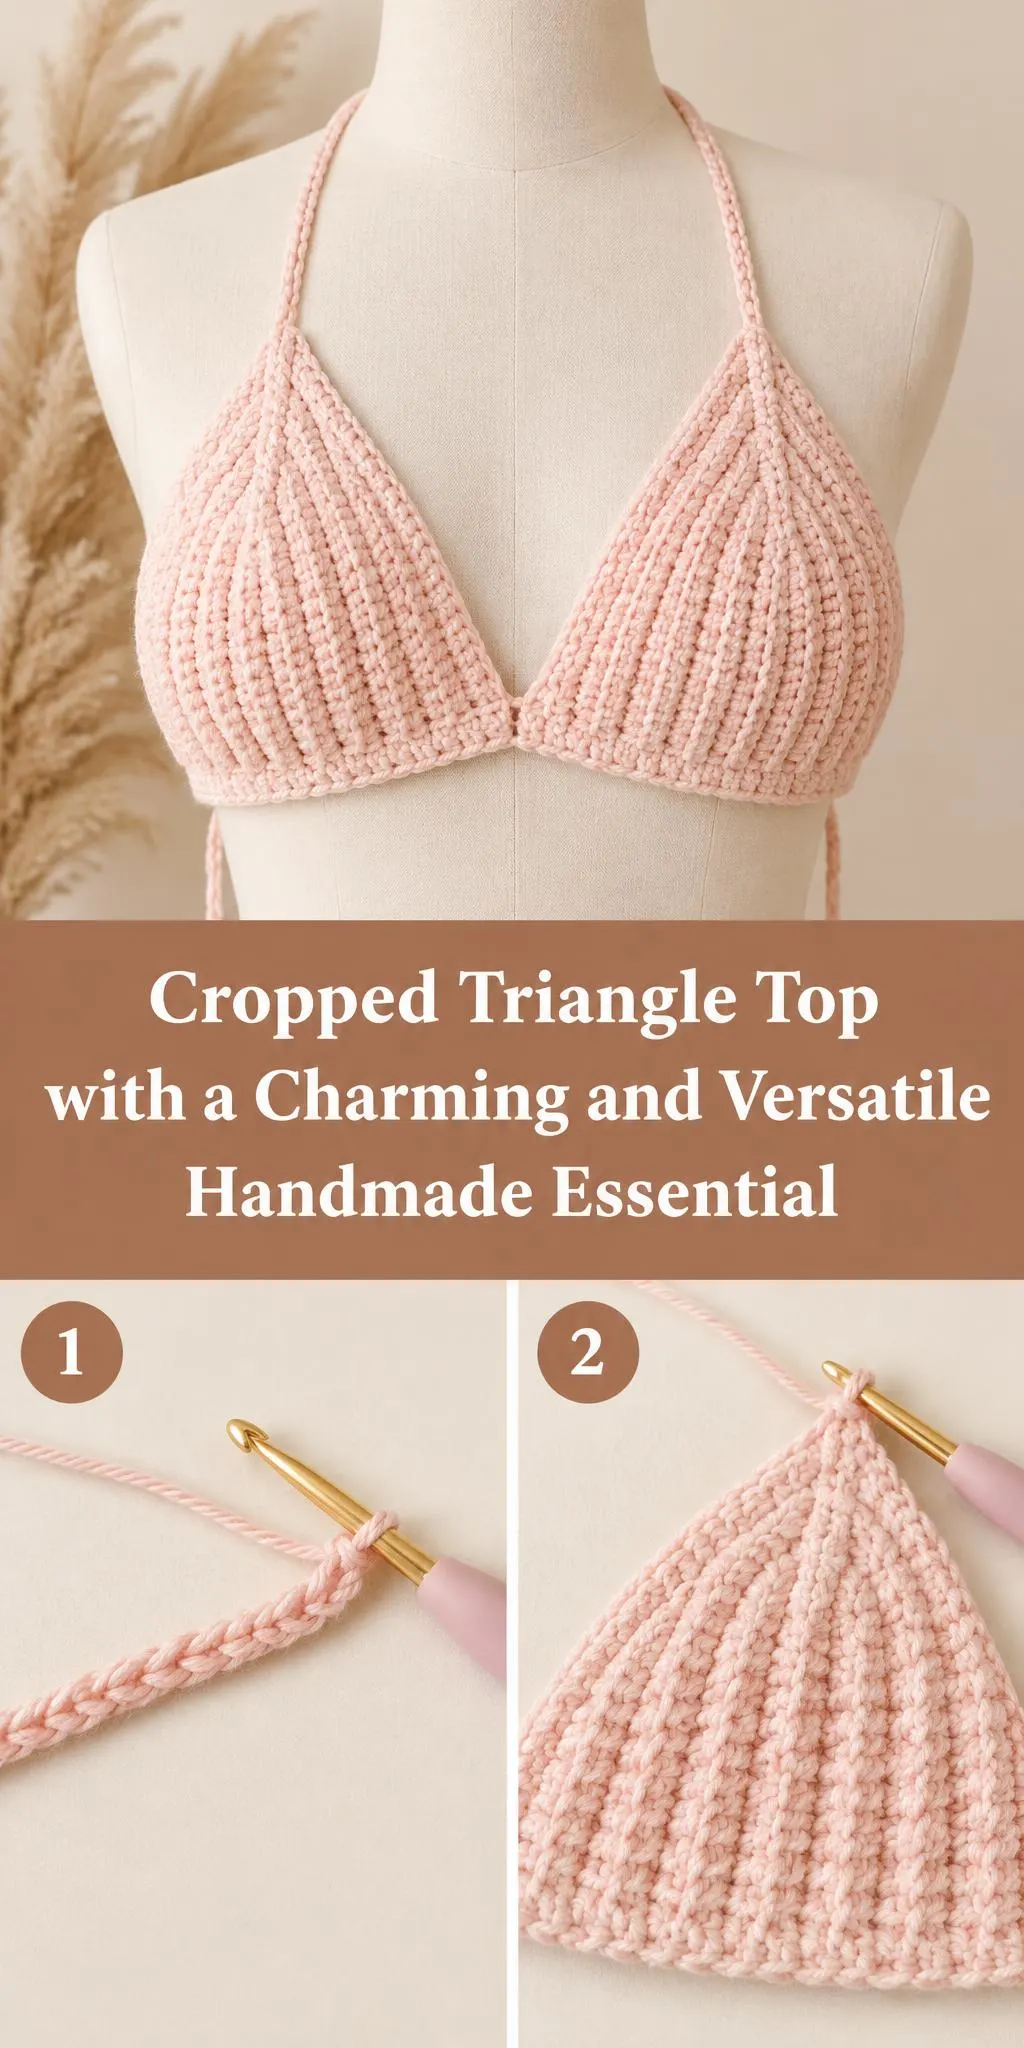
Welcome! Today we’re making a lovely Crochet Cropped Triangle Top, a soft and simple piece that fits right into your everyday wardrobe.
What makes this top so special is its clean triangle shape and its ribbed texture. The rows of raised stitches give the fabric a gentle structure, so it holds its shape beautifully while still feeling light and airy. The cropped length and tie straps make it easy to wear over a tee, with high-waisted bottoms, or on its own on a warm day.
This project is a great fit for crocheters who have a few basics under their belt and want a wearable piece that looks far more complicated than it is. It works well for summer festivals, beach days, or layering under an open shirt in spring.
The full step-by-step tutorial is in the video, and this page is here to help you prepare, understand the stitches, and finish your top with confidence.
In this post
Skill Level
Easy. The top uses simple repeated stitches and a shaping method that builds the triangle cups gradually, so it suits crocheters who are comfortable with increases and decreases.
Triangle Top Related Posts:
- Crochet Bow Keychain: A Charming and Versatile Accessory
- Crochet Bucket Hat: A Trendy and Cozy Accessory
- Crochet Mini Hearts: A Sweet and Lovable Handmade Accent
- Crochet Mesh Hairband: A Light and Airy Accessory
Materials
- Yarn: a light worsted or DK weight cotton or cotton blend works best, since it has good drape, breathes well, and keeps its shape after washing.
- Hook: a 3.5 mm to 4 mm hook is a common choice for this yarn weight, but go up or down a size if your tension runs tight or loose.
- Scissors and a yarn or tapestry needle for weaving in ends and sewing any seams.
- Stitch markers to keep track of your shaping points, especially around the cups.
- Strap material: the ties are crocheted as part of the piece, so you only need extra yarn if you want longer or contrast straps.
Stitches and Abbreviations
- sc: single crochet. Insert the hook, yarn over, pull up a loop, then yarn over and pull through both loops on the hook.
- dc: double crochet. Yarn over, insert the hook, pull up a loop, then work off two loops twice.
- ch: chain. Yarn over and pull through the loop on the hook to create a foundation or turning chain.
- sl st: slip stitch. Insert the hook, yarn over, and pull through both the stitch and the loop on the hook, used for joining and neat edges.
- Ribbed stitch: a repeated pattern of back loop or front post stitches that creates the vertical ridges seen on the cups.
Pattern Notes
- This pattern uses US crochet terms throughout, so check your abbreviations before you start.
- Adjust the size by changing your hook or yarn weight, then check your gauge against the sizing you need.
- Work a small gauge swatch in the ribbed stitch first, since texture affects how much fabric you get per row.
- Edges may look a little uneven before blocking, and this is completely normal.
- Keep your tension consistent across the cups so both sides match.
How It’s Made
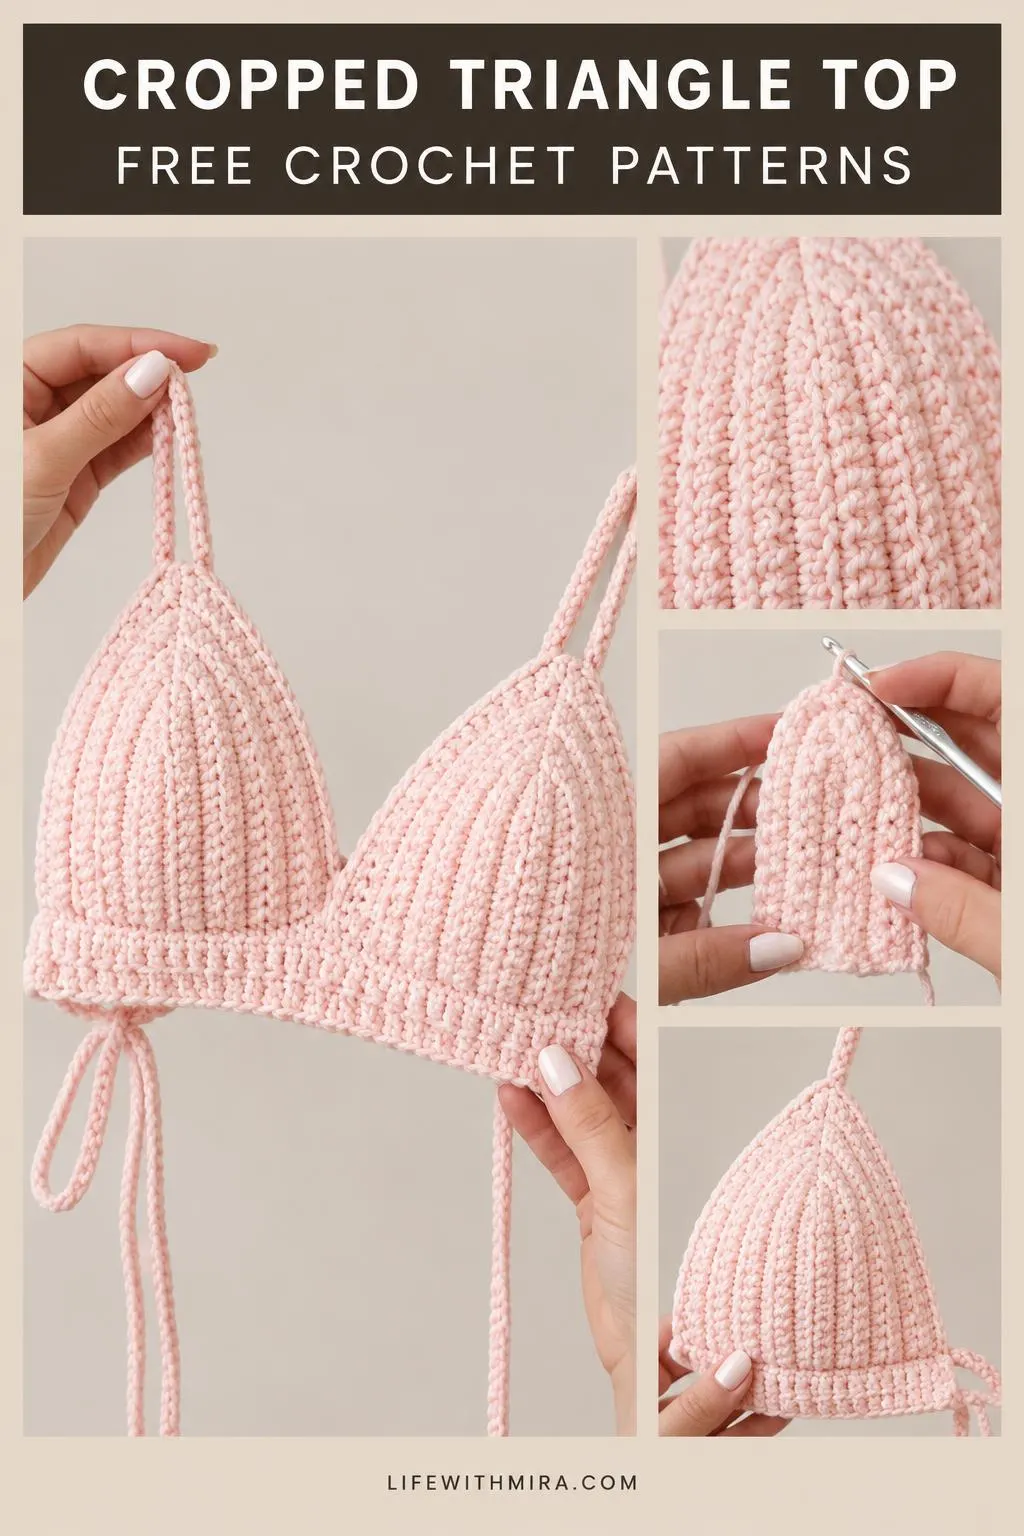
- Start with the foundation, which sets the width of the band and the base of the triangle.
- Build the ribbed cup sections, working upward and shaping the triangle as you go.
- Shape each cup by adjusting your stitch count so the fabric narrows toward the peak.
- Join the two cups at the center so the top forms a single, connected triangle.
- Add the band around the lower edge to give the top a neat finish and a comfortable fit.
- Crochet the tie straps and attach them at the upper corners of each cup.
- Finish the edges with a simple border that keeps everything tidy.
For the exact rounds and stitch counts, follow along with the video tutorial as you work each stage.
Assembly and Finishing Tips
- Use a slip stitch or a neat whipstitch to join the cups, and keep the seam tension similar to the fabric around it.
- Weave in all ends securely on the wrong side, especially at the strap attachments where the most stress happens.
- Block your top gently by pinning it to shape and misting it with water, which evens out the ribbed texture.
- Check that the straps are the same length before you finish, so the top sits straight on your body.
- Choose a cotton or cotton blend yarn that is easy to wash, so your top keeps its shape over time.
Make It Yours
- Try a two-tone look with a white band and pastel cups for a striped, summery effect.
- Switch to a deeper color like sage, rust, or navy for a more everyday wardrobe piece.
- Make longer straps for a halter-style top, or shorter ones for a more minimal look.
- Gift a handmade top to a friend by choosing a color that matches their favorite style.
Happy crocheting! Once your top is finished, we’d love to see your version, so share your project and tag your photos along the way.
Follow us on Pinterest and subscribe to the Newsletter so you don’t miss a thing!
Tutorial and photos of this cropped triangle top by: Krystal Everdeen.