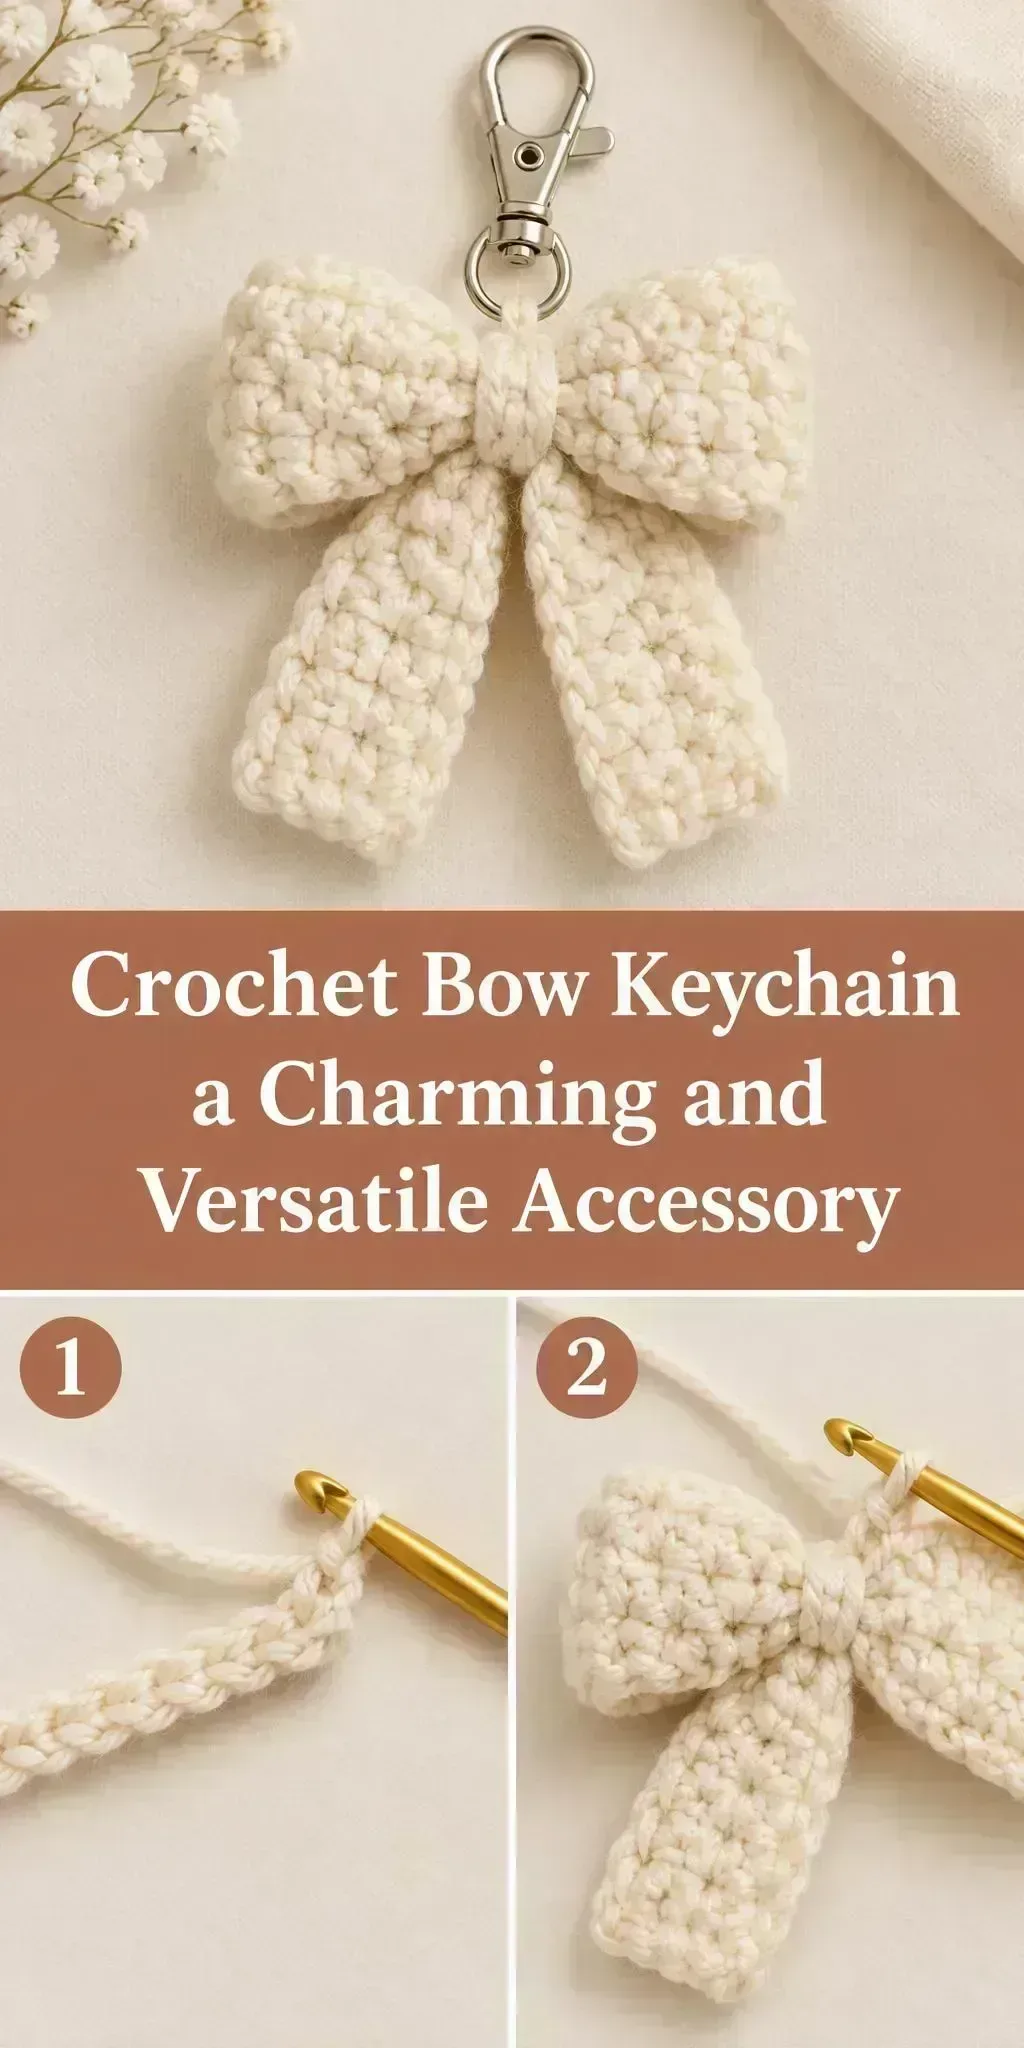
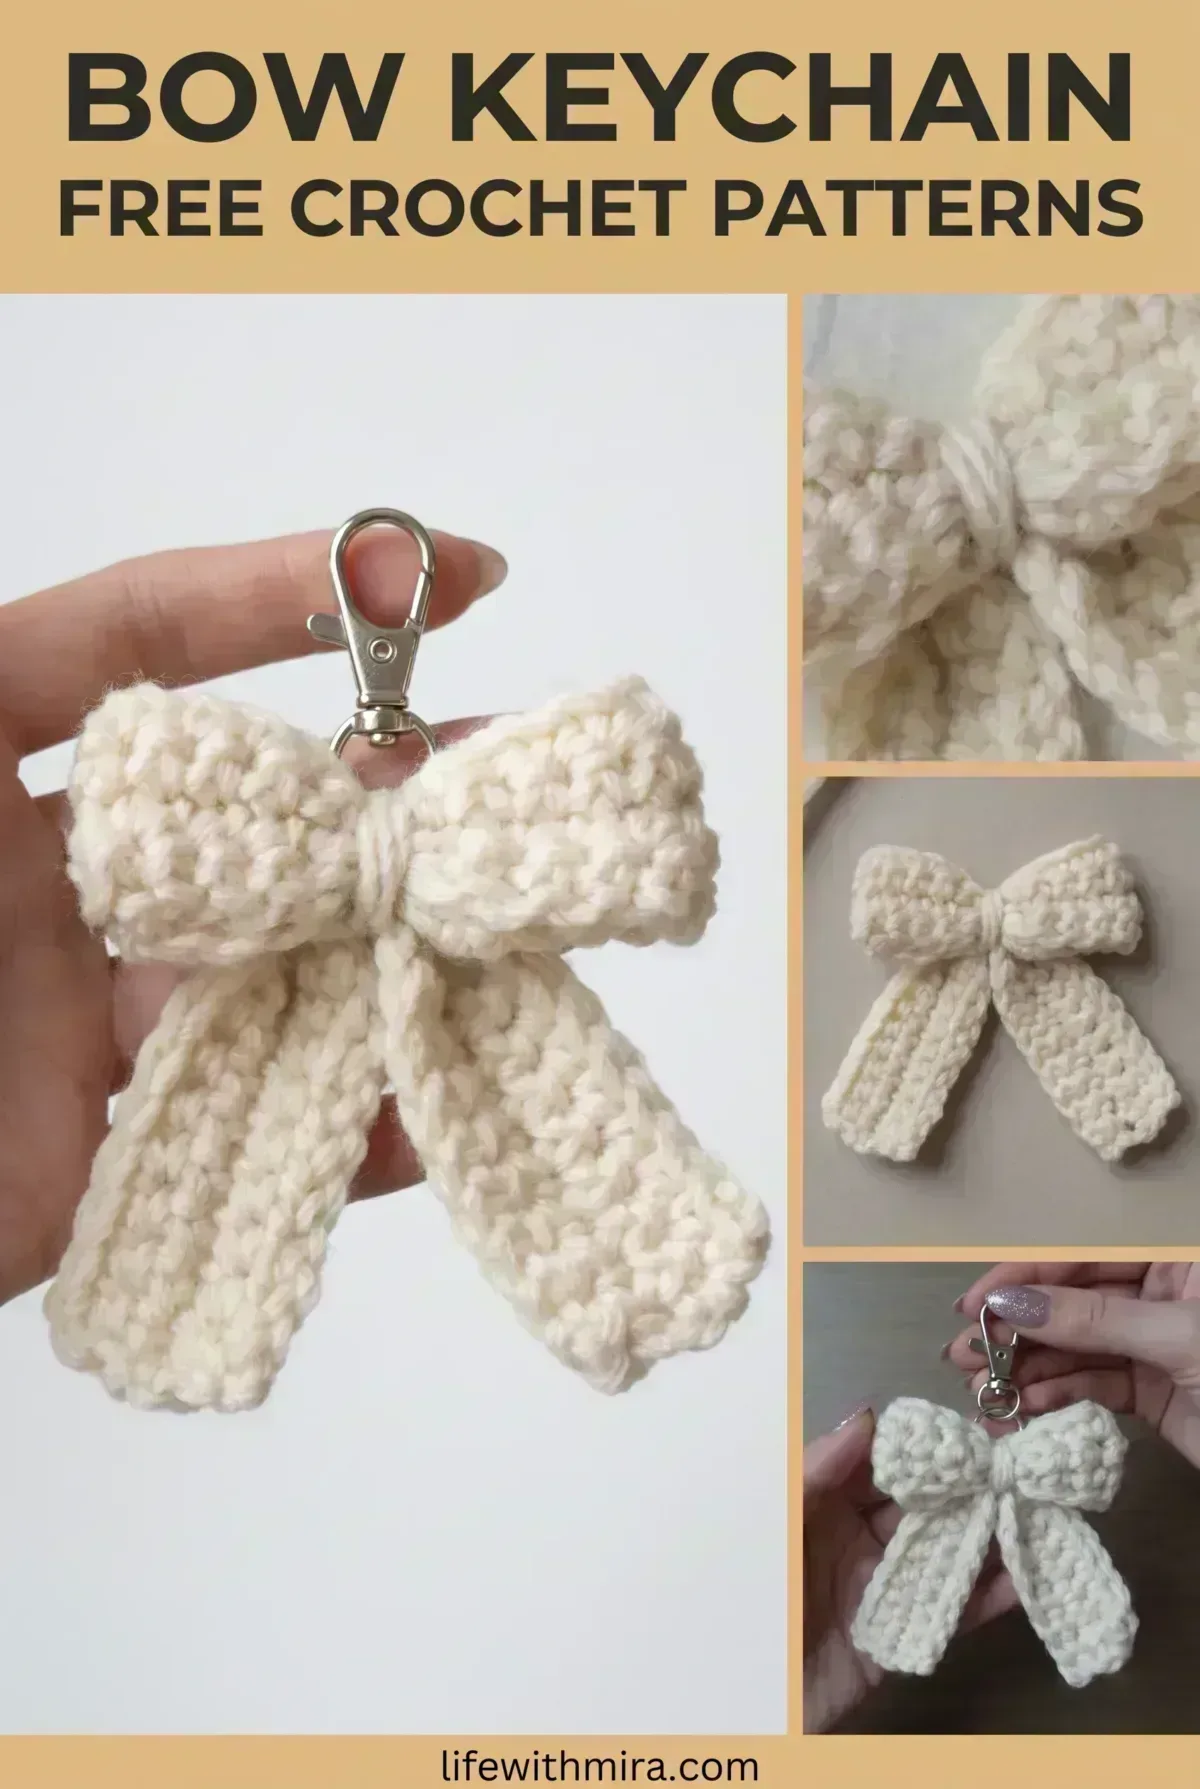
Welcome! Today we’re making a charming Crochet Bow Keychain that is small, sweet and very easy to love.
I think this little bow is one of those projects that feels like a treat to make. It works up quickly, uses very little yarn, and gives you something you’ll want to clip onto your bag, your keys or your zipper. The soft, rounded loops and tidy center knot make it look finished and polished in a way that surprises many first-time makers.
It’s a lovely project for anyone who wants a quick win, or a gift that feels personal without taking weeks. The full step-by-step tutorial is in the video, and this page is here to help you prepare, understand the steps and finish your bow neatly.
In this post
Skill Level
Easy. The construction is built from simple repeated stitches and small flat pieces, so it is a friendly project for beginners who are ready to practice a few basic techniques.
Bow Keychain Related Posts:
- Crochet Basic Stitch Fabric: A Simple and Versatile Foundation
- Crochet Phone Pouch Case: A Cozy and Practical Accessory
- Crochet Mini Hearts: A Sweet and Lovable Handmade Accent
Materials
- Yarn: a light worsted or DK weight yarn in a soft, smooth fiber works well here. It gives the bow enough structure to hold its shape, while still being easy to tuck and shape.
- Hook: a hook size that matches your yarn, usually around 4 mm to 5 mm for worsted weight. A slightly smaller hook keeps the stitches firm so the bow holds its shape.
- Scissors and a yarn or tapestry needle for weaving in ends and sewing the center.
- Keychain hardware: a split ring with a lobster clasp, attached at the top of the bow.
Stitches and Abbreviations
- sc: single crochet. Insert your hook, yarn over, pull up a loop, then yarn over and pull through both loops on the hook.
- dc: double crochet. Yarn over, insert your hook, pull up a loop, then work off two loops twice. This stitch is taller and gives the bow its fluffy loops.
- ch: chain. A simple foundation stitch made by yarning over and pulling through the loop on your hook.
- sl st: slip stitch. Insert your hook, yarn over, and pull through both the stitch and the loop on your hook. Useful for joining and neatening edges.
Pattern Notes
- US terms are used throughout, so check that your abbreviations match the video.
- You can make the bow larger or smaller by changing your yarn weight or hook size, while keeping the same basic shape.
- Keep your tension even, since uneven tension is the most common reason the loops look lopsided.
- Edges may look a little wavy or uneven before finishing, and that is completely normal.
How It’s Made
- Make the two loops of the bow, working each one as a small flat strip that folds into a rounded shape.
- Make the two tails, which hang down from the bottom of the bow and give it its classic ribbon look.
- Make a small center band that wraps around the middle to pinch the loops and tails together.
- Join the pieces together, creating the full bow shape.
- Attach the keychain hardware at the top loop, so the bow hangs neatly.
- Finish the edges with a tidy border and weave in all loose ends.
You’ll find the exact rounds and stitch counts in the video tutorial, which walks you through each stage.
Assembly and Finishing Tips
- Wrap the center band firmly and tie it off securely, since this is what gives the bow its neat waist.
- Weave in your ends carefully along the back, so they don’t show from the front.
- Gently shape the loops and tails with your fingers before attaching the keychain, so the bow sits upright.
- If you want stronger tails, lightly steam or block them to help them hang straight.
Make It Yours
- Try a pastel palette like blush pink, sage or cream for a soft, seasonal look.
- Use two contrasting colors, one for the loops and one for the tails, for a playful twist.
- Make a few in different sizes and attach them to a set of gift keychains or bag charms.
- Use a shiny or metallic thread for a little sparkle on special occasions.
Happy crocheting, and I hope your Crochet Bow Keychain turns out just the way you imagined! Don’t forget to share your finished project with us.
Tutorial and photos of this bow keychain by: VivCrochets.