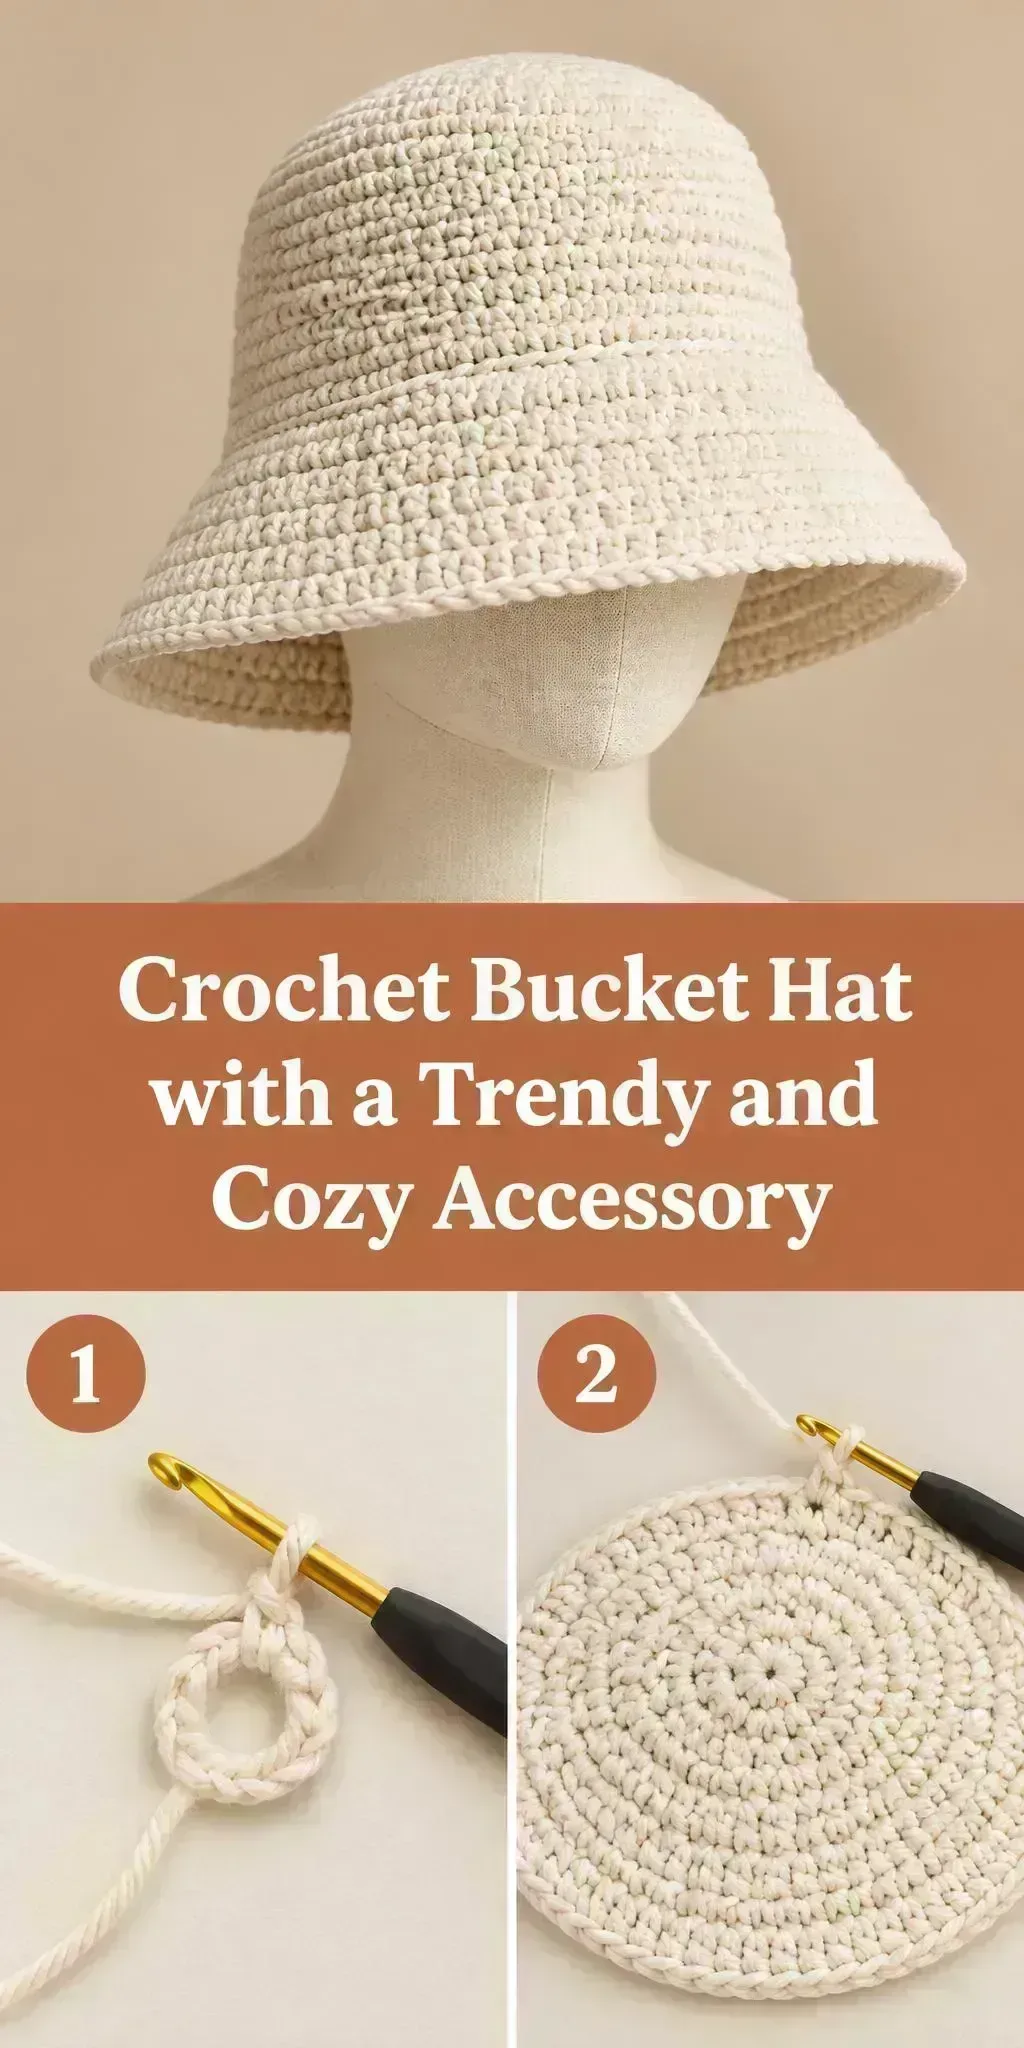
Welcome! Today we’re making a cozy Crochet Bucket Hat that you can wear all year round.
This soft, creamy white hat has a rounded crown, a wide brim that frames your face, and a neat band of texture that gives it a classic look. It’s the kind of accessory you can throw on with almost anything, from a casual jeans-and-tee outfit to a warm sweater on a chilly day.
If you love simple projects that work up quickly and look great in the end, this one is for you. The full step-by-step tutorial is in the video, and this page is here to help you prepare, understand the structure, and crochet with confidence.
In this post
Skill Level
Intermediate. The hat is worked in the round with regular increases to shape the crown and brim, so you’ll want to be comfortable keeping track of your stitch counts as you go.
Bucket Hat Related Posts:
- Crochet Basic Stitch Fabric: A Simple and Versatile Foundation
- Crochet Phone Pouch Case: A Cozy and Practical Accessory
- Crochet Mini Hearts: A Sweet and Lovable Handmade Accent
Materials
- Yarn: a medium weight (worsted or aran) cotton or cotton blend works well. Cotton holds its shape nicely and gives the brim enough structure to stand up.
- Hook: a size that matches your yarn label, usually around 4.0 mm to 5.0 mm for worsted weight. A slightly smaller hook keeps the fabric firm.
- Scissors for trimming your yarn ends.
- A yarn or tapestry needle for weaving in ends and finishing.
- Stitch markers, which help you mark the beginning of each round.
Stitches and Abbreviations
- sc: single crochet. Insert your hook, yarn over, pull up a loop, then yarn over and pull through both loops on the hook.
- dc: double crochet. Yarn over, insert your hook, pull up a loop, then work off two loops twice.
- inc: increase. Work two stitches into the same stitch to add width as you shape the crown and brim.
- sl st: slip stitch. A quick stitch used to join rounds and finish edges neatly.
Pattern Notes
- US crochet terms are used throughout.
- Work in a spiral or joined rounds, and use a stitch marker to keep track of where each round begins.
- Your hat can be made larger or smaller by adjusting how many increases you work, so try it on as you go.
- Check your gauge with a small swatch so the finished size matches the head size you’re aiming for.
- Edges can look a little uneven before blocking, and that’s completely normal.
How It’s Made
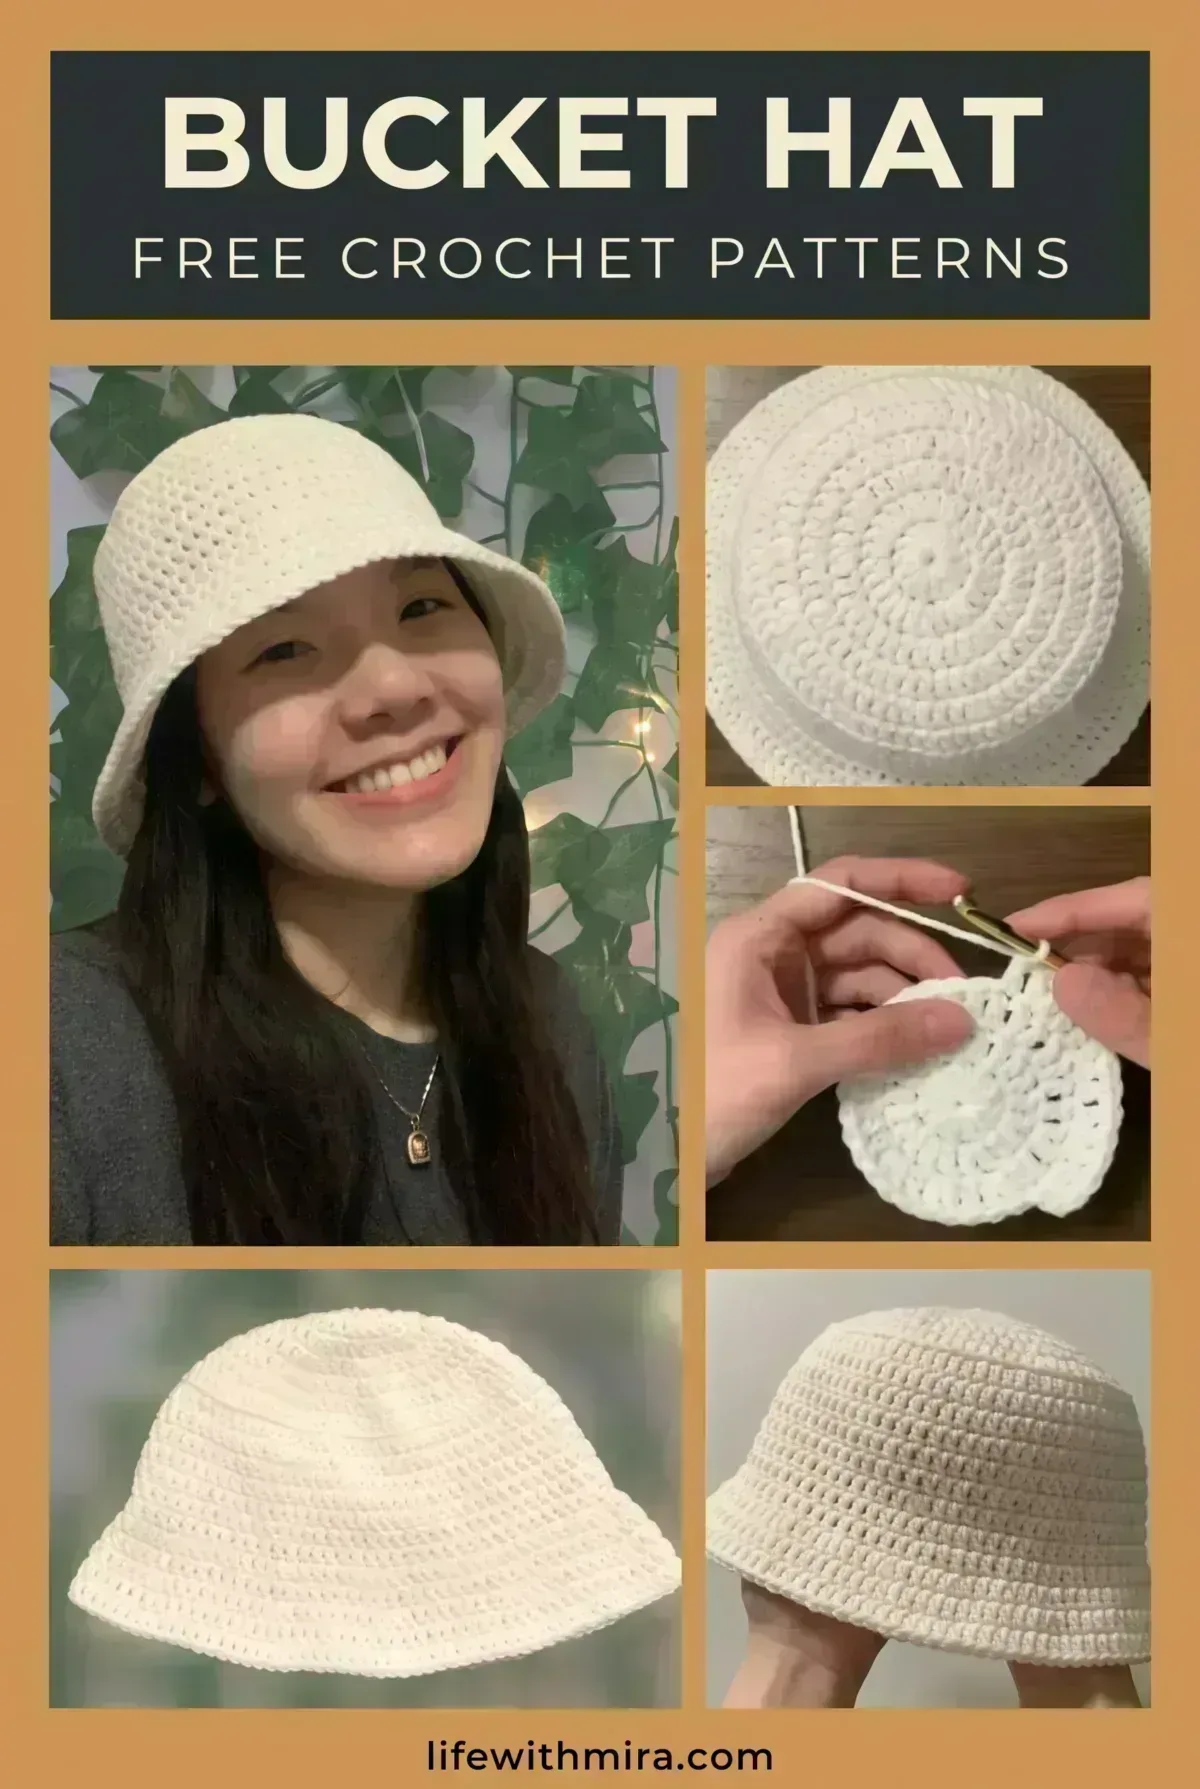
- Start with a small magic ring and build up a tight, round base for the crown.
- Work increases evenly around each round to shape the dome of the hat.
- Keep working rounds with no increases until the crown reaches the depth you like.
- Add a few rounds of increases to flare out the brim, which is what gives the bucket hat its shape.
- Finish the outer edge with a neat border that keeps the brim tidy.
- Weave in your ends and give the hat a gentle shape so it sits well on your head.
- Watch the video for the exact rounds and stitch counts as you crochet along.
Assembly and Finishing Tips
Weave in your ends carefully along the inside of the hat so they don’t show on the outside. A tapestry needle makes this quick and tidy.
Blocking helps your Crochet Bucket Hat hold its shape. A light steam or a gentle wet block will even out the brim and smooth out any wobbly rounds.
Keep an eye on your brim as you work. If it starts to curl up too much, try a slightly larger hook or an extra round of increases to flatten it out.
Make It Yours
- Try a soft pastel palette such as sage green, dusty pink, or baby blue for a fresh spring look.
- Make a smaller version for a child, or a larger one for a relaxed, slouchy fit.
- Add a contrasting band in a darker shade around the base of the crown for a bit of personality.
- Make a matching hat as a thoughtful gift for a friend who loves sunny-day style.
Happy crocheting! Once your hat is finished, I’d love for you to share your project and show off your colors.
Tutorial and photos of this bucket hat by: VivCrochets.