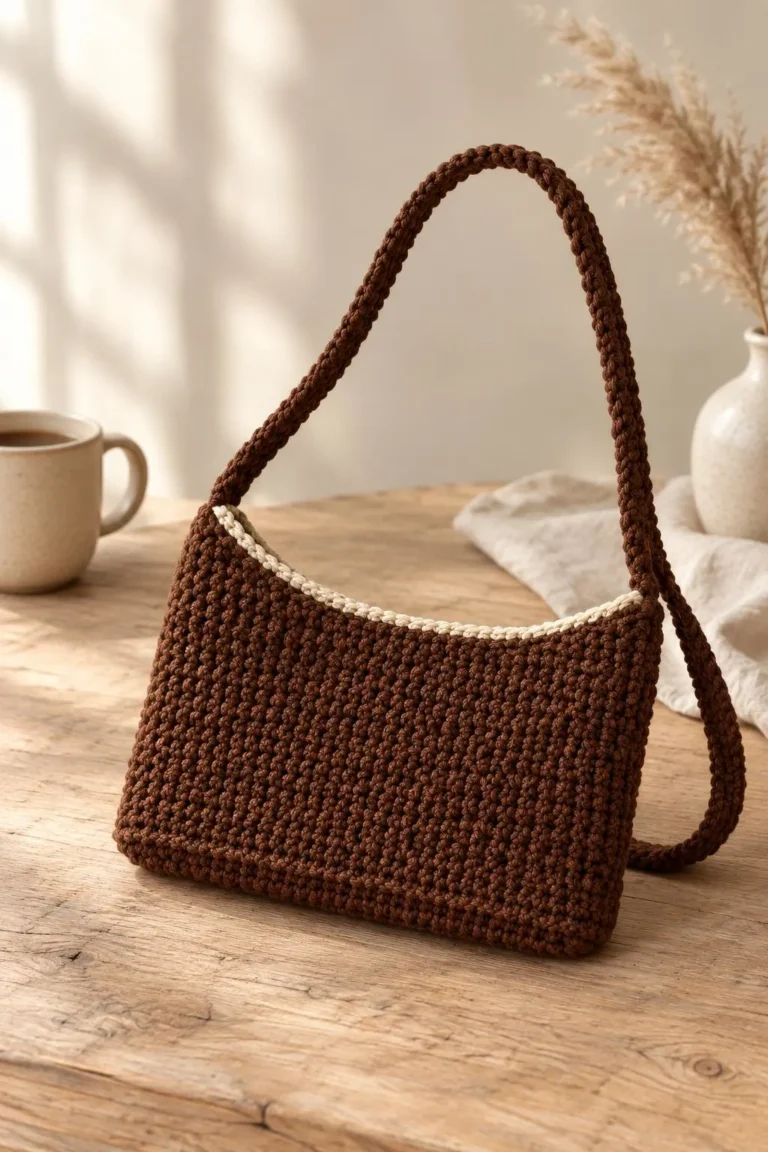
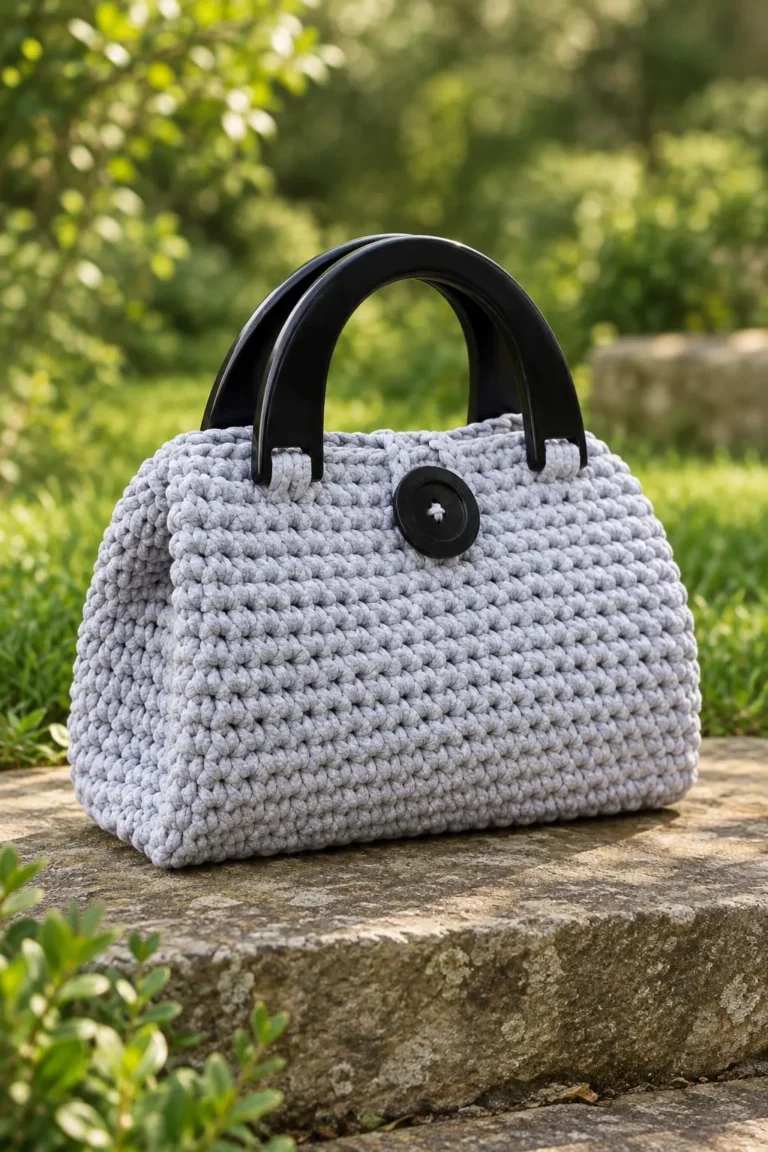
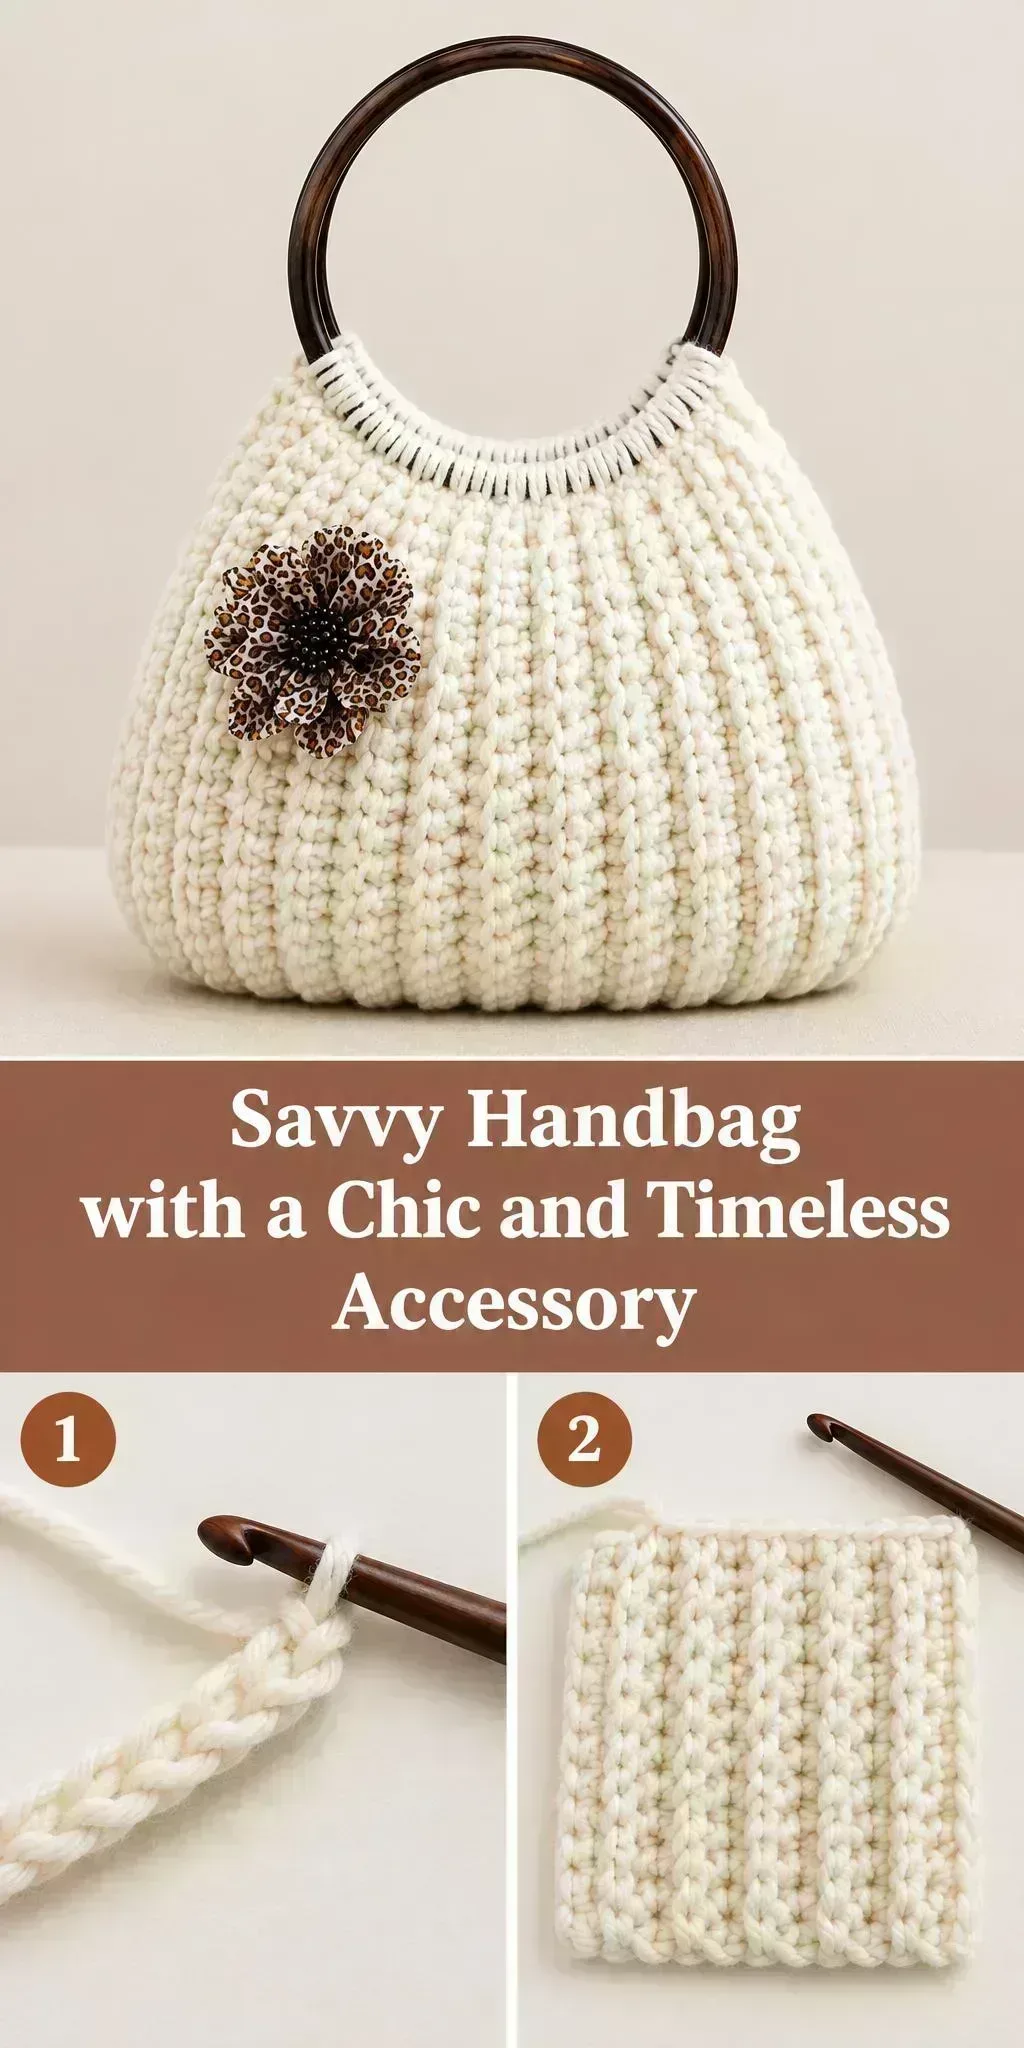
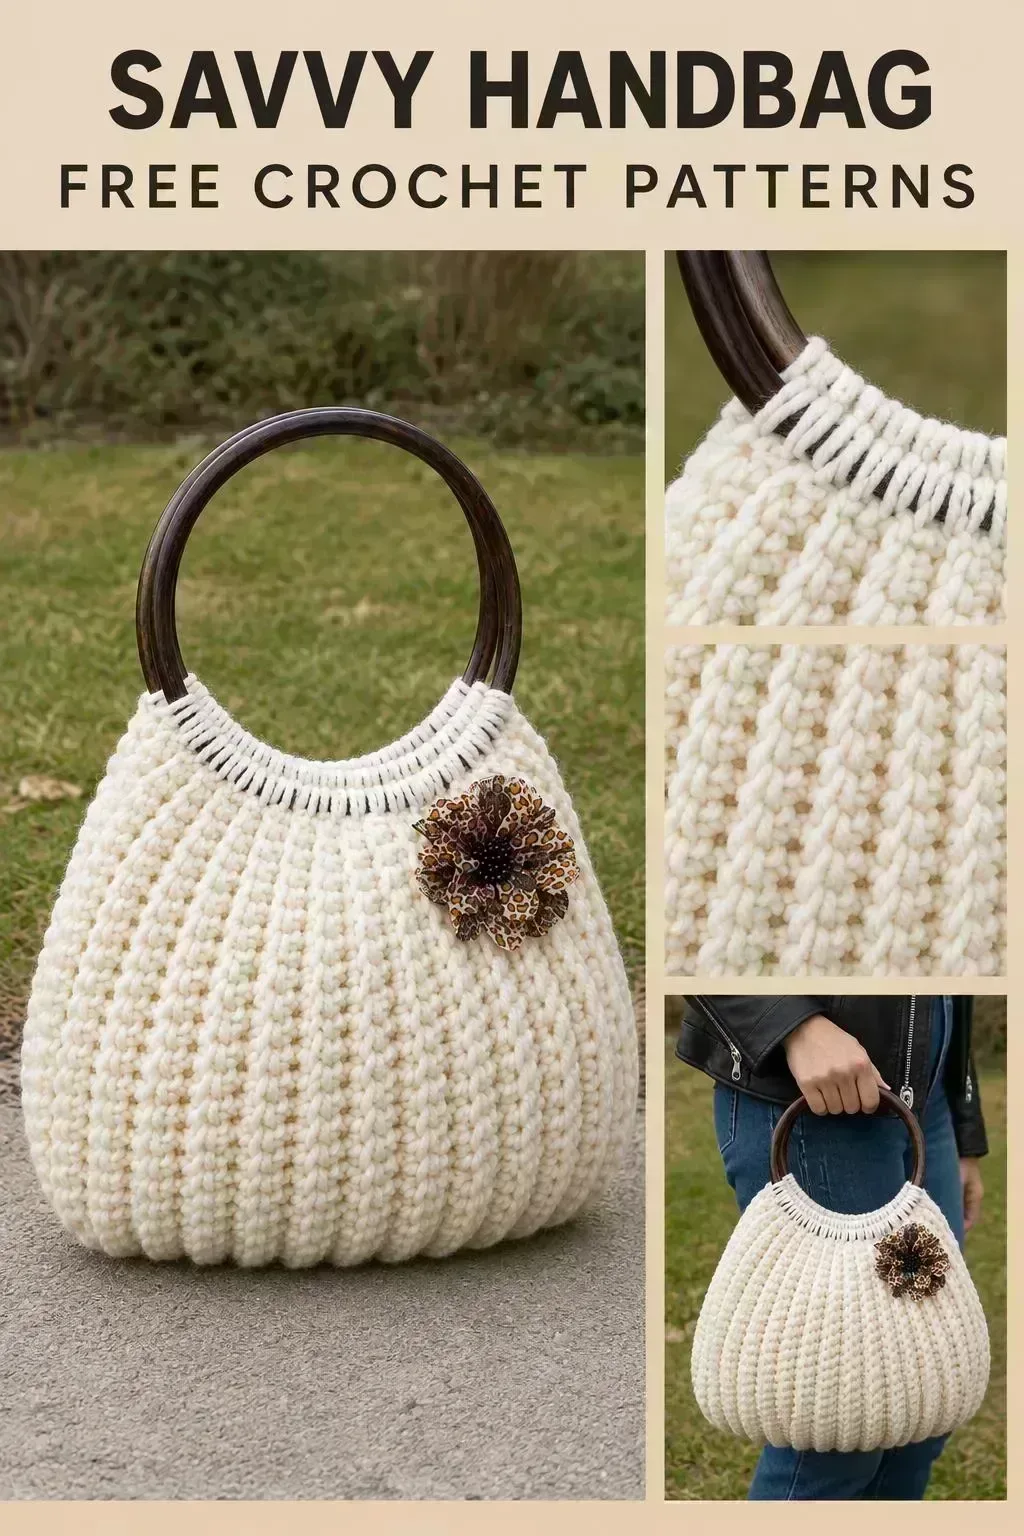
Welcome! Today we’re making a Crochet Savvy Handbag, a roomy and elegant bag with a classic ribbed look and a sturdy wooden ring handle.
What makes this bag special is its soft, textured body. Vertical rows of ribbing give it a rounded shape that holds its form beautifully, and the cream-colored finish goes with almost anything in your wardrobe.
This project suits crocheters who enjoy steady, repetitive work and want a handbag they will reach for all year. Carry it to work, to brunch or on a weekend errand, and it will look polished with a jacket or a simple dress. The full step-by-step tutorial is in the video, and this page is here to help you prepare and crochet with confidence.
In this post
Skill Level
Intermediate. The ribbed texture and the shaped body take some attention, but the stitches themselves repeat in a predictable way once you find your rhythm.
Savvy Handbag Related Posts:
- Crochet Bow Keychain: A Charming and Versatile Accessory
- Crochet Basic Stitch Fabric: A Simple and Versatile Foundation
- Crochet Bucket Hat: A Trendy and Cozy Accessory
- Crochet Mesh Bag: A Chic and Versatile Handmade Essential
Materials
- Yarn: a medium weight (worsted or Aran) acrylic or wool blend. It gives the bag enough structure to keep its shape while staying soft in the hand.
- Hook: a hook size suited to your yarn, usually around 5 mm to 6 mm for a firm, even fabric.
- Scissors and a yarn or tapestry needle for weaving in ends and joining pieces.
- Wooden ring handles: a pair of round wooden or sturdy ring handles, which give the bag its signature look.
- Optional: a fabric or yarn flower for a decorative accent on the front, as shown in the project.
Stitches and Abbreviations
- sc: single crochet. Insert the hook, yarn over, pull up a loop, then yarn over and pull through both loops.
- dc: double crochet. Yarn over, insert the hook, pull up a loop, then work off two loops twice.
- sl st: slip stitch. Insert the hook, yarn over, and pull through both the stitch and the loop on your hook. Useful for neat joins.
- ch: chain. A series of loops worked by yarn over and pulling through.
Pattern Notes
- US terms are used throughout, so check that your stitch names match the tutorial.
- The vertical ribbing gives the bag its shape, so keep your tension even from row to row.
- Try a hook one size up or down if your fabric feels too stiff or too loose.
- Edges may look a little uneven before finishing, and this is normal.
How It’s Made
- Start the base, working in rounds to create a sturdy bottom for the bag.
- Build up the body, working the ribbed texture upward until the sides reach the desired height.
- Shape the opening, adjusting the stitches so the top edge sits neatly around the handles.
- Attach the handles, securing the wooden rings evenly on both sides.
- Add the edging, finishing the top edge so it lies flat and holds the handles firmly.
- Add decorative touches, such as the flower accent placed on the front.
- Finish with weaving in all ends for a clean interior and exterior.
For the exact rounds and stitch placement, follow along with the video tutorial.
Assembly and Finishing Tips
Weave in your ends as you go, so the inside of the bag stays tidy and nothing unravels later. Work your joins with a slip stitch and check that they sit flat along the seam. When attaching the handles, space your stitches evenly so the bag hangs straight. Lightly block the finished bag to relax the ribbing and even out the shape.
Make It Yours
Try a bold color like deep navy or rust for a striking everyday bag. Change the size by working a few more or fewer rows to make a larger tote or a smaller clutch. Swap the flower for a leather tag, a button or a small charm to suit your style. This bag also makes a thoughtful handmade gift for a friend who loves classic accessories.
Share your finished Crochet Savvy Handbag with us, and we would love to see how you make it your own. Happy crocheting!
Tutorial and photos of this savvy handbag by: naztazia.