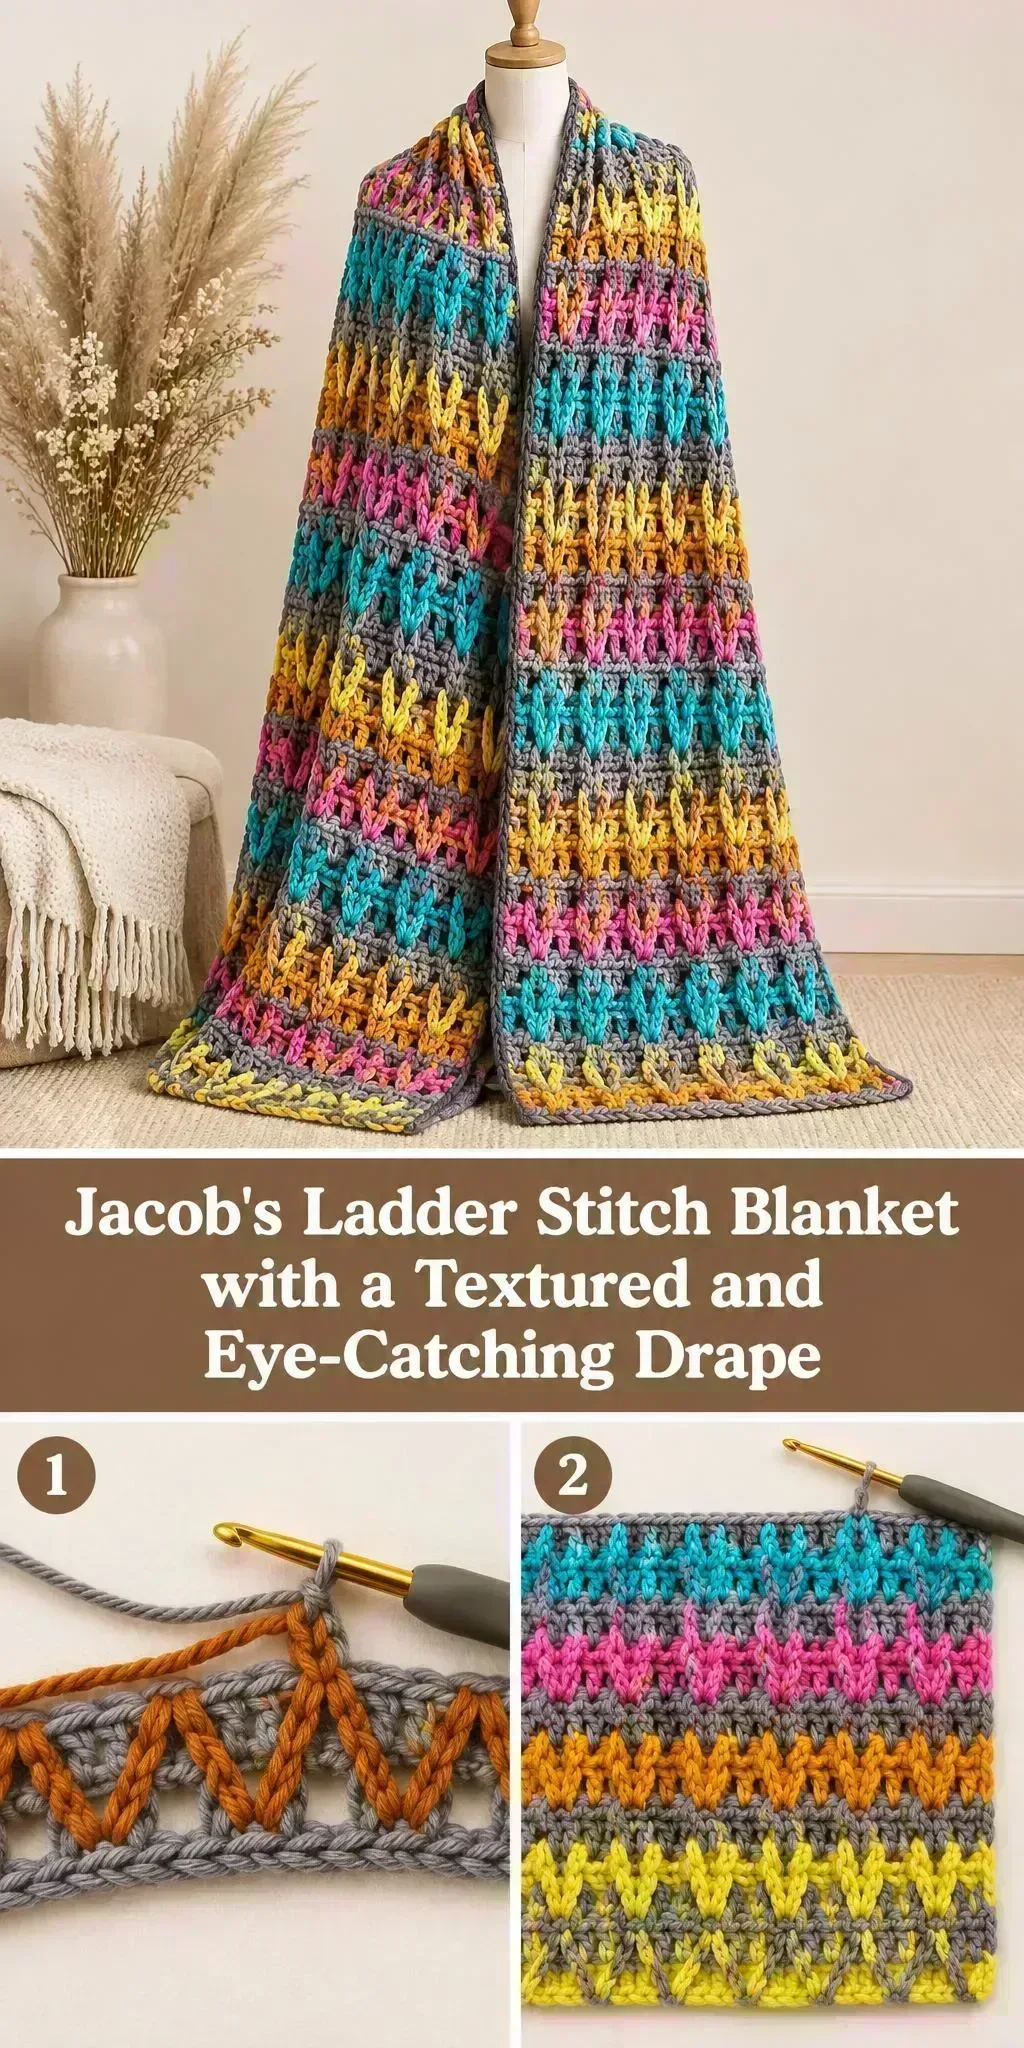
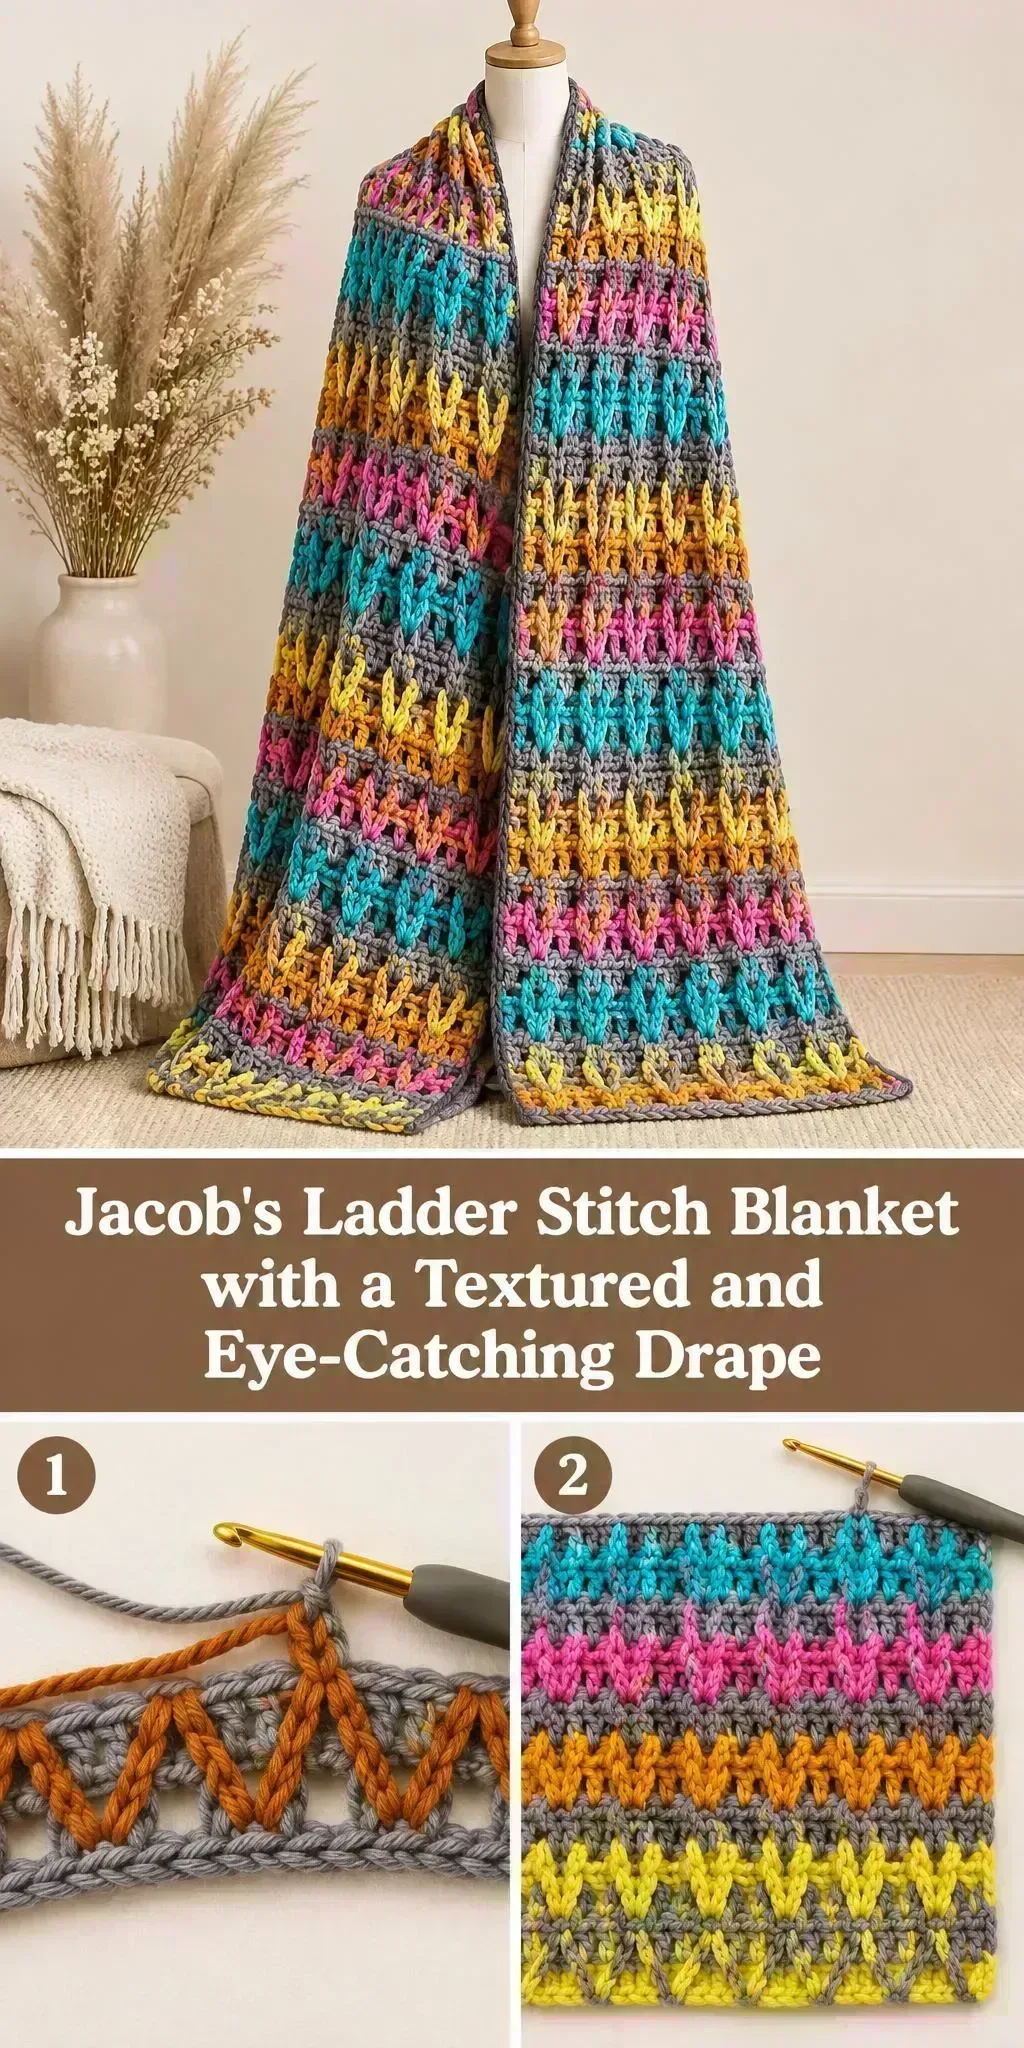
Welcome! Today we’re making a Crochet Jacob’s Ladder Stitch Blanket, and it’s one of those projects that looks far more complicated than it really is.
What makes this blanket special is the raised, ladder-like texture that runs up through the fabric. Thin vertical lines of stitches stand out against the flatter background, and the bold color stripes give it a cheerful, handmade feel that suits almost any room.
It’s a wonderful choice for cozy evenings on the couch or for a gift that someone will use every day. The full step-by-step tutorial is in the video, and this page gives you the practical details to help you prepare and crochet with confidence.
In this post
Skill Level
Intermediate. The texture comes from working stitches into specific spots and changing colors often, which takes a bit of attention, but the repeating pattern becomes easy to follow once you settle in.
Stitch Blanket Related Posts:
- Crochet Phone Pouch Case: A Cozy and Practical Accessory
- Crochet Knit Beanie: A Cozy and Timeless Winter Essential
- Crochet Flower Bouquet Coaster: A Charming and Handmade Accent
- Crochet Basic Stitch Fabric: A Simple and Versatile Foundation
Materials
- Yarn: A medium weight (category 4) acrylic or acrylic blend works well here. It has good stitch definition, washes easily, and holds the raised texture nicely. Choose 5 or more colors that contrast with each other for the best effect.
- Hook: A hook size that suits your chosen yarn, typically around 5 mm (H-8) for medium weight yarn. Adjust if your stitches feel too tight or too loose.
- Scissors and a yarn or tapestry needle for weaving in ends and finishing.
- Stitch markers to keep track of your starting points and the ladder columns as you work.
Stitches and Abbreviations
- sc: single crochet. Insert hook, yarn over, pull up a loop, then yarn over and pull through both loops on the hook.
- dc: double crochet. Yarn over, insert hook, pull up a loop, then work off two loops twice.
- ch: chain. Yarn over and pull through the loop on your hook to make a foundation or turning chain.
- sl st: slip stitch. Insert hook, yarn over, and pull through both the stitch and the loop on your hook.
- FPdc: front post double crochet. Work a double crochet around the post of the stitch below, from the front, to create the raised ladder effect.
- BPdc: back post double crochet. Work a double crochet around the post of the stitch below, from the back, to keep the textured columns flat on the other side.
Pattern Notes
- US crochet terms are used throughout, so check your abbreviations before you begin.
- Keep your tension even, since the raised texture shows every variation in stitch height.
- Changing colors cleanly at the end of each stripe helps the ladder lines stand out crisply.
- The edges may look a little uneven before blocking, and that is completely normal.
- You can make the blanket larger or smaller by adding or removing repeats of the pattern, as long as you keep the stripe balance even.
How It’s Made
- Work a foundation row to set the width of the blanket.
- Build the base fabric in simple stitches, changing colors to form the stripes.
- Add the raised ladder columns by working post stitches around the stitches below.
- Carry the color changes up through each stripe, keeping the ladder lines in place.
- Repeat the pattern until the blanket reaches your desired length.
- Finish with a border that frames the textured stripes neatly.
- Weave in all your ends for a clean, polished result.
Watch the video tutorial for the exact rounds and the order of the stripe and ladder sections.
Assembly and Finishing Tips
Weave in your ends as you go, rather than leaving them all until the end. This keeps the blanket neat and saves time at the finish.
Block your finished blanket gently by dampening it and pinning it flat to dry. This evens out the edges and opens up the ladder texture.
Keep an eye on your edges as you work, since they’re the first thing people notice. Counting your stitches at the end of each row helps keep them straight.
When changing colors, pull the new yarn through securely so the stripes stay tidy along the sides.
Make It Yours
Try a soft neutral palette of cream, oatmeal and grey for a calm, modern look that suits any bedroom.
Go bold with bright rainbow stripes for a playful baby or child’s blanket.
Make a smaller version to use as a lap throw, a car blanket, or a cozy cushion cover.
A blanket like this makes a lovely housewarming or baby shower gift, especially when paired with a note about the colors you chose.
Happy crocheting! I’d love for you to share your finished Crochet Jacob’s Ladder Stitch Blanket once it’s done.
Follow us on Pinterest and subscribe to the Newsletter so you don’t miss a thing!
Tutorial and photos of this jacob’s ladder stitch blanket by: naztazia.