Welcome! Today we’re looking at a handy crochet increase stitches guide that every maker should keep close by.
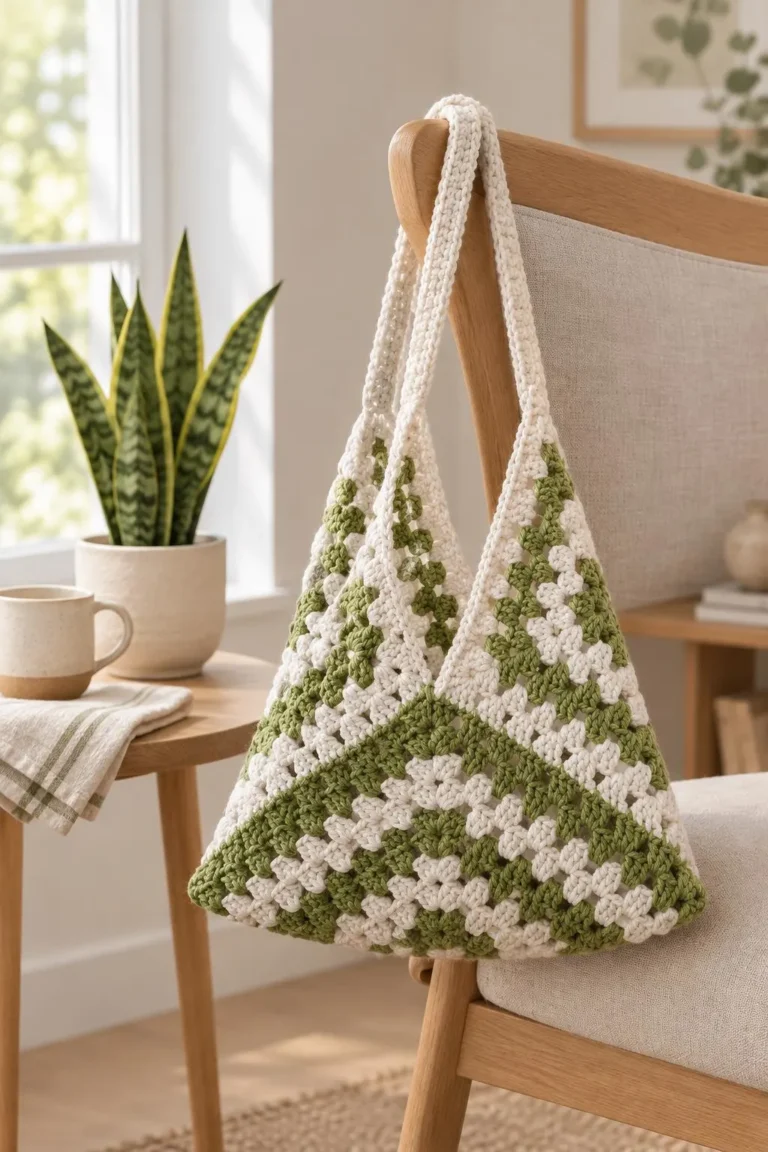
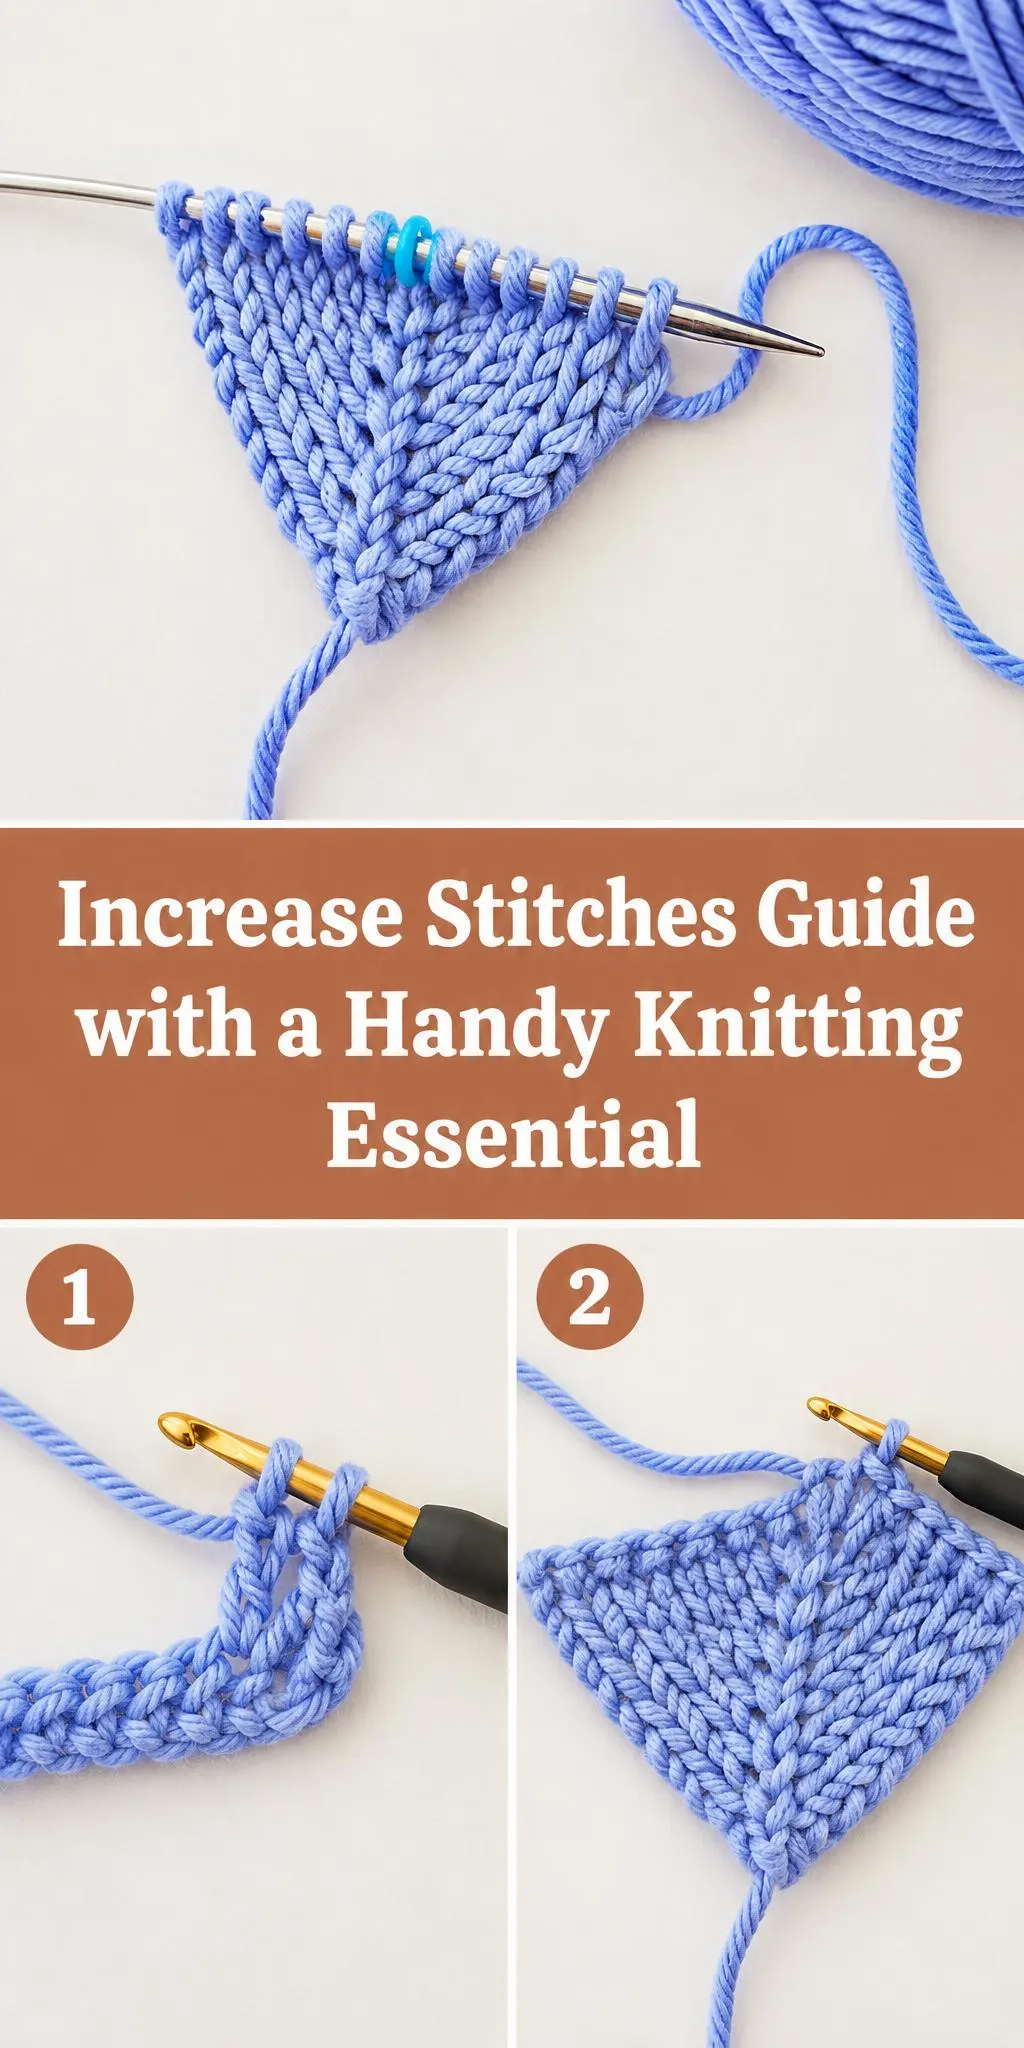
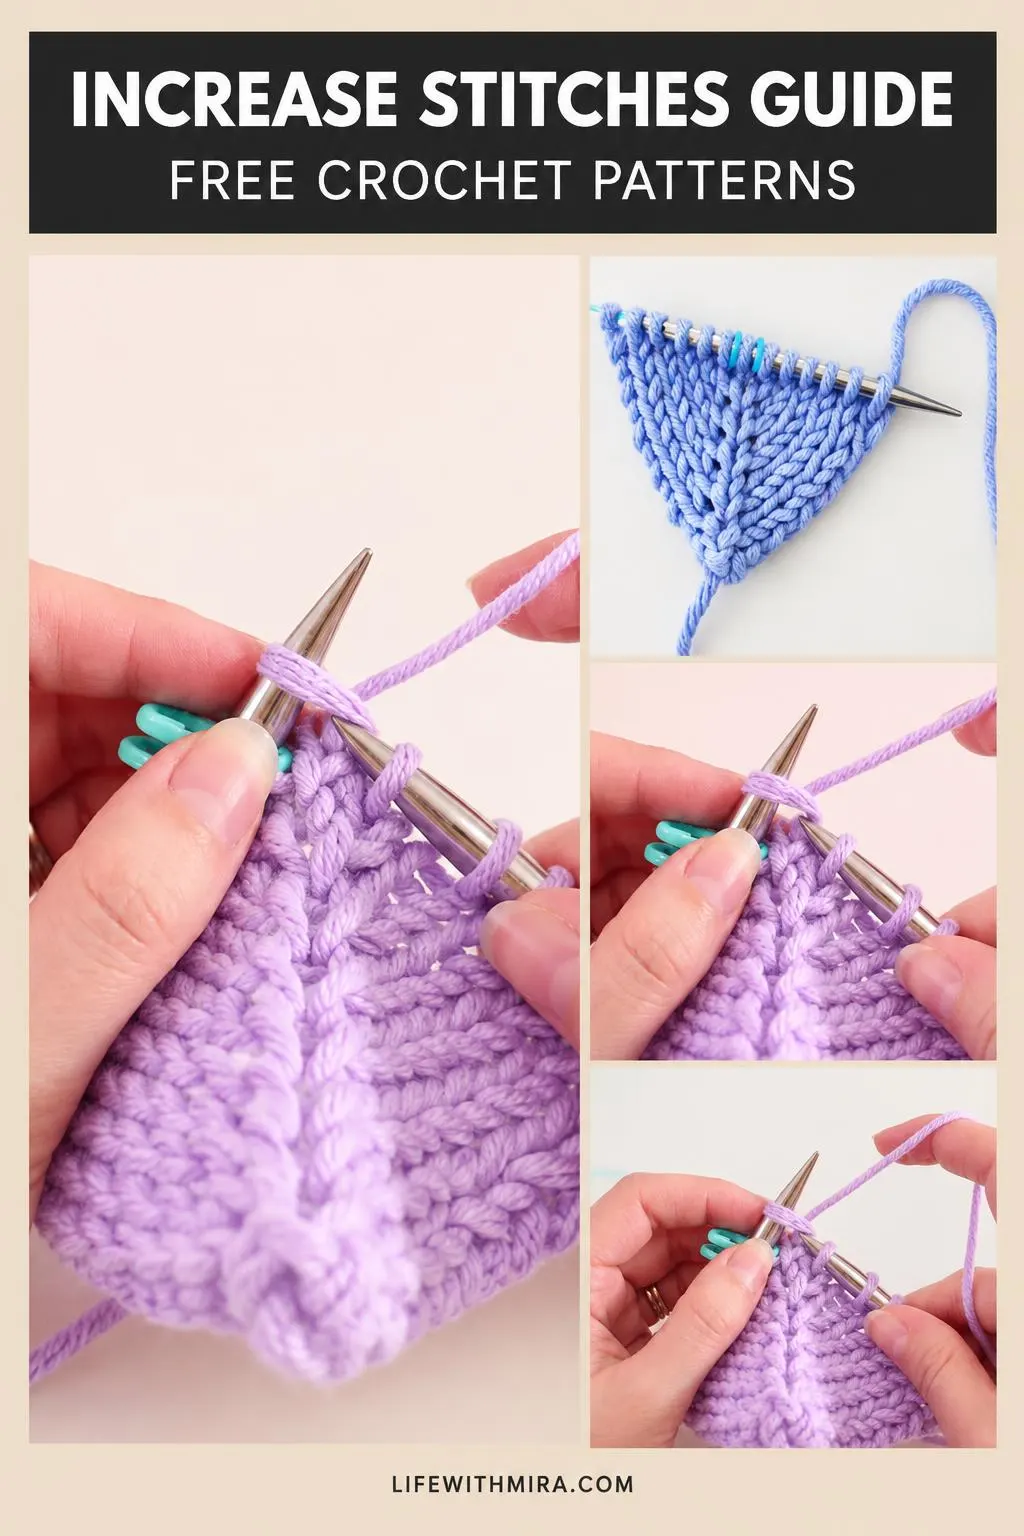
Increases are the quiet heroes of crochet. They help your piece grow wider, shape a corner, or turn a flat motif into something with real dimension. This item shows how a simple idea, adding stitches in the right places, can build a lovely triangular form with a neat, textured edge.
It’s a great project for anyone who has been curious about shaping but not sure where to start. You’ll find the full step-by-step tutorial in the video, and this page is here to help you prepare, understand the stitches, and finish with confidence.
In this post
Skill Level
Intermediate. The shaping depends on placing increases accurately, and keeping track of them takes a little practice, though the individual stitches are simple.
Stitches Guide Related Posts:
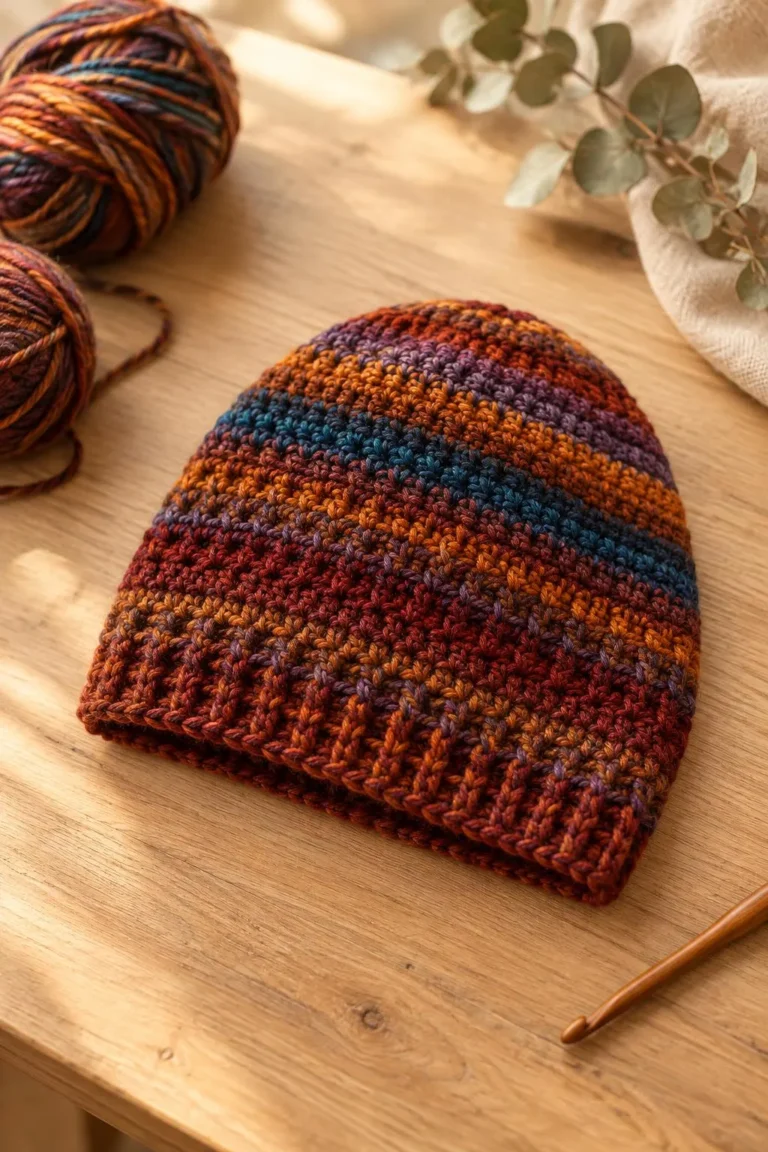
- Crochet Ribbed Beanie: A Cozy and Stylish Winter Essential
- Crochet Shrug Cardigan: A Cozy and Trendy Handmade Staple
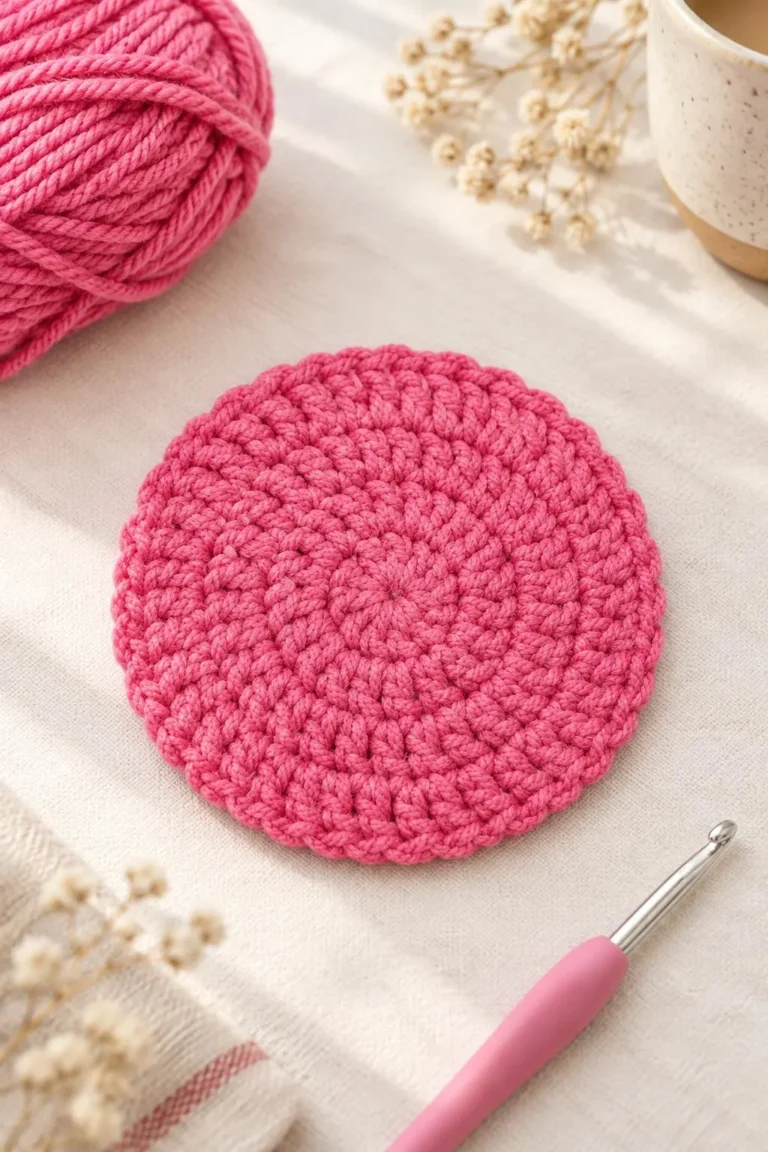
- Crochet Rainbow Stitch Coaster: A Bright and Cheerful Handmade Essential
- Crochet Halter Top: A Stylish Handmade Staple
Materials
- Yarn: a medium weight (category 4) yarn works beautifully here. It has enough body to show the increase lines clearly and holds its shape well.
- Hook: the hook size usually suggested on your yarn label is a good starting point. Go up or down a size if your fabric feels too tight or too loose.
- Scissors and a yarn or tapestry needle for weaving in ends.
- Stitch markers: very helpful for marking the increase points so you can spot them at a glance.
Stitches and Abbreviations
- ch: chain. Yarn over and pull through the loop on your hook to make a foundation stitch.
- sc: single crochet. Insert the hook, yarn over, pull up a loop, then yarn over and pull through both loops.
- dc: double crochet. Yarn over, insert the hook, pull up a loop, then work off two loops twice.
- inc: increase. Work two stitches into the same stitch to widen the fabric at that point.
- sl st: slip stitch. Insert the hook, yarn over, and pull through both the stitch and the loop on your hook, used for joining and finishing.
Pattern Notes
- US terms are used throughout, so check that your abbreviations match the video before you begin.
- Place a stitch marker at each increase point so the shaping stays easy to follow.
- Your tension may differ from the creator’s, so a quick test swatch is always a good idea.
- Edges can look a little wavy or uneven before blocking, and that is completely normal.
How It’s Made
- Start with a foundation chain, which sets the width of the first row.
- Work the first rows of stitches, keeping an even tension across the piece.
- Add increases at the marked points, which gradually builds the triangular shape.
- Continue working rows until the shaping is complete and the piece reaches the size you want.
- Finish the edges with a simple border, which tidies the outline and adds a polished look.
- Weave in your ends and give the piece a gentle block to set the shape.
You’ll find the exact rows and stitch placements in the video tutorial.
Assembly and Finishing Tips
Weave in your ends as you go whenever possible. It saves time and keeps the back of your work neat.
Blocking makes a real difference here. A light steam or a soak followed by gentle pinning will help the increase lines lie flat and the edges straighten out.
If you’re joining pieces, use a slip stitch or whip stitch and keep your seam tension close to the fabric’s own tension so nothing puckers.
Count your stitches now and then, especially after increase rows. It’s an easy way to catch small mistakes early.
Make It Yours
Try a color-changing scheme, working each new section in a different shade for a striking effect.
Make it bigger or smaller by changing your hook size or the number of repeats, then check your gauge with a swatch first.
Experiment with a different edging, such as a picot or shell border, to give your finished piece its own personality.
Turn your finished pieces into gifts, like a cozy coaster set, a bunting, or a little bag accent for a friend.
Happy crocheting! I’d love to see what you make, so share your finished project and show off your shaping skills.
Follow us on Pinterest and subscribe to the Newsletter so you don’t miss a thing!
Tutorial and photos of this increase stitches guide by: B.Hooked Crochet.