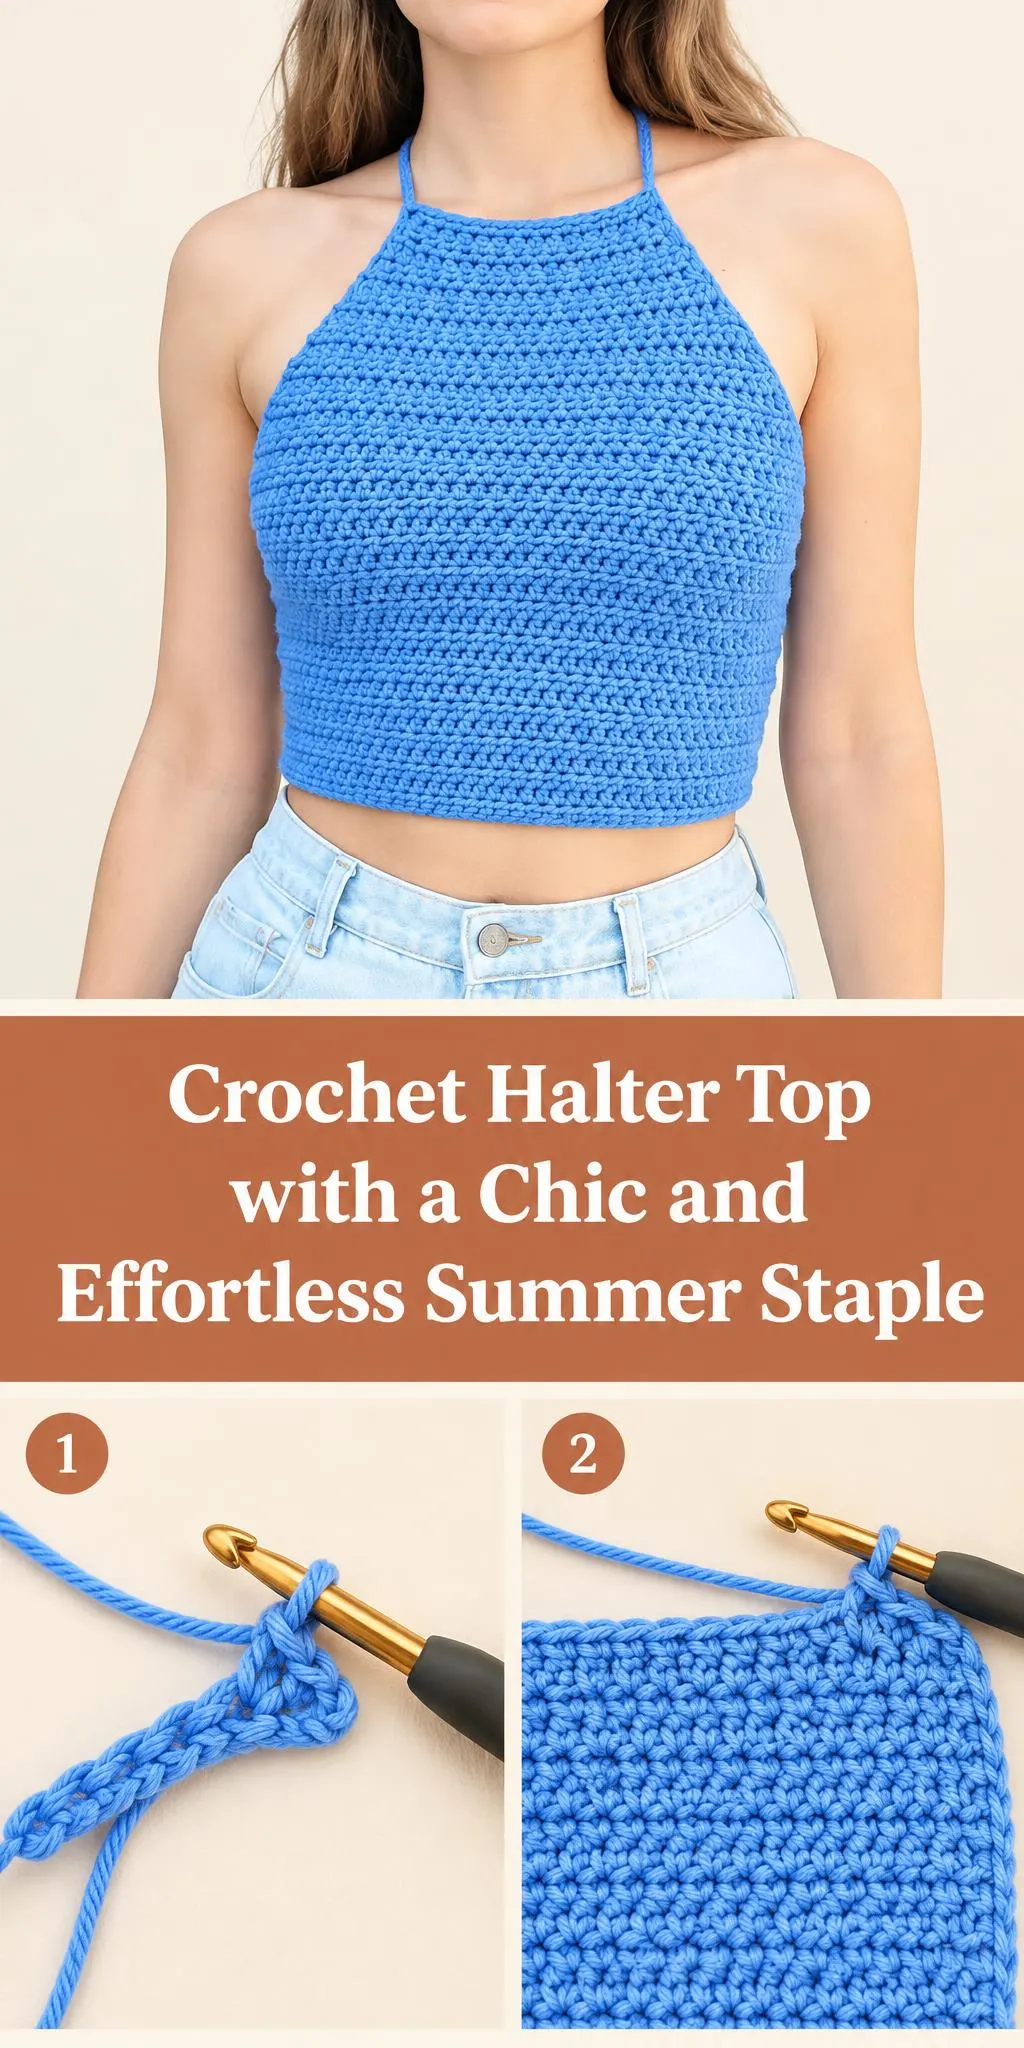
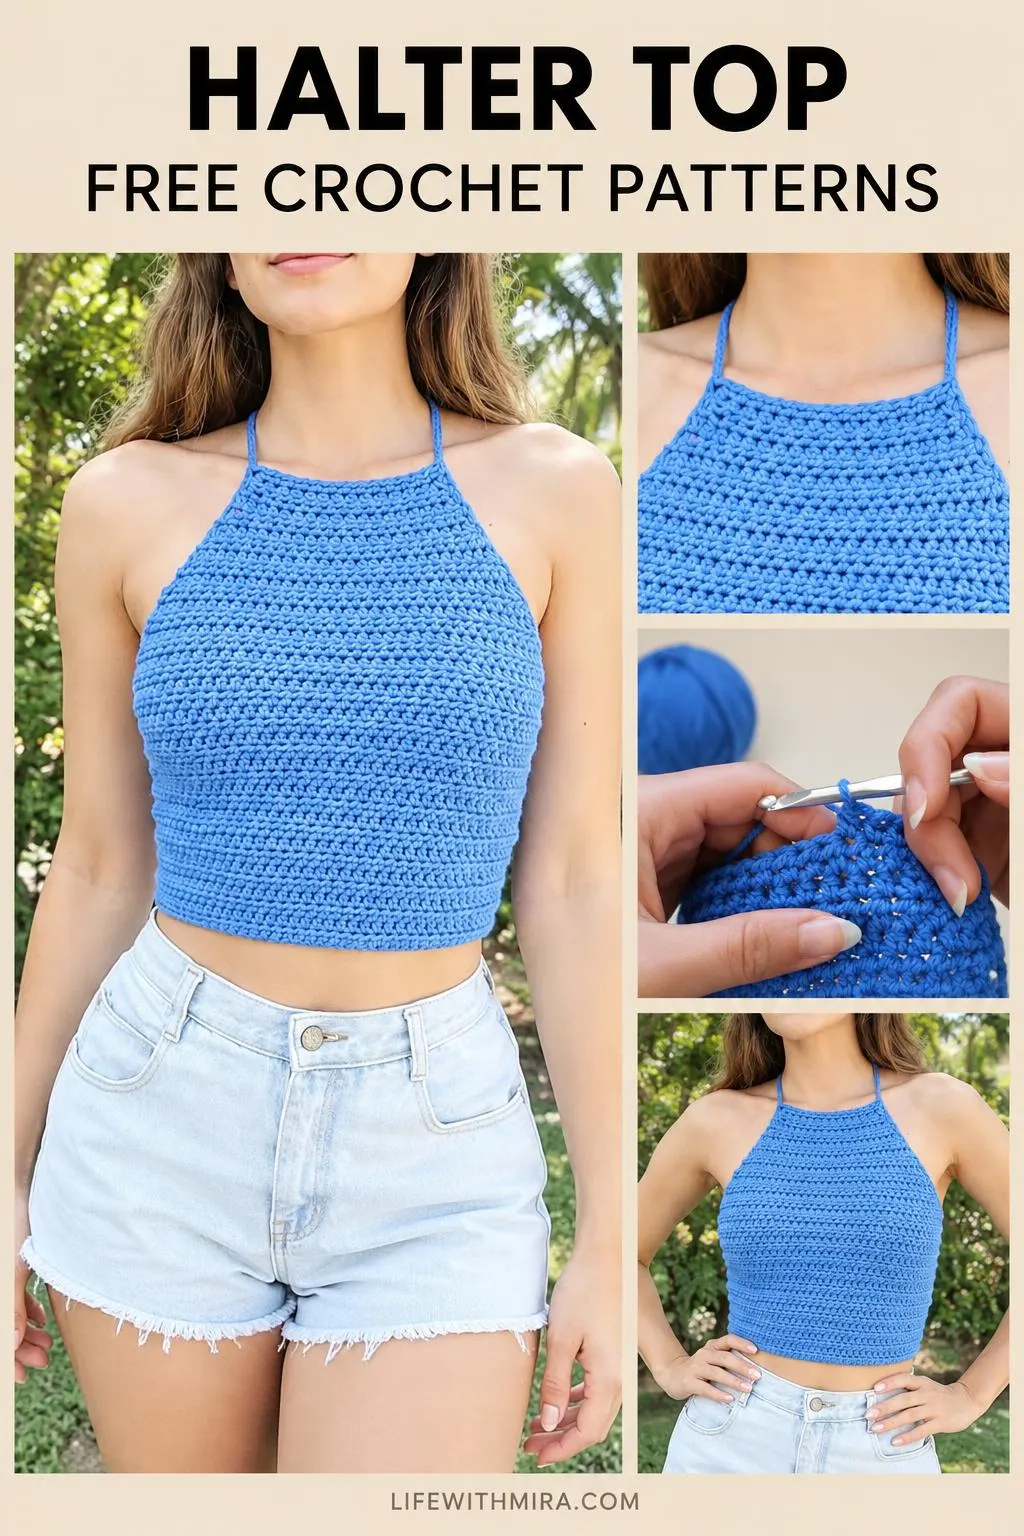
Welcome! Today we’re looking at a Crochet Halter Top, a sweet little summer piece that is simple to wear and fun to make.
Think of this top as the easy go-to for warm days. The fitted crop shape sits nicely over high-waisted shorts or a flowy skirt, and the halter neckline with its thin ties keeps the look light and breezy. The bright cornflower blue gives it a fresh, sunny feel that works with almost anything in your wardrobe.
This is a great project if you already know the basics and want something wearable that doesn’t take forever to finish. The full step-by-step tutorial is in the video, and this page is here to help you prepare, understand the stitches, and crochet with confidence.
In this post
Skill Level
Intermediate. The body is worked in dense, evenly textured rows that need steady tension, and the shaping and neck ties add a little extra attention to construction.
Halter Top Related Posts:
- Crochet Bow Keychain: A Charming and Versatile Accessory
- Crochet Tunisian Striped Blanket: A Cozy and Timeless Handmade Piece
- Crochet Heart Granny Square Book Cover: A Cozy and Adorable Handmade Accessory
- Crochet Heart Cushion: A Cozy and Charming Room Accent
Materials
- Yarn: a medium weight (category 4) cotton or cotton blend works well here. It gives the top structure and holds its shape when worn, and the matte finish suits the textured stitch.
- Hook: a 4 mm to 5 mm hook is a typical choice for medium-weight yarn. Try a swatch first, since your tension will affect the fit.
- Scissors and a yarn or tapestry needle for weaving in ends and finishing the ties.
- Stitch markers, helpful for keeping track of your shaping and the placement of the neck ties.
Stitches and Abbreviations
- sc: single crochet. Insert the hook, yarn over, pull up a loop, then yarn over and pull through both loops on the hook. This creates the tight, sturdy fabric of the body.
- dc: double crochet. Yarn over, insert the hook, pull up a loop, then work off two loops twice. Used for lacy or taller sections of the top.
- ch: chain. Yarn over and pull through the loop on your hook to create a foundation or a tie.
- sl st: slip stitch. Insert the hook, yarn over, and pull through both the stitch and the loop on your hook. Ideal for joining rounds and finishing edges.
Pattern Notes
- US terms are used throughout.
- The top is worked to fit close to the body, so check your gauge against the size you plan to make.
- The neck ties can be made longer or shorter to suit your preference for tying them.
- Edges may look a little uneven before blocking, and that is completely normal.
- Take a moment to try the top on as you go, especially around the armholes and under the bust.
How It’s Made
- Start from the base: you begin with a foundation that sets the width of the top.
- Work the body: you crochet upward in rounds, building the fitted shape.
- Shape the neckline: you gradually shape the front so the halter curve forms.
- Make the neck ties: long straps are worked and attached at the top corners of the neckline.
- Finish the edges: a neat border gives the top a clean, polished look.
For the exact rounds and stitch counts, watch the video tutorial.
Assembly and Finishing Tips
Weave in your ends as you go rather than leaving them all until the end. It keeps the top tidy and saves time.
Block your finished piece gently. Stretching it lightly into shape helps the rows even out and the fit settle.
Make the neck ties strong by working them with a tight, even tension and securing each end well. They take a lot of pull when tied.
Keep the side edges straight by checking your work every few rounds against a flat surface.
Make It Yours
Try a soft pastel or a warm neutral like cream or sage for a different summer mood.
Adjust the length of the body for a cropped look or a slightly longer, relaxed fit.
Change the edging with a contrast color or a simple picot border for a bit of extra detail.
Make a matching set in a second color as a thoughtful gift for a friend.
Happy crocheting! Once your top is finished, we’d love to see what you made, so share your project and enjoy wearing it all summer long.
Follow us on Pinterest and subscribe to the Newsletter so you don’t miss a thing!
Tutorial and photos of this halter top by: Krystal Everdeen.