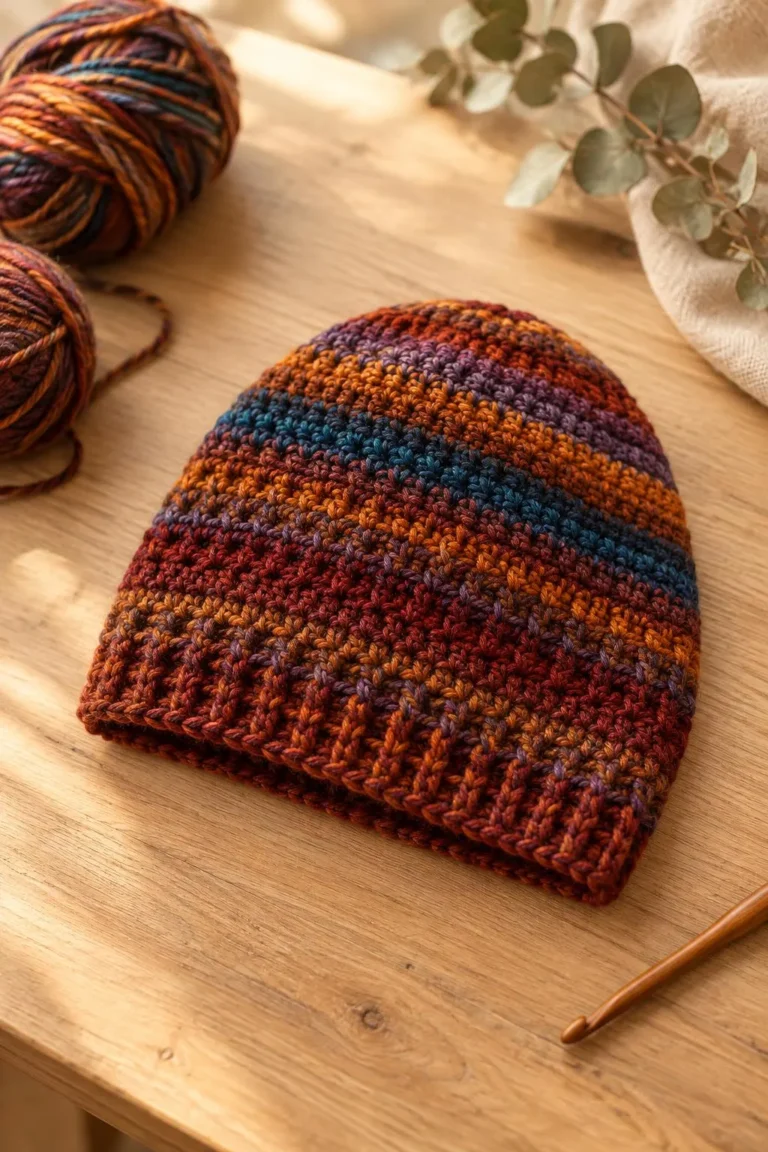
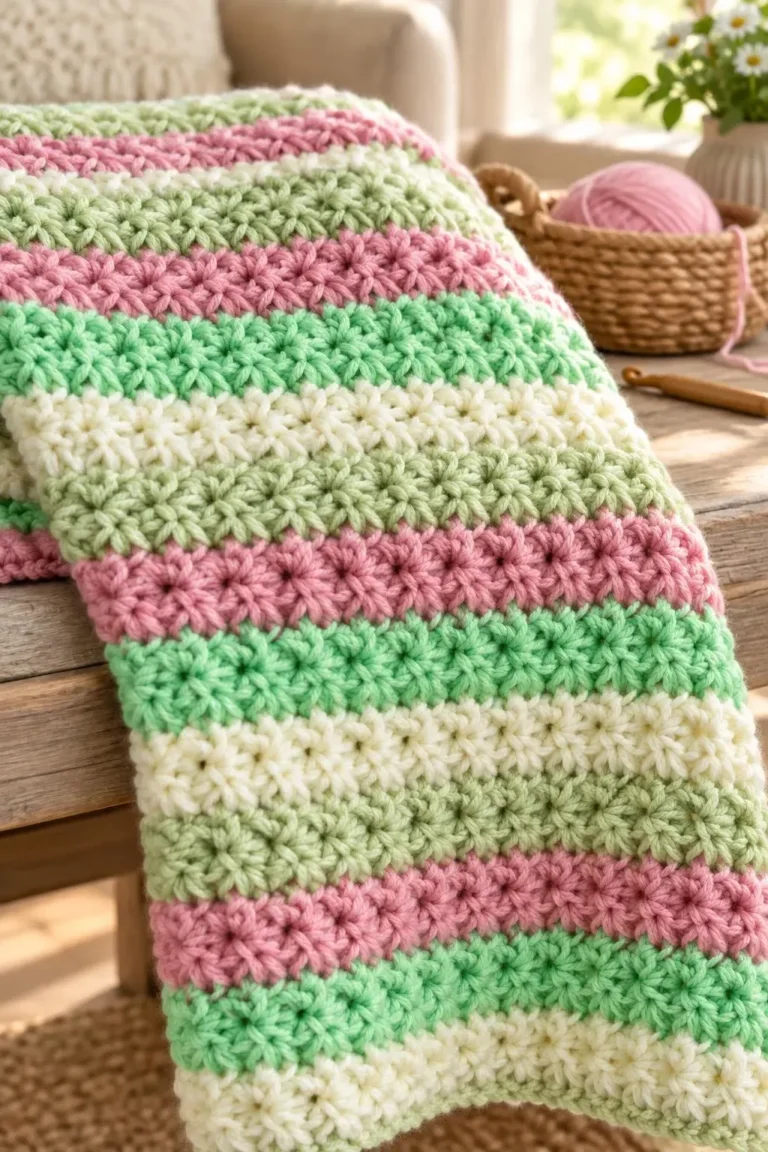
Welcome to the world of crochet! Today we’re making a charming Crochet Blossom Flower that is small, sweet and ready for all sorts of projects.
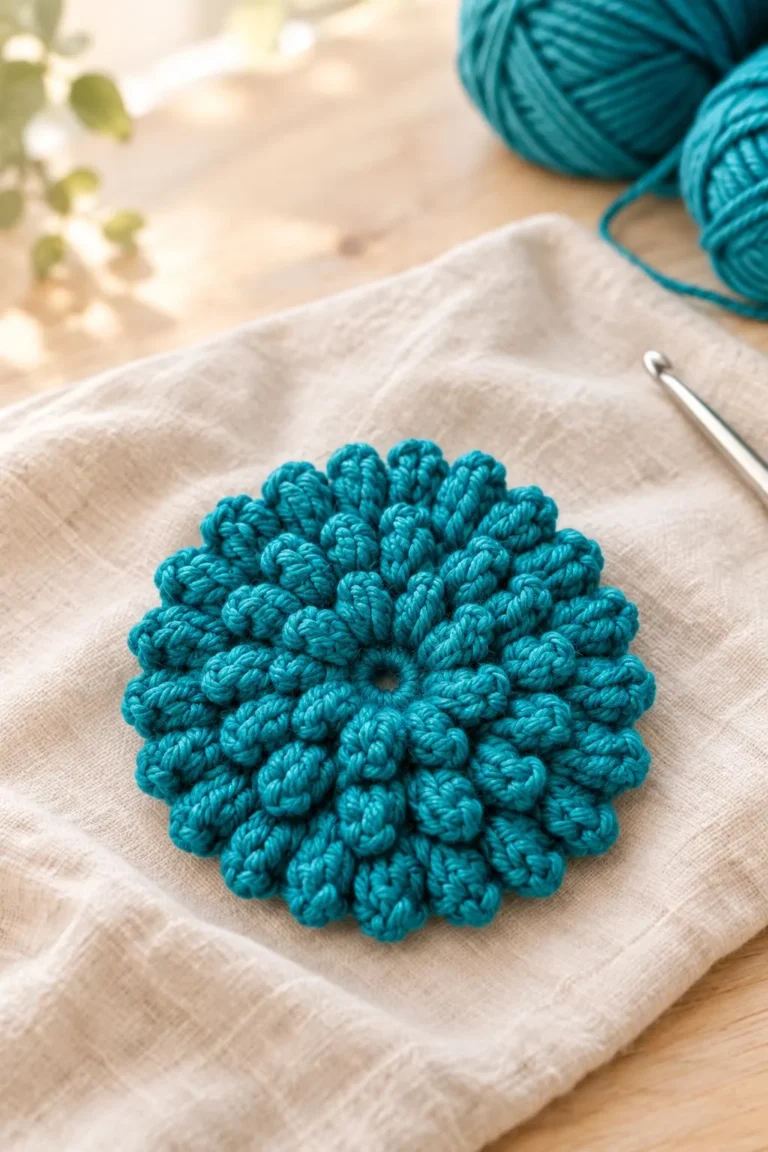
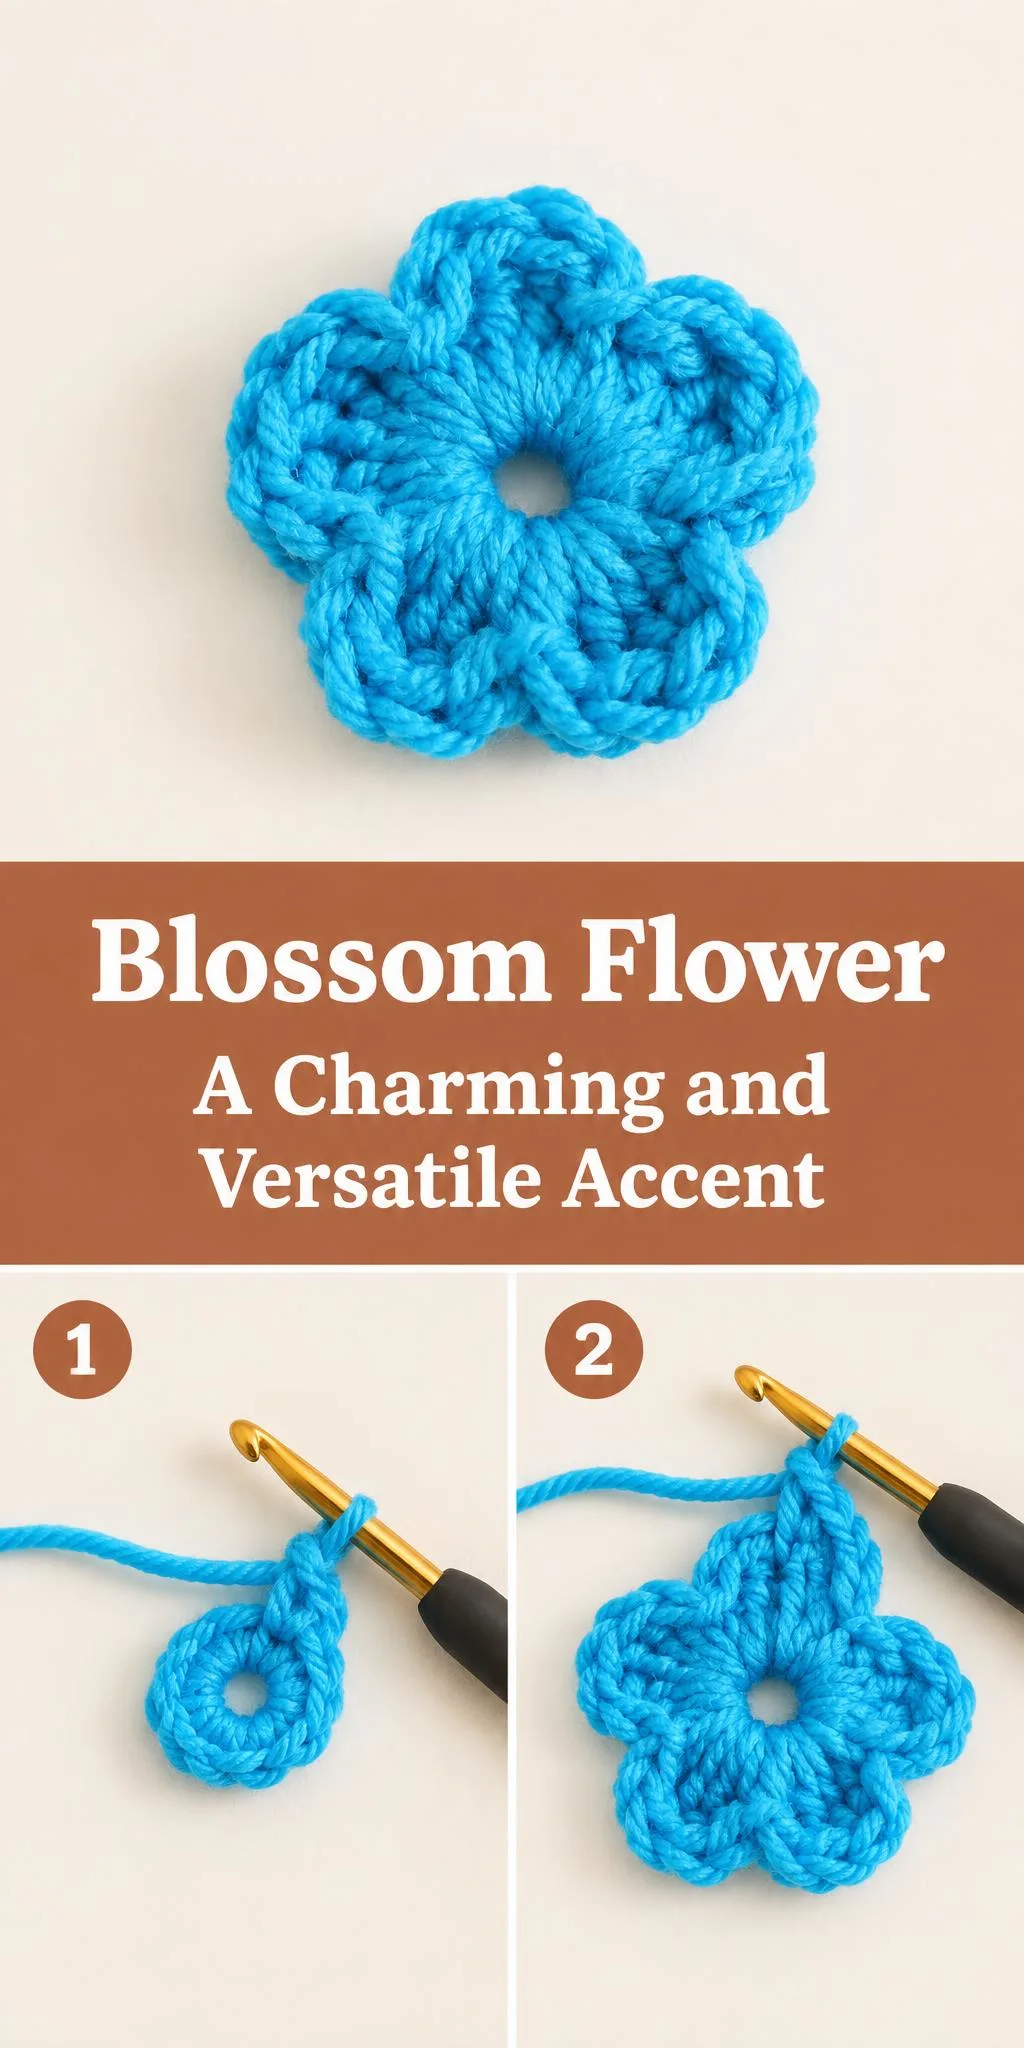
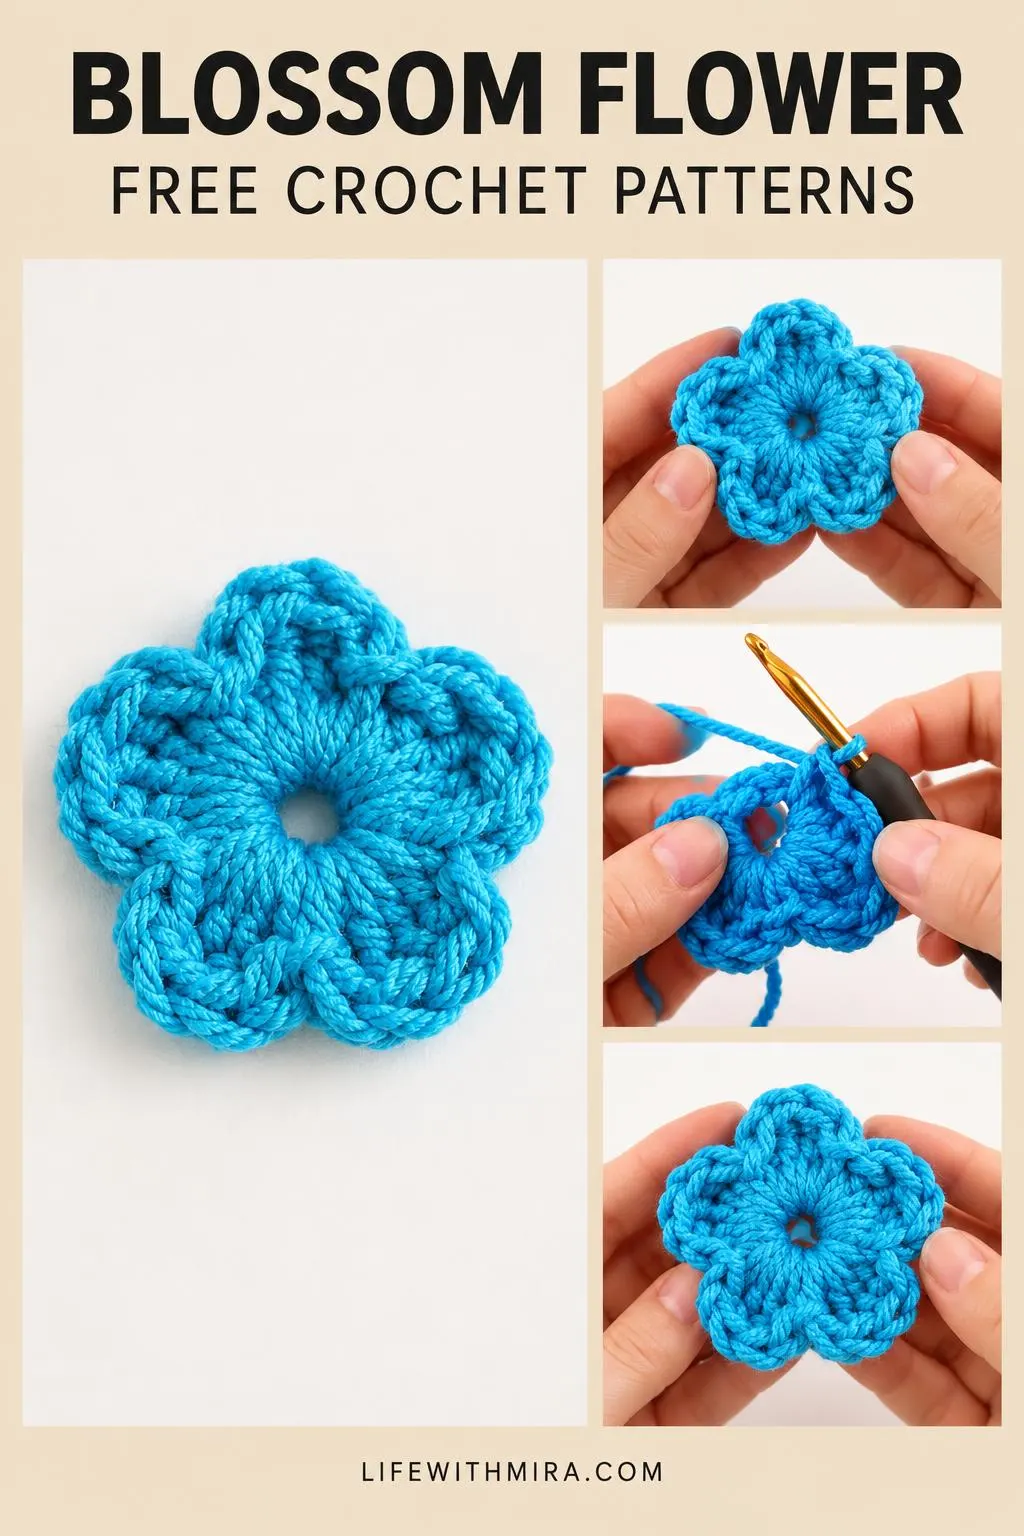
This little five-petaled bloom has a bright turquoise color and a neat round center. Each petal is soft and rounded, so the whole flower looks cheerful from every angle. It is a lovely way to spend an afternoon, and it makes a wonderful accent for hats, bags, or gifts.
I think this flower suits anyone who enjoys small, satisfying projects that finish quickly. It works up beautifully in one color, and you can sew it onto almost anything you make. The full step-by-step tutorial is in the video, and this page will help you prepare and finish your flower with confidence.
In this post
Skill Level
Beginner. The flower is worked in the round using basic stitches and simple increases, so it is a great first project for new crocheters.
Blossom Flower Related Posts:
- Crochet Ribbed Beanie: A Cozy and Stylish Winter Essential
- Crochet Pixel Grid Art: A Charming and Creative Handmade Project
- Crochet Round Motif: A Essential Foundation for Every Project
- Crochet Flat Circle: A Simple and Versatile Foundation
Materials
- Yarn: a light worsted or DK weight cotton or acrylic yarn works well. Choose a smooth yarn so the petal stitches stand out clearly.
- Hook: a 4 mm (G-6) hook is a typical choice for worsted weight yarn. Go up or down a size if your stitches feel too tight or too loose.
- Scissors, plus a yarn or tapestry needle for weaving in ends.
Stitches and Abbreviations
- ch: chain. Yarn over and pull through the loop on your hook to make a foundation stitch.
- sl st: slip stitch. Insert your hook, yarn over, and pull through both the stitch and the loop on your hook. It joins rounds neatly.
- sc: single crochet. Insert your hook, yarn over, pull up a loop, then yarn over and pull through both loops.
- dc: double crochet. Yarn over, insert your hook, pull up a loop, then work off two loops at a time until one loop remains.
Pattern Notes
- This page uses US crochet terms, so check your abbreviations before you start.
- Keep your tension relaxed. A slightly looser stitch makes petals softer and easier to shape.
- Petal edges may look a little uneven before finishing, and that is normal. A gentle press or light blocking tidies them up.
- Use a stitch marker to keep track of the first stitch of each round if you find it helpful.
How It’s Made
- Make a small magic ring or chain circle to form the center of the flower.
- Work the first round of stitches into the center to create a tidy base.
- Add the petals by working small clusters of stitches and then joining them with slip stitches.
- Finish the outer edge so each petal has a rounded, defined shape.
- Weave in your ends so the back of the flower stays neat.
For the exact rounds and stitch placement, follow along with the tutorial video.
Assembly and Finishing Tips
Weave in your yarn tails carefully on the back of the flower, going through several stitches in both directions so they stay secure.
Give the flower a light press with a warm iron or a gentle steam block. This helps the petals sit flat and look even.
If you plan to sew the flower onto a hat or bag, use a matching yarn and a tapestry needle. Stitch through the center and a couple of petal points to keep it firmly in place.
Make It Yours
- Try a mix of colors, such as a pale pink center with a bright yellow flower for a cheerful look.
- Work the flower in a thicker yarn for a bolder, chunkier accent on a scarf or blanket.
- Stitch a button into the center for a playful, finished detail.
- Make a small bunch of Crochet Blossom Flowers and attach them to a hair clip or a gift tag for a sweet handmade present.
Happy crocheting! I hope you enjoy making your flower, and I would love to see what you create once it’s finished.
Follow us on Pinterest and subscribe to the Newsletter so you don’t miss a thing!
Tutorial and photos of this blossom flower by: B.Hooked Crochet.