Welcome! Today we’re looking at a Crochet Ribbed Beanie, a warm hat that’s perfect for chilly days.
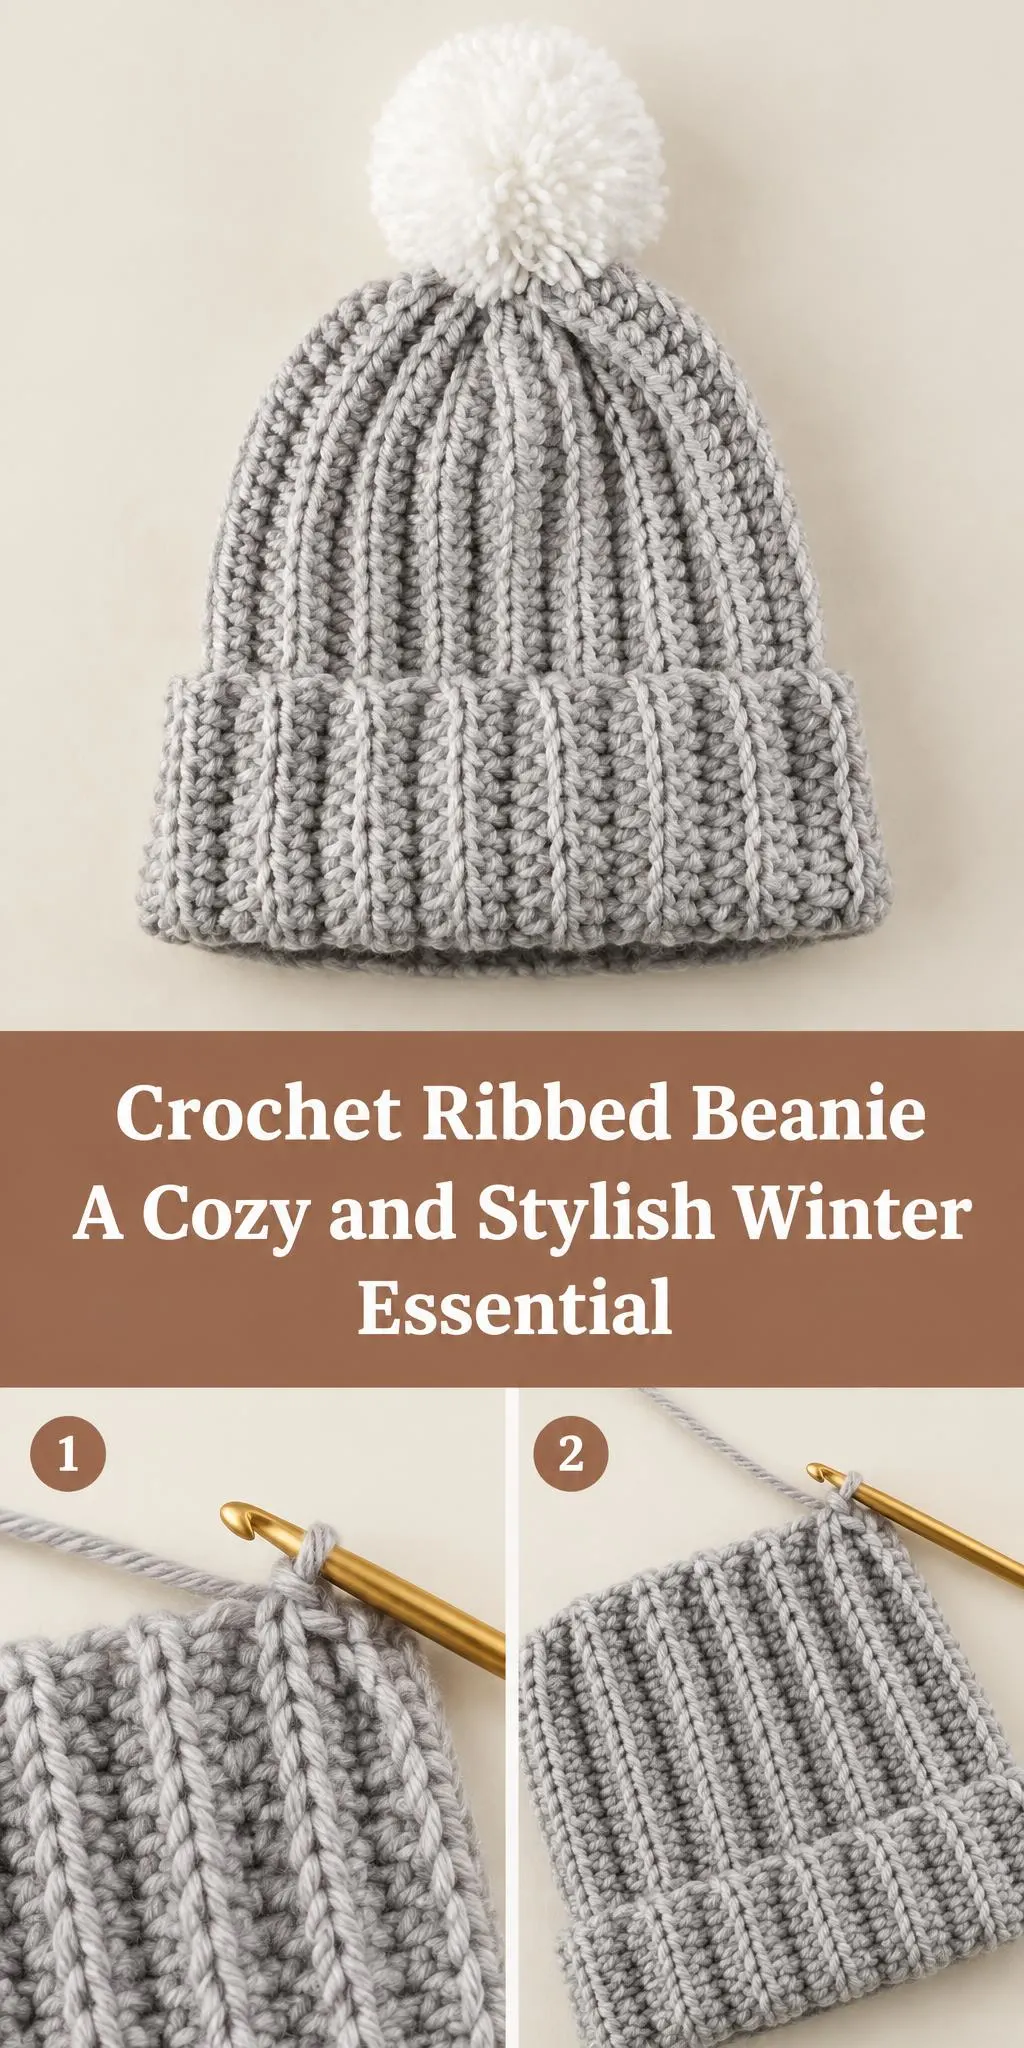
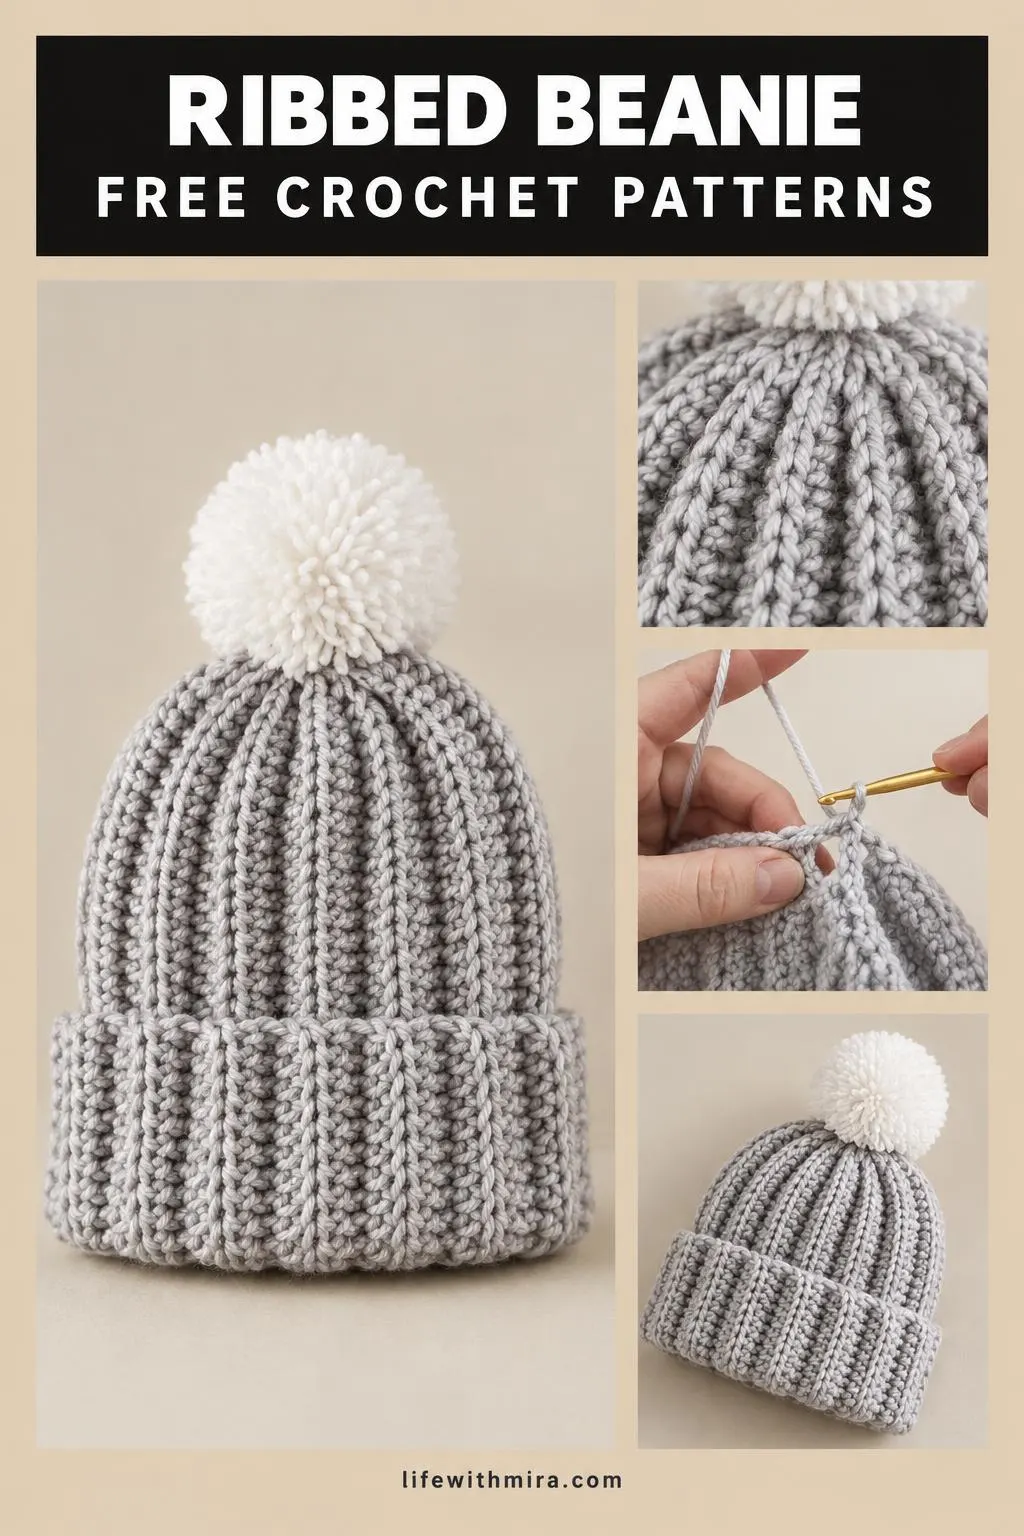
What makes this beanie special is its textured ribbed body, which stretches nicely and fits snugly over your head. The vertical ridges give it a classic knitted look while being made entirely with a hook.
This project suits anyone who wants a quick, cozy winter accessory. It’s a lovely choice for gifts, for keeping your own ears warm on the walk to work, or for a first hat project that feels rewarding from start to finish.
The full step-by-step tutorial is in the video, and this page is your friendly companion to help you prepare and crochet with confidence.
In this post
Skill Level
Easy. The beanie uses basic stitches worked in the back loops and into chain spaces, so it’s manageable for new crocheters who are comfortable with the basics.
Ribbed Beanie Related Posts:
- Crochet Phone Pouch Case: A Cozy and Practical Accessory
- Crochet Basic Stitch Fabric: A Simple and Versatile Foundation
- Crochet Ribbed Beanie: A Cozy and Stylish Winter Essential
- Crochet Flower Bouquet Coaster: A Charming and Handmade Accent
Materials
- Yarn: a worsted weight (category 4) acrylic or acrylic blend works well. It’s soft, warm, and washes easily. A light grey like the one shown gives the ribbing a crisp, clean look.
- Hook: a 5 mm (H-8) hook is a common choice for worsted weight yarn, though you may adjust it to match your gauge.
- Scissors and a yarn or tapestry needle for weaving in ends.
- A pom pom maker or cardboard for a fluffy topper. A contrasting white yarn makes a lovely accent.
Stitches and Abbreviations
- ch: chain. Yarn over and pull through the loop on your hook to make a foundation of loops.
- sl st: slip stitch. Insert your hook, yarn over, and pull through both the stitch and the loop on your hook.
- hdc: half double crochet. Yarn over, insert, pull up a loop, yarn over and pull through all three loops on your hook.
- blo: back loop only. Work into the back loop of the stitch only, which creates the ribbed ridges.
Pattern Notes
- US terms are used throughout, so double check if you are more familiar with UK stitch names.
- Work the ribbing with a consistent tension so the ridges stay even all the way around.
- To adjust the size, you can change your hook size or yarn weight, then check your work against your head before continuing.
- A gauge swatch helps you match the stretch and fit shown in the finished hat.
- Edges may look a little uneven before you finish them, and this is normal.
How It’s Made
- Make the foundation chain that forms the base of the hat.
- Work the first rounds in the back loops to start the ribbed texture.
- Continue working rounds, shaping the crown as you go so the hat fits neatly.
- Add the folded brim edge, which gives the beanie its cozy double layer at the bottom.
- Close the top of the crown neatly and weave in your ends.
- Attach your pom pom to finish the look.
You’ll find the exact rounds and stitch placement in the video tutorial.
Assembly and Finishing Tips
Weave in your ends carefully along the inside of the ribbing so they stay hidden and secure. Keep your tension even when working into the ridges, which keeps the stitches neat and the edges straight. Fasten your pom pom firmly with a strong yarn tail so it stays put through many wears. Gently wet block the finished hat, if you like, to even out the texture and help it hold its shape.
Make It Yours
Try a two-tone look by making the brim in a contrasting color, such as navy with a grey body. Make a smaller version for a toddler or a larger one for a relaxed fit by changing your hook size. Skip the pom pom for a sleek, minimalist beanie, or add a faux fur topper for extra softness. A handmade beanie makes a thoughtful gift for a friend or family member who loves winter walks.
Happy crocheting! Once your hat is finished, we would love to see your project, so share it with us.
Follow us on Pinterest and subscribe to the Newsletter so you don’t miss a thing!
Tutorial and photos of this ribbed beanie by: Stephanie Zed.