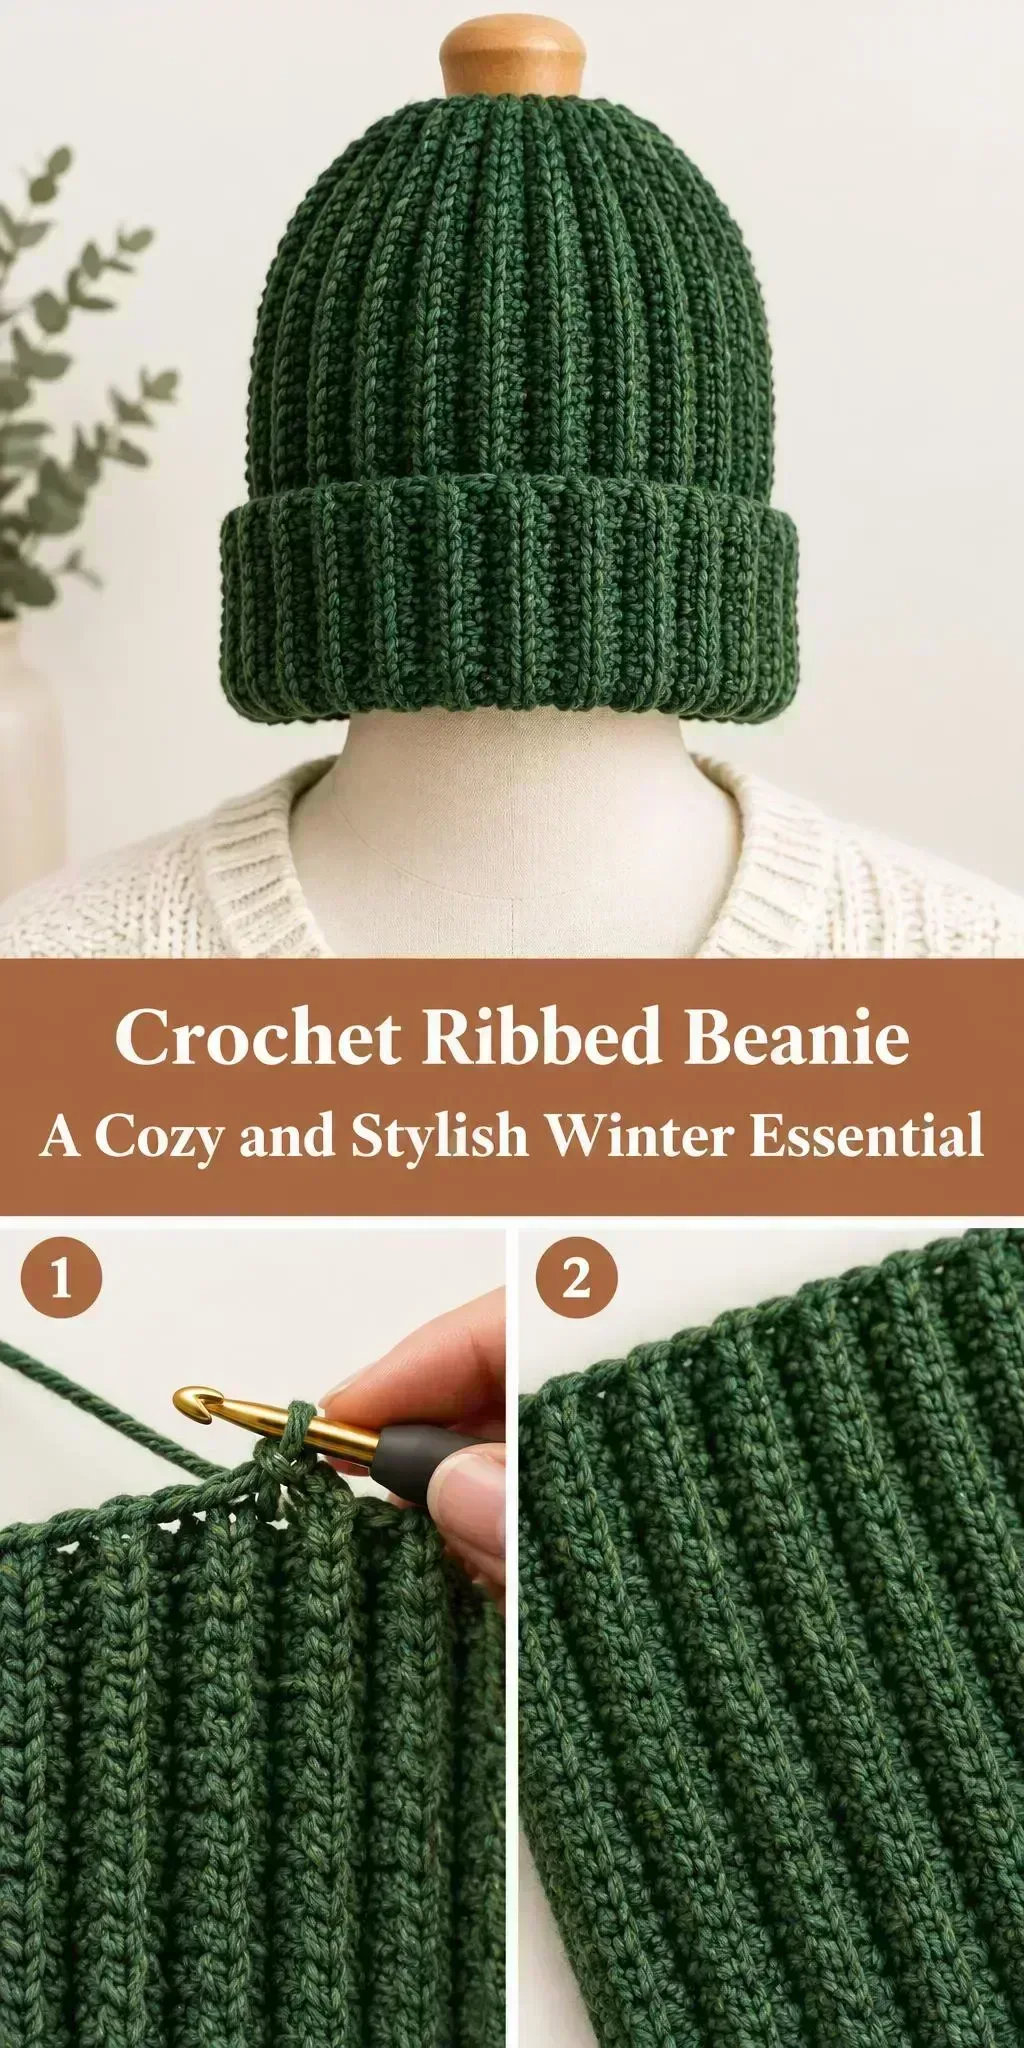
Welcome! Today we’re looking at a Crochet Ribbed Beanie, a hat that is warm, simple to wear and easy to make.
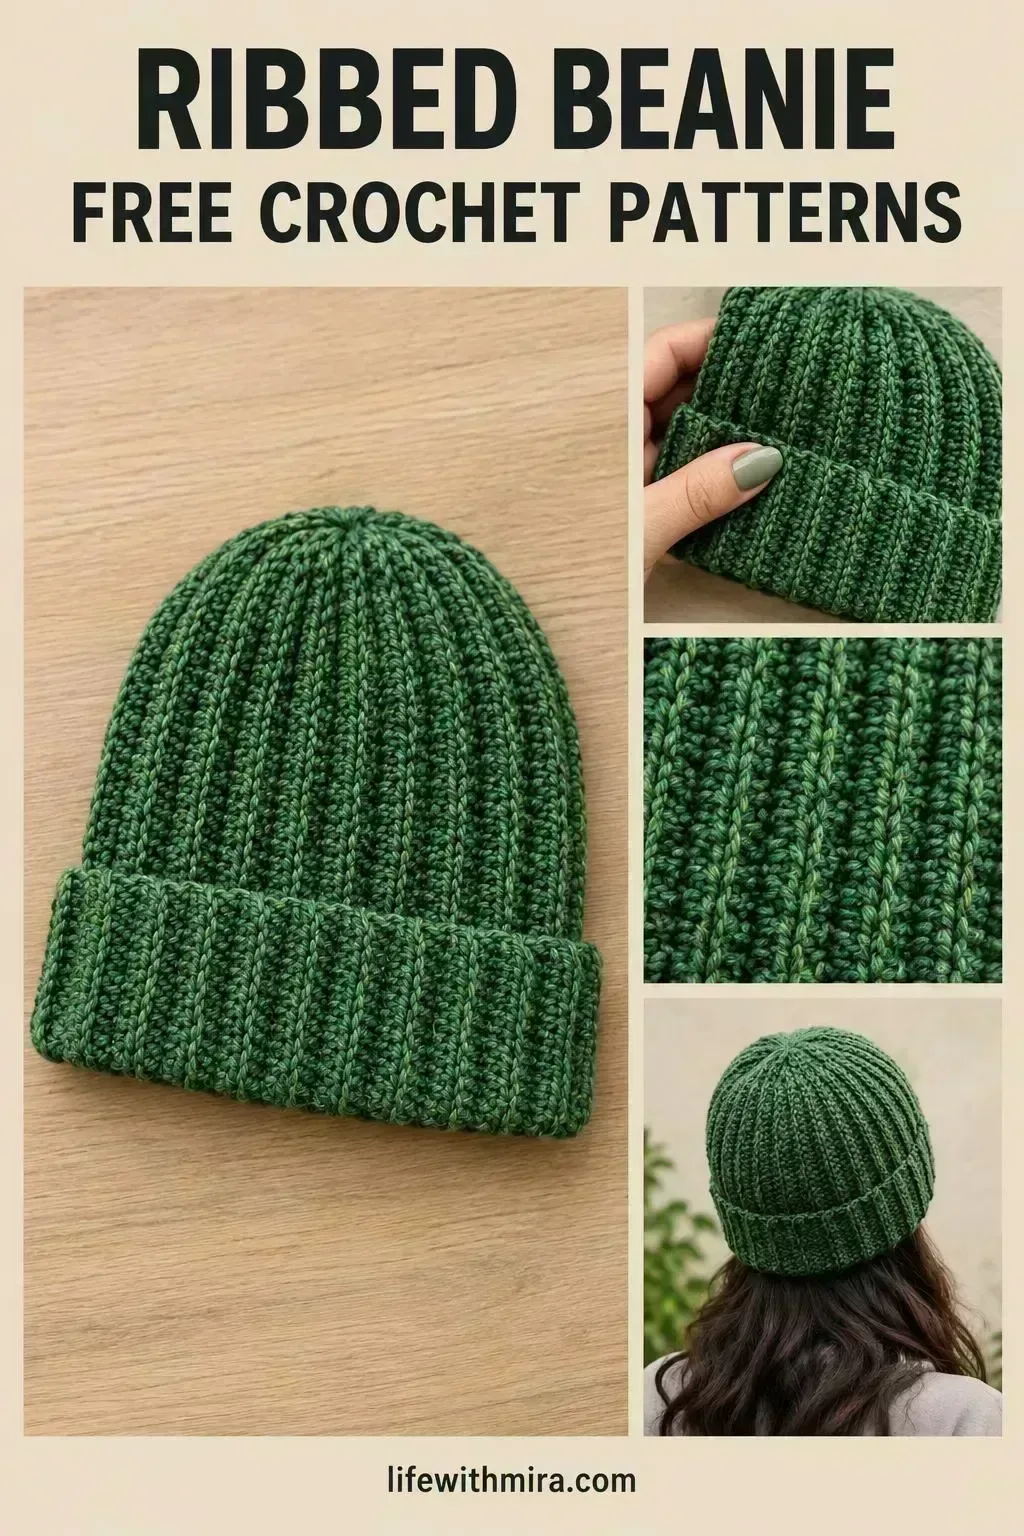
What makes this beanie special is its ribbed texture. The vertical ridges run from the folded brim up over the crown, giving the hat a soft, stretchy fit that hugs your head without feeling tight. The thick cuff folds up neatly and adds a little extra warmth over the ears.
This is a great project for cold mornings, long walks and winter commutes. It suits men, women and kids, and it works just as well as a thoughtful handmade gift. The deep green shade in the photos is lovely, but any solid color will look sharp.
The full step-by-step tutorial is in the video linked on this page. This page is your practical companion, covering what you need, the stitches to know and tips to help your beanie turn out neat.
In this post
Skill Level
Easy. The ribbing is worked with simple repeated stitches, and the construction is straightforward, so this is a good next project after your first hat or cowl.
Ribbed Beanie Related Posts:
- Crochet Flower Bouquet Coaster: A Charming and Handmade Accent
- Crochet Jacob’s Ladder Stitch Blanket: A Textured and Eye-Catching Handmade Treasure
- Crochet Mini Hearts: A Sweet and Lovable Handmade Accent
- Crochet Knit Beanie: A Cozy and Timeless Winter Essential
Materials
- Yarn: a worsted weight (medium, category 4) yarn works well. It is warm, holds the ribbed texture clearly and is easy to find. A wool or wool-blend yarn gives extra stretch and warmth.
- Hook: a 5 mm (H-8) hook is a common choice for worsted weight yarn. Go up or down a size if your stitches look too tight or too loose.
- Scissors and a yarn or tapestry needle for weaving in your ends.
- Stitch markers, helpful for keeping track of the start of each round.
Stitches and Abbreviations
- sc: single crochet. Insert the hook, yarn over and pull up a loop, then yarn over and pull through both loops on the hook.
- dc: double crochet. Yarn over, insert the hook, pull up a loop, then work off two loops twice.
- BLO: back loop only. Insert the hook under only the back loop of the stitch, which creates the ribbed ridges.
- sl st: slip stitch. Insert the hook, yarn over and pull through both the stitch and the loop on the hook, used to join rounds.
Pattern Notes
- This page uses US crochet terms.
- Work the ribbing in back loops only to get the clear vertical ridges shown in the finished hat.
- To adjust the size, change your hook size or yarn weight rather than guessing at stitch counts.
- Your gauge matters, so a quick swatch before you start will help you check the fit.
- Edges may look a little uneven before you weave in ends and shape the hat, and that is normal.
How It’s Made
- Start with the brim: the folded cuff is worked first in ribbing so it will sit neatly at the base.
- Work the body: the sides are worked up in the same ribbed texture, creating the vertical ridges.
- Shape the crown: the ribbing gathers toward the top to close the hat around the head.
- Close the top: the final rounds draw the crown together so it sits smoothly.
- Finish the edges: a last round tidies the brim and sets the shape.
- Weave in your ends: this makes the finished beanie neat inside and out.
For the exact rounds and stitch counts, follow along with the video tutorial.
Assembly and Finishing Tips
Weave in your ends carefully along the inside of the ribbing so they stay hidden and secure.
Keep an eye on your tension. Ribbing pulls in naturally, so try to keep your stitches even for a smooth, stretchy fit.
Blocking helps the ribs settle and the shape even out. Lightly dampen the beanie, gently shape it on a flat surface and let it dry fully.
Fold the brim up once you have finished, so you can check how the cuff sits and make any final adjustments.
Make It Yours
- Try a two-tone look by working the brim in a contrasting shade such as cream, charcoal or rust.
- Make a slouchy version by working a longer body for a relaxed, oversized fit.
- Add a pom-pom or tassel on top for a playful finish.
- Make a matching set with a cowl or mittens for a thoughtful gift.
Happy crocheting! Once your beanie is finished, we would love to see it, so share your project with us.
Follow us on Pinterest and subscribe to the Newsletter so you don’t miss a thing!
Tutorial and photos of this ribbed beanie by: VivCrochets.