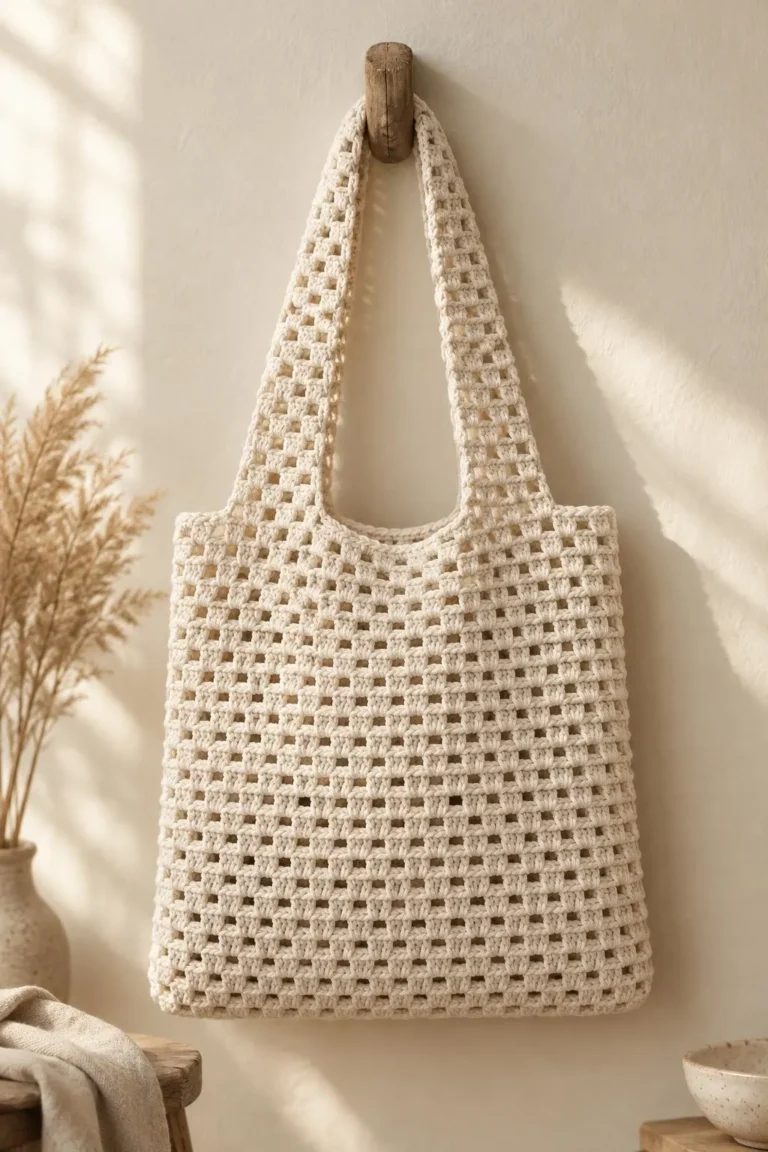
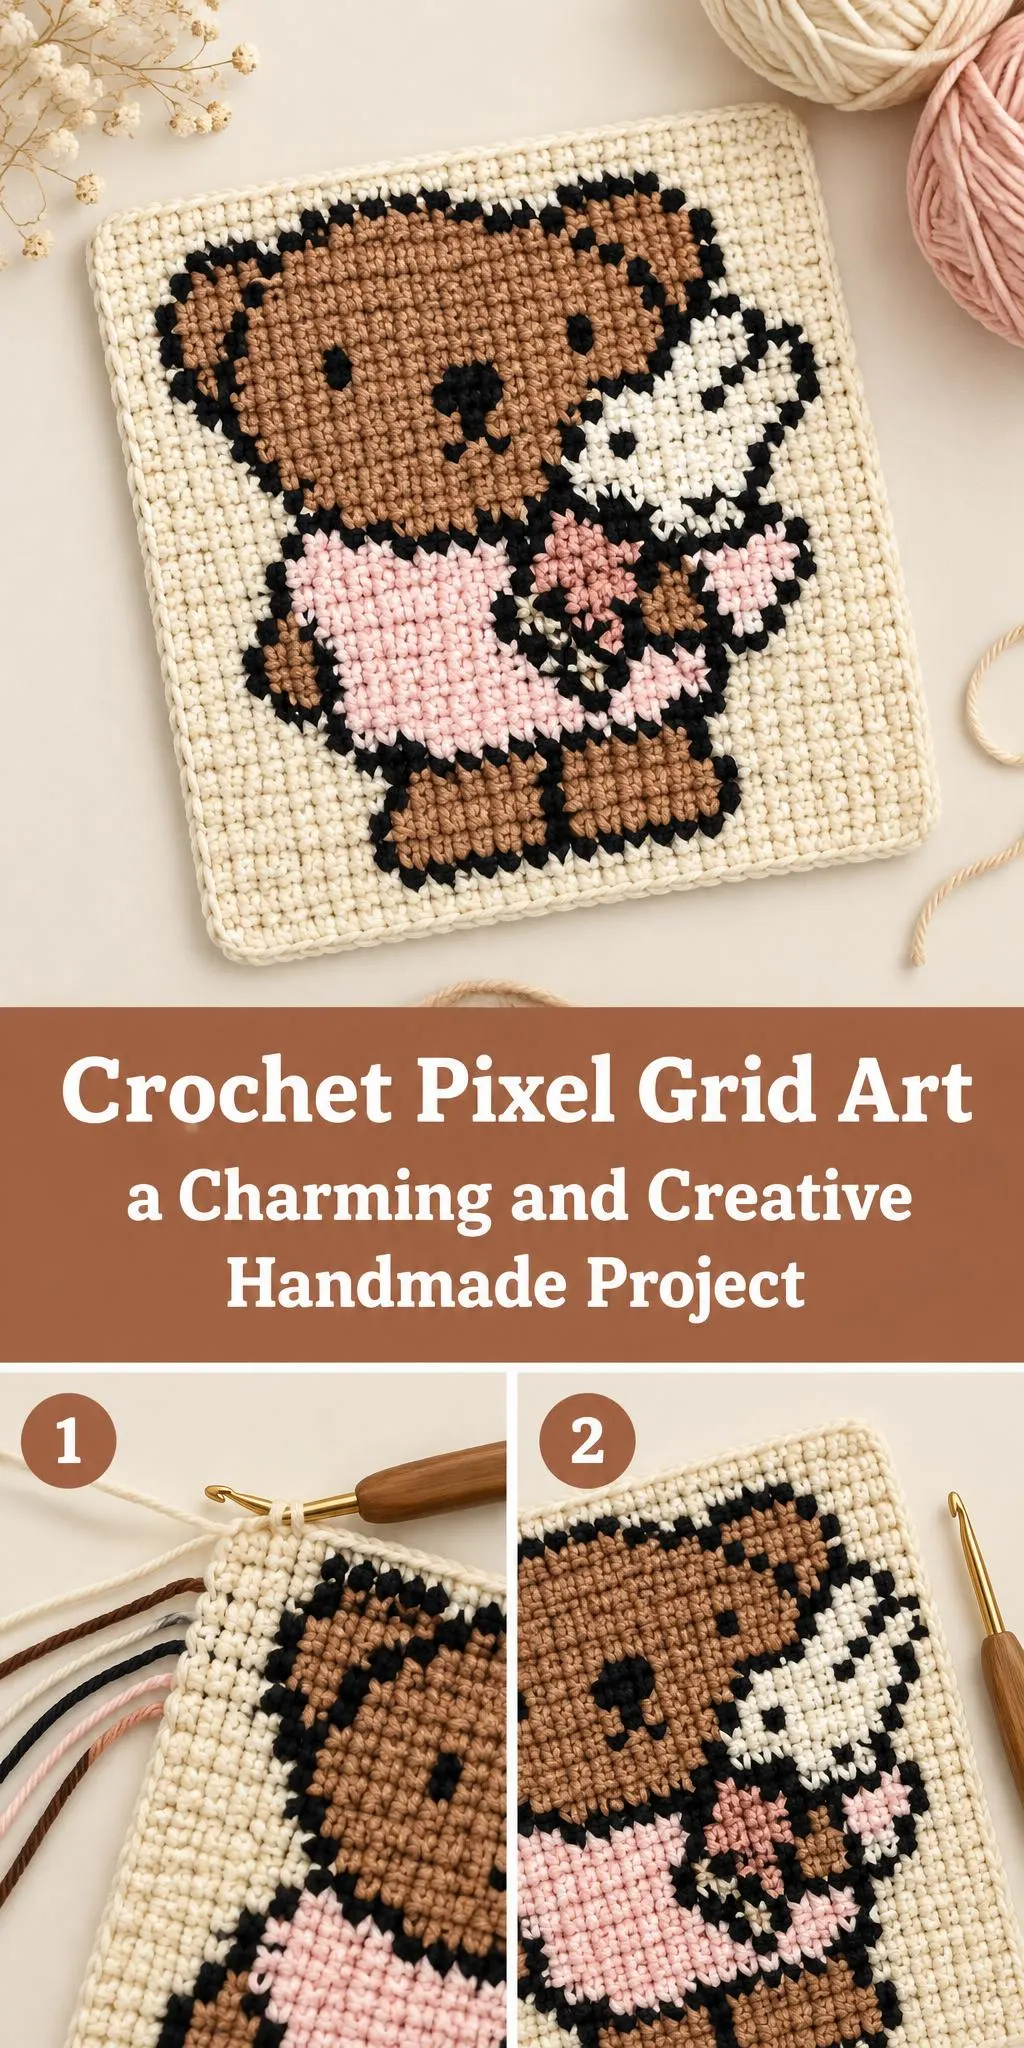
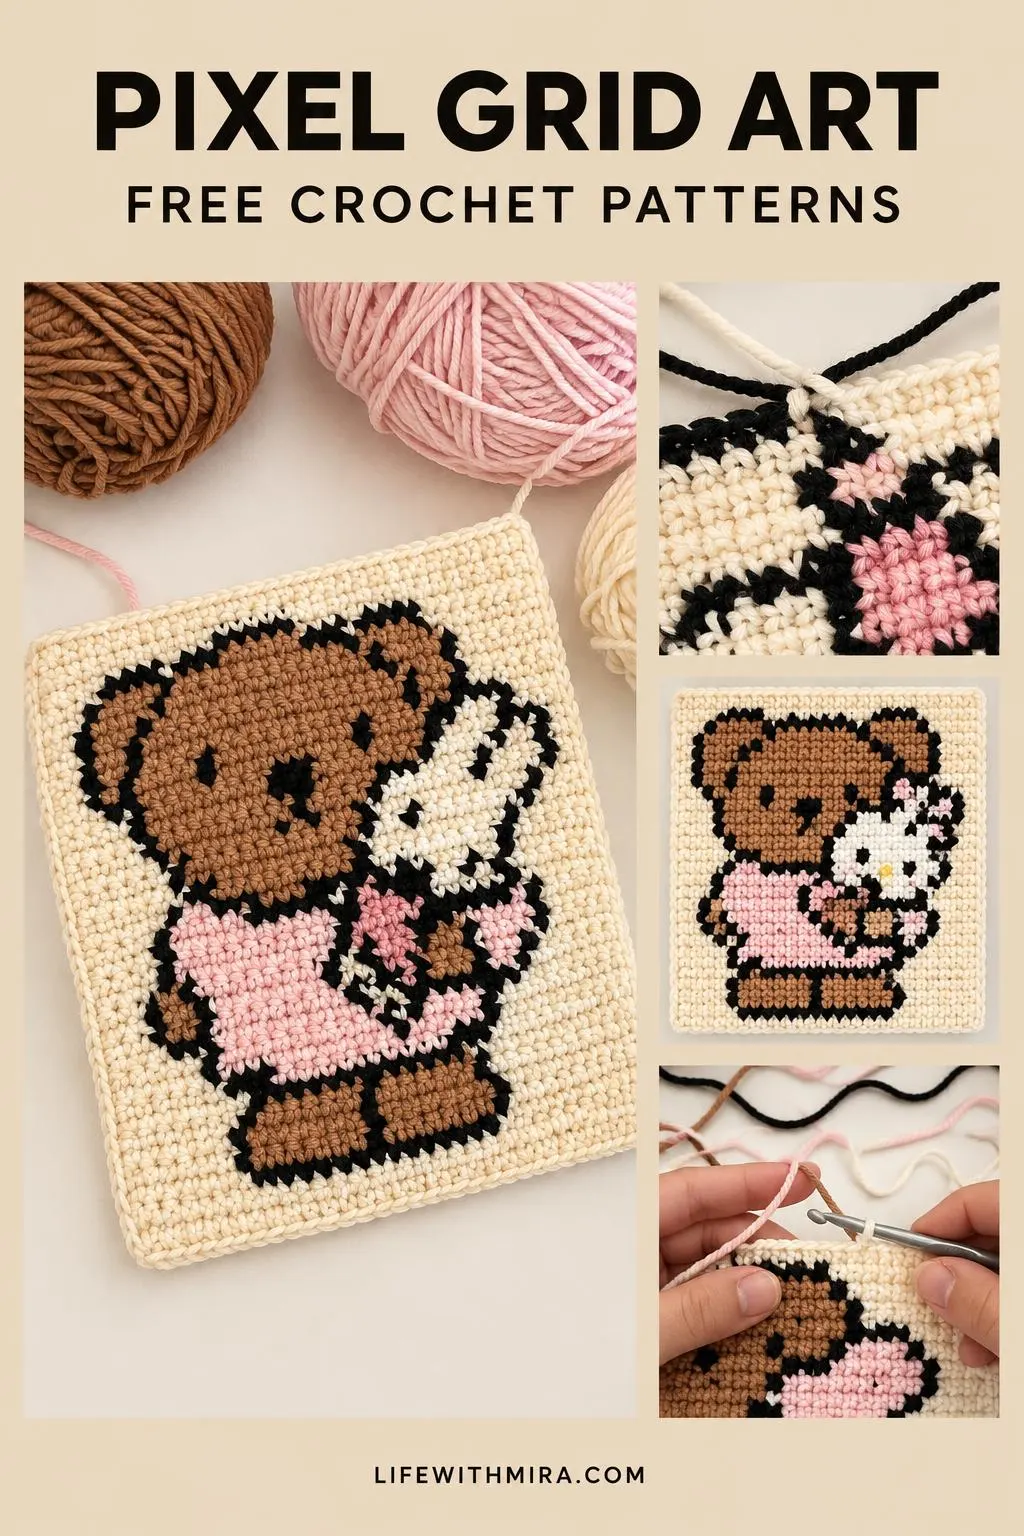
Welcome to a fun little project: Crochet Pixel Grid Art is a playful way to turn a simple grid into a cute, cuddly design you can hold in your hands.
What makes this project special is how it turns a chart into a picture, one square at a time. Each row of the pixel grid tells you which color to work next, so the finished piece looks like a little illustration made of yarn.
I think this is a lovely project for anyone who enjoys colorwork and wants something sweet to display, gift, or turn into a bag or cushion. The full step-by-step tutorial is in the video on this page, and this guide is here to help you prepare and crochet with confidence.
In this post
Skill Level
Intermediate. The work uses several yarn colors in the same row, which means carrying or changing yarn often, and you need to keep your tension even so the grid stays neat.
Grid Art Related Posts:
- Crochet Heart Granny Square: A Sweet and Charming Handmade Accent
- Crochet Mesh Bag: A Chic and Versatile Handmade Essential
- Crochet Love Letter Book Sleeve: A Sweet and Charming Handmade Keepsake
- Crochet Flower Bouquet Coaster: A Charming and Handmade Accent
Materials
- Yarn: A medium weight (category 4) yarn works well for this kind of design. Choose a smooth, lightly textured yarn in a few contrasting colors, since clear color blocks are what make the picture readable.
- Hook: A hook size that suits your chosen yarn, often around 4.5 mm (G/6) for medium weight yarn. Use a slightly smaller hook if your stitches look loose.
- Scissors and a yarn or tapestry needle for weaving in ends.
- Stitch markers to help you keep your place, especially at the start of each row.
Stitches and Abbreviations
- sc: single crochet. Insert your hook, yarn over, pull up a loop, yarn over and pull through both loops on the hook.
- dc: double crochet. Yarn over, insert your hook, pull up a loop, then work off two loops twice.
- ch: chain. A foundation stitch made by yarning over and pulling through the loop on your hook.
- sl st: slip stitch. Insert your hook, yarn over, and pull through both the stitch and the loop on your hook.
Pattern Notes
- US terms are used throughout, so check your abbreviations before you start.
- Keep your floats loose on the back of the work, so the fabric stays flexible and does not pucker.
- Change colors at the end of the stitch, pulling the new yarn through the last loop, so the color edge stays crisp.
- Your tension may shift between colors, so take a moment to check that your stitches look even.
- Edges often look a little wavy before blocking, and that is completely normal.
How It’s Made
- Plan your grid: Read the chart row by row and sort your colors so each one is ready to use.
- Start the base: Build the foundation and the first rows that set the shape of your piece.
- Work the colorwork: Follow the chart, changing yarn at each color block so the picture forms gradually.
- Join new colors: Attach each new shade at the start of its block so the row stays clean.
- Continue to the top: Keep building the grid until the full design is complete.
- Add the edging: Finish the outer edge with a neat border that frames your picture.
- Finish the piece: Weave in your ends and prepare the piece for final shaping.
The video on this page walks through each of these stages in detail, so press play whenever you are ready to start.
Assembly and Finishing Tips
- Weave in ends as you go when you can, since it keeps the back of the work tidy and saves time later.
- Block your finished piece gently with a little water and let it dry flat, which helps the colors sit evenly and the edges straighten.
- If you are adding a strap or lining, sew seams with a firm, even stitch so they hold up with use.
- Check your tension every few rows, especially where colors meet, to keep the grid even.
Make It Yours
- Try a soft pastel palette for a dreamy look, or go bold with bright primary colors.
- Change the size by adding or removing rows, or by working with a different yarn weight.
- Finish the edge with a contrasting border for an extra frame around your design.
- Turn your finished piece into a cushion cover, a tote bag panel, or a sweet gift for a friend.
Happy crocheting! I would love to see what you make, so share your finished project with the community.
Follow us on Pinterest and subscribe to the Newsletter so you don’t miss a thing!
Tutorial and photos of this pixel grid art by: mahum 🎀.