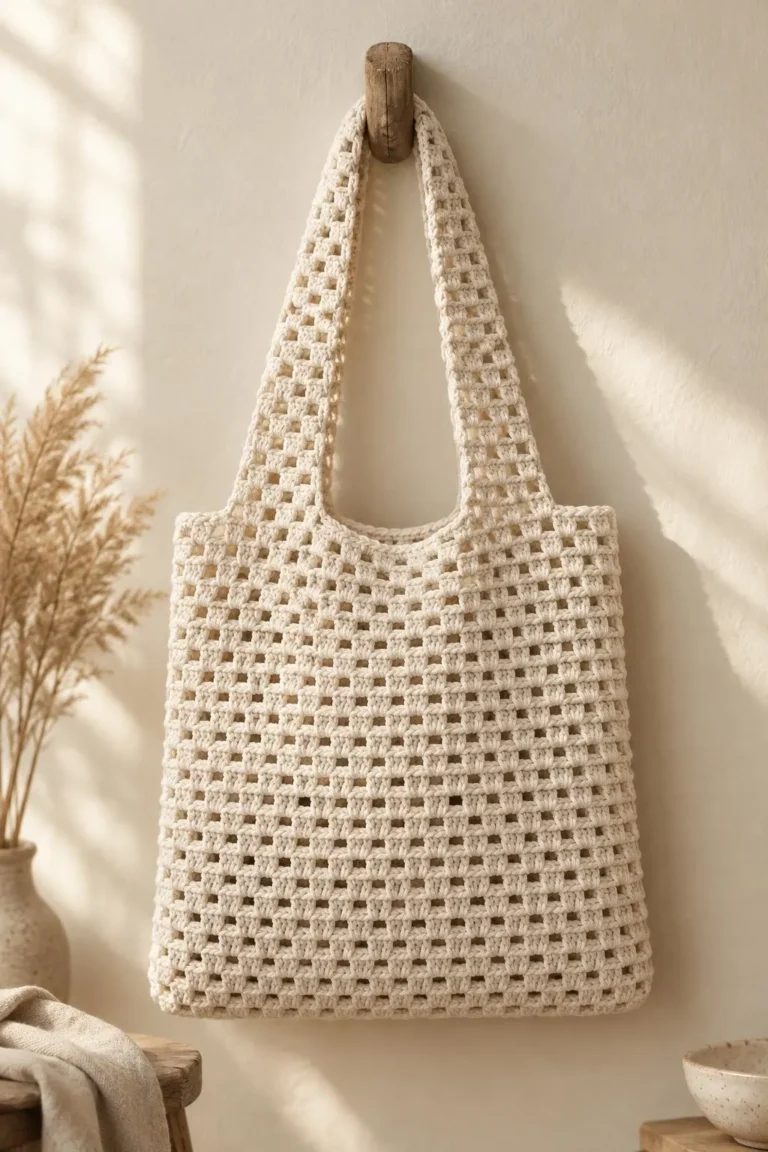
Welcome! Today we’re looking at a sweet little Crochet Love Letter Book Sleeve, the kind of project that makes a favorite novel feel extra special.
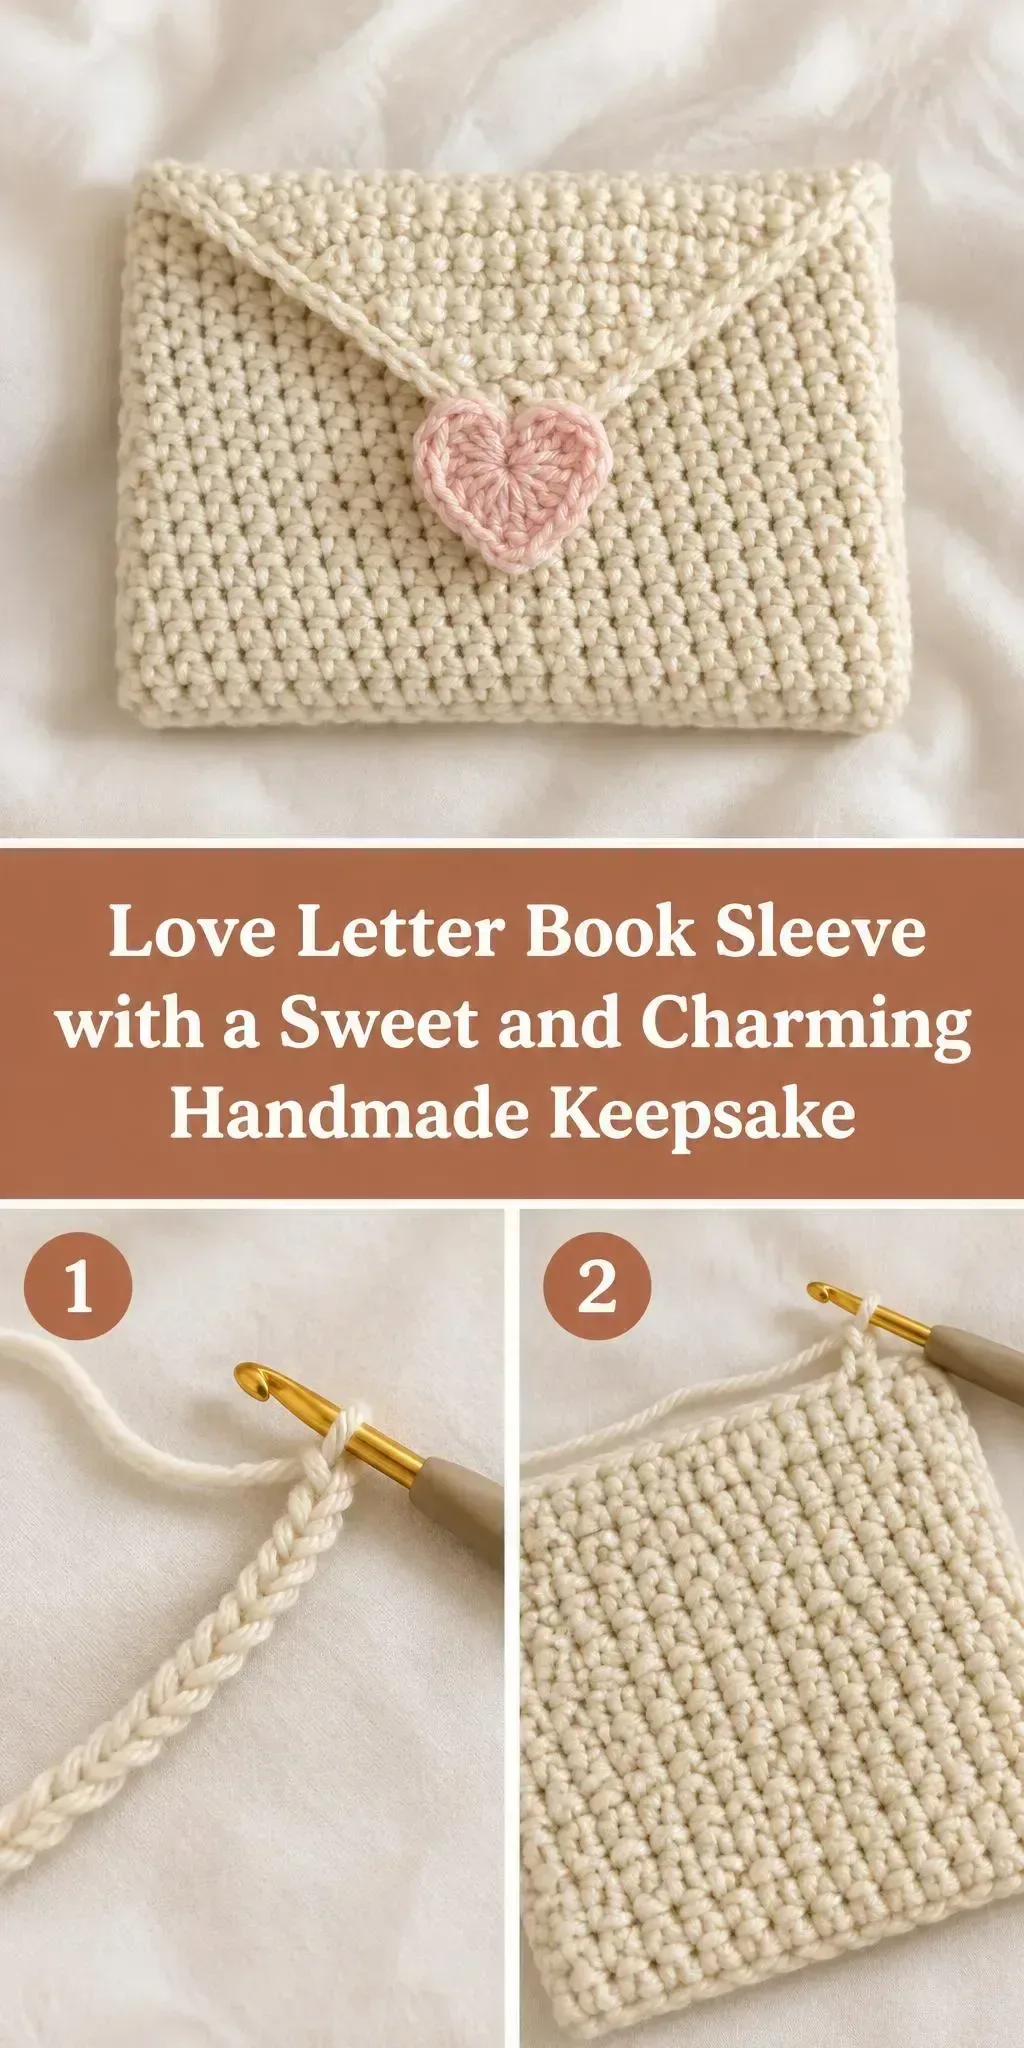
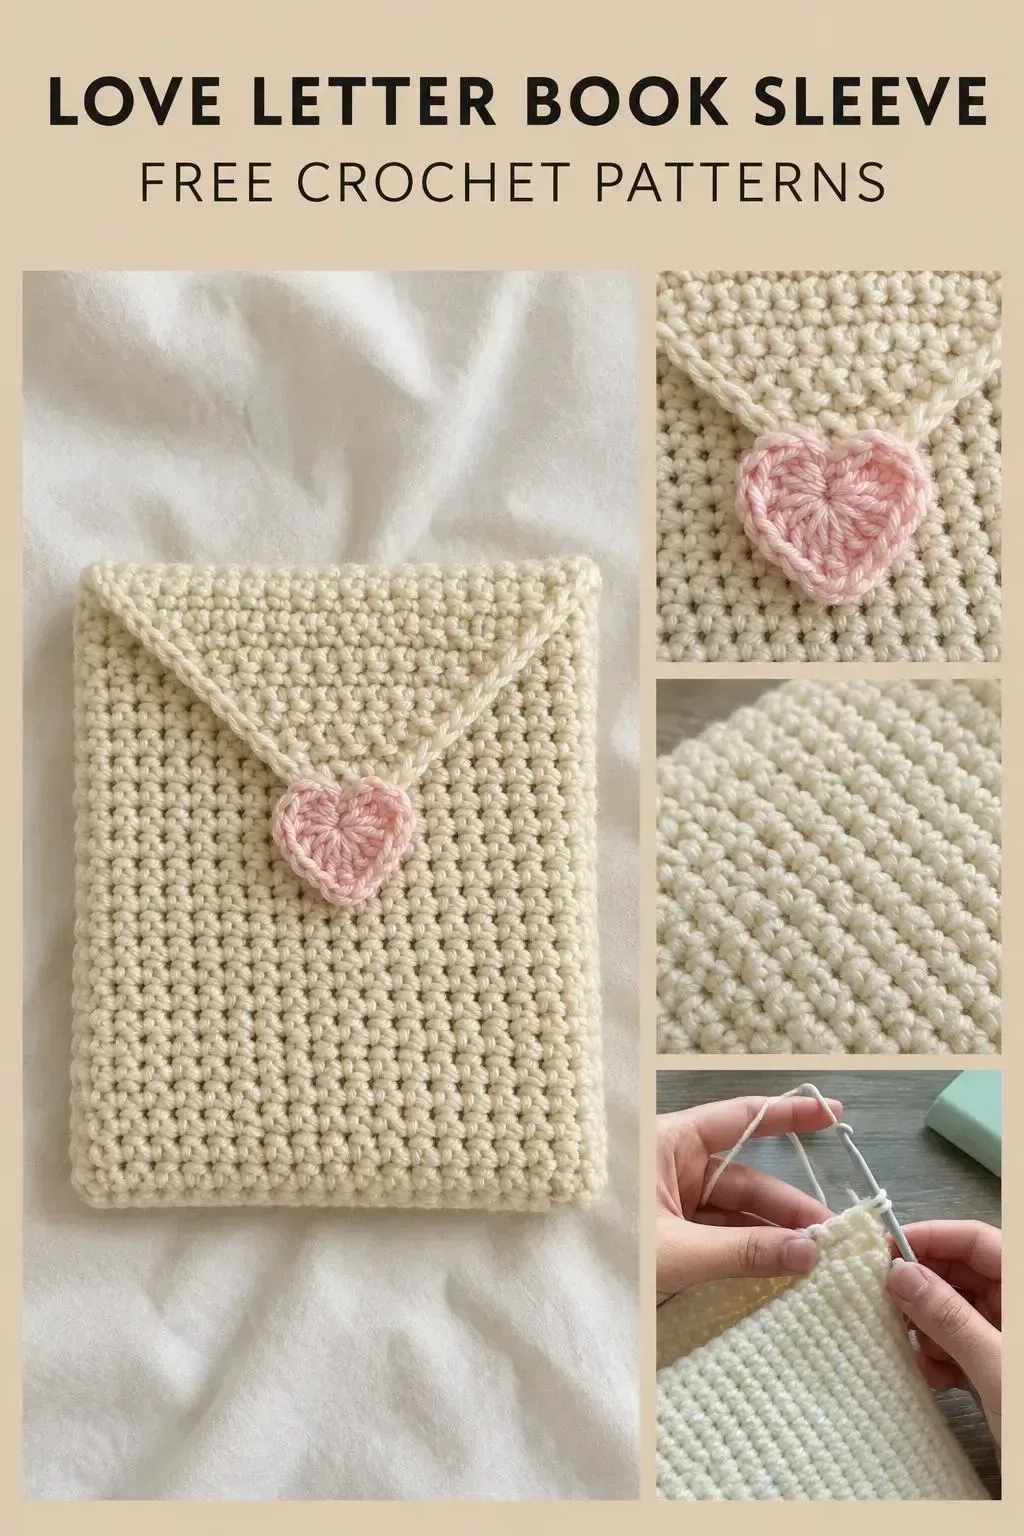
This sleeve is shaped like a classic envelope, with a flap that folds over the front and a small pink heart sitting right in the center. It’s a lovely way to protect a paperback or a hardcover while adding a bit of romance to your reading nook.
It works well for crocheters who enjoy small, cozy projects that finish quickly and make wonderful gifts for book lovers. You’ll find the full step-by-step tutorial in the video that goes with this page, and this guide will help you prepare, understand the stitches, and get the most out of your work.
In this post
Skill Level
Beginner to Easy. The construction is built from basic stitches worked in rows, with simple decreases along the flap and the edges, so it’s a good choice once you’re comfortable with the basics.
Book Sleeve Related Posts:
- Crochet Striped Blanket: A Cozy and Elegant Essential
- Crochet Kanzashi Flower: An Elegant Handmade Accent
- Crochet Jacob’s Ladder Stitch Blanket: A Textured and Eye-Catching Handmade Treasure
- Crochet Basic Stitch Fabric: A Simple and Versatile Foundation
Materials
- Yarn: A medium weight (category 4) acrylic or acrylic blend in a cream or off-white works beautifully. It’s soft, washable, and gives the sleeve enough structure to hold its envelope shape.
- Hook: A 4 to 5 mm hook is a common choice for medium weight yarn. Go slightly smaller if you want a firmer fabric that protects your book better.
- Scissors and a yarn or tapestry needle for weaving in ends and sewing on the heart.
- Pink yarn in a contrasting shade for the heart motif. A small amount is all you need, so use leftovers if you have them.
Stitches and Abbreviations
- sc: single crochet. Insert the hook, yarn over, pull up a loop, yarn over again and pull through both loops on the hook.
- sc2tog: single crochet two together. Insert the hook into the next stitch, pull up a loop, insert into the following stitch, pull up a loop, then yarn over and pull through all three loops on the hook. This creates a neat decrease.
- ch: chain. A foundation stitch made by yarn over and pulling through the loop on the hook.
- sl st: slip stitch. Insert the hook, yarn over, and pull through both the stitch and the loop on the hook, used for joining and neat edges.
Pattern Notes
- US crochet terms are used throughout this page, so check your abbreviations before you begin.
- Keep your tension relaxed so the fabric stays flexible enough to fold the flap smoothly.
- The sleeve can be adjusted to fit a slightly larger or smaller book by working a few more or fewer stitches across the body.
- Edges may look a little wavy before finishing, and that is normal. Gentle shaping and blocking usually straighten them out.
How It’s Made
- Start with the base: Work the body of the sleeve in rows or rounds to create a rectangle large enough to wrap around your book.
- Shape the sides: Form the side panels so the sleeve has a snug pocket for the cover.
- Create the flap: Work the envelope flap at the top, using decreases to shape its point so it folds neatly over the front.
- Add the border: Finish the edges with a border that gives the sleeve a clean, polished look.
- Make the heart: Crochet a small pink heart separately, then attach it to the center of the flap.
- Sew on the heart: Use the tail from the heart to secure it firmly in place on the front.
- Weave in ends: Tuck away all loose yarn tails so the inside stays neat.
Watch the video for the exact rounds and rows as you work through each stage.
Assembly and Finishing Tips
- Weave in your ends as you go, especially at the flap, since that area gets the most handling.
- Block the finished sleeve gently with a little water and pin it into shape to help the flap sit flat.
- Sew the heart on with a few small stitches around the edge so it stays put through regular use.
- Check the fit with your book before finishing, and make small changes to the width if needed.
Make It Yours
- Try a soft blush or sage green sleeve for a different seasonal feel.
- Swap the pink heart for a yellow or red one, or add a tiny initial in the center.
- Make a set in different sizes for paperbacks, notebooks, and journals.
- Give one as a gift for a friend who loves reading, and tuck a bookmark inside for a sweet finishing touch.
Happy crocheting! I’d love to hear how yours turns out, so share your finished sleeve with the community.
Follow us on Pinterest and subscribe to the Newsletter so you don’t miss a thing!
Tutorial and photos of this love letter book sleeve by: mahum 🎀.