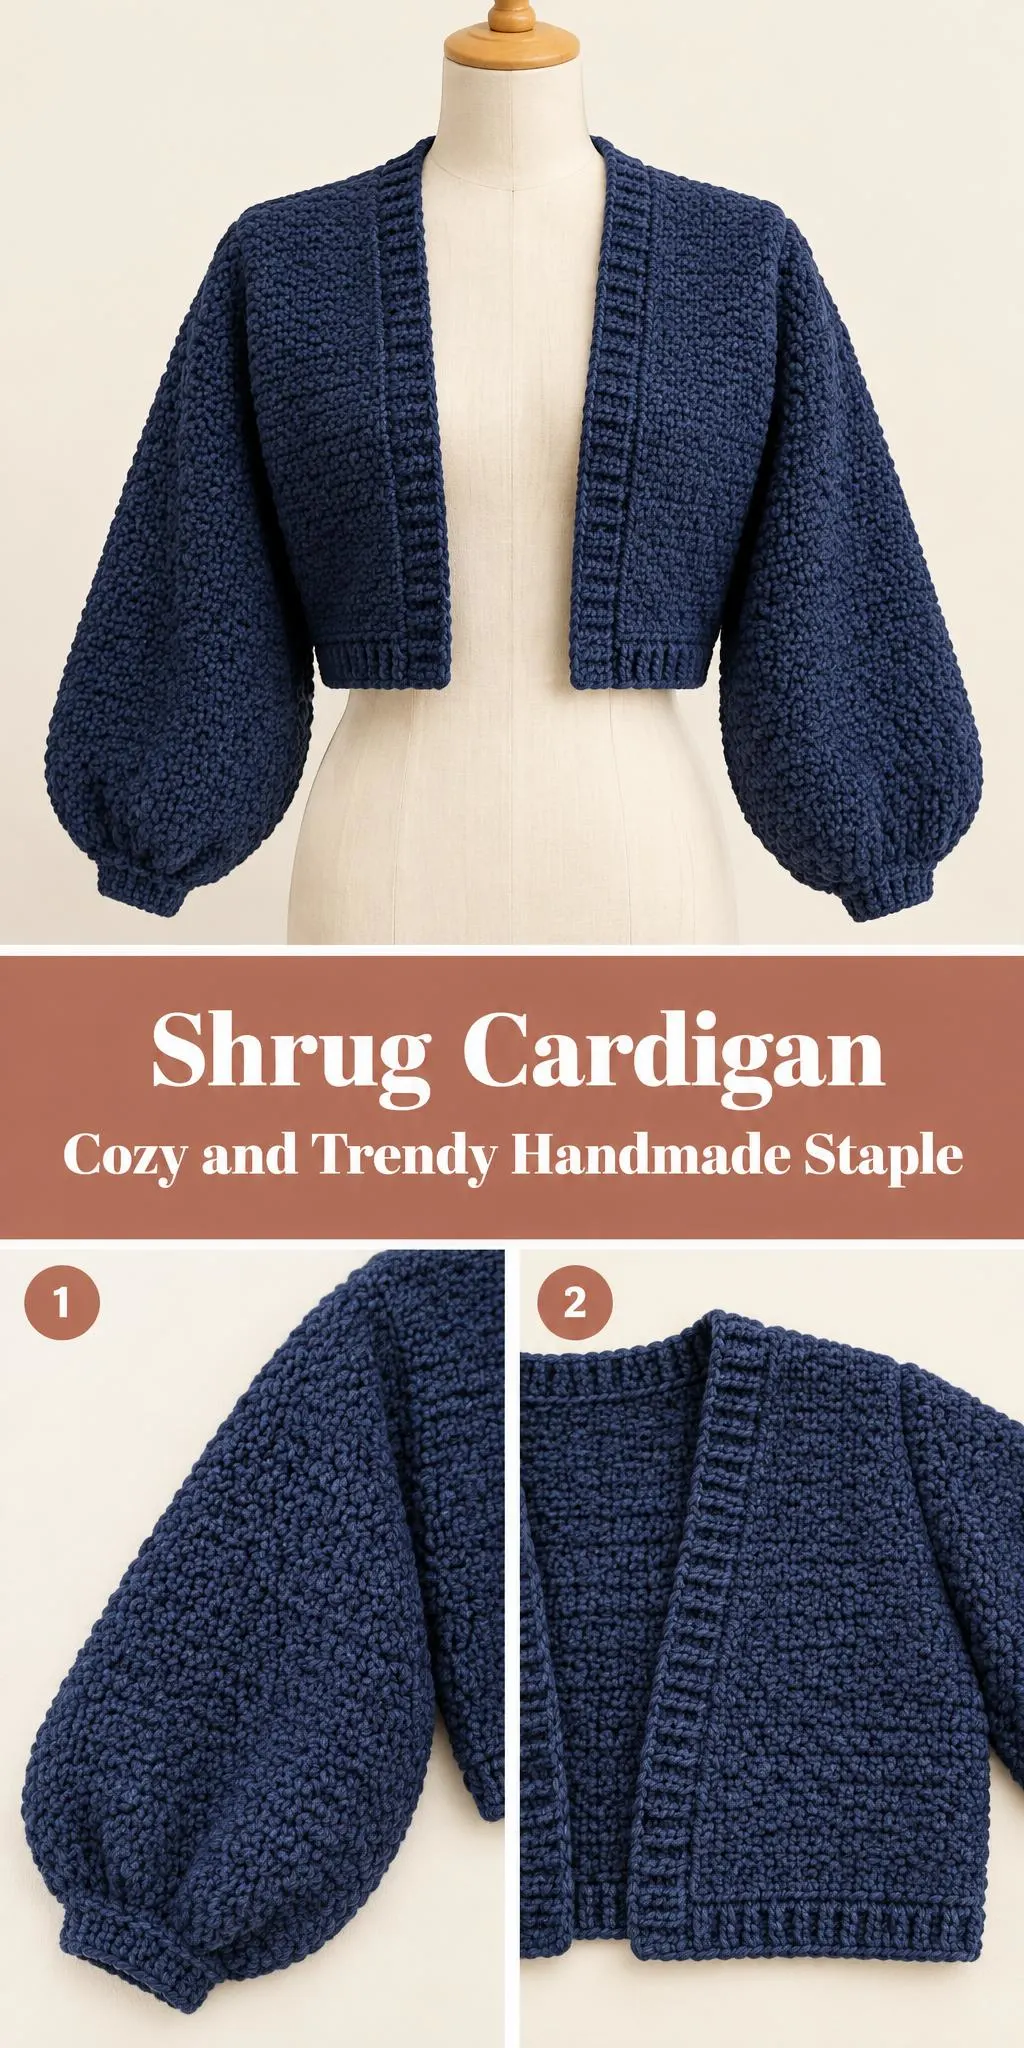
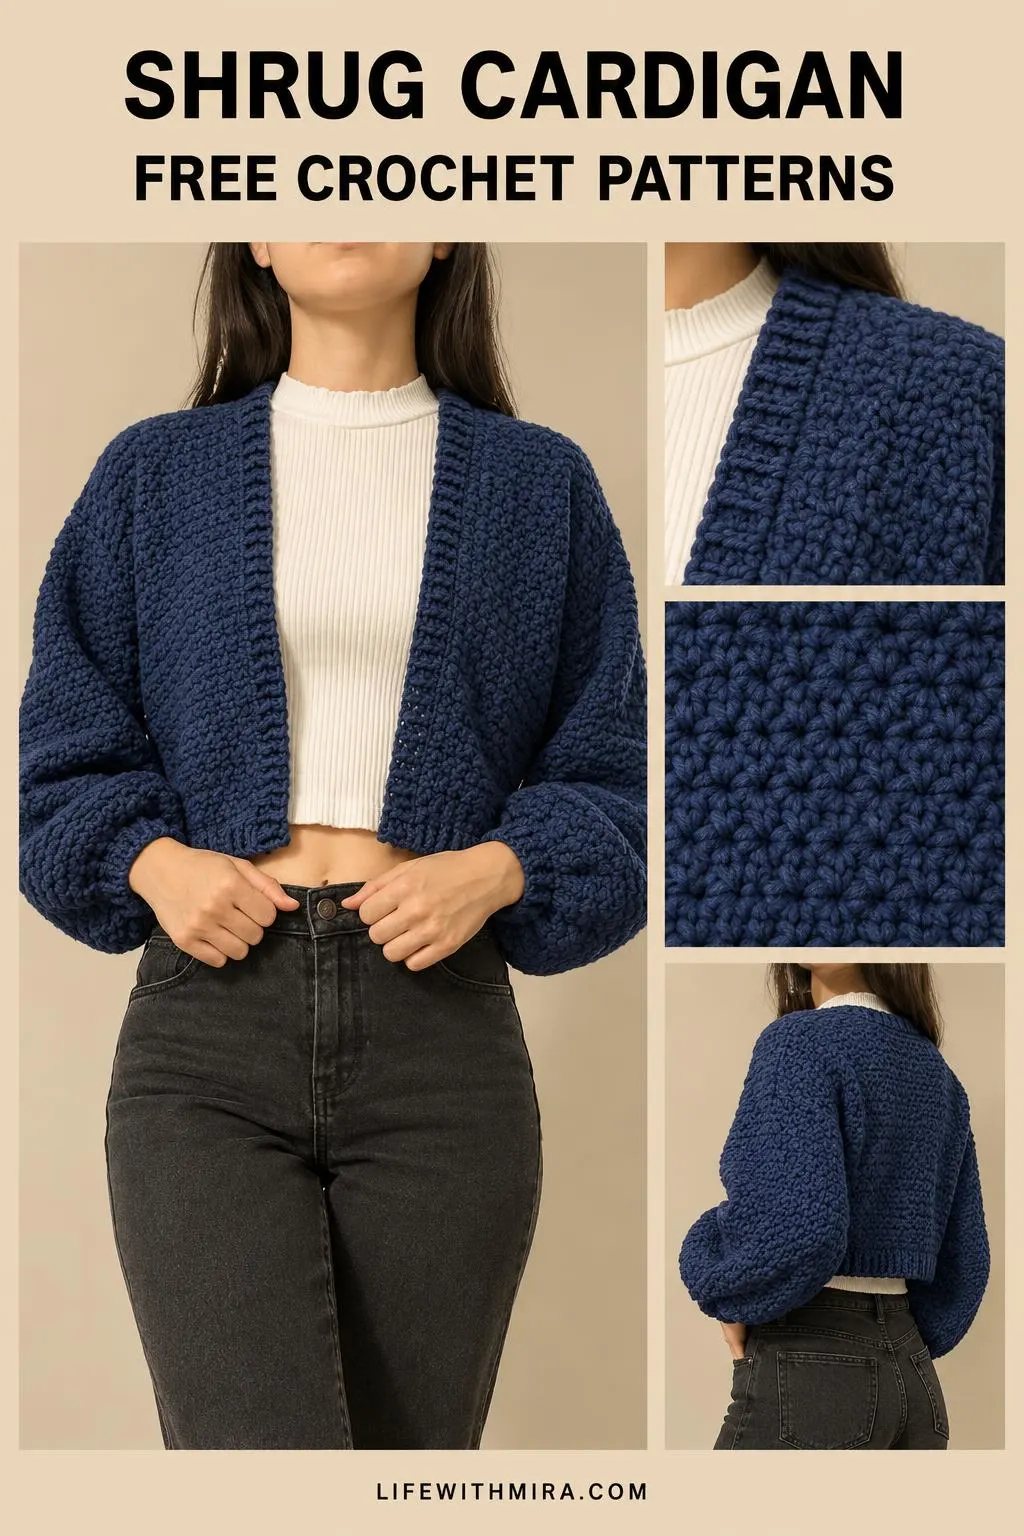
Welcome! Today we’re looking at a cozy Crochet Shrug Cardigan that is easy to layer over almost anything.
Its cropped length and open front make it a favorite for those in-between days when a full sweater feels like too much. The chunky texture gives it a soft, sculpted look, and the wide, relaxed sleeves add a little drama without any fuss.
This one suits crocheters who want a quick, satisfying project with a result that looks trendy and wearable. The full step-by-step tutorial is in the video on this page, and this guide is here to help you prepare, understand the stitches, and finish neatly.
In this post
Skill Level
Intermediate. The textured stitch pattern, the shaping of the sleeves, and the neat edging around the front opening take some attention, but each step is manageable once you get into a rhythm.
Shrug Cardigan Related Posts:
- Crochet Striped Blanket: A Cozy and Elegant Essential
- Crochet Rainbow Stitch Coaster: A Bright and Cheerful Handmade Essential
- Crochet Hook Case Holder: A Practical and Stylish Organizer
- Crochet Ribbed Beanie: A Cozy and Stylish Winter Essential
Materials
- Yarn: a bulky or chunky weight yarn works beautifully here. It gives the cardigan body and holds its shape, and a soft wool blend or acrylic will both feel cozy against the skin.
- Hook: a size that matches your chosen yarn, usually somewhere in the range recommended on the yarn label for bulky weight. Your gauge will guide the final choice.
- Scissors and a yarn or tapestry needle for weaving in ends and sewing seams.
- Stitch markers, helpful for keeping track of sleeve and front placement as you work.
Stitches and Abbreviations
- sc: single crochet. Insert hook, yarn over, pull up a loop, yarn over and pull through both loops.
- dc: double crochet. Yarn over, insert hook, pull up a loop, then work off two loops twice.
- ch: chain. A foundation loop used to start rows and rounds.
- sl st: slip stitch. A short stitch used to join rounds or move across a section without adding height.
Pattern Notes
- US terms are used throughout, so check that your abbreviations match the standard you are following.
- Work a gauge swatch first, since bulky yarn can vary a lot from one brand to another.
- Sizing can be adjusted by working a few more or fewer stitches across the back and sleeves.
- Edges may look a little uneven before blocking, and that is completely normal.
How It’s Made
- Start with the back panel, working the textured stitch in a steady rectangle.
- Add the fronts, working each side to match the back and leaving the opening for the open front.
- Shape the shoulders so the body sits comfortably across your back.
- Work the sleeves from the armhole, widening gently so they have that relaxed, puffy look.
- Join the seams so the body and sleeves come together smoothly.
- Finish the front opening and hem with an edging that frames the cardigan neatly.
- Weave in all ends for a tidy finish.
Watch the video on this page for the exact rounds and rows as you go.
Assembly and Finishing Tips
- Keep your seams neat by matching stitches carefully and using a slip stitch or whipstitch for a flat join.
- Weave in ends as you go when possible, so you are not left with a pile of tails at the end.
- Block the finished cardigan by dampening it and laying it flat, which helps the texture even out and the edges straighten.
- Check the sleeve length against your arms before you join, since this is where small adjustments make the biggest difference.
Make It Yours
- Try a soft neutral like oatmeal or charcoal for an everyday staple that pairs with anything.
- Work it in a bright jewel tone for a bold piece that stands out over plain tees.
- Make a slightly longer version for more coverage on cooler days.
- Give a Crochet Shrug Cardigan as a gift in a color that suits the recipient’s wardrobe.
Happy crocheting, and I hope your finished piece becomes a go-to layer for you. Share your project with us once it’s done!
Follow us on Pinterest and subscribe to the Newsletter so you don’t miss a thing!
Tutorial and photos of this shrug cardigan by: VivCrochets.