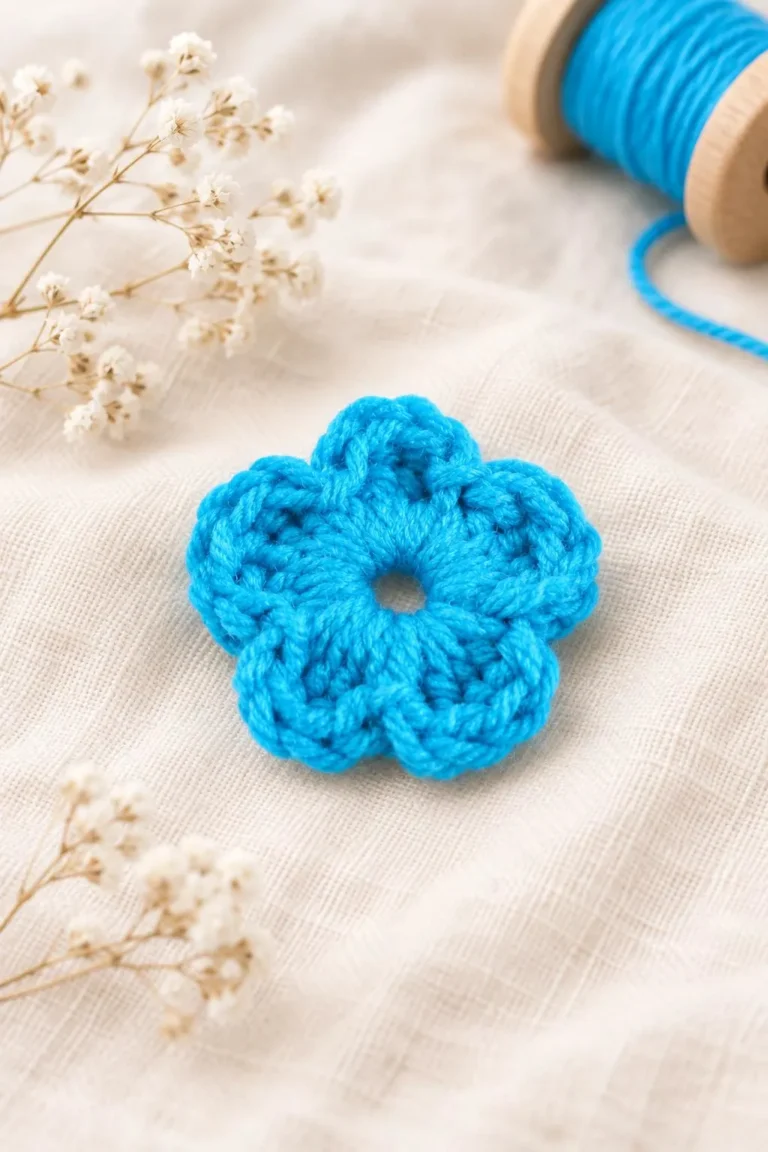
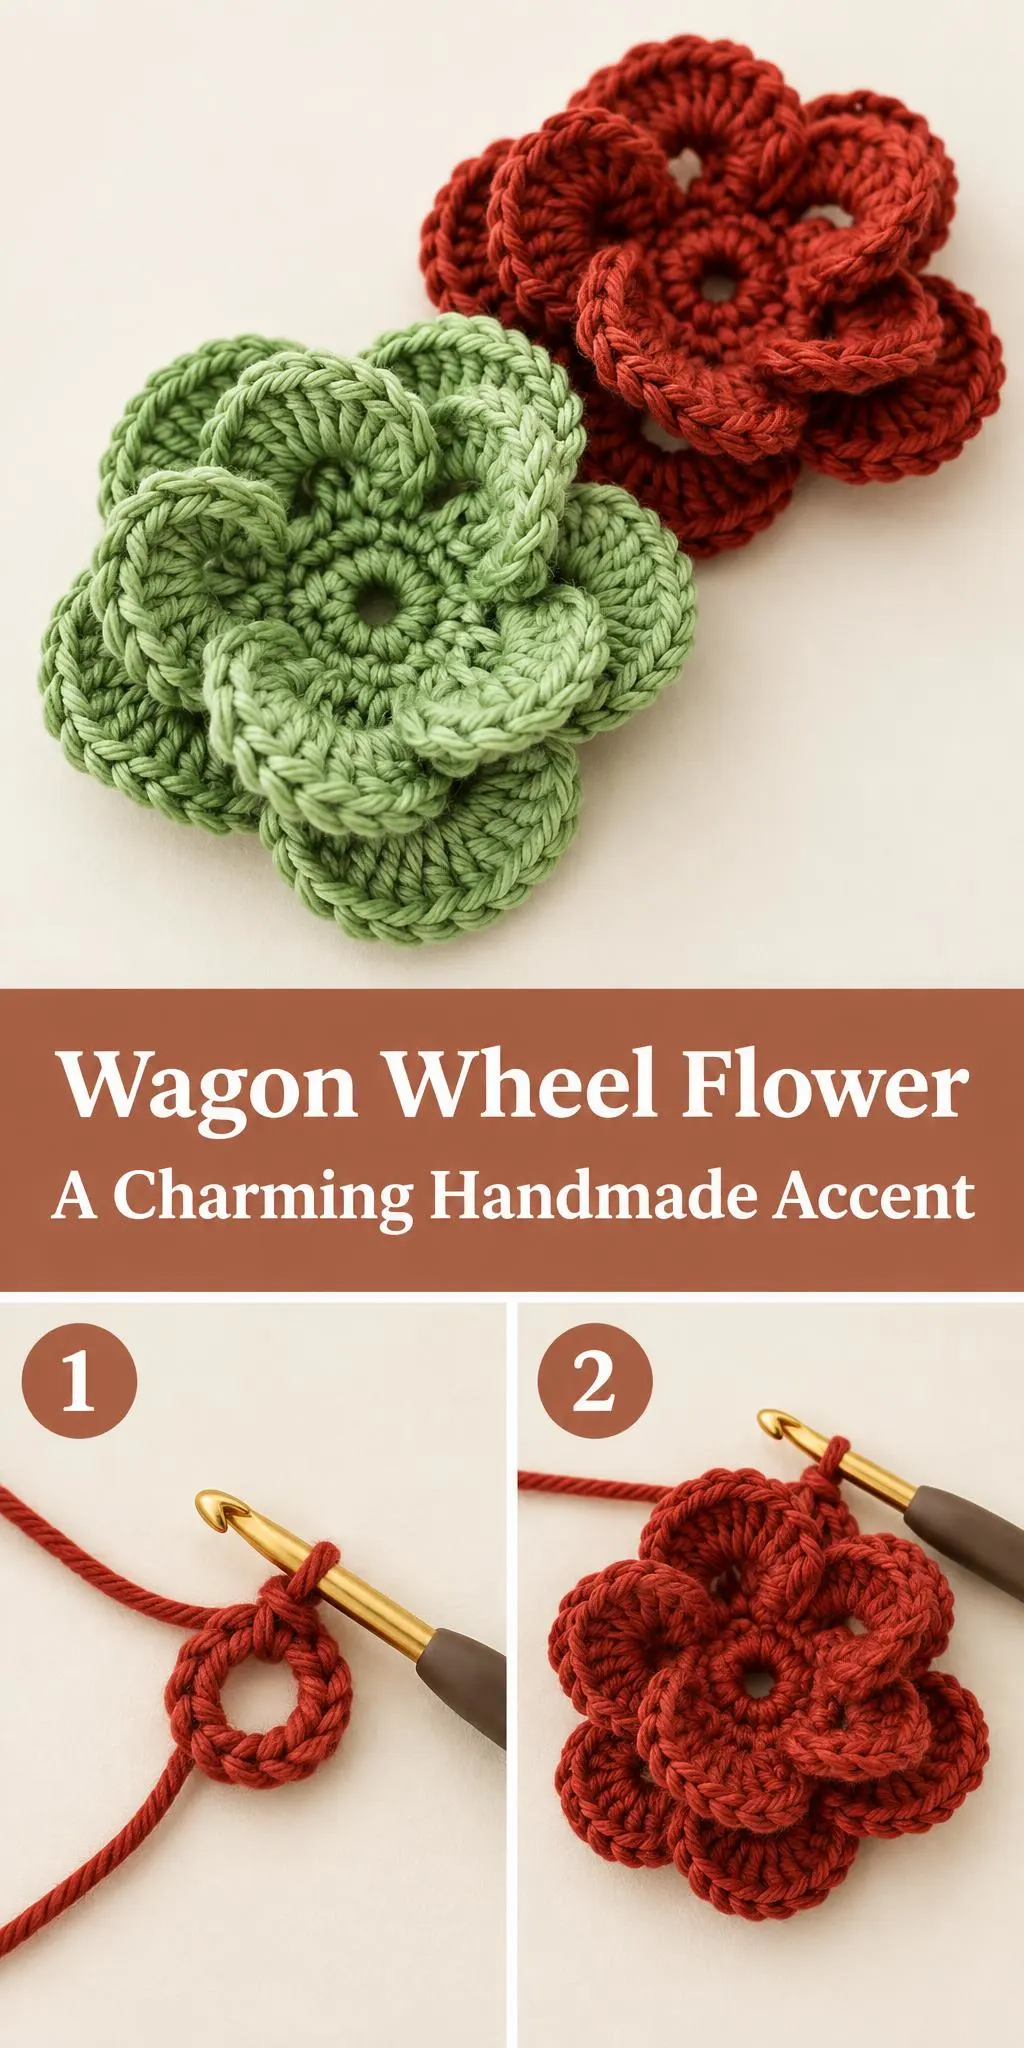
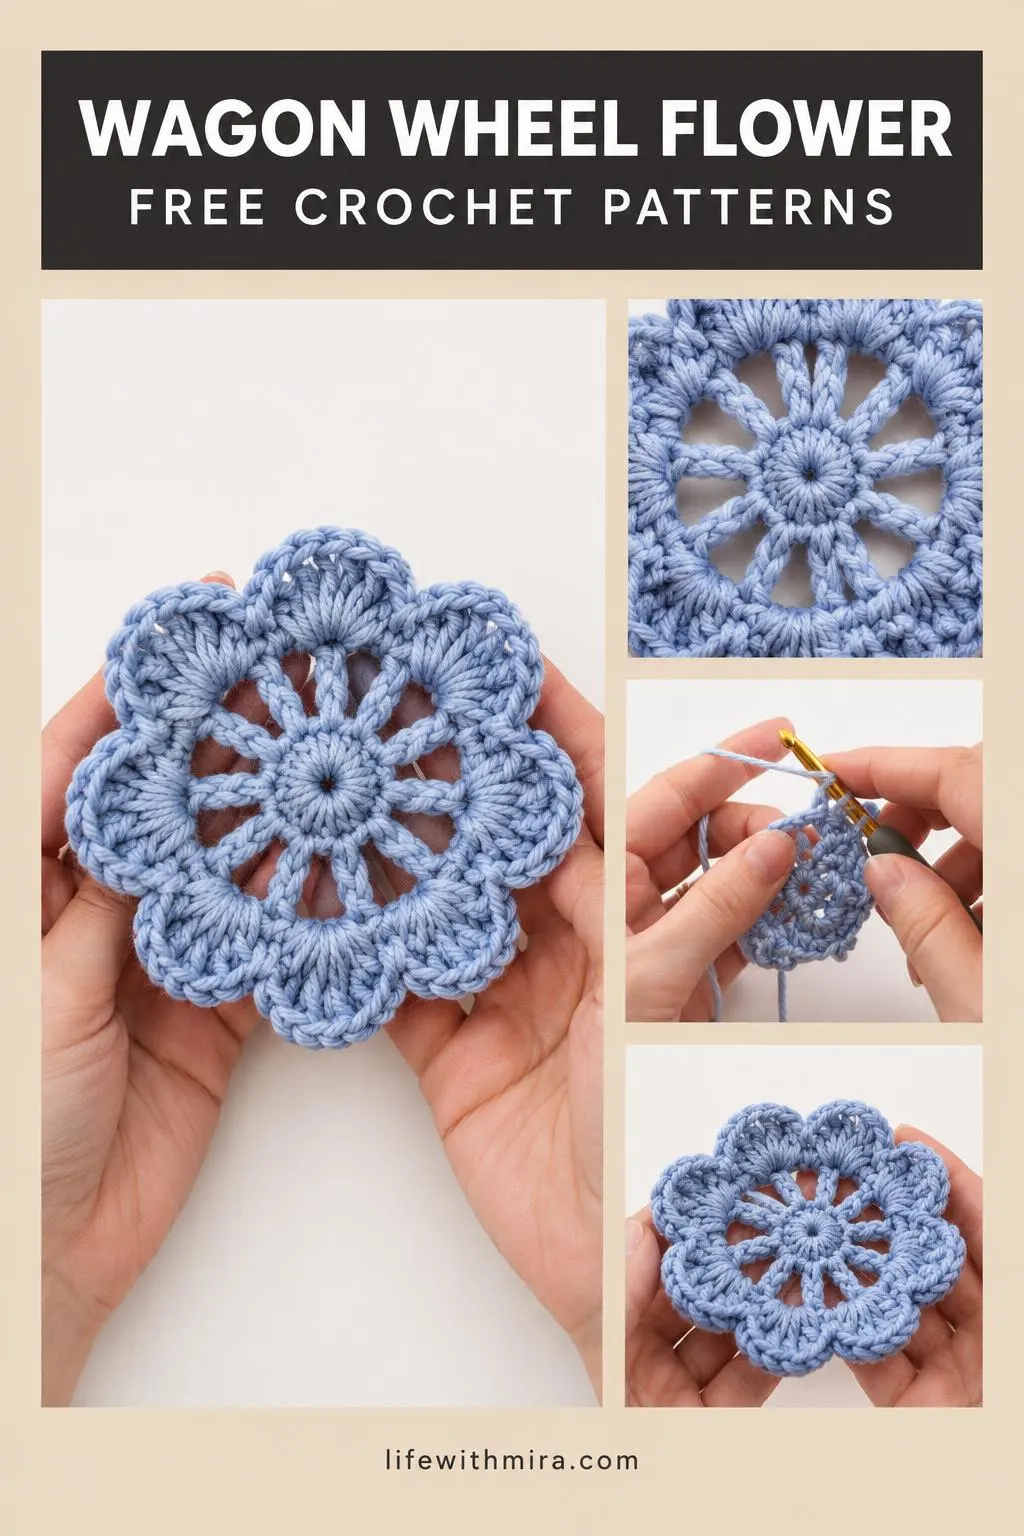
Welcome! Today we’re making a charming Crochet Wagon Wheel Flower, a small handmade bloom that adds a pop of color to almost anything.
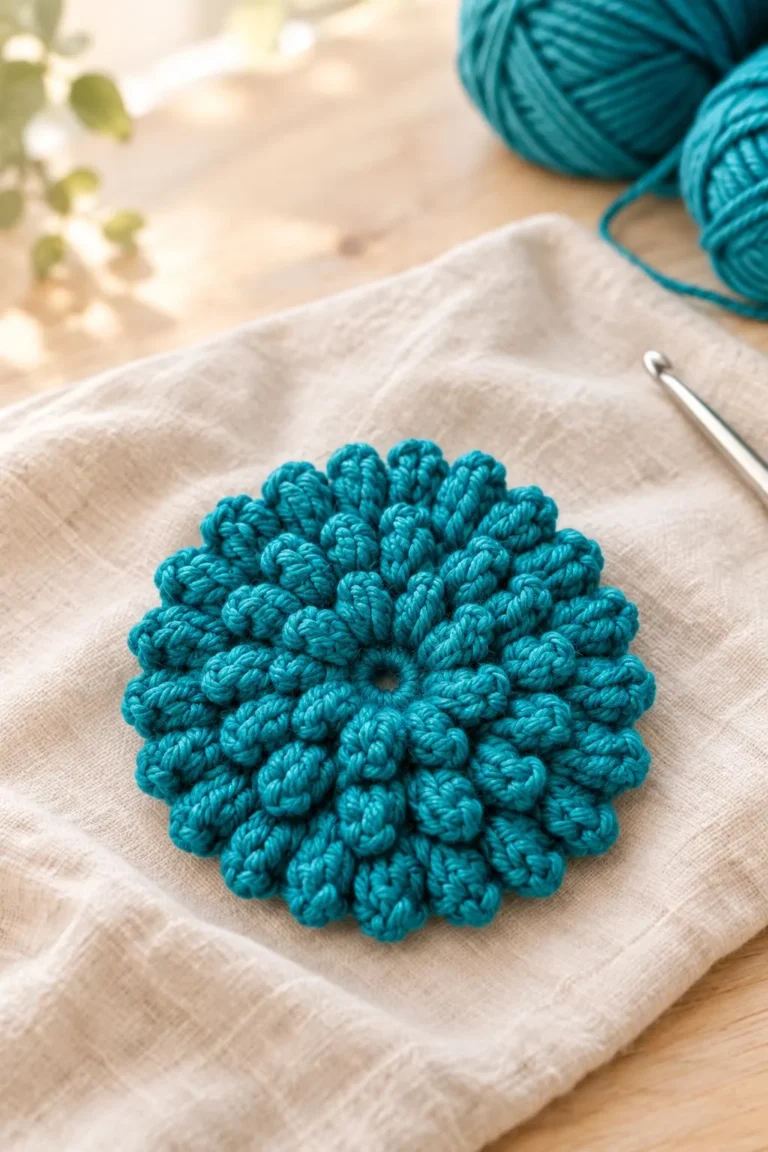
The wagon wheel flower gets its name from its layered look: several round petals overlap around a small center, much like the spokes and rim of an old wheel. Each petal is a neat little circle, and together they build a full, rounded flower with a lovely dimensional feel.
This is a lovely project for anyone who enjoys small, satisfying makes. You can sew it onto hats, bags, scarves, or hair clips, or use it as a gift topper. The full step-by-step tutorial is in the video, and this page is here to help you prepare and crochet with confidence.
In this post
Skill Level
Easy. The petals are built from simple rounds and the joins are straightforward, so this is a great next step after your first few projects.
Wheel Flower Related Posts:
- Crochet Flower Ear Warmer Headband: A Cozy and Elegant Essential
- Crochet Pencil Case: A Cute and Charming Handmade Essential
- Crochet Tote Bag: A Stylish Handmade Staple
- Crochet Bumblebee Amigurumi: A Cute and Charming Handmade Treasure
Materials
- Yarn: a light worsted or DK weight cotton works beautifully here. Cotton holds its shape well and gives the petals a crisp outline.
- Hook: a 3.5 mm to 4 mm hook is a common choice for this yarn weight. Use a size that gives you tight, even stitches.
- Scissors and a yarn or tapestry needle for joining and weaving in ends.
- Optional: a small button or bead if you want to add a bit of extra sparkle to the center.
Stitches and Abbreviations
- sc: single crochet. Insert hook, yarn over, pull up a loop, yarn over and pull through both loops.
- ch: chain. Yarn over and pull through the loop on your hook to make a foundation stitch.
- sl st: slip stitch. Insert hook, yarn over, and pull through both the stitch and the loop on your hook. Useful for joining rounds neatly.
- dc: double crochet. Yarn over, insert into the stitch, pull up a loop, then work off two loops twice.
Pattern Notes
- US terms are used throughout, so check that your pattern matches your abbreviations before you begin.
- Keep your tension relaxed but even, since the petals look best when they are all roughly the same size.
- Changing your hook size or yarn weight will change the flower size, which is a fun way to make different accents.
- Edges may look a little wavy before you block or press them, and that is completely normal.
How It’s Made
- Make the center: you start with a small ring that forms the heart of the flower.
- Build the first layer of petals: round petals are worked around the center and joined as you go.
- Add the second layer: more petals are tucked between and over the first layer for that wheel-like depth.
- Finish the edges: a neat border tidies up the outline of each petal.
- Weave in the ends: secure your loose yarn so the back stays tidy.
For the exact rounds and stitch placement, the video tutorial walks you through each stage step by step.
Assembly and Finishing Tips
- Join your petals with a slip stitch for a clean, almost invisible seam.
- Pull your yarn tails snugly, but not so tight that the petals pucker.
- Give the finished flower a gentle press or light steam block so the petals sit flat and round.
- If you plan to sew the flower onto fabric, use a matching thread and stitch through the center for a secure hold.
Make It Yours
- Try a two-tone look by making the center in a contrasting color.
- Make a small cluster of flowers in mixed shades for a bright hair accessory or bag charm.
- Switch to a finer yarn for dainty flowers, or a chunkier yarn for a bold statement piece.
- Give the flower as a handmade gift, attached to a pin, a headband, or a simple card.
Happy crocheting! Once you’ve made your wagon wheel flower, we’d love to see what you create, so share your project with us.
Follow us on Pinterest and subscribe to the Newsletter so you don’t miss a thing!
Tutorial and photos of this wagon wheel flower by: B.Hooked Crochet.