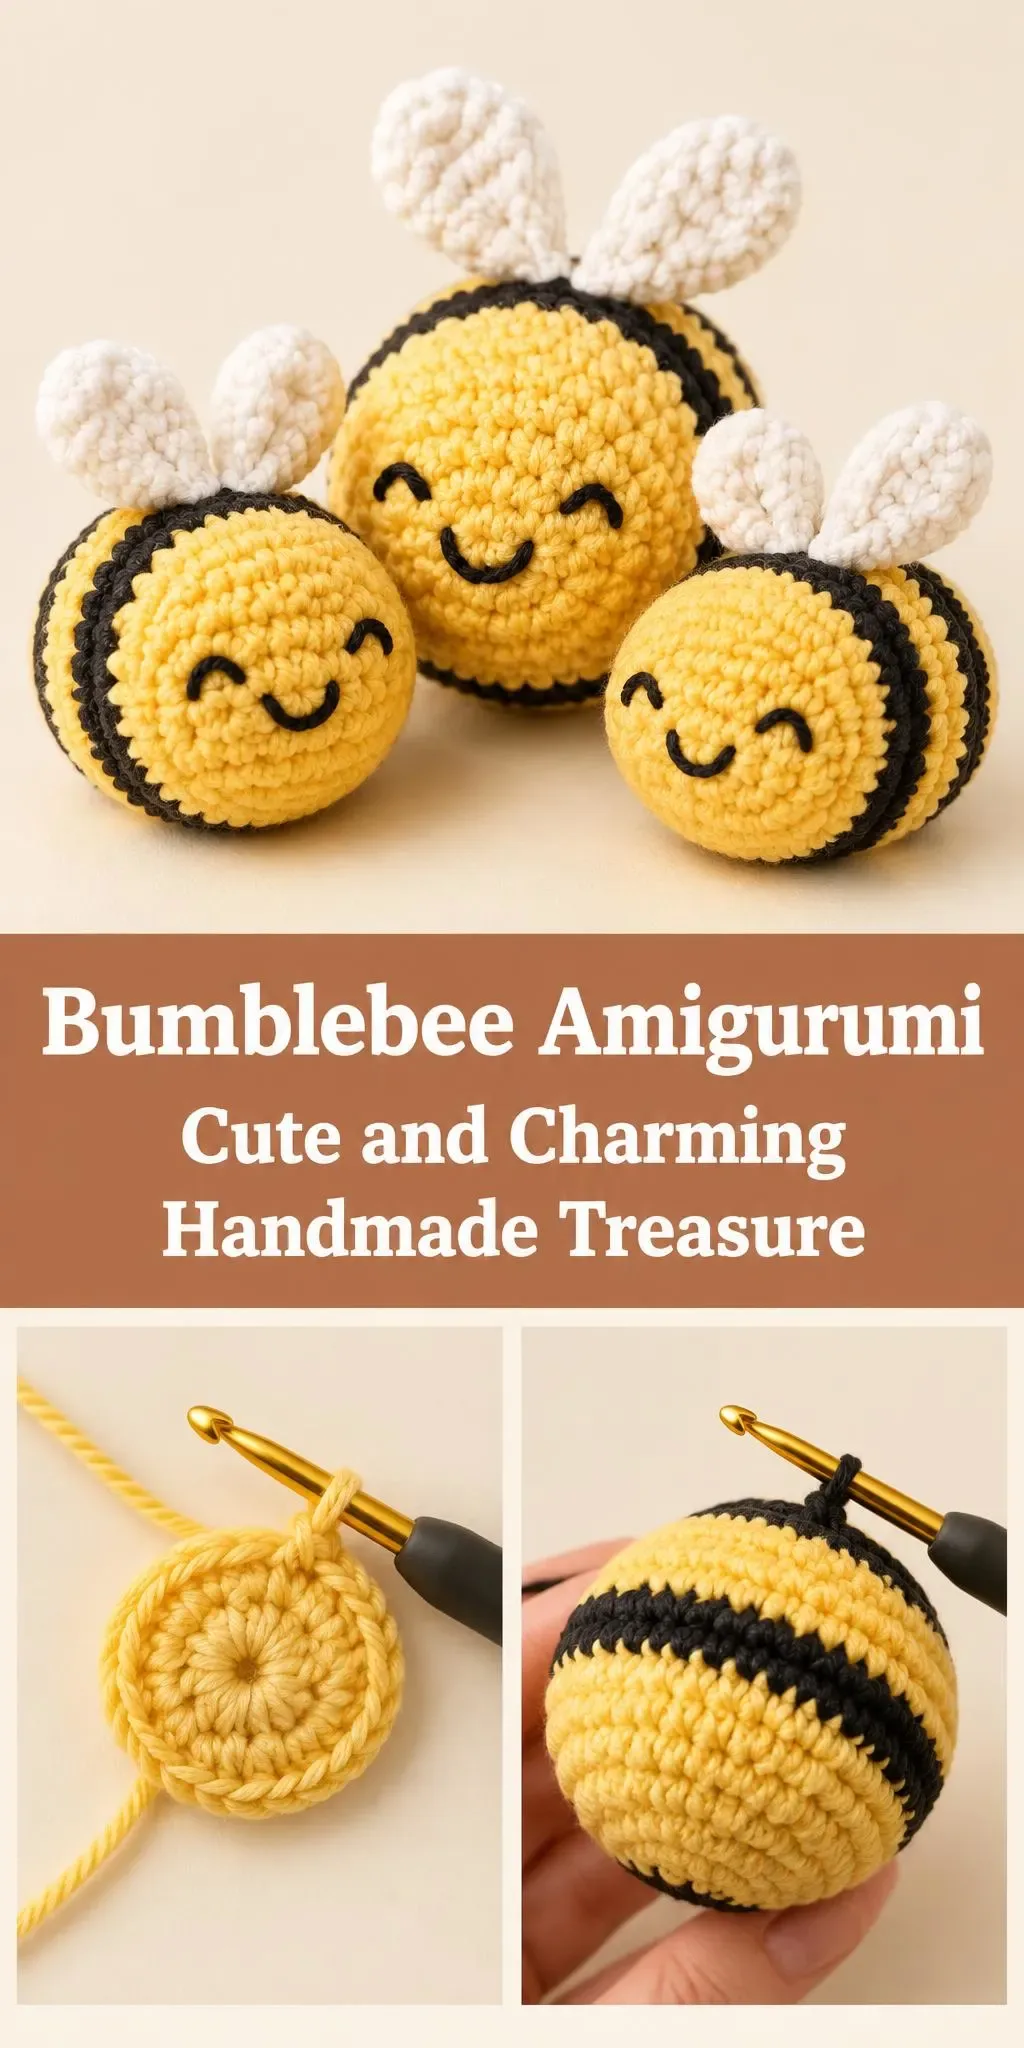
Welcome! Today we’re making a Crochet Bumblebee Amigurumi, and it’s one of the sweetest little projects you can add to your crochet list.
This tiny bee is round, cheerful and easy to hold in one hand. Each one has a happy closed-eye face, and the stripes and little wings give it a lively, playful look. It works well as a desk buddy, a bag charm or a gift for a friend who loves small, cute things.
The bumblebee is worked in soft yarn and can be made in different color combinations, so every one can look a little different. It’s a relaxing make for a weekend or a quick project to pick up between bigger pieces. The full step-by-step tutorial is in the video, and this page is here to help you prepare and crochet with confidence.
In this post
Skill Level
Beginner to Easy. The shape is built in simple rounds of single crochet with color changes and a few small embroidered details, so it’s a friendly choice once you’re comfortable with amigurumi basics.
Bumblebee Amigurumi Related Posts:
- Crochet Halter Top: A Stylish Handmade Staple
- Crochet Nature-Inspired Room Decor: A Charming and Botanical Touch
- Crochet Pencil Case: A Cute and Charming Handmade Essential
- Crochet Mesh Hairband: A Light and Airy Accessory
Materials
- Yarn: a soft worsted weight (category 4) acrylic yarn works well for this size. Choose one in your main body color, plus a contrasting color for the stripes and a white or cream for the wings and face details.
- Hook: a 3.5 mm or 4 mm hook is a common choice for worsted yarn and gives a firm fabric that holds stuffing well.
- Scissors and a yarn or tapestry needle for joining, weaving in ends and sewing on details.
- Polyester fiberfill for stuffing, so the bee stays round and plump.
- Black yarn or embroidery thread for the eyes and smile.
- Stitch markers to keep track of your rounds.
Stitches and Abbreviations
- sc: single crochet. Insert the hook, yarn over, pull up a loop, then yarn over and pull through both loops on the hook.
- inc: increase. Work two stitches into the same stitch to grow the round.
- dec: decrease. Work two stitches together to shrink the round.
- slst: slip stitch. Insert the hook, yarn over, and pull through both the stitch and the loop on the hook.
- ch: chain. Yarn over and pull through the loop on the hook to make a foundation.
Pattern Notes
- US terms are used throughout, so check that your abbreviations match the pattern you follow.
- Work in a continuous spiral unless your pattern says to join each round, and use a stitch marker to mark the start.
- Stuff the body firmly as you go, then add a little more near the end so the shape stays smooth.
- Your tension may differ from the pattern, so adjust your hook size if the fabric feels too loose or too tight.
- Edges can look a little uneven before you tidy up the ends, and that is completely normal.
How It’s Made
- Start with a small circle to form the base of the body.
- Build up the round body in rounds, adding stitches and then keeping the shape even.
- Change colors to create the bee’s stripes as you work up the body.
- Stuff the body while you work, then close the opening neatly.
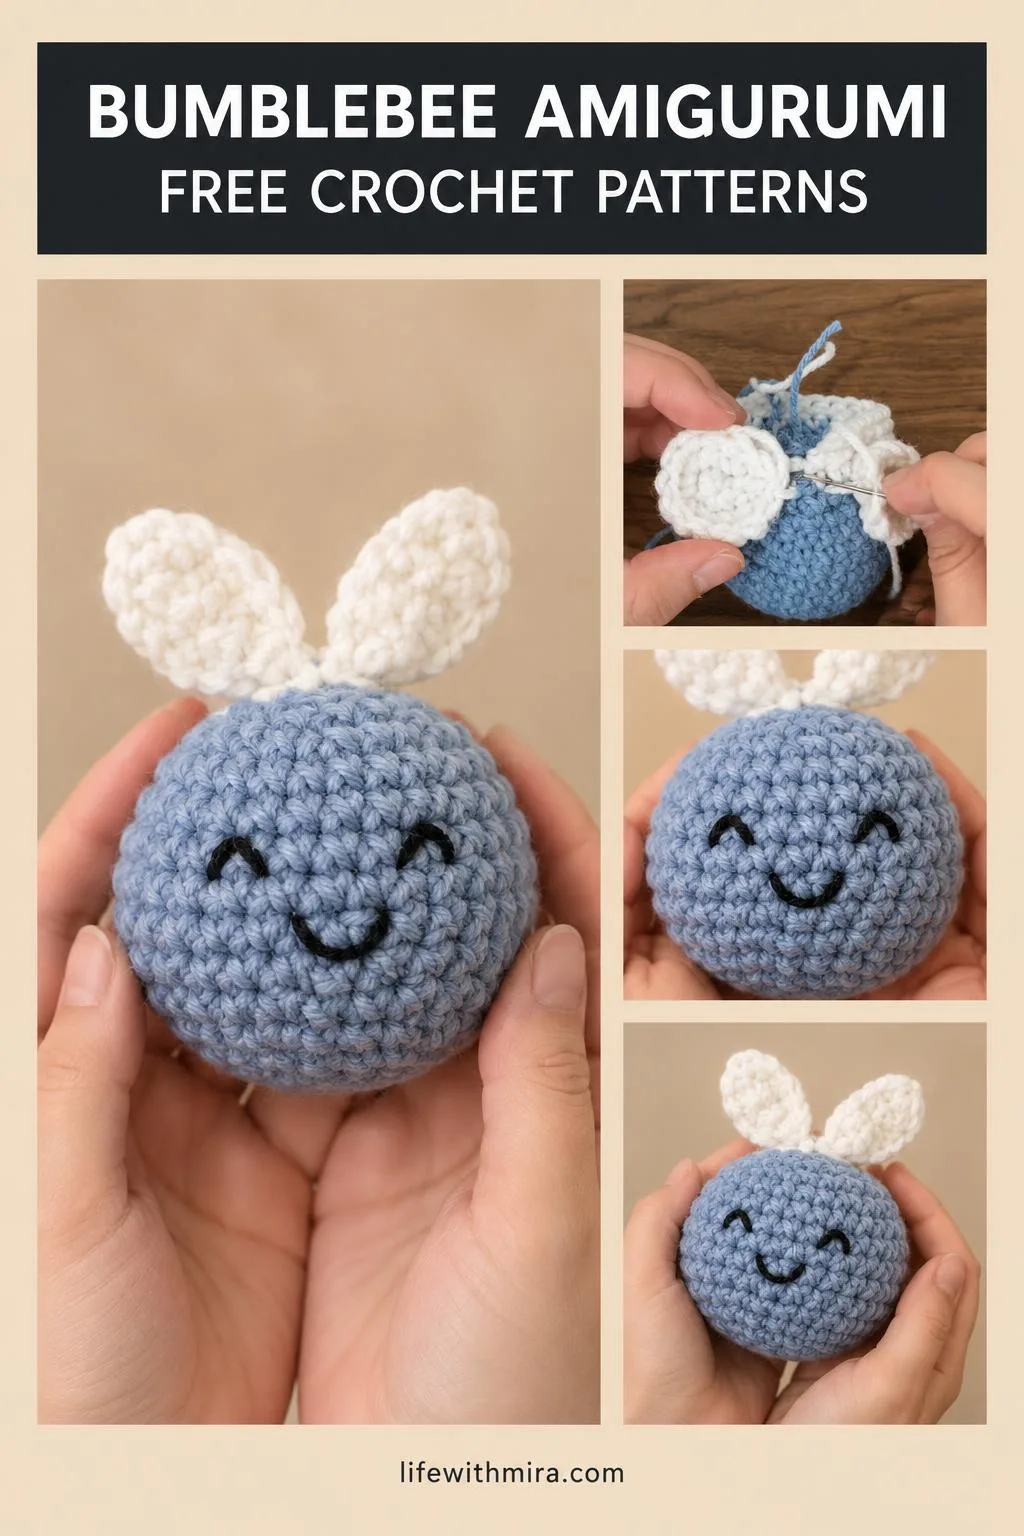
- Make the small wings and attach them to the top of the body.
- Embroider the eyes and smile onto the face area.
- Finish by weaving in all your ends so the bee stays tidy and secure.
For the exact rounds and color change points, watch the video tutorial and follow along at your own pace.
Assembly and Finishing Tips
Stuff the body in small amounts and check the shape often, because the bee is round and needs even filling to look its best. When you attach the wings, make sure they sit at the same height on each side so your bee looks balanced. Use a yarn needle to sew the wings on securely, passing the thread through the body a few times so they don’t wobble. For the face, place the eyes and smile before you close the body fully, since it’s easier to adjust their position while the stuffing is still easy to move. Weave in your ends carefully and pull them snug, but not so tight that the fabric puckers. A small trim after weaving will keep everything neat.
Make It Yours
Try different color combinations, such as pastel blue with cream, or soft pink with white, for a bee that suits your style. You can make your bee a little bigger or smaller by changing the yarn weight or hook size. Add a keyring loop or a strap to turn it into a charm for your bag. A set of Crochet Bumblebee Amigurumi in different colors also makes a lovely gift for a friend.
Happy crocheting, and I hope your little bee brings a smile to your day. Share your finished project with us, we’d love to see it!
Follow us on Pinterest and subscribe to the Newsletter so you don’t miss a thing!
Tutorial and photos of this bumblebee amigurumi by: VivCrochets.