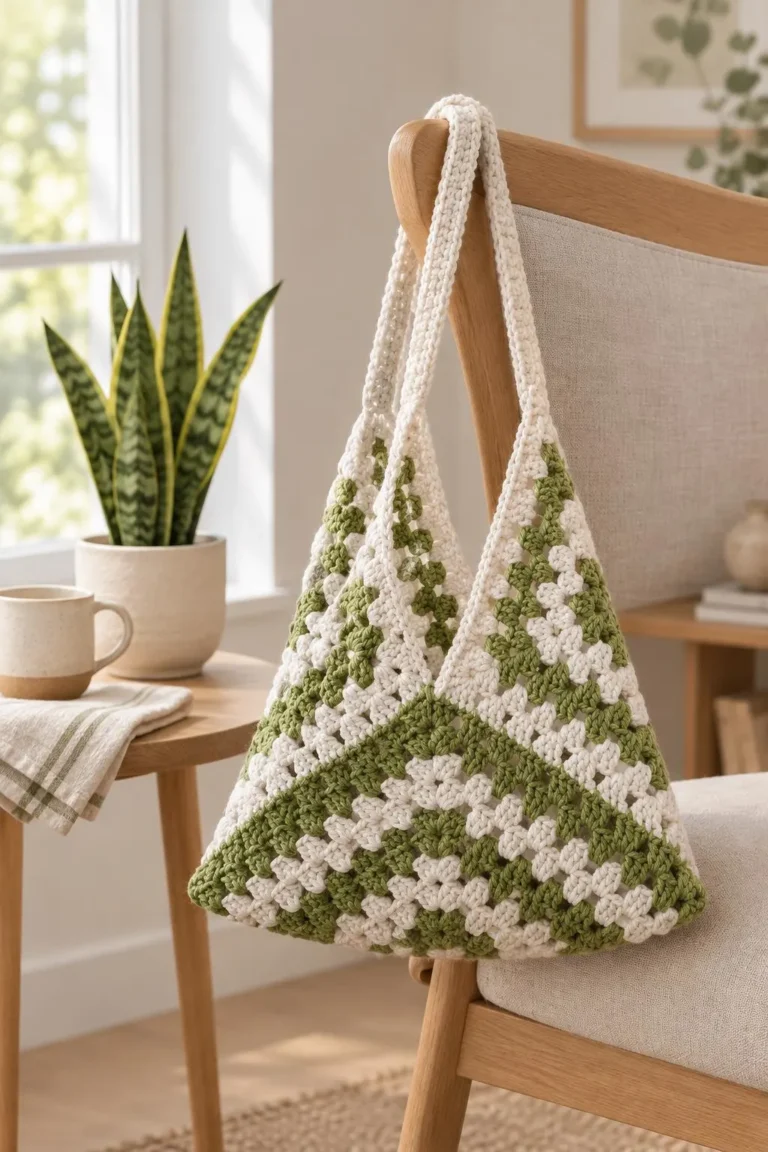
Welcome! Today we’re making a simple crochet tote bag that you’ll reach for again and again.
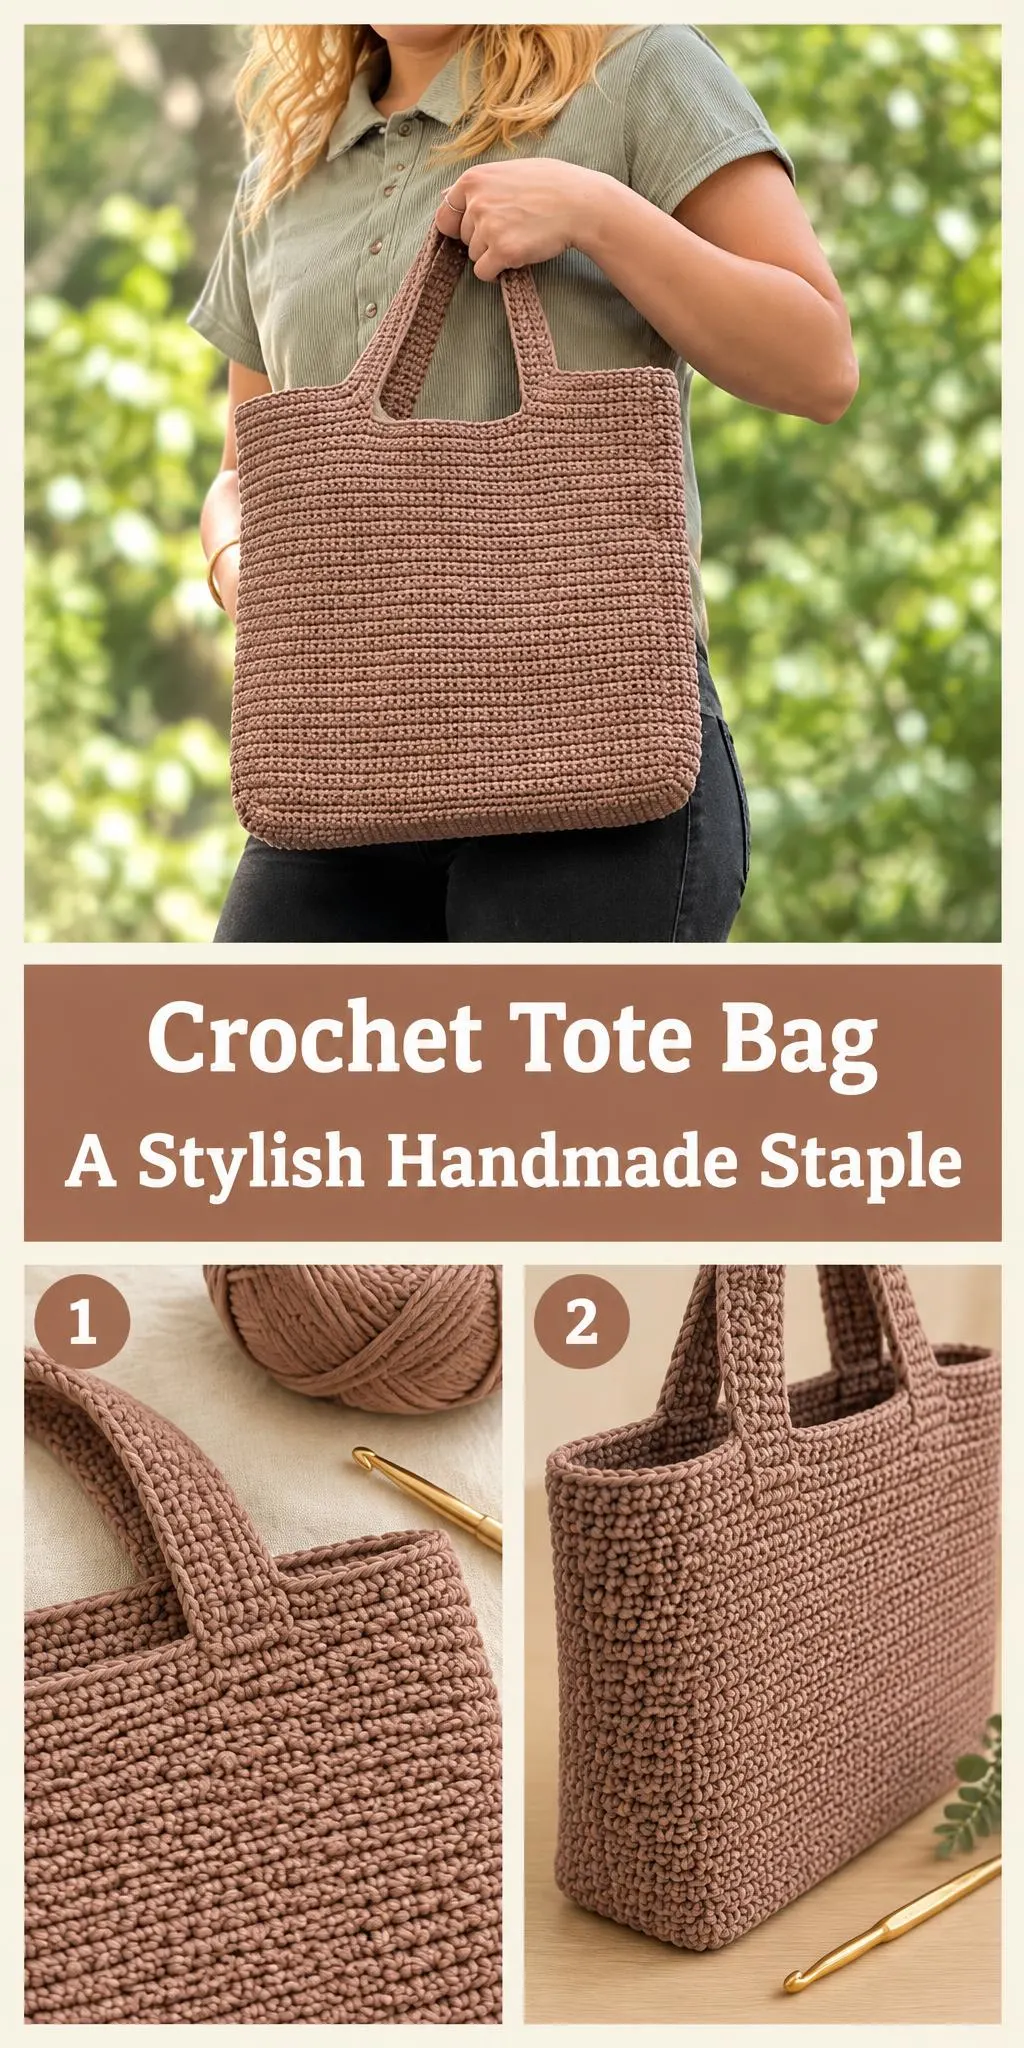
What makes this crochet tote bag special is its clean, sturdy look. The rectangular body has a dense, textured stitch that gives it structure, so it holds its shape even when you fill it with groceries, books or a water bottle. The two long handles are worked right into the top edge, which keeps the bag feeling simple and well balanced.
This project suits anyone who wants a practical everyday bag that still looks handmade and polished. It is a lovely choice for spring and summer errands, beach days, or a casual lunch out. Once you have made one, you may find yourself making another in a different shade. The full step-by-step tutorial is in the video, and this page is here to help you prepare and crochet with confidence.
In this post
Skill Level
Intermediate. The body is worked in a dense stitch pattern that needs even tension, and the handles and edging call for steady counting and neat joins.
Tote Bag Related Posts:
- Crochet Blooming Roses: A Charming and Lovely Handmade Accent
- Crochet Emoji Ball: A Playful and Charming Handmade Friend
- Crochet Mini Heart Appliques: A Charming Handmade Accent
- Crochet Cardigan and Babydoll Top: A Cozy and Charming Handmade Set
Materials
- Yarn: a medium weight cotton or cotton blend yarn (worsted or Aran weight is a good starting point). Cotton holds its shape well and softens with use, which suits a tote that will carry heavy loads.
- Hook: a hook size that matches your yarn label, usually around 5 mm to 6 mm for worsted cotton. A slightly smaller hook gives a firmer fabric.
- Scissors and a yarn or tapestry needle for weaving in ends and finishing.
- Stitch markers to keep track of your starting point as you work.
Stitches and Abbreviations
- sc: single crochet. Insert the hook, yarn over and pull up a loop, then yarn over and pull through both loops on the hook.
- dc: double crochet. Yarn over, insert the hook, pull up a loop, then work off two loops twice.
- ch: chain. Yarn over and pull through the loop on your hook to make a foundation stitch.
- sl st: slip stitch. Insert the hook, yarn over, and pull through both the stitch and the loop on your hook, used for joining and finishing.
Pattern Notes
- US crochet terms are used throughout, so check your abbreviations before you begin.
- Keep your tension even, since the body relies on a firm, consistent fabric to hold its shape.
- You can adjust the bag’s height or width by working more or fewer rounds or rows, as long as you keep track of your count.
- Stitches may look a little uneven before finishing, and that is completely normal.
- A stitch marker placed at the start of each round makes it much easier to stay on track.
How It’s Made
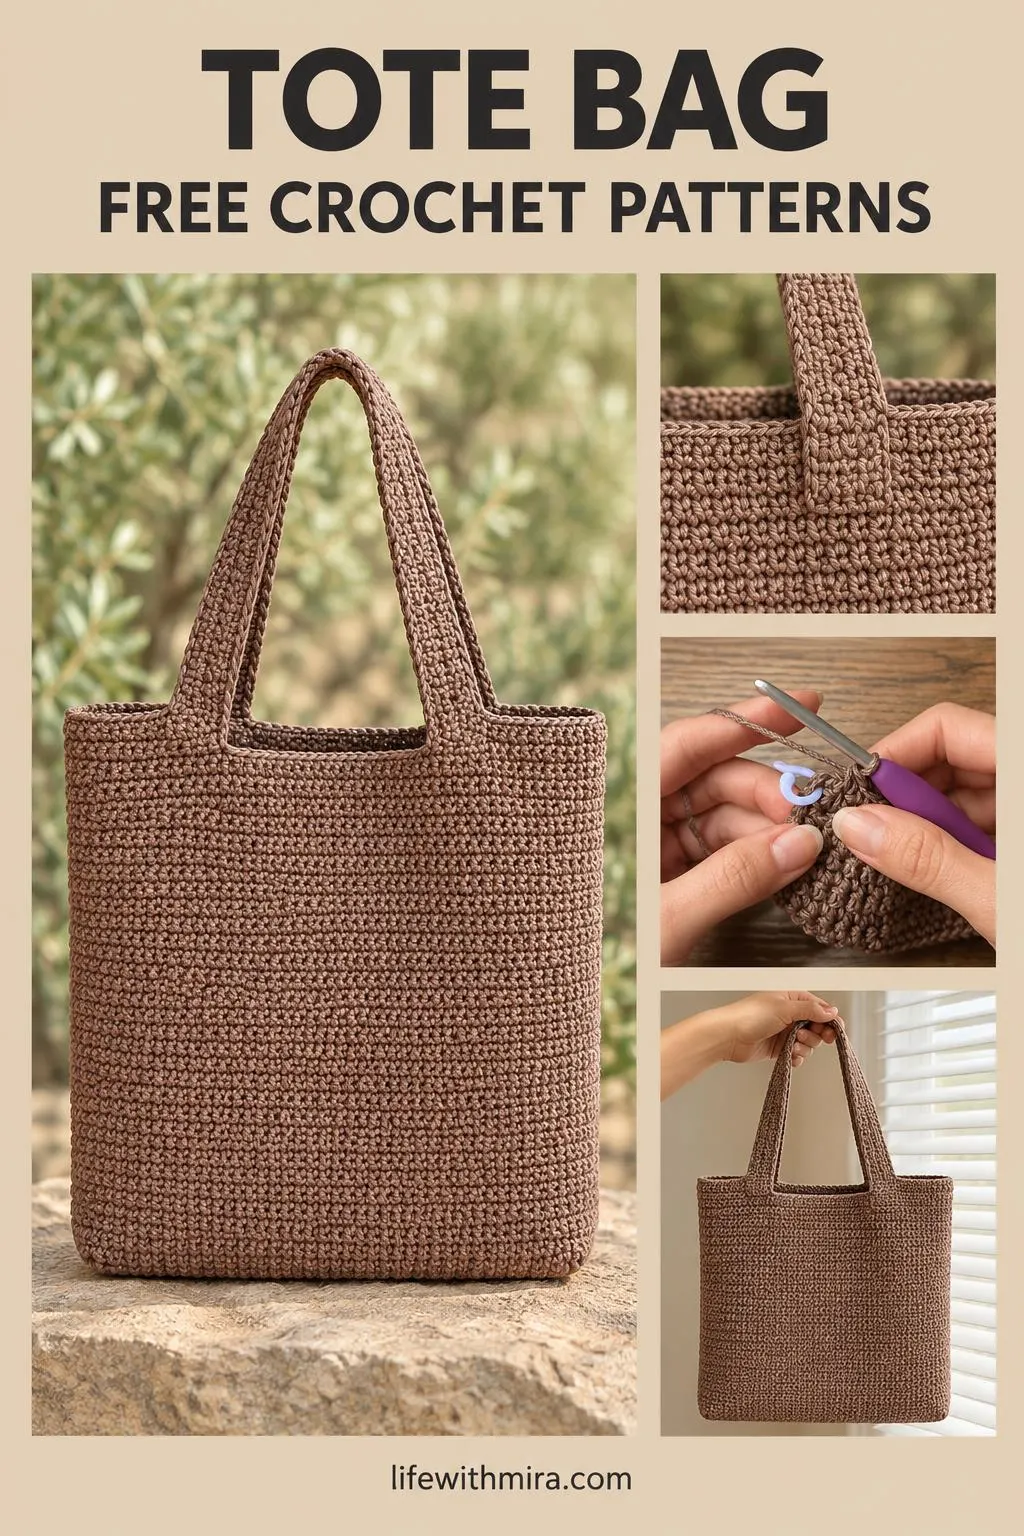
- Work the flat base, which gives the bag its firm bottom.
- Build up the sides by working around the base in rounds or rows.
- Shape the top edge and make the opening.
- Work the two long handles and attach them neatly to the top edge.
- Add a finishing border to tidy the rim and strengthen the top.
- Weave in all loose ends for a clean inside and outside.
Check the video for the exact rounds and stitch placement as you work through each stage.
Assembly and Finishing Tips
Take your time when attaching the handles. Pin them in place first so you can check that they sit evenly on both sides of the bag before you stitch them down.
Weave in your ends carefully along the stitches rather than cutting them right away, so your seams stay strong when the bag is loaded.
If your fabric feels a little floppy, a gentle wash and a light block while damp will help the bag keep its shape.
Make It Yours
- Try two-tone colors, such as a cream body with a camel or sage handle for a soft contrast.
- Make a smaller version in a lighter yarn for a market bag or a project bag.
- Experiment with a different edging, like a row of picot stitches, for a more decorative rim.
- Make one in a bold color as a thoughtful gift for a friend who loves to shop at the farmers market.
Happy crocheting! I hope you enjoy making this bag as much as I think you will, and I’d love to see your finished project.
Follow us on Pinterest and subscribe to the Newsletter so you don’t miss a thing!
Tutorial and photos of this tote bag by: VivCrochets.