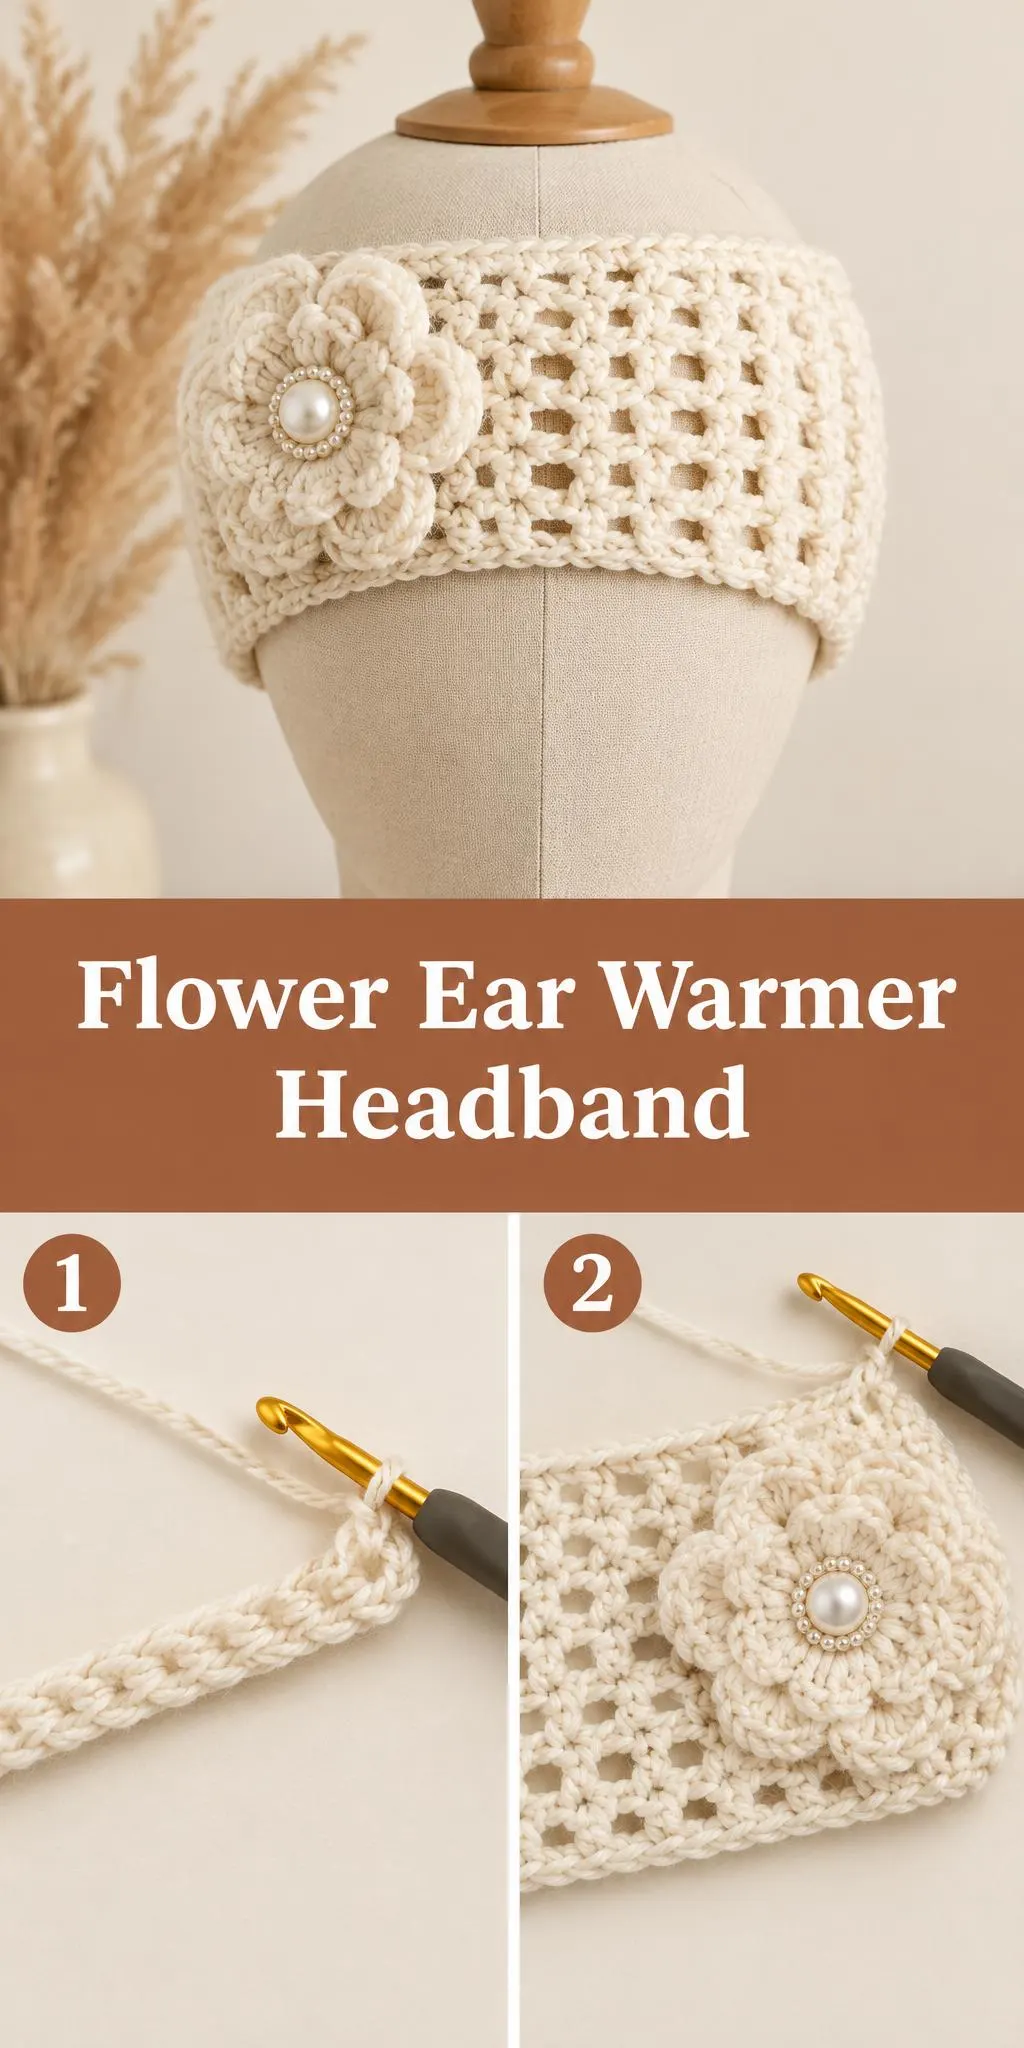
Welcome to lifewithmira.com! Today we’re making a cozy Crochet Flower Ear Warmer Headband that is as pretty as it is practical.
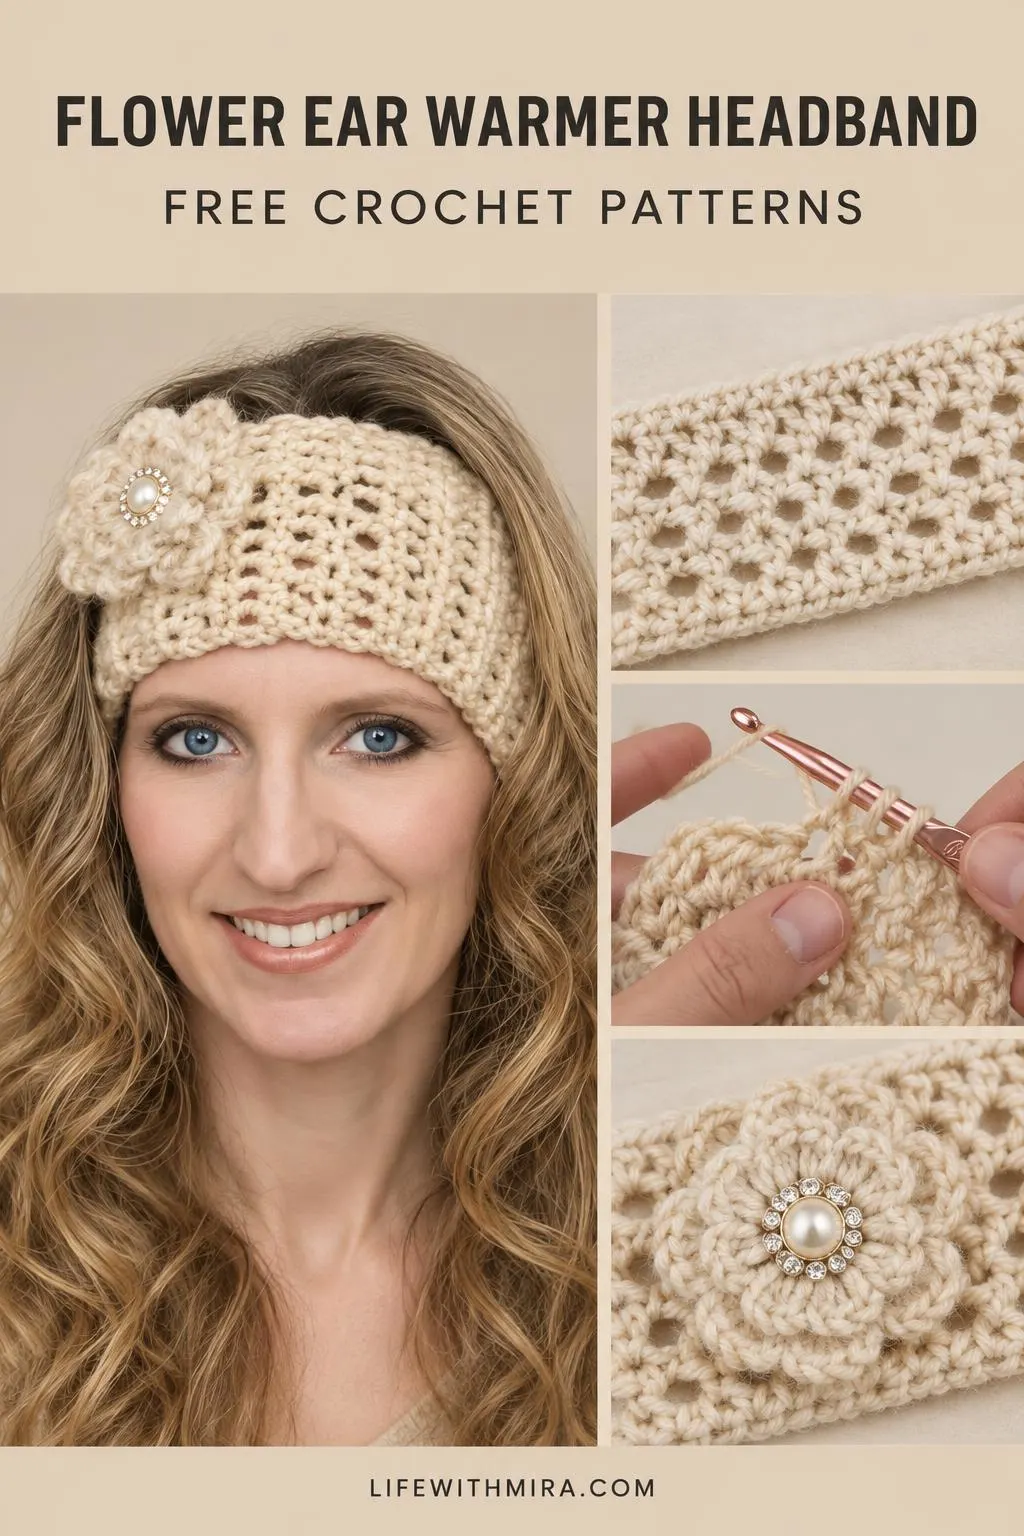
This ear warmer is a lovely take on a simple headband. A soft, textured band keeps your ears warm on chilly days, while a crocheted flower with a sparkly pearl center adds a touch of elegance to the side. It works well for cool mornings, winter walks, or any time you want a little extra warmth without a bulky hat.
It is a great project for anyone who wants a quick, satisfying make with a finished look that feels special. The full step-by-step tutorial is in the video, and this page is here to help you prepare, understand the stitches, and crochet with confidence.
In this post
Skill Level
Intermediate. The band uses a textured stitch pattern that needs steady tension and careful counting, and the flower adds a bit of extra shaping and finishing work.
Warmer Headband Related Posts:
- Crochet Heart Granny Square: A Sweet and Charming Handmade Accent
- Crochet Rainbow Stitch Coaster: A Bright and Cheerful Handmade Essential
- Crochet Granny Square Joining Techniques: A Stylish Handmade Staple
- Crochet Yarn Tassel Keychains: A Vibrant and Handmade Accessory
Materials
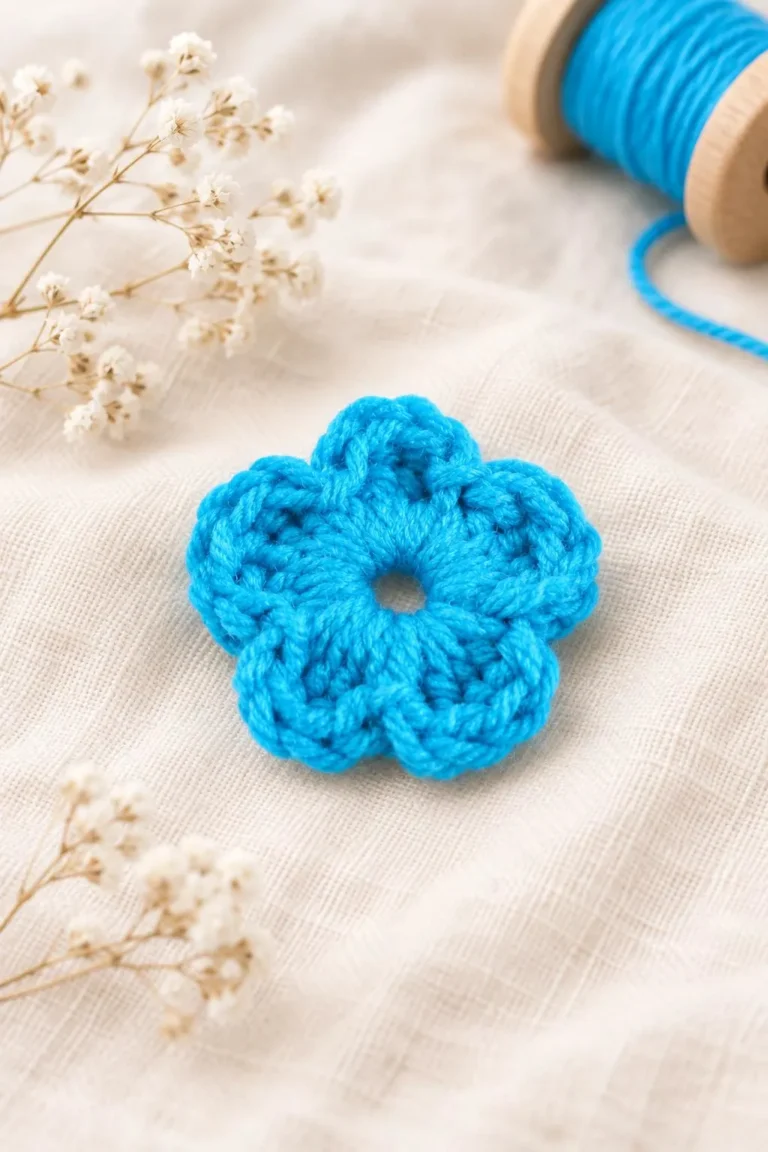
- Yarn: A soft worsted weight (weight 4) yarn in a light, neutral shade works beautifully. Cream and oatmeal tones give the classic, elegant look shown here, and a smooth or lightly textured yarn holds the stitch pattern well. BULLET:Hook: A US H-8 (5 mm) hook is a common choice for worsted weight yarn. Adjust up or down if your gauge feels tight or loose. BULLET:Scissors and a yarn or tapestry needle for weaving in ends and joining pieces. BULLET:Flower embellishment: A small crocheted flower in a matching or contrasting yarn, plus a decorative button or pearl-and-rhinestone centre to finish it. BULLET:Sewing thread and a needle, if you prefer to attach the flower by stitching it on securely.
Stitches and Abbreviations
- sc: single crochet. Insert the hook, yarn over, pull up a loop, yarn over and pull through both loops. BULLET:dc: double crochet. Yarn over, insert the hook, pull up a loop, then work off two loops twice. BULLET:ch: chain. Yarn over and pull through the loop on the hook to make a foundation or turning chain. BULLET:sl st: slip stitch. Insert the hook, yarn over, and pull through both the stitch and the loop on the hook. Used for joining and neat finishing.
Pattern Notes
- This page uses US crochet terms throughout. BULLET:Check your gauge before you start, since the fit of an ear warmer depends on how firmly you crochet. BULLET:Stitch patterns with open spaces can look uneven before blocking, which is completely normal. BULLET:To make the band wider or narrower, you can adjust the foundation length, keeping the stitch pattern in mind. BULLET:Keep the ends of your yarn long enough to weave in neatly later.
How It’s Made
- Foundation: You begin by making a chain long enough to wrap comfortably around your head. BULLET:Band body: The textured stitch pattern is worked back and forth across the chain, building up the width of the headband. BULLET:Joining the band: The short ends are brought together and joined so the band forms a snug loop or stays flat, depending on the style you choose. BULLET:Flower motif: A small flower is crocheted separately, with petals worked in rounds and a neat centre. BULLET:Finishing edges: A simple border or slip stitch edging tidies up the top and bottom of the band. BULLET:Attaching the flower: The flower is secured to one side of the band, and the decorative button or pearl centre is added last.
You’ll find the exact rounds and rows in the video tutorial.
Assembly and Finishing Tips
Weave in all your ends before you attach the flower, so the back of your work stays tidy. Use a yarn needle and run the tail through several stitches in both directions.
Block your finished band gently with light steam or a damp towel. This evens out the stitches and helps the texture show up nicely.
Sew the flower on with a strong thread and a few small stitches through the base of the flower and into the band. This keeps it secure when you wear the headband.
Keep your edges straight by counting stitches at each end of the band. Small adjustments now make a big difference to the finished look.
Make It Yours
Try a soft grey or a dusty blue for a cool winter look, or a rich rust for autumn.
Adjust the width of the band for a bolder or more delicate style.
Swap the pearl centre for a fabric button, a wooden bead, or a small bow for a different feel.
Make a set in matching colours as thoughtful gifts for friends, teachers, or your favourite walking buddy.
Happy crocheting! We would love to see your finished Crochet Flower Ear Warmer Headband, so share your project with us.
Follow us on Pinterest and subscribe to the Newsletter so you don’t miss a thing!
Tutorial and photos of this flower ear warmer headband by: naztazia.