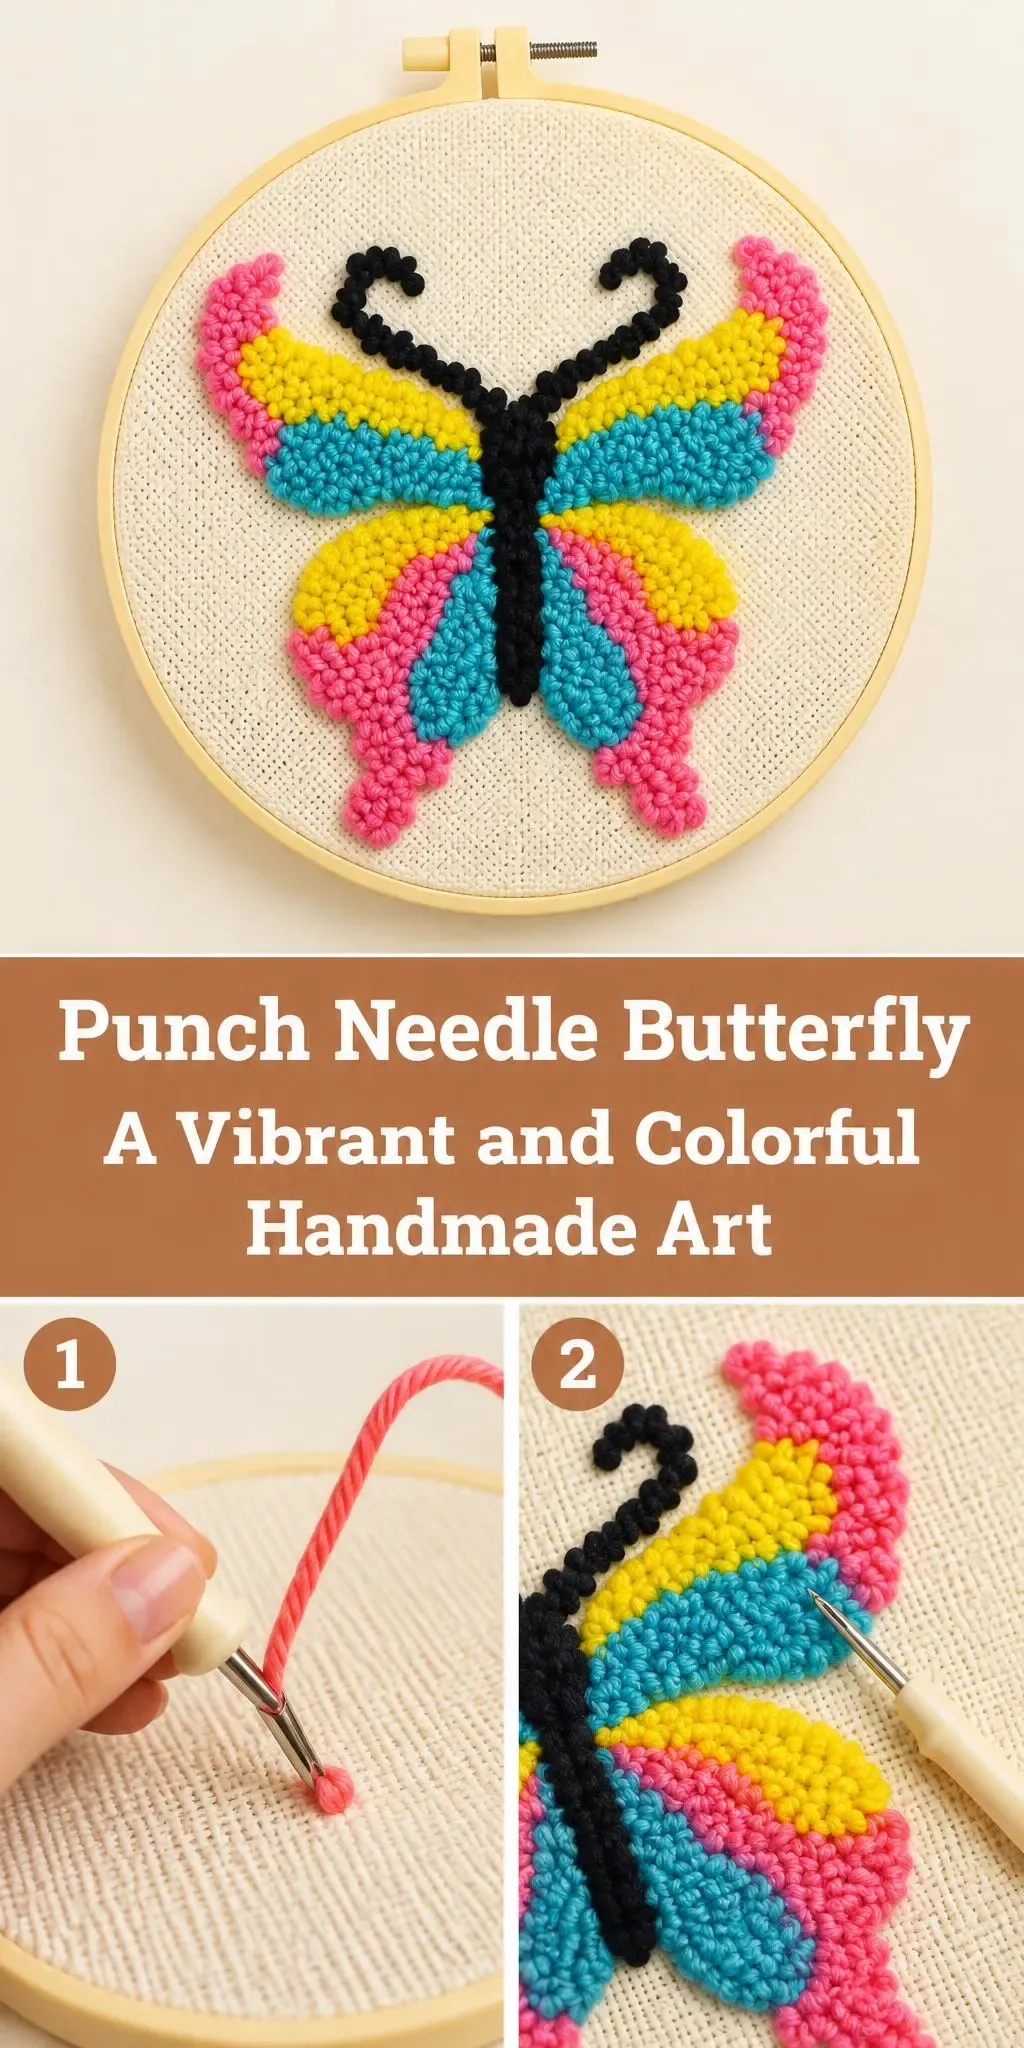
Welcome! Today we’re making a bright and cheerful Crochet Punch Needle Butterfly, a little piece of handmade art that brings summer colors into any room.
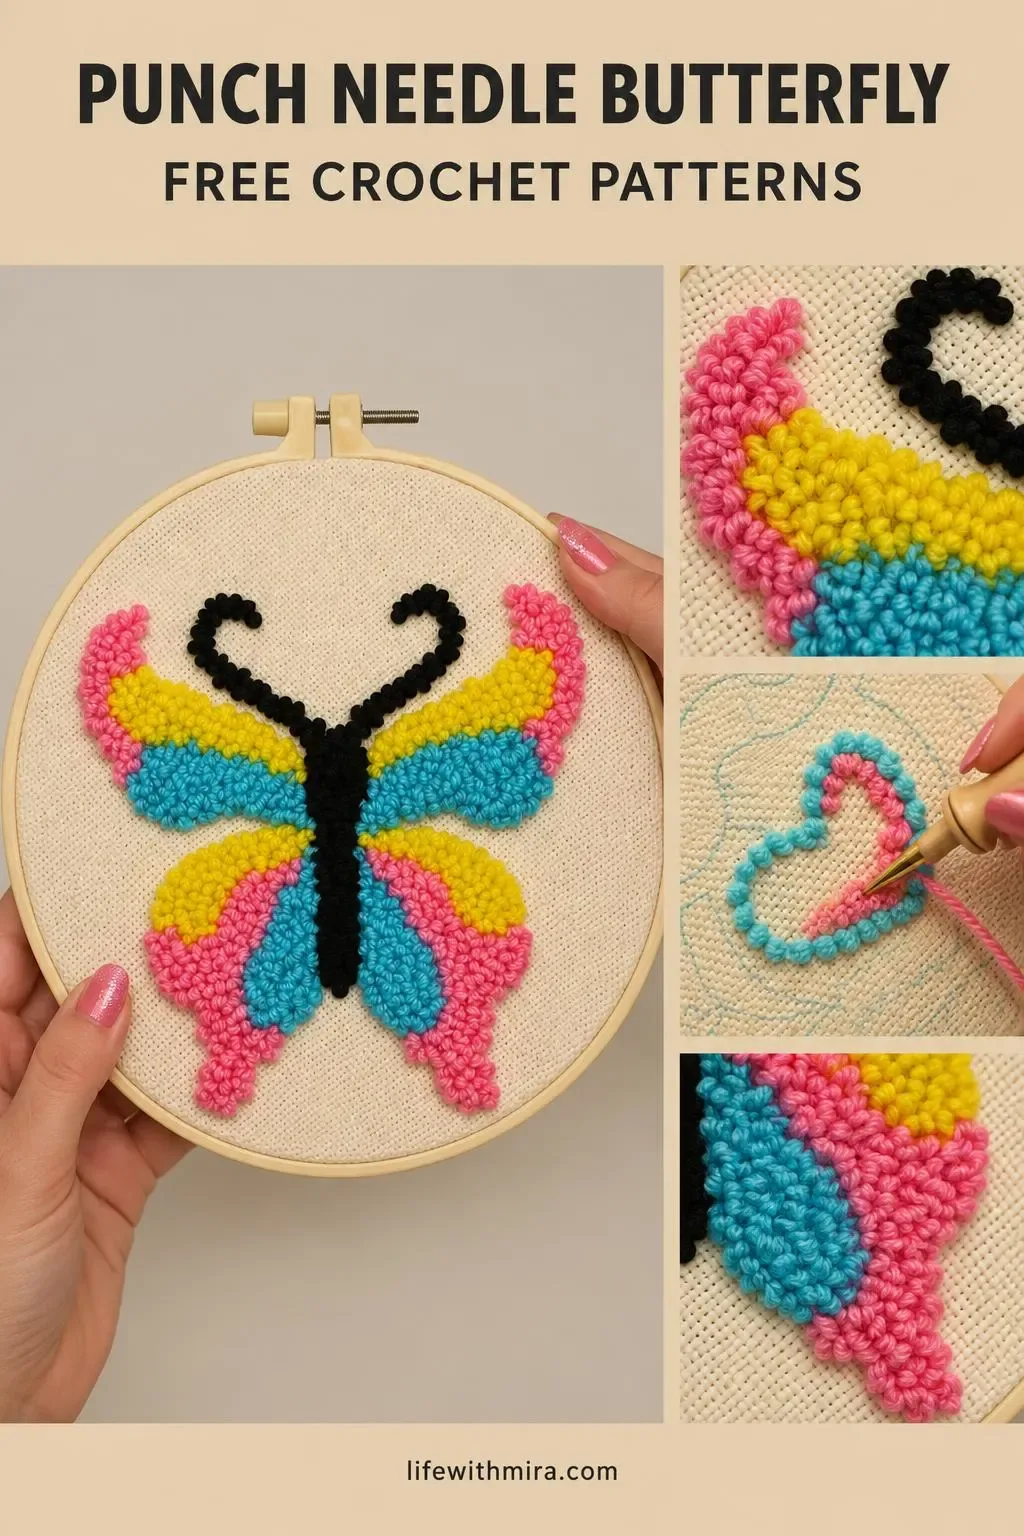
This butterfly is made with a punch needle style of stitching worked over a sturdy fabric base, so the yarn forms soft, fluffy loops that stand up from the surface. The wings are built from bold bands of yellow, turquoise, and pink, with a sleek black body and curled black antennae that give it a lively, graphic look.
It is a lovely project for anyone who loves color and wants something to hang on the wall or give as a gift. The full step-by-step tutorial is in the video, and this page is here to help you prepare, understand the stitches, and finish your piece neatly.
In this post
Skill Level
Beginner to Easy. The work is mostly filling in shapes with loops, and the main challenge is keeping your tension even and your color blocks tidy.
Needle Butterfly Related Posts:
- Crochet Ribbed Beanie: A Cozy and Stylish Winter Essential
- Crochet Shoulder Bag: An Elegant Handmade Accessory
- Crochet Mesh Cardigan: A Light and Airy Wardrobe Staple
- Crochet Jacob’s Ladder Stitch Blanket: A Textured and Eye-Catching Handmade Treasure
Materials
- Yarn: a medium weight (category 4) acrylic or wool blend works well. Choose a soft, smooth yarn in yellow, turquoise, pink, and black so the loops hold their shape and the colors stay bright. BULLET:Hoop or frame: a 7 to 8 inch embroidery hoop keeps your base fabric taut while you work. BULLET:Base fabric: a sturdy, evenly woven cream or natural fabric with a clear grid, such as Aida cloth or a punch needle monk’s cloth. BULLET:Punch needle: a standard tool, either a hollow-needle tool or a crochet-style punch needle. Pick a gauge that suits your yarn. BULLET:Transfer pen or pencil: for marking the butterfly outline on your base fabric. BULLET:Scissors and a yarn or tapestry needle: for trimming loops and weaving in ends.
Stitches and Abbreviations
- Punch needle loop stitch: the main technique. Push the needle through the fabric, let the yarn feed through the hollow tip, then lift to form a loop on the back side. BULLET:Loop height: the length of loop you set on your tool. Keep it consistent within each color block for an even surface. BULLET:Trim: cutting the tops of loops to create a plush, cut-pile finish, used on some sections of the wings.
Pattern Notes
- Keep your tool moving steadily and avoid pulling the fabric as you work. BULLET:Work one color block at a time, and finish one section before starting the next to keep edges clean. BULLET:Loops may look slightly uneven at first. Gentle trimming and steaming the back can even them out. BULLET:Stay within the outline you have traced so the wing shapes remain clear and balanced.
How It’s Made
- Transfer the butterfly outline onto your base fabric and secure it in the hoop. BULLET:Work the black body and curled antennae first to set the central line of the design. BULLET:Fill the upper wings in bands of yellow, then turquoise, then pink along the outer edge. BULLET:Fill the lower wings with the same color order, keeping the bands parallel to the body. BULLET:Add the pink edging along the outer wing tips for a finished, framed look. BULLET:Trim any uneven loops and tidy the edges of each color block. BULLET:Remove the piece from the hoop, steam the back gently, and check the shape.
For the exact stitching order and technique, follow along with the video tutorial.
Assembly and Finishing Tips
- Use a fresh needle or tool tip for crisp, even loops in your brightest colors. BULLET:When changing colors, cut the yarn and start the new color at the edge of the shape for neat transitions. BULLET:Weave in all loose ends on the back using a tapestry needle, then trim close. BULLET:Block the finished piece by steaming the back lightly, never pressing the loops flat on the front. BULLET:Frame it in a hoop or a shadow box to protect the loops and keep the shape flat.
Make It Yours
- Swap the palette for soft pastels, deep jewel tones, or a monochrome look in shades of one color. BULLET:Make a larger butterfly for a wall statement, or a smaller one for a set of matching hoops. BULLET:Add a loop-free border or a simple cord for hanging. BULLET:Give it as a gift for a friend who loves bright colors or garden-inspired decor.
Happy crocheting, and we would love to see your finished Crochet Punch Needle Butterfly!
Follow us on Pinterest and subscribe to the Newsletter so you don’t miss a thing!
Tutorial and photos of this punch needle butterfly by: naztazia.