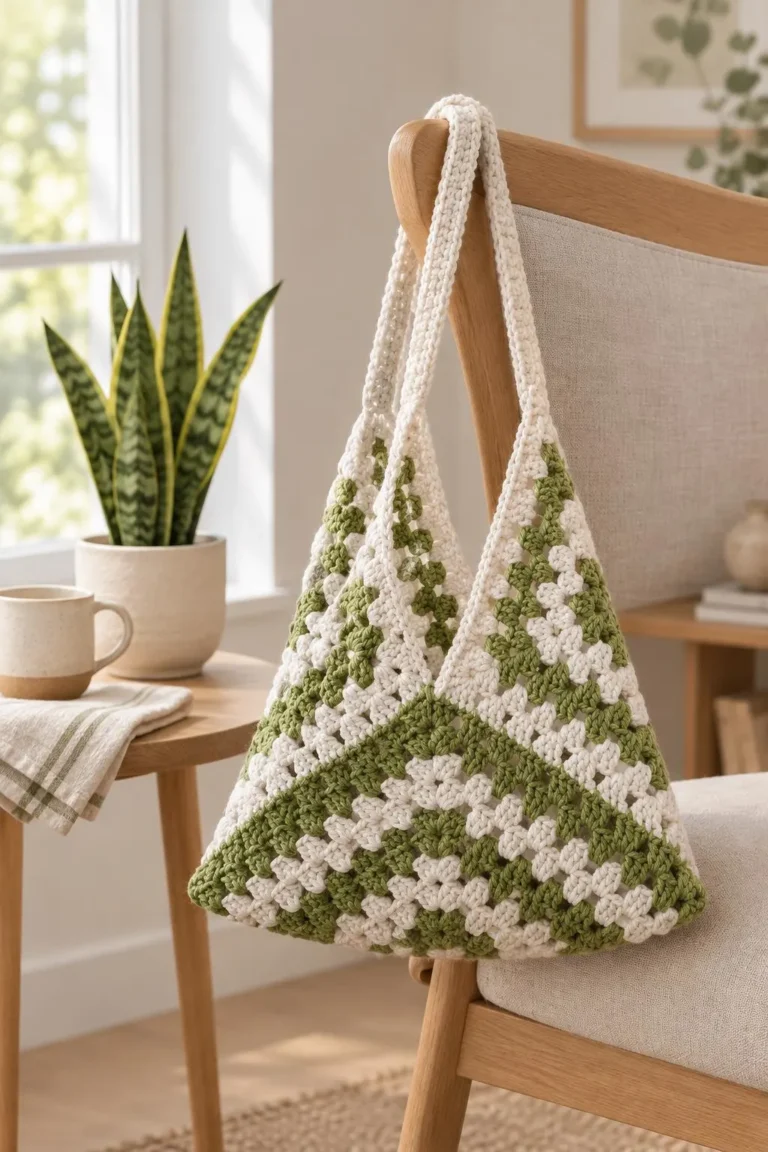
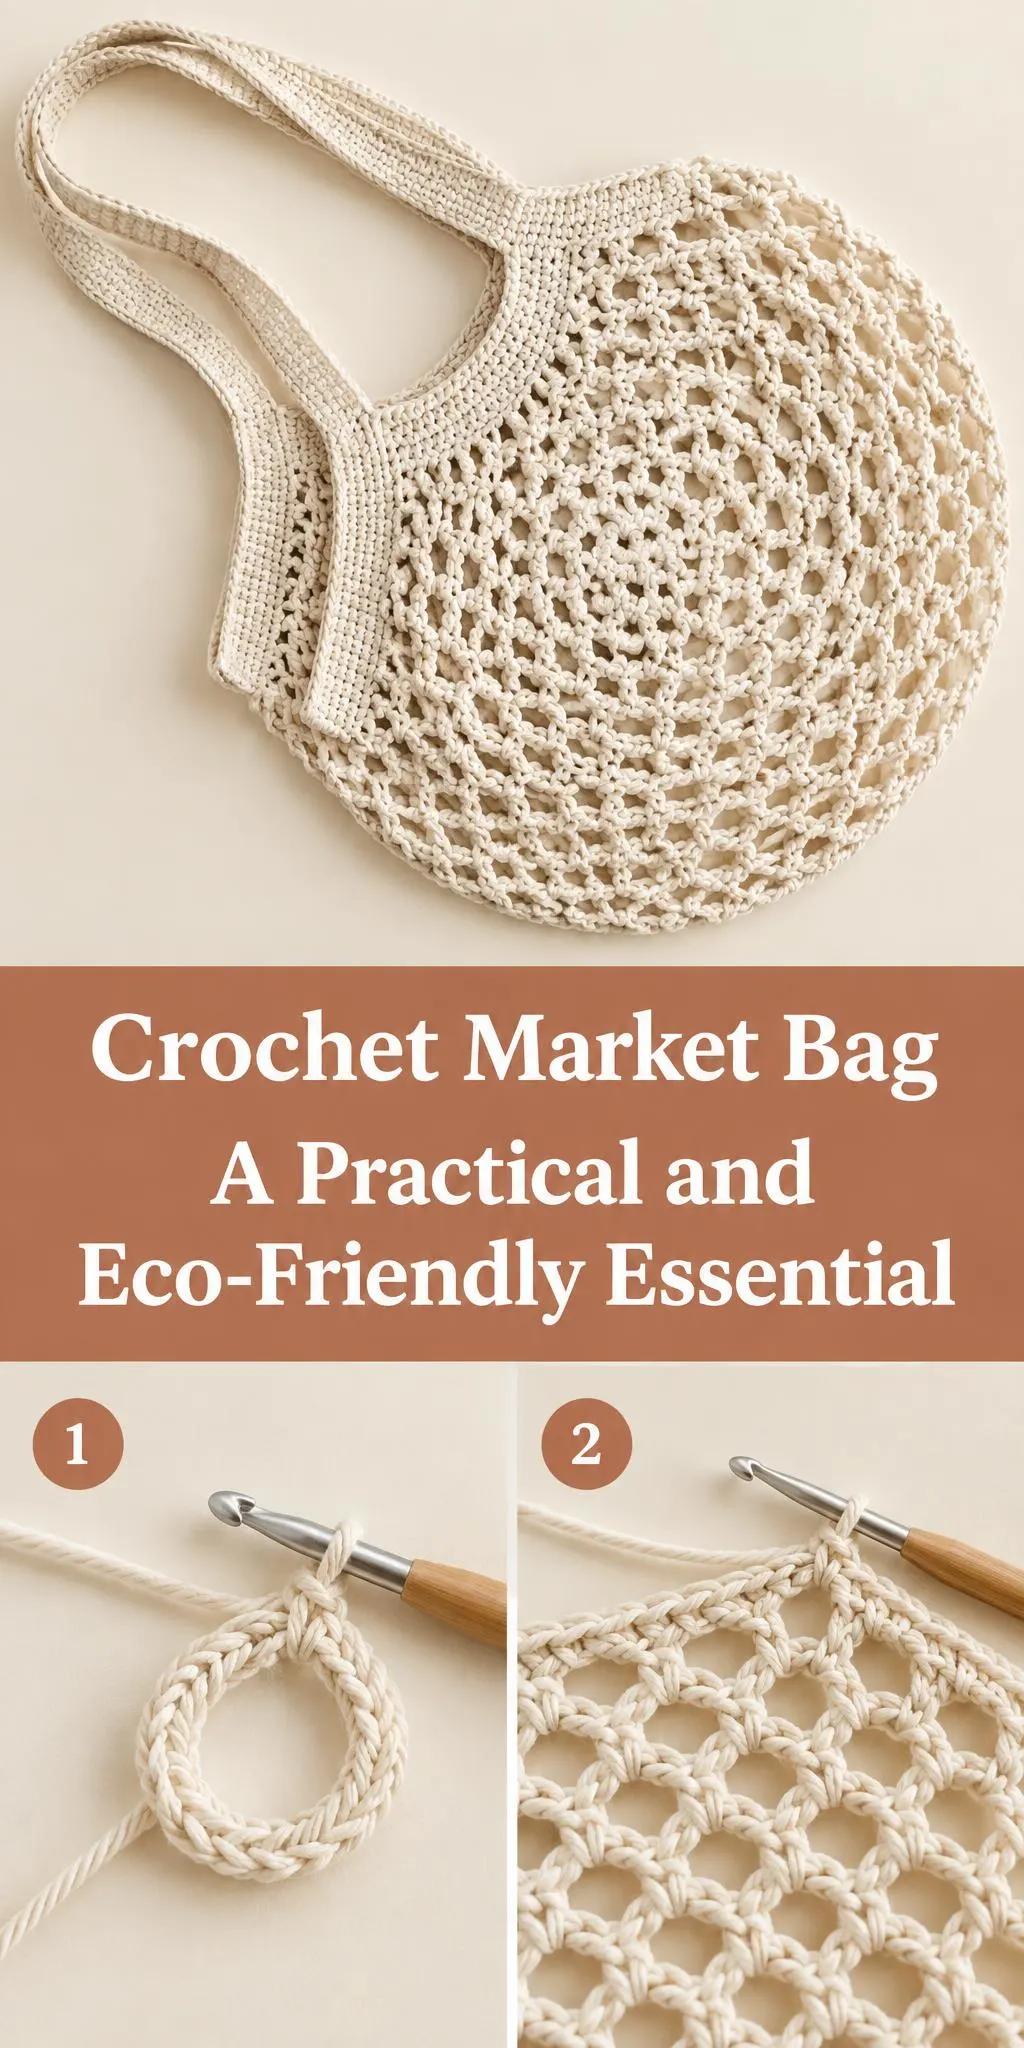
Welcome! Today we’re making a practical crochet market bag that is ready for every shopping trip.
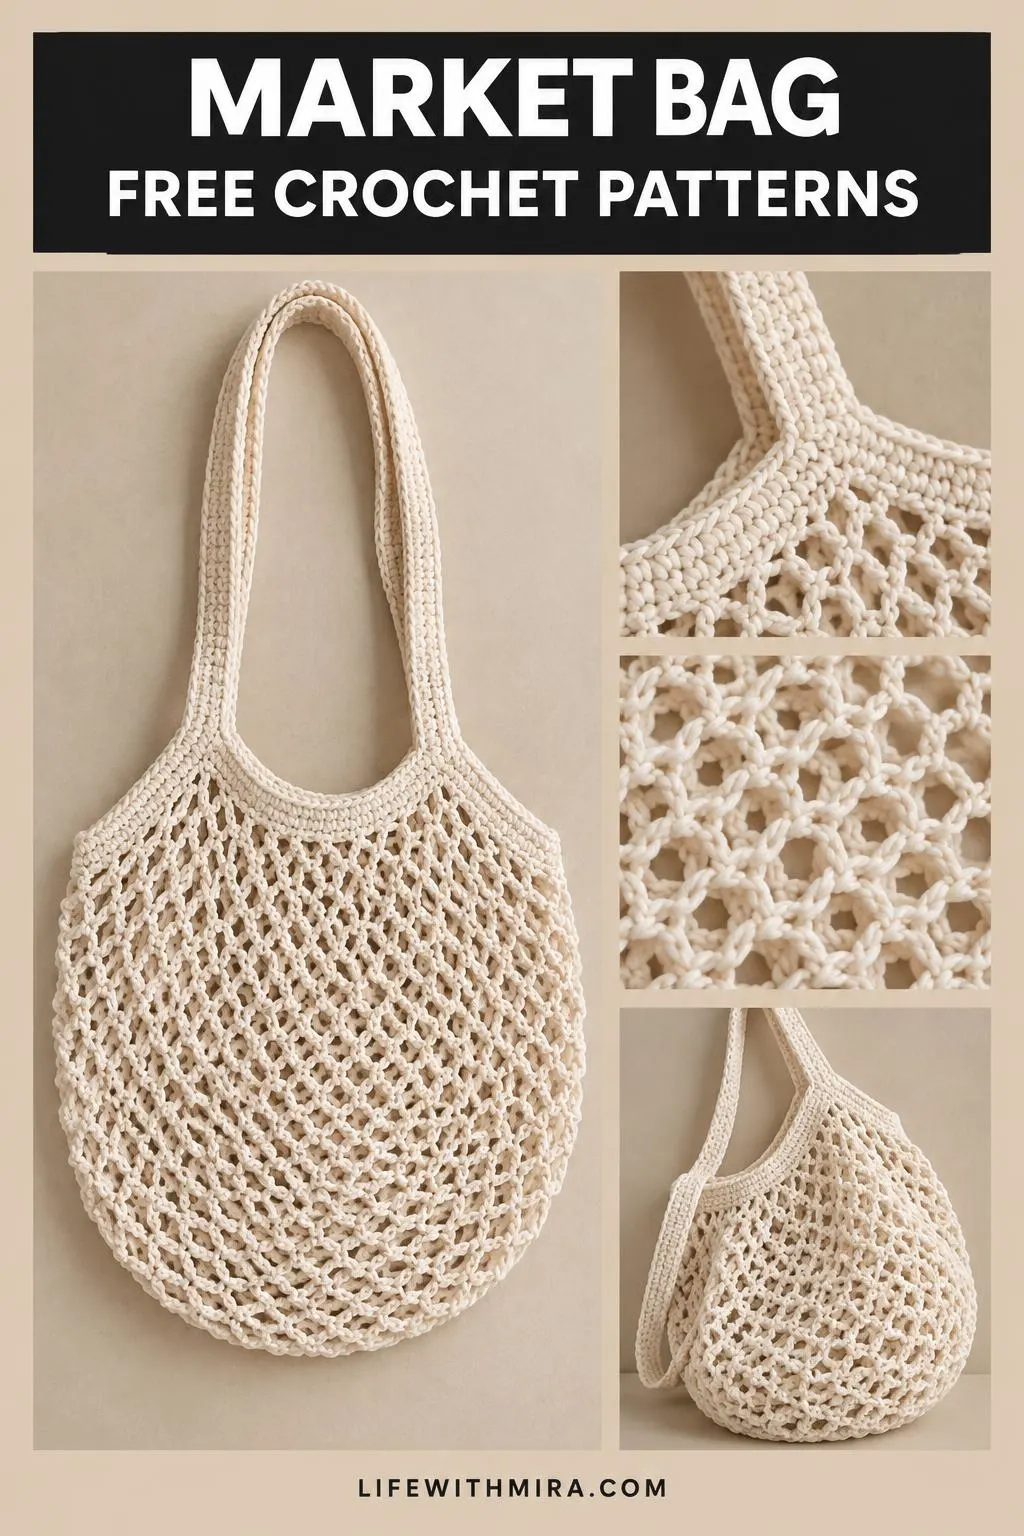
What makes this Crochet Market Bag special is its open mesh body. The airy stitch pattern lets you see everything you have packed inside, and it stretches generously when you need room for loaves of bread, bunches of greens or a few heavy jars.
A Crochet Market Bag suits anyone who wants a reusable alternative to plastic bags. It is also a lovely project for a quiet weekend, since the repeated sections are relaxing to work on. Once finished, it folds small enough for a coat pocket and carries comfortably over the shoulder.
The full step-by-step tutorial is in the video on this page. This article covers the materials, stitches and practical tips you will need before you start.
In this post
Skill Level
Intermediate. The mesh body and the shaped edging need steady tension and some practice with counting, though the overall construction is straightforward once you understand the stages.
Market Bag Related Posts:
- Crochet Jacob’s Ladder Stitch Blanket: A Textured and Eye-Catching Handmade Treasure
- Crochet Andes Headband: A Cozy and Elegant Essential
- Crochet Bucket Hat: A Trendy and Cozy Accessory
- Crochet Solomon’s Knot Stitch Mesh: A Lacy and Vibrant Handmade Statement
Materials
- Yarn: a medium-weight cotton yarn (worsted or DK) works well. Cotton holds its shape, softens with washing and is sturdy enough for groceries.
- Hook: a size G/6 (4.0 mm) to H/8 (5.0 mm) is typical for cotton at this weight. Choose a size that gives a firm but flexible fabric.
- Scissors.
- A yarn or tapestry needle for weaving in ends and finishing.
Stitches and Abbreviations
- sc: single crochet. Insert hook, yarn over, pull up a loop, yarn over and pull through both loops.
- dc: double crochet. Yarn over, insert hook, pull up a loop, then work off two loops twice.
- ch: chain. Yarn over and pull through the loop on your hook to make a foundation stitch.
- sl st: slip stitch. Insert hook, yarn over and pull through both the stitch and the loop on the hook, used for joining and neat edges.
Pattern Notes
- US terms are used throughout.
- Keep your tension even, since the open mesh shows every uneven stitch.
- Check your gauge on a small swatch before starting, so the bag comes out the size you want.
- Edges may look slightly wavy before finishing, and this usually relaxes after blocking.
- The bag can be made larger or smaller by working more or fewer repeats of the mesh section.
How It’s Made
- Work the foundation chain that sets the width of the bag.
- Build the open mesh body in rows, working up the sides.
- Shape the top edge into the opening where the bag is filled.
- Create the handles by working strips that are joined to the top of the bag.
- Finish the rim with a neat border that keeps the top from stretching.
- Weave in all loose ends and block the bag gently to even out the mesh.
Watch the video for the exact rounds and rows, step by step.
Assembly and Finishing Tips
Weave in your ends carefully along the inside of the bag, so the mesh stays clean on the outside. When joining the handles, work through both layers so the seam is strong enough for heavy shopping. Block the finished bag by dampening it lightly and pinning it to shape, which helps the mesh open evenly and the edges sit straight.
Make It Yours
- Try two shades of cotton for a striped bag that is easy to spot in a busy kitchen.
- Use a slightly finer yarn and smaller hook for a lighter bag for fruit and vegetables.
- Add a contrasting edging in a bright colour for a personal finish.
- Make a smaller version as a gift for a friend who loves to shop at local markets.
Happy crocheting, and I would love to see your finished Crochet Market Bag. Share your project and enjoy every trip to the market!
Follow us on Pinterest and subscribe to the Newsletter so you don’t miss a thing!
Tutorial and photos of this market bag by: Stephanie Zed.