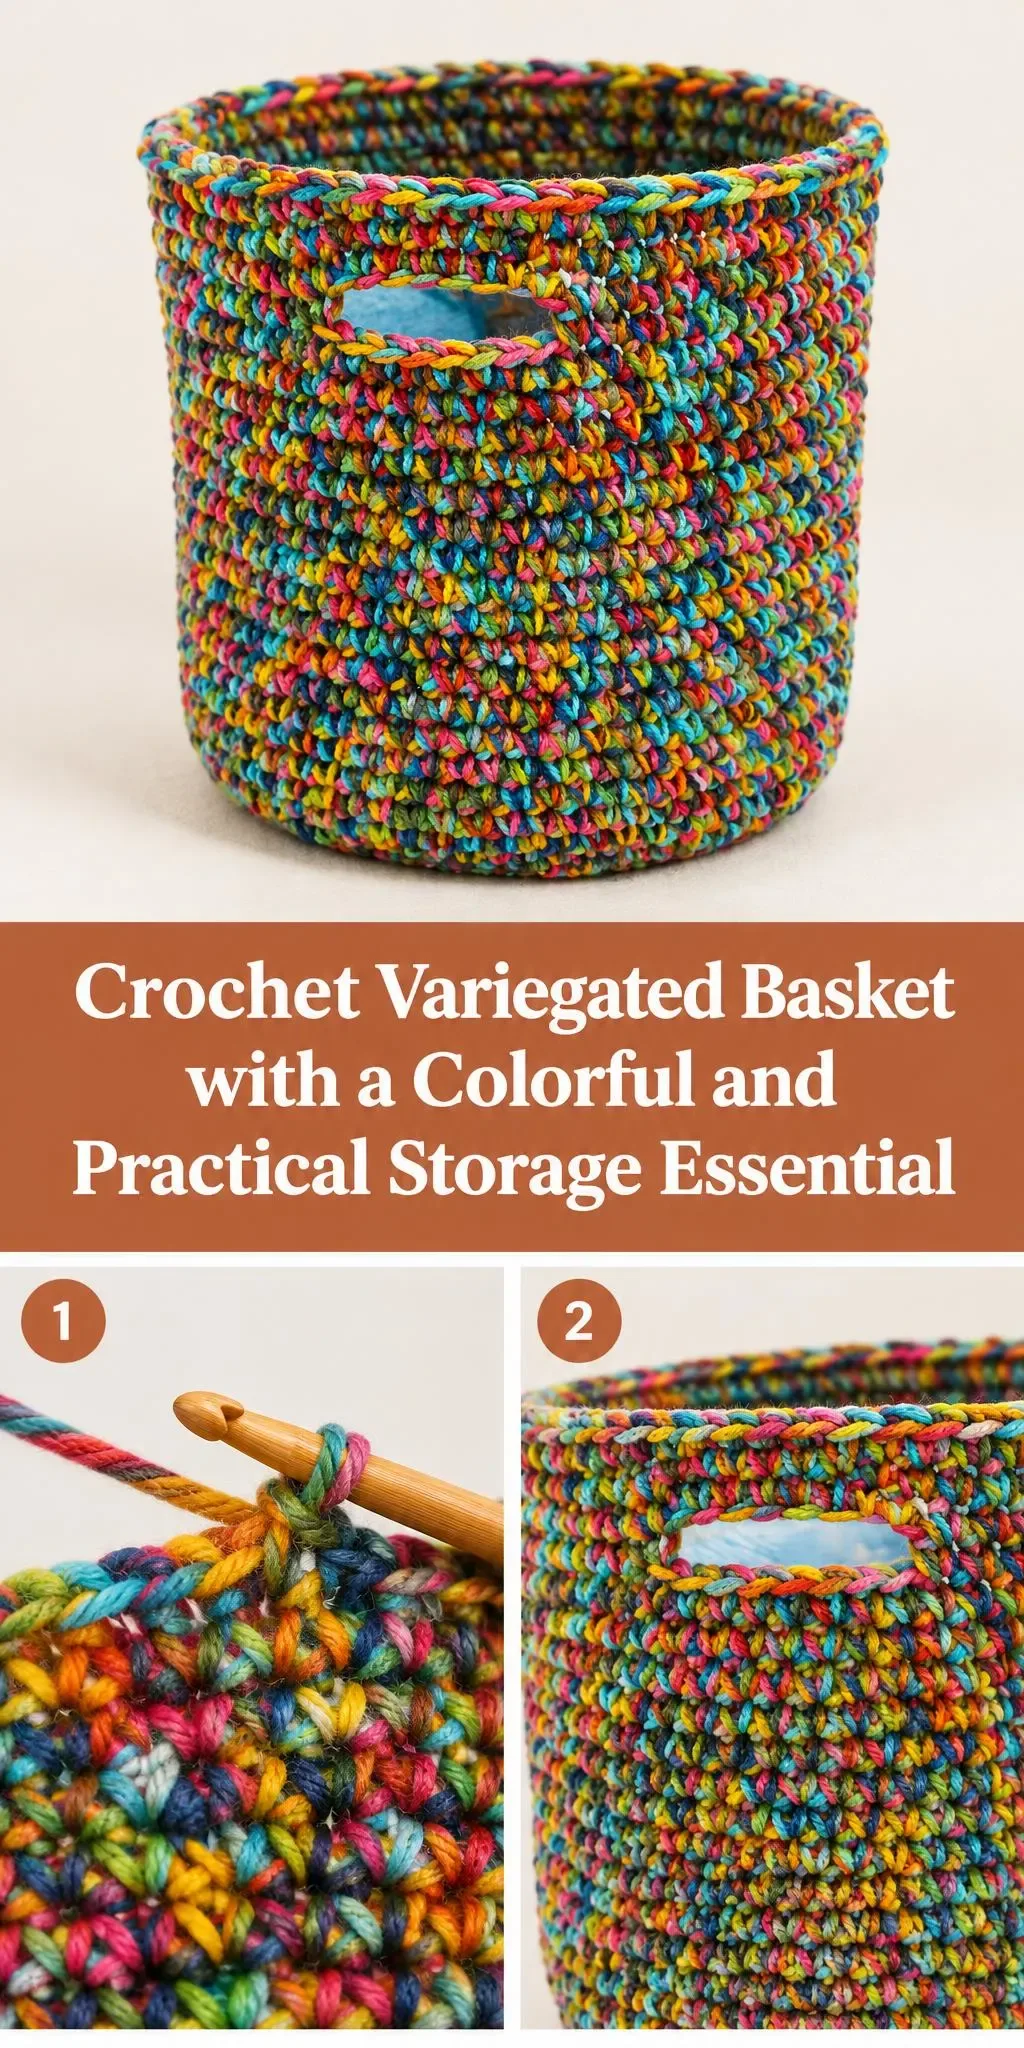
Welcome! Today we’re making a colorful Crochet Variegated Basket that is as useful as it is cheerful.
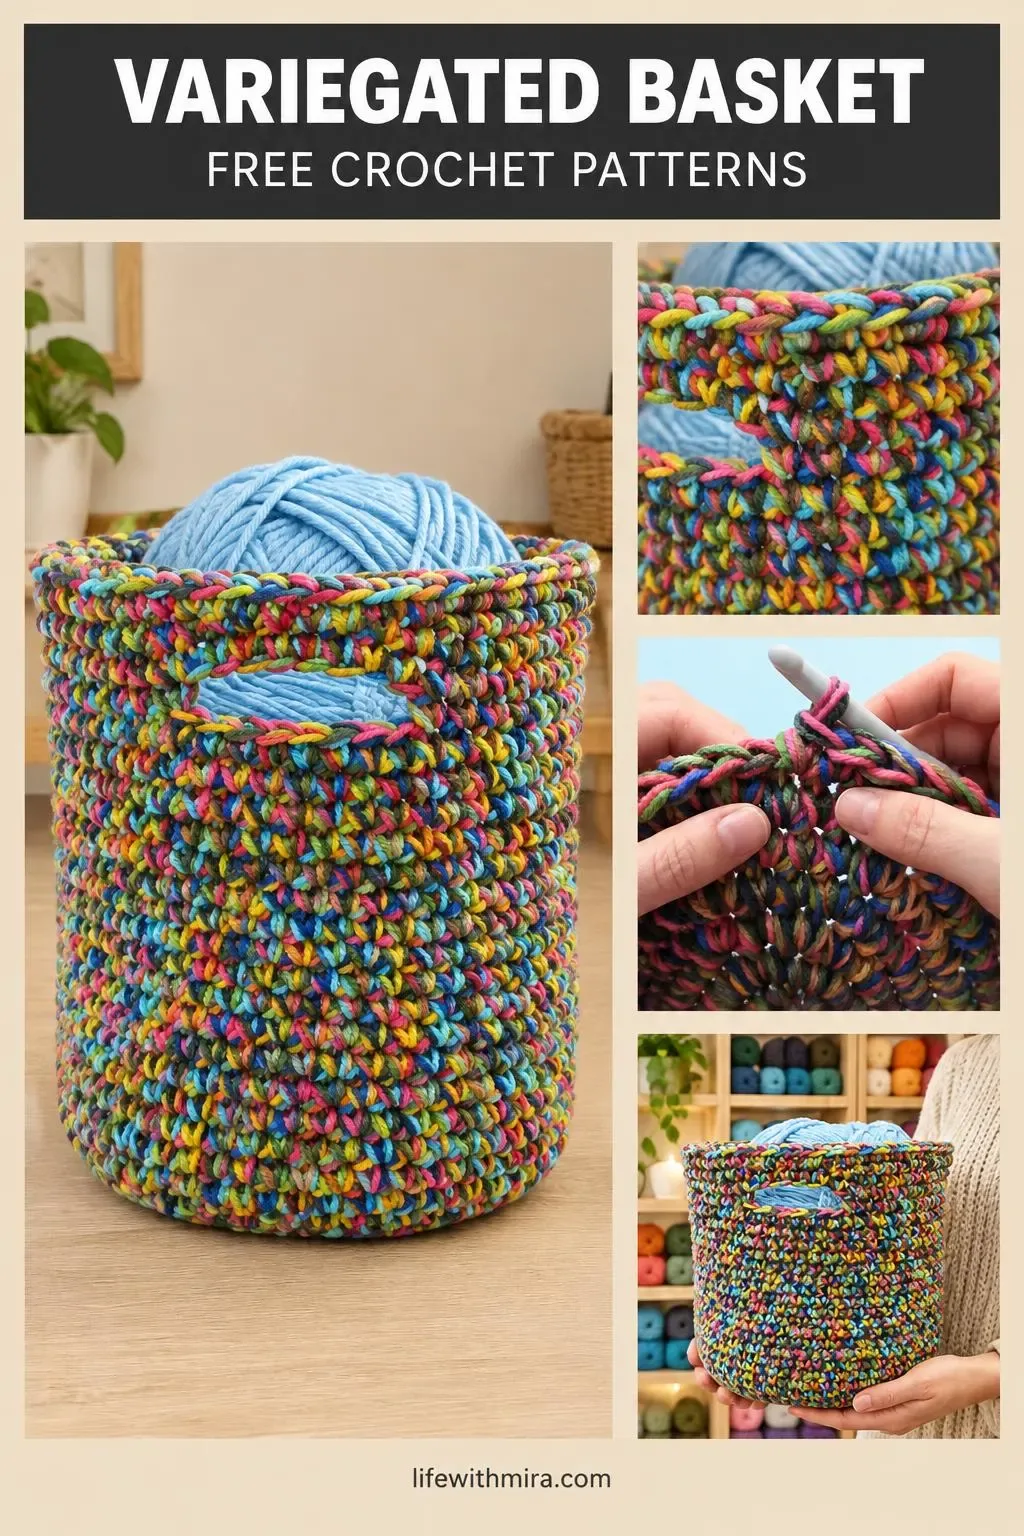
This basket is worked in a chunky, multicolored yarn that blends pink, blue, green, orange and yellow into one lively, tweedy fabric. The tight, textured stitches give it a sturdy feel, so it holds its shape even when filled with skeins, toys or towels.
I think this is a wonderful project for anyone who loves to use up leftover yarn or who wants a fast, satisfying make. It sits nicely in a living room corner, a craft room or a child’s bedroom. The full step-by-step tutorial is in the video on this page, and this guide is here to help you prepare and crochet with confidence.
In this post
Skill Level
Easy. The basket is worked in simple, repeated stitches with no color changes or complicated shaping, so it suits crocheters who have finished a few small projects and feel comfortable keeping track of their rounds.
Variegated Basket Related Posts:
- Crochet Pixel Grid Art: A Charming and Creative Handmade Project
- Crochet Bow Keychain: A Charming and Versatile Accessory
- Crochet Kanzashi Flower: An Elegant Handmade Accent
- Crochet Mini Hearts: A Sweet and Lovable Handmade Accent
Materials
- Yarn: a bulky or chunky weight yarn (weight 5 or 6) works best. Choose a variegated or multicolored yarn for the classic look, and pick a fiber with some firmness, such as an acrylic or wool blend, so the walls stand up well.
- Hook: a 6 mm to 8 mm (US J to L) hook is typical for chunky yarn. A slightly smaller hook gives a denser, sturdier basket.
- Scissors.
- A yarn or tapestry needle for weaving in ends and finishing the edges.
- Stitch marker, to keep track of the beginning of each round.
Stitches and Abbreviations
- sc: single crochet. Insert the hook, yarn over and pull up a loop, then yarn over and pull through both loops on the hook.
- dc: double crochet. Yarn over, insert the hook, pull up a loop, then work off two loops twice.
- ch: chain. Yarn over and pull through the loop on the hook to make a foundation stitch.
- sl st: slip stitch. Insert the hook, yarn over and pull through both the stitch and the loop on the hook, used for joining rounds.
Pattern Notes
- This guide uses US crochet terms throughout.
- Work with a stitch marker at the start of each round, since spiral or joined rounds can be easy to lose track of.
- The basket can be made taller or shorter by working more or fewer rounds in the side pattern.
- A slightly looser or tighter hand will change the size, so check your gauge against the video before you begin.
- Edges can look a little wavy before you finish them, which is normal for textured rounds.
How It’s Made
- Start with a small, flat base worked in the round, building it up until it is the size you want.
- Work upward in continuous rounds, keeping the stitches even so the sides stay straight.
- Shape the walls as you go, so the basket curves gently into its rounded form.
- Add the handle openings or loops along the top edge for easy carrying.
- Finish the rim with a neat edging in a contrasting or matching color.
- Weave in all the ends and tidy the final round.
Follow the video tutorial for the exact rounds and stitch placement, and you will have your basket in no time.
Assembly and Finishing Tips
- Weave in your yarn ends as you go or at the end, using a tapestry needle to hide them inside the stitches.
- Keep your tension even on the handle loops so they stay the same size.
- Gently shape the basket by hand after finishing, pressing the base flat and smoothing the walls.
- If you want a firmer basket, use a smaller hook or a sturdier yarn.
Make It Yours
- Try a solid base color with a variegated body for a softer, more modern look.
- Use a cool palette of blues and greens for a calming bathroom or nursery basket.
- Make a smaller version as a gift basket for crafting supplies or a baby shower.
- Add a contrasting edging in bright orange or yellow to make the rim pop.
Grab your hook and enjoy the process. Happy crocheting!
Follow us on Pinterest and subscribe to the Newsletter so you don’t miss a thing!
Tutorial and photos of this variegated basket by: Jayda InStitches.