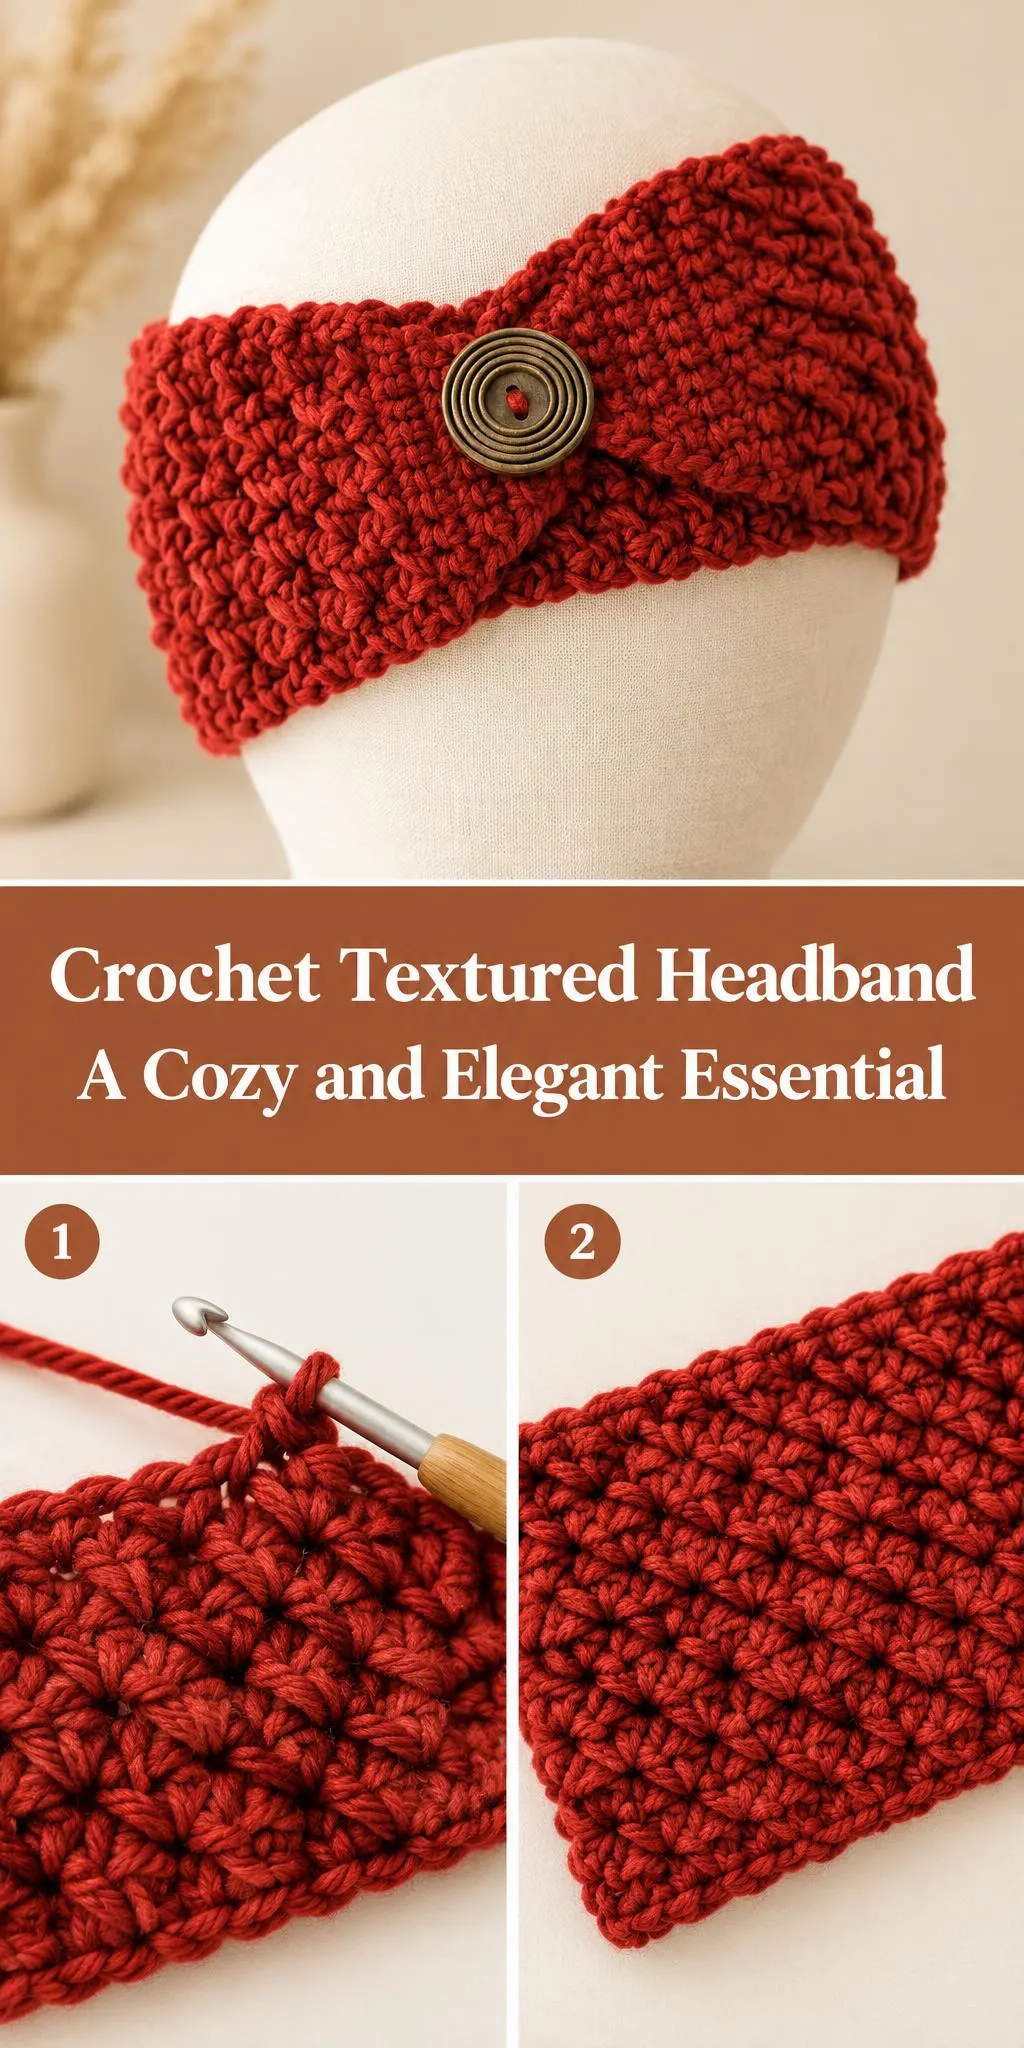
Welcome! Today we’re looking at a crochet textured headband that is warm, simple and surprisingly elegant.
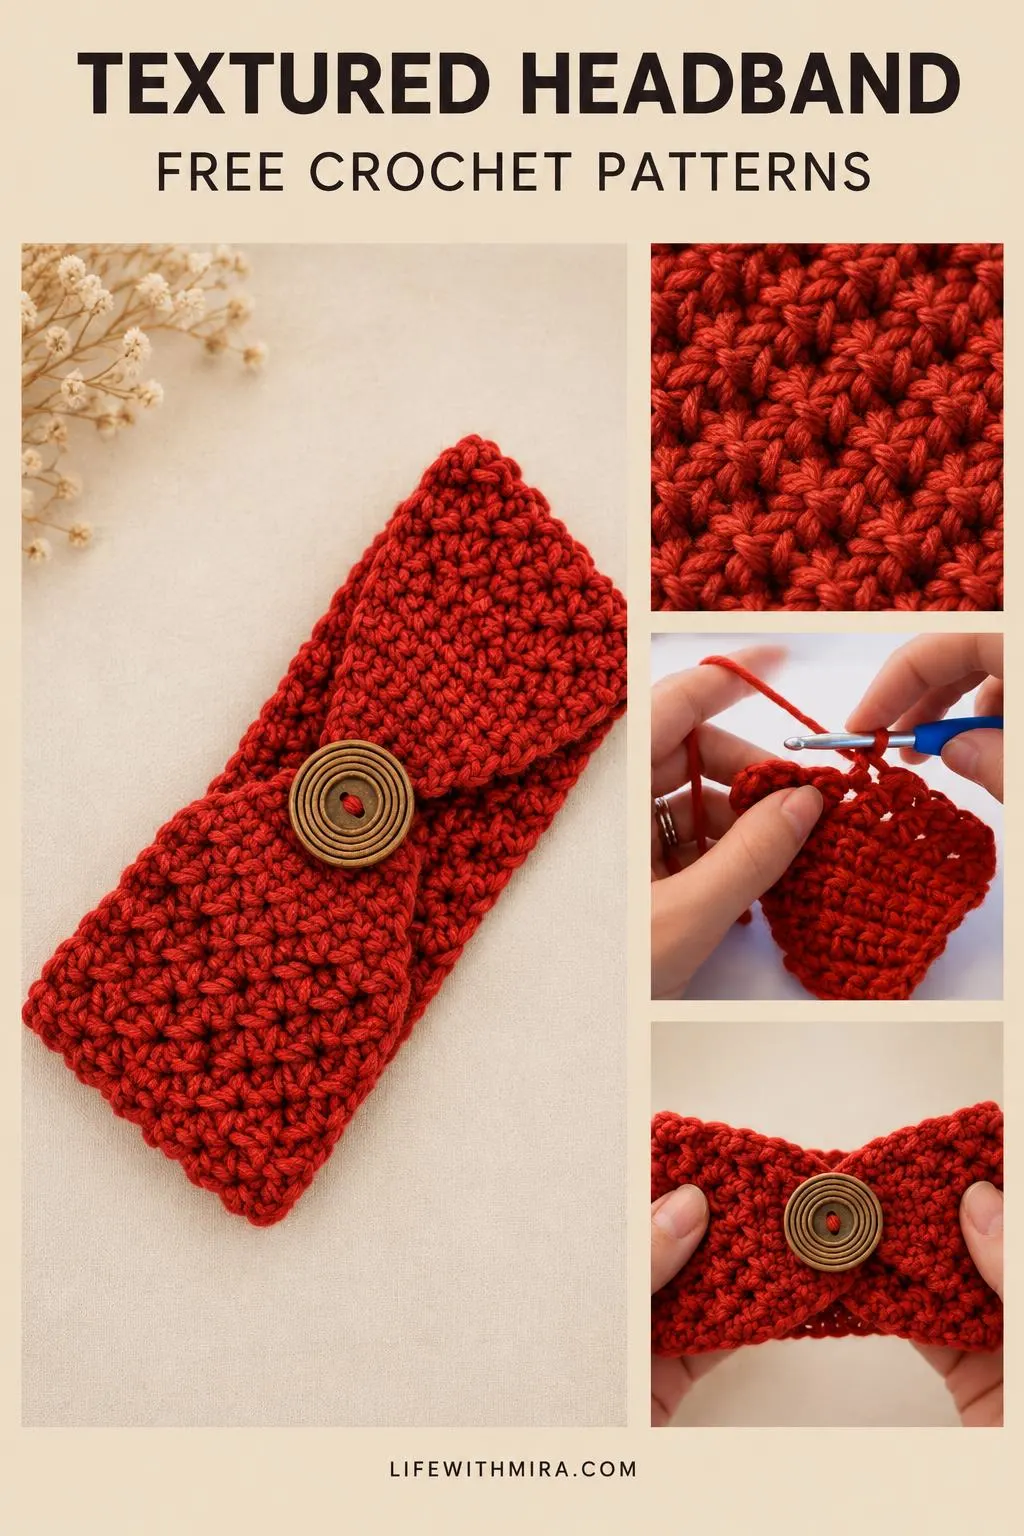
Here is what makes this Crochet Textured Headband special. The stitch pattern gives the fabric a lovely bumpy, dimensional look, so it feels rich without being fussy. A wide band keeps your ears cozy on cold mornings, and the front detail adds a little polish that makes it easy to wear out, not just around the house.
This project suits anyone who wants a quick, satisfying make for autumn and winter. It is also a great choice when you want a gift that feels thoughtful. The full step-by-step tutorial is in the video, and this page is here to help you prepare, understand the steps and crochet with more confidence.
In this post
Skill Level
Easy. The stitches are repetitive and the construction is straightforward, so it is a good next step after your first few projects.
Textured Headband Related Posts:
- Crochet Ribbed Beanie: A Cozy and Stylish Winter Essential
- Crochet Mesh Cardigan: A Breezy and Elegant Staple
- Crochet Waffle Bag: A Stylish Handmade Essential
- Crochet Bow Keychain: A Charming and Versatile Accessory
Materials
- Yarn: a worsted weight (medium, category 4) yarn works beautifully here. Choose a smooth, lightly textured yarn so the stitch pattern stays visible, and pick a warm color like the deep red shown in the tutorial if you want a bold finish.
- Hook: a size H/8 (5 mm) hook is a common choice for worsted yarn. Go up a size for a looser, softer band or down for a denser, firmer fabric.
- Scissors and a yarn or tapestry needle for weaving in ends and finishing.
- A button: the headband uses a decorative button as its closure, so pick one with a sturdy shank or a central hole that suits your yarn.
Stitches and Abbreviations
- sc: single crochet. Insert your hook, yarn over, pull up a loop, yarn over and pull through both loops on the hook.
- dc: double crochet. Yarn over, insert, pull up a loop, then work off two loops twice.
- ch: chain. Yarn over and pull through the loop on your hook to make a foundation or turning chain.
- sl st: slip stitch. Insert your hook, yarn over, and pull through both the stitch and the loop on your hook, used for joining and finishing.
Pattern Notes
- The pattern is written in US terms, so check your abbreviations if you are used to UK names.
- The textured stitches create a slightly uneven edge at first, which is normal and evens out as you go.
- To make the band wider or narrower, you can adjust the foundation length while keeping the same stitch pattern.
- Check your gauge with a small swatch, because a tighter or looser tension will change how the headband fits.
How It’s Made
- Make the foundation chain, which sets the length and width of the band.
- Work the textured body in rows, building up the bumpy stitch pattern.
- Shape the front panel that crosses over, so the band sits neatly around your head.
- Work the edging to keep the sides tidy and the fabric from curling.
- Add the button closure to finish the front detail.
- Weave in your ends and give the piece a gentle press so it lies flat.
Watch the video for the exact rounds and rows, then come back to this page for quick reminders as you work.
Assembly and Finishing Tips
- Weave in your yarn ends as you go where you can, so you have less to hide at the end.
- Keep your edges straight by counting stitches at each side of the band.
- Sew the button on firmly with a double strand of yarn so it holds up to daily wear.
- Block your headband lightly with a little steam or a damp towel to even out the texture and help it sit smoothly.
Make It Yours
- Try a soft neutral like oatmeal or grey for an everyday version that goes with everything.
- Pair a bright berry shade with a wooden button for a cheerful winter accessory.
- Make a slightly wider band for a more relaxed fit, or a narrower one for a sleek look.
- Stitch a set in matching colors for a thoughtful gift for a friend or family member.
Happy crocheting! I hope you enjoy making this headband as much as wearing it, and do share your finished project with the community.
Follow us on Pinterest and subscribe to the Newsletter so you don’t miss a thing!
Tutorial and photos of this textured headband by: B.Hooked Crochet.