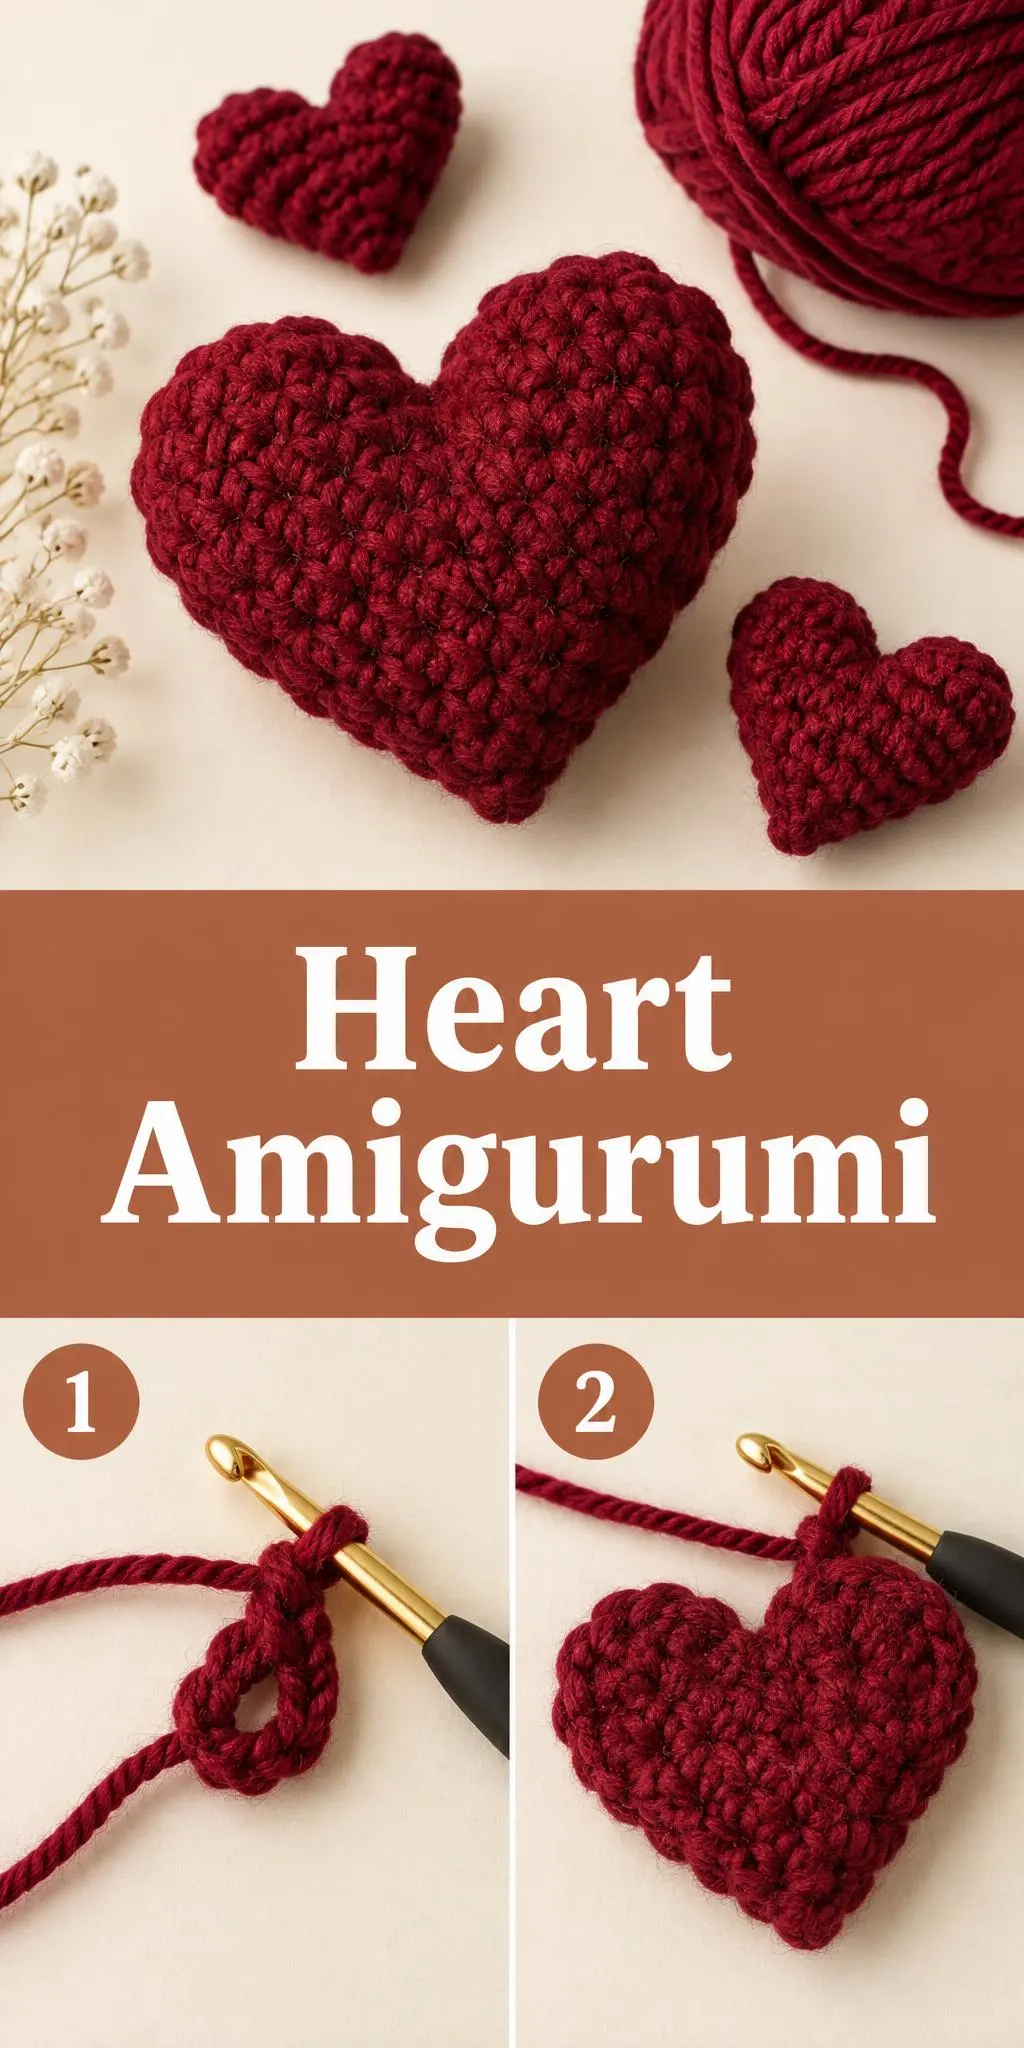
Welcome! Today we’re making a sweet Crochet Heart Amigurumi that fits right into your handmade collection.
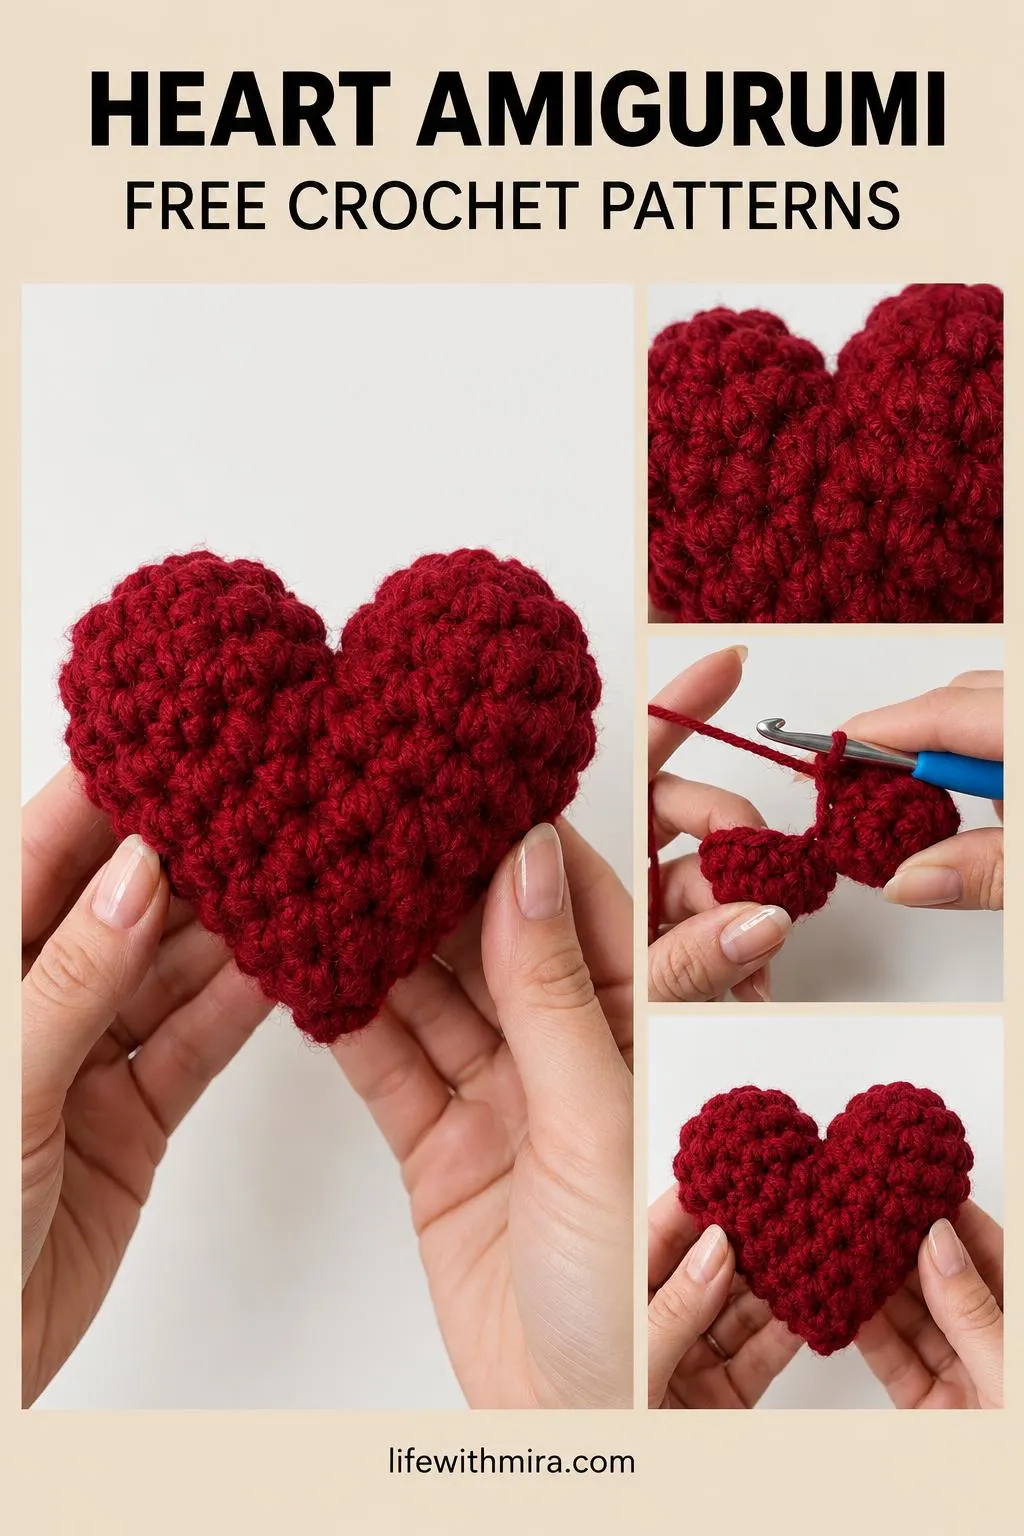
Each little heart is worked in a deep red yarn with a tight, bumpy texture that looks almost like a stitched cushion. The two rounded lobes, a neat dip at the top and a soft point at the bottom make it instantly recognizable, and the simple shape is easy to love.
This is a great project for a quiet evening, a Valentine’s gift, or a cheerful little charm for a bag or shelf. It works up into a sturdy, squishy keepsake you can hold in your hand or pop into a card. The full step-by-step tutorial is in the video on this page, and this guide is here to help you prepare and crochet with confidence.
In this post
Skill Level
Beginner. The stitches are basic and the shape is built from simple, repeated rounds, so it suits anyone who has practiced a few small projects.
Heart Amigurumi Related Posts:
- Crochet Solomon’s Knot Stitch Mesh: A Lacy and Vibrant Handmade Statement
- Crochet Jacob’s Ladder Stitch Blanket: A Textured and Eye-Catching Handmade Treasure
- Crochet Textured Scarf: A Cozy and Elegant Essential
- Crochet Halter Top: A Stylish Handmade Staple
Materials
- Yarn: a worsted weight (medium, category 4) acrylic or wool blend in a deep red. Its firm stitches give the heart a plump, structured shape.
- Hook: a 4 mm (G-6) hook is a good starting point for worsted yarn. Go down a size if your stitches look loose.
- Scissors and a yarn or tapestry needle for weaving in ends and closing the stuffing gap.
- Polyfill stuffing: a small amount keeps the heart firm and rounded without stretching the stitches.
Stitches and Abbreviations
- sc: single crochet. Insert your hook, yarn over, pull up a loop, then yarn over and pull through both loops on the hook.
- inc: increase. Work two stitches into the same stitch to widen the shape.
- dec: decrease. Work two stitches together to narrow the shape, which helps form the dip at the top.
Pattern Notes
- US terms are used throughout, so check that your abbreviations match the pattern you follow.
- Keep your stitches tight so the heart holds its shape and the stuffing does not show through.
- Use stitch markers to keep track of the start of each round, especially around the lobes.
- Your heart may look a little lumpy before you stuff it, and that is normal.
How It’s Made
- Work the front and back panels, shaping each one into a rounded half.
- Add the increases that give the lobes their curved, plump outline.
- Shape the top with decreases to create the dip between the two halves.
- Narrow the bottom into the soft point that finishes the heart.
- Stuff the heart lightly so it keeps its shape.
- Join the two panels together around the edge.
- Close the final gap and weave in the ends.
For the exact rounds and stitch counts, follow the video tutorial linked on this page.
Assembly and Finishing Tips
Join the panels with the same tension you used for the body. Uneven joins are the most common issue, so take your time along the curves.
Stuff in small amounts and check the shape as you go. Too much stuffing can round the lobes too far and stretch the stitches.
Weave in your ends securely through the stitches on the inside. This keeps the heart neat and stops loose ends from pulling out.
Gently press the finished heart into shape with your fingers, which helps the lobes and dip look crisp.
Make It Yours
Try different colors such as pink, cream or mustard for a fresh look. A pastel mix makes a lovely garland.
Make the heart smaller with thinner yarn and a smaller hook for a charm for keys or a bag.
Add a loop of yarn or a ribbon to the top so the heart can hang on a tree or a gift.
Turn a few hearts into a Valentine’s gift set with a matching card or jar.
Happy crocheting, and I’d love to see your finished hearts. Share your project and let the handmade love spread!
Follow us on Pinterest and subscribe to the Newsletter so you don’t miss a thing!
Tutorial and photos of this heart amigurumi by: VivCrochets.