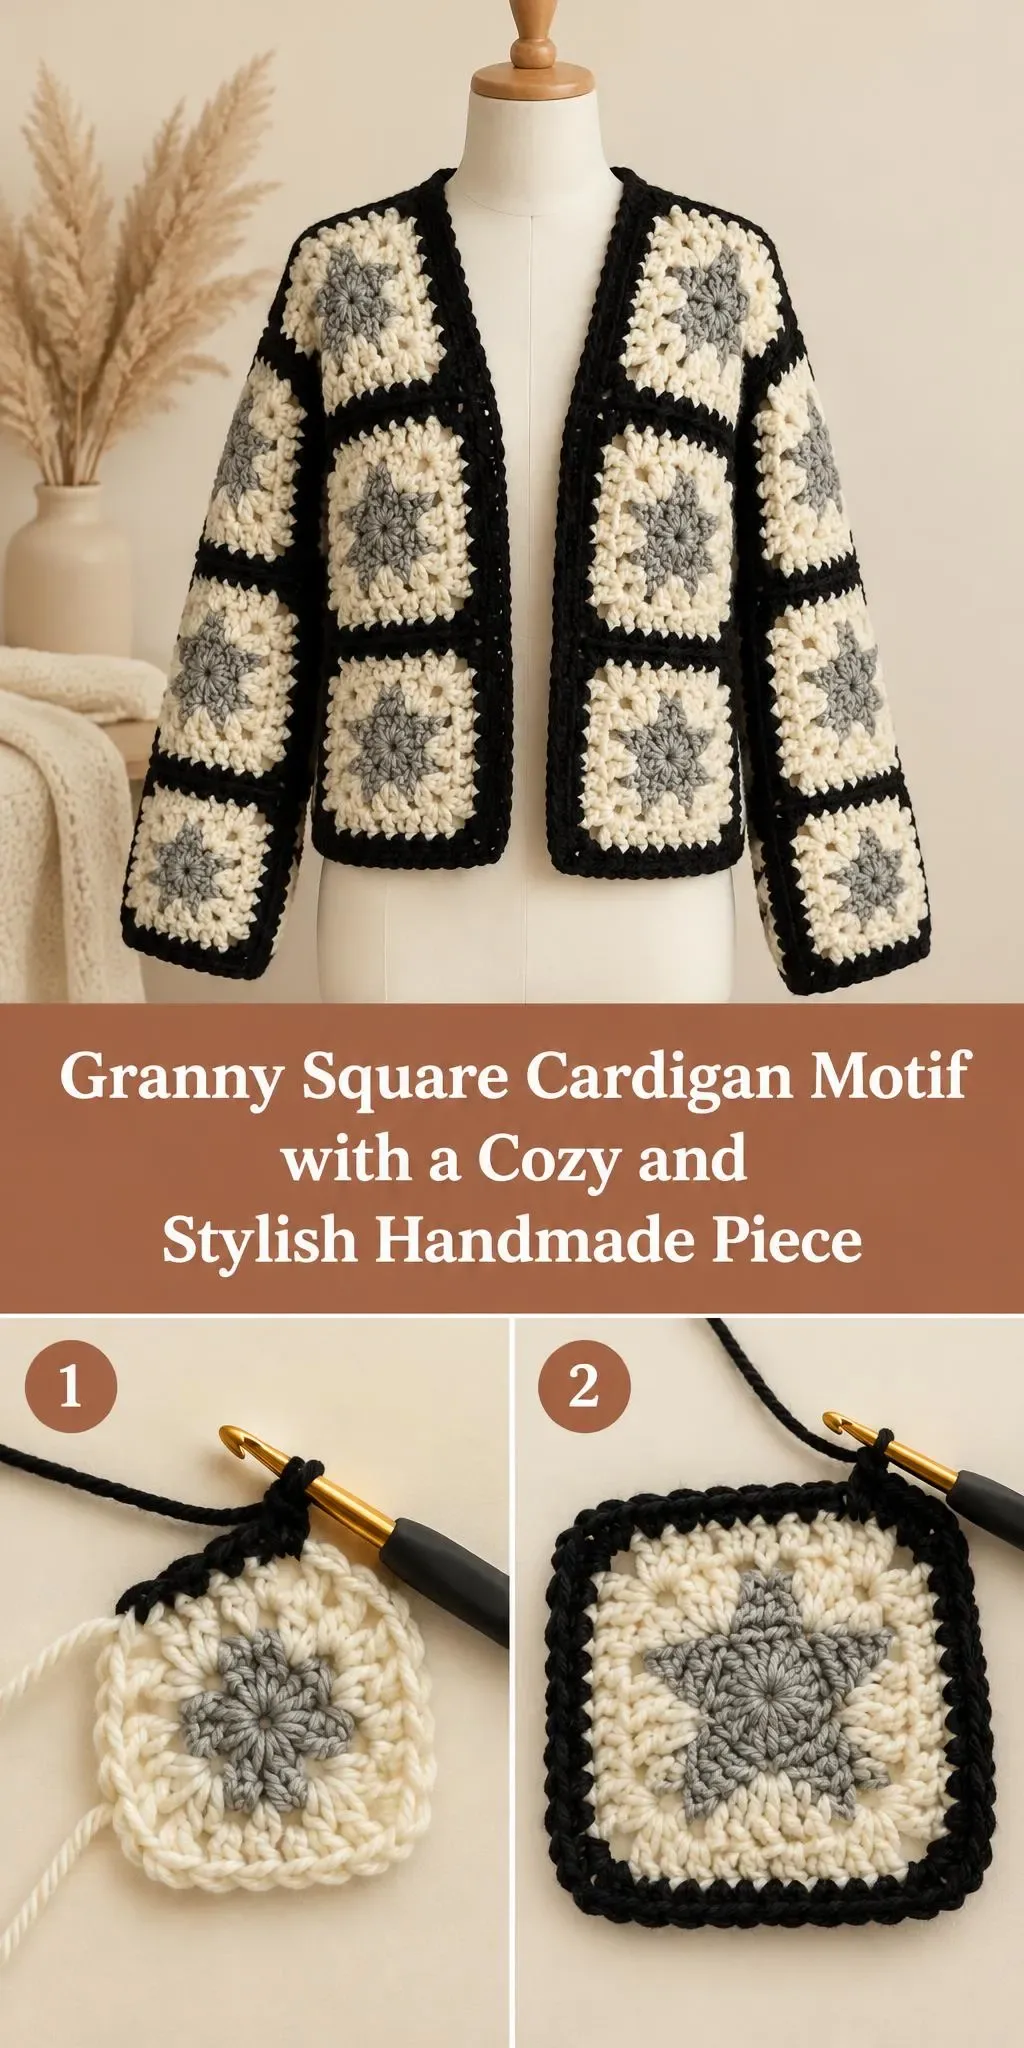
Welcome! Today we’re making a classic granny square motif with a star at its heart, inspired by a cozy knit cardigan.
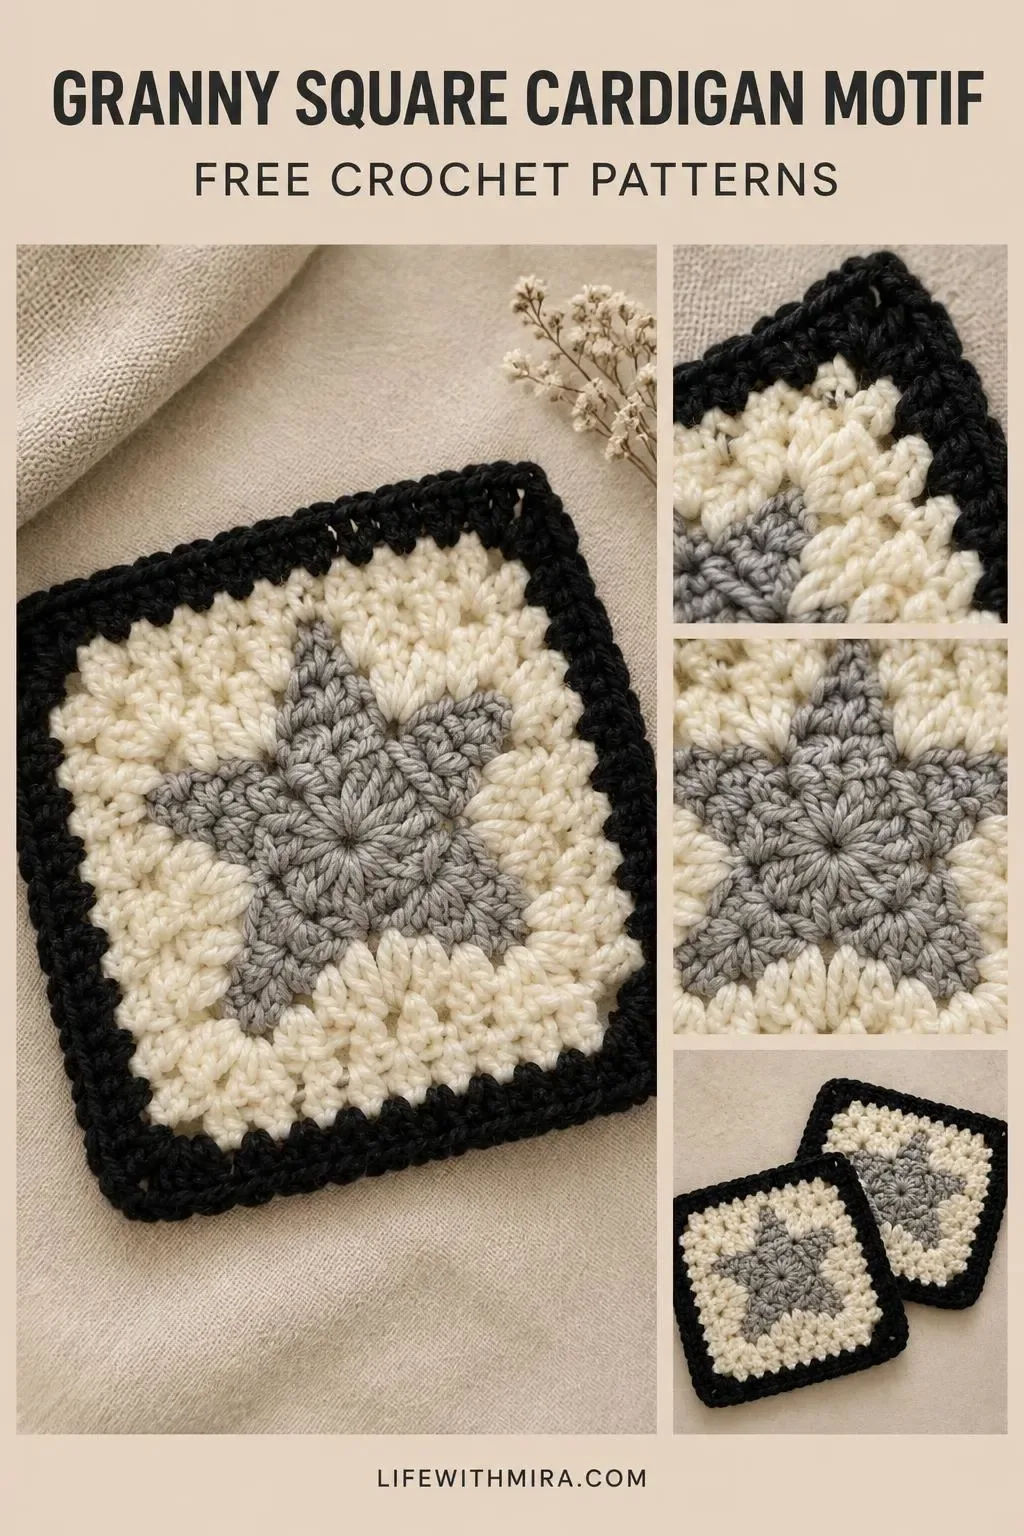
This Crochet Granny Square Cardigan Motif is a sweet little square built around a bold grey star set on a creamy white background. A black border frames each motif and gives it a crisp, graphic finish that looks just as good on a sweater as it does on a blanket or bag.
The design is a lovely nod to a favourite knitted cardigan, with its neat border and star details. I think it’s a great project for anyone who loves clean colour blocking and wants something small enough to finish in an evening or two. Join several squares together and you can build a full cardigan, a cushion cover or a cosy throw.
The full step-by-step tutorial is in the video on this page, so keep it handy while you work. This page gives you the materials, stitch notes and practical tips to help you start and finish well.
In this post
Skill Level
Intermediate. The star is worked by stitching into the same spaces in several rounds, and the points use a mix of stitch heights, so you’ll want to be comfortable with basic granny square work before you begin.
Cardigan Motif Related Posts:
- Crochet Savvy Handbag: A Chic and Timeless Accessory
- Crochet Heart Amigurumi: A Charming Handmade Keepsake
- Crochet Mesh Cardigan: A Breezy and Elegant Staple
- Crochet Mesh Bag: A Chic and Versatile Handmade Essential
Materials
- Yarn: a worsted weight (medium, category 4) acrylic or wool blend in two colours, a creamy white, a soft grey and a black. Worsted weight gives a sturdy square with crisp stitch definition, and it’s easy to find in the colours you need.
- Hook: a 4 mm (US G-6) or 4.5 mm (US 7) hook is a common choice for worsted weight yarn. Use a size that gives you a firm, neat fabric.
- Scissors and a yarn or tapestry needle for weaving in ends and joining motifs.
- Stitch markers, handy for keeping track of the points of the star and the corners of each square.
Stitches and Abbreviations
- sc: single crochet. Insert the hook, yarn over, pull up a loop, then yarn over and pull through both loops on the hook.
- hdc: half double crochet. Yarn over, insert the hook, yarn over and pull up a loop, then yarn over and pull through all three loops on the hook.
- dc: double crochet. Yarn over, insert the hook, pull up a loop, then work off two loops twice.
- tr: triple crochet. Wrap the yarn over the hook twice, insert, pull up a loop, then work off two loops three times.
- ch: chain. Yarn over and pull through the loop on the hook to create a foundation or spacing stitch.
- sl st: slip stitch. Insert the hook, yarn over and pull through both the stitch and the loop on the hook, used to join rounds and move across the work.
Pattern Notes
- This page uses US crochet terms throughout, so check your abbreviations before starting.
- The star points are made with a sequence of mixed stitches, so count carefully and use stitch markers to keep your place.
- The black border adds size, so the finished square will be a little larger than the centre star alone suggests.
- If you prefer a smaller or larger motif, change your hook size or yarn weight rather than adding extra rounds.
- Edges can look a little wavy before blocking, and that’s completely normal. A gentle block will straighten them out.
How It’s Made
- Start at the centre by working a small ring and building the grey star points outward.
- Work the star points in grey, using a mix of stitch heights to create the sharp, pointed shape.
- Fill the spaces between the star points with the creamy white yarn to create the background.
- Add the outer rounds of white to bring the square to its full size.
- Finish each square with a neat black border that frames the motif.
- Join the finished squares together with a simple seam, following the layout you want for your cardigan or project.
- Add any finishing edging you like to tidy the outer edges of the piece.
You’ll find the exact rounds and stitch placement in the video, so watch it through once before you pick up your hook.
Assembly and Finishing Tips
Weave in your ends as you go, rather than leaving them all for the end. This keeps your work neat and saves time later.
When joining squares, keep your tension even so the seams sit flat and the edges line up. Using stitch markers at the corners helps a lot here.
Block your finished squares gently by dampening them and pinning them into shape. This sharpens the star points and straightens the edges.
For a sturdier cardigan, join squares with a matching black or grey yarn and a flat seam. This keeps the join strong and tidy.
Make It Yours
Swap the grey star for a soft pastel or a warm mustard to give the motif a completely different mood.
Make the squares in a range of sizes by changing your hook, then join them into a patchwork throw or cushion.
Try a contrasting edging in a bright shade for a playful finish on a bag or hat.
These squares also make a thoughtful handmade gift for a friend who loves cosy, monochrome style.
Happy crocheting! I’d love to see what you make, so share your finished project and let’s celebrate your work together.
Follow us on Pinterest and subscribe to the Newsletter so you don’t miss a thing!
Tutorial and photos of this granny square cardigan motif by: mahum 🎀.