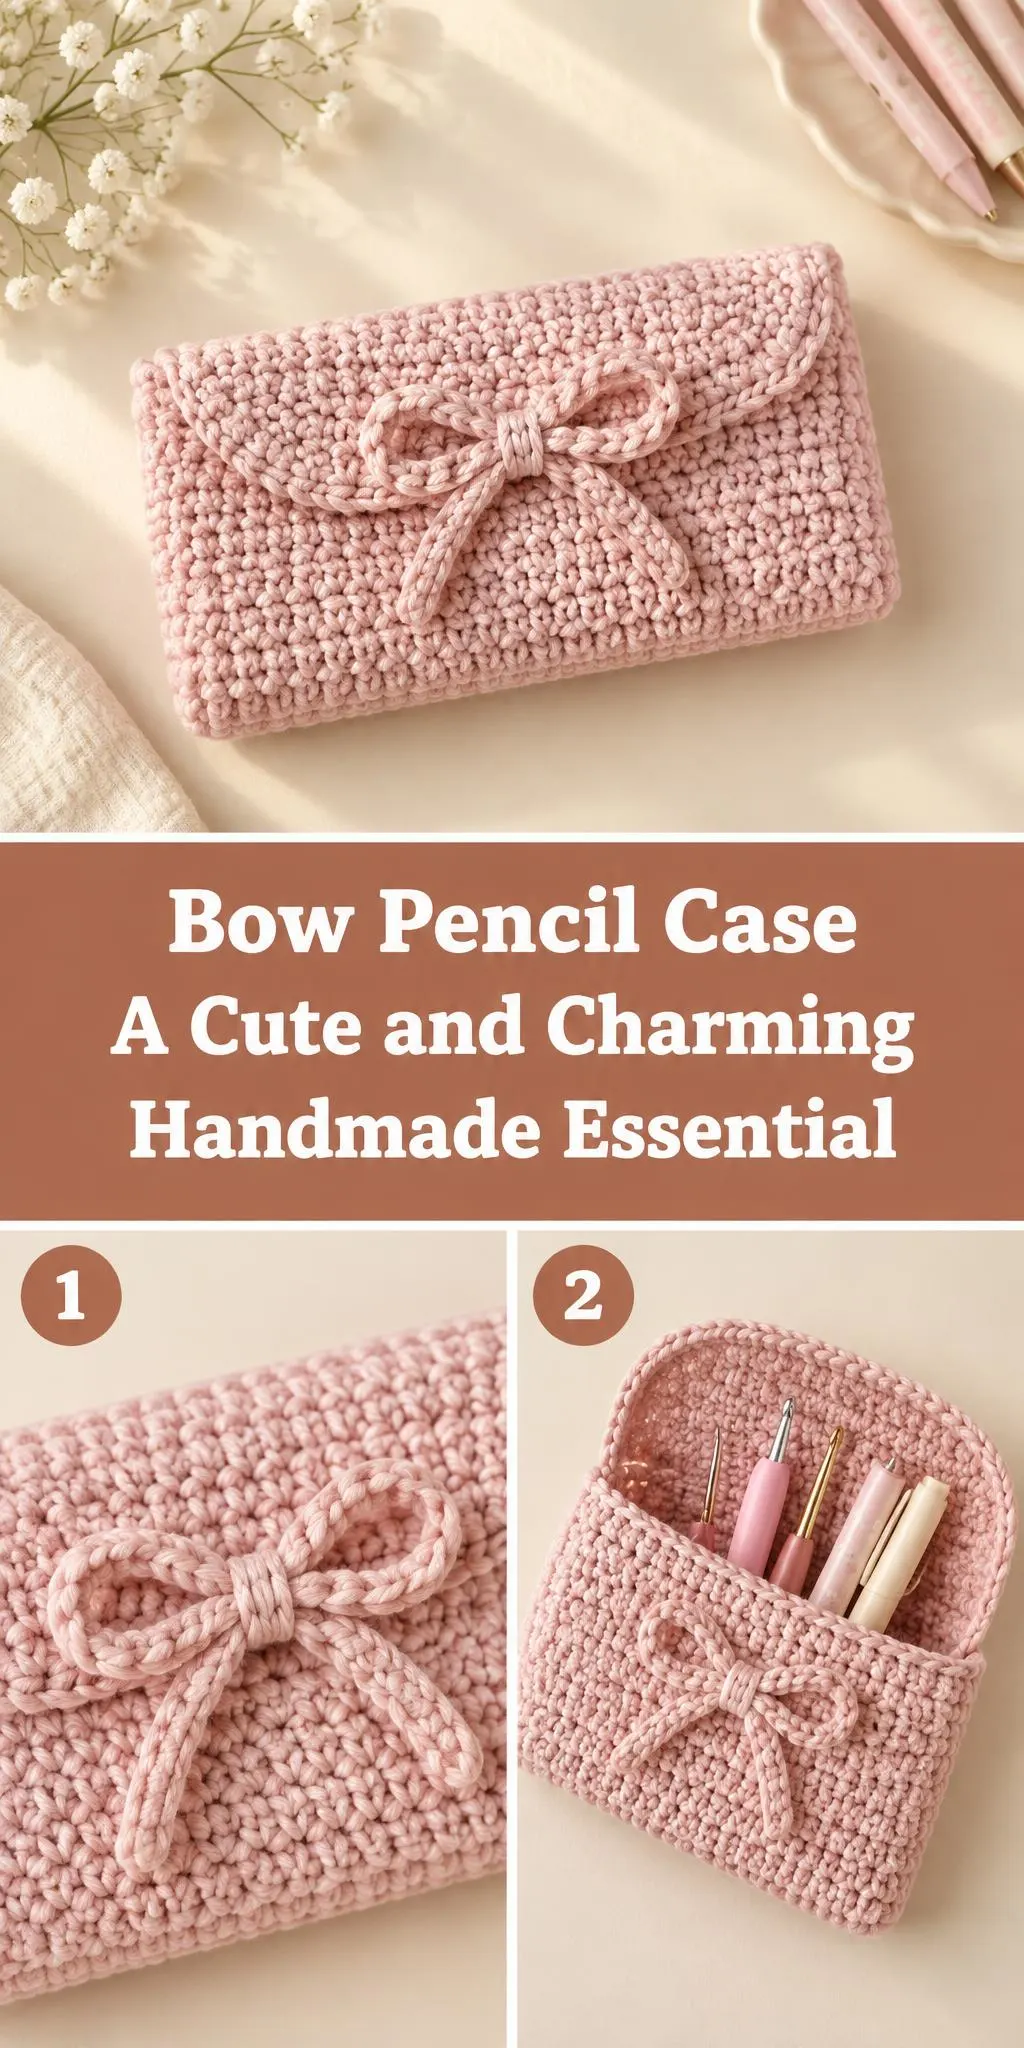
Welcome! Today we’re making a charming Crochet Bow Pencil Case that’s as pretty as it is practical.
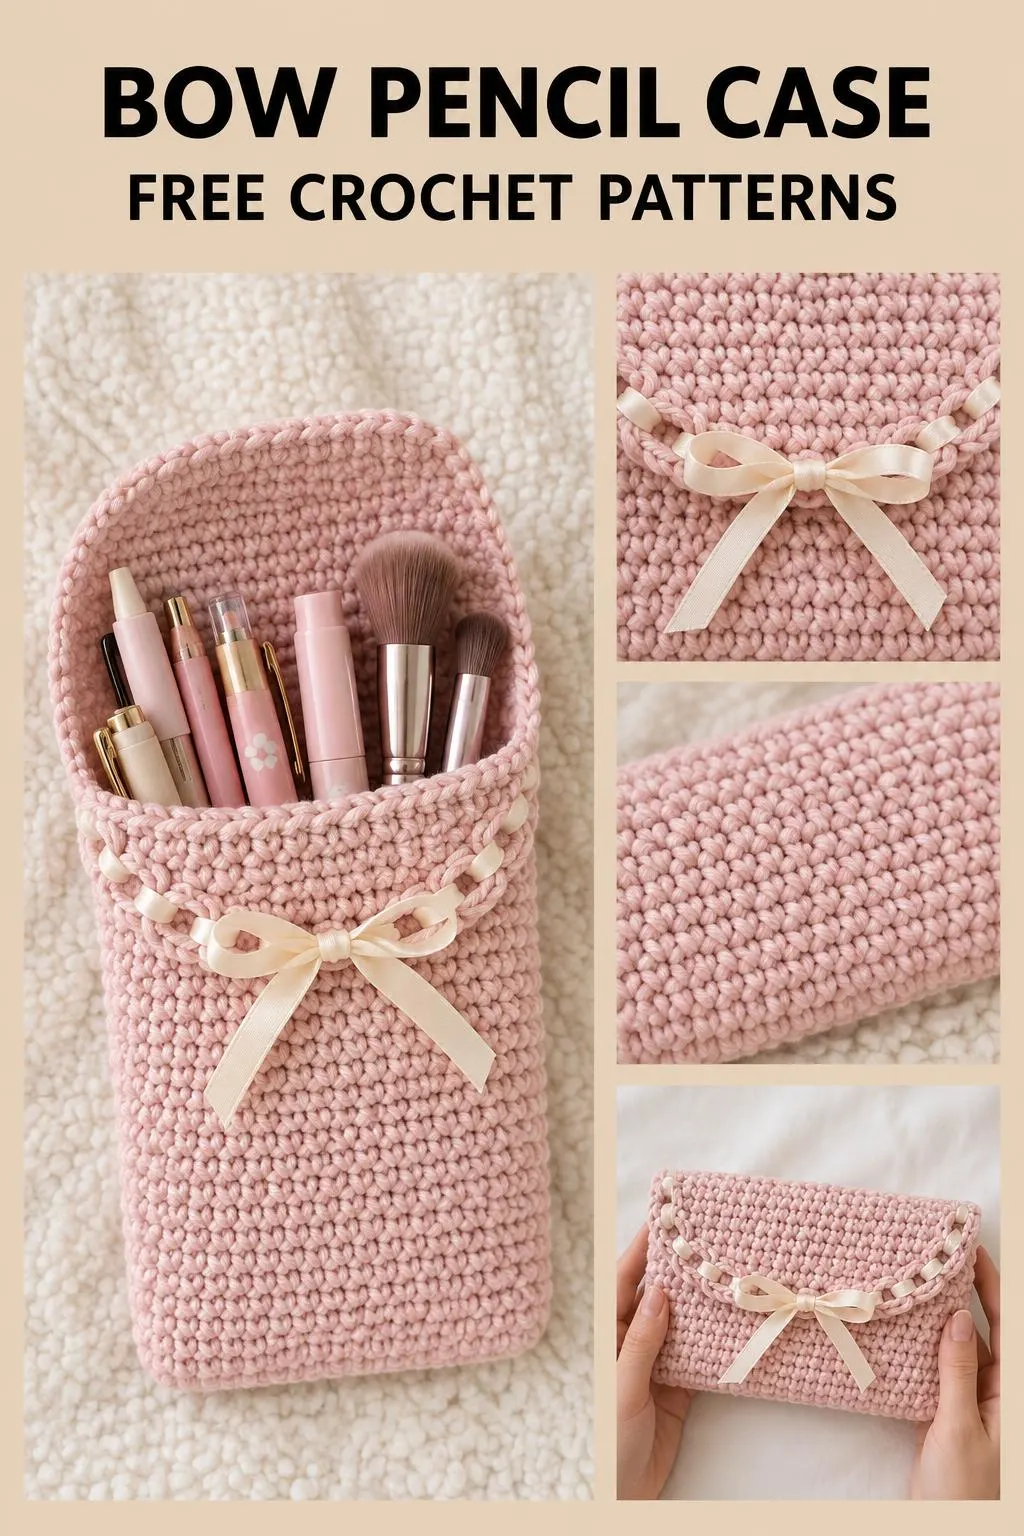
This little pouch is the perfect way to keep your pens, pencils, and crochet hooks neat and easy to find. The soft pastel shades and the sweet ribbon bow make it feel special, whether you tuck it into your bag or keep it on your desk.
Many crocheters love making a Crochet Bow Pencil Case because it works up quickly and makes a lovely gift for a friend, a student, or yourself. The full step-by-step tutorial is in the video, and this page is here to help you prepare and crochet with confidence.
In this post
Skill Level
Beginner to Easy. The construction is simple, using basic stitches worked in rounds and rows, with a flap and a few simple edging stitches that are easy to learn along the way.
Pencil Case Related Posts:
- Crochet Jacob’s Ladder Stitch Blanket: A Textured and Eye-Catching Handmade Treasure
- Crochet Pixel Grid Art: A Charming and Creative Handmade Project
- Crochet Solomon’s Knot Stitch Mesh: A Lacy and Vibrant Handmade Statement
- Crochet Rose Bouquet Blanket: A Charming and Romantic Handmade Accent
Materials
- Yarn: a medium weight cotton or acrylic yarn works well. Cotton holds its shape nicely, which keeps the pouch sturdy for pens and tools.
- Hook: a 4 mm to 5 mm hook is a good starting point for medium weight yarn. Adjust if your stitches look too loose or too tight.
- Scissors, and a yarn or tapestry needle for weaving in ends.
- Ribbon: a narrow satin ribbon in a matching or contrasting shade for the bow.
Stitches and Abbreviations
- sc: single crochet. Insert the hook, yarn over, pull up a loop, then yarn over and pull through both loops on the hook.
- ch: chain. Yarn over and pull through the loop on your hook to create a foundation or spacing chain.
- sl st: slip stitch. Insert the hook, yarn over, and pull through both the stitch and the loop on the hook, used for joining and neat finishing.
Pattern Notes
- This page uses US crochet terms throughout.
- Keep your tension even, since a consistent stitch gives the pouch a neat, structured look.
- If you want a bigger or smaller case, change your hook size or yarn weight rather than trying to change the stitch count.
- Edges can look a little uneven before blocking, which is completely normal and usually tidies up once finished.
How It’s Made
- Start the base, working the main body of the pouch in continuous rounds.
- Shape the sides so the pouch has a flat bottom and gentle walls.
- Work the flap, which folds over the front to close the case.
- Add the edging stitches around the flap for a decorative detail.
- Thread the ribbon through the flap and tie a bow on the front.
- Weave in all loose ends for a clean finish.
The exact rounds and stitch counts are in the video tutorial, so have it ready as you work.
Assembly and Finishing Tips
Work the flap edging evenly by spacing your stitches the same distance apart, so the scalloped detail looks balanced.
Weave in your ends carefully along the stitches, not through the open holes, so the pouch stays neat on the inside.
Block your finished pouch gently with a little water and a towel to help the edges sit straight and the stitches even.
For a bow that lasts, cut the ribbon ends at an angle to stop fraying, and tack the knot lightly to the fabric.
Make It Yours
Try a soft cream or sage green for a calm, everyday look, or a bright pastel for a playful version.
Swap the ribbon colour to match your favourite shade, or use a thicker ribbon for a bolder bow.
Make a few in different colours as a set for a classmate, a coworker, or a friend who loves stationery.
Add a short loop or strap to the back so the case is easy to clip onto a bag.
Happy crocheting, and I hope you enjoy making your Crochet Bow Pencil Case! Share your finished project with us, we would love to see it.
Follow us on Pinterest and subscribe to the Newsletter so you don’t miss a thing!
Tutorial and photos of this bow pencil case by: mahum 🎀.