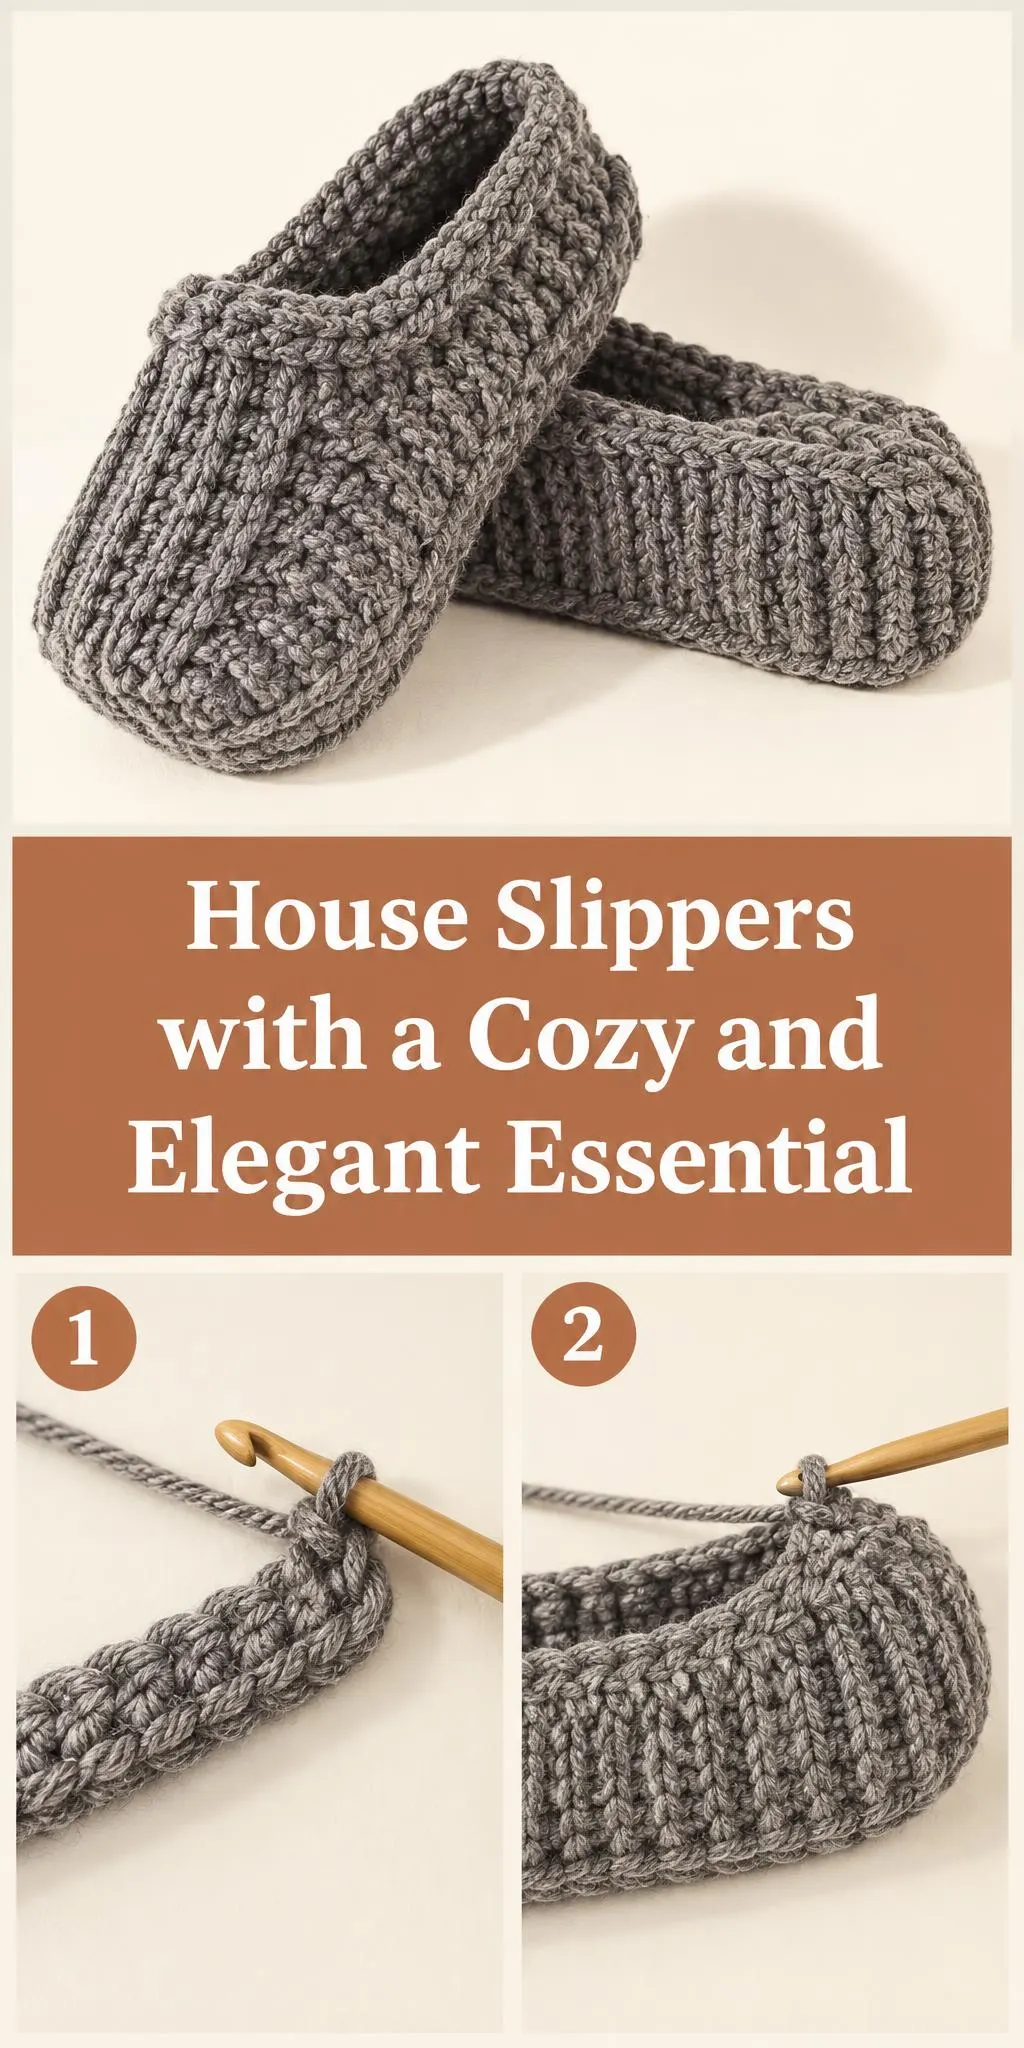
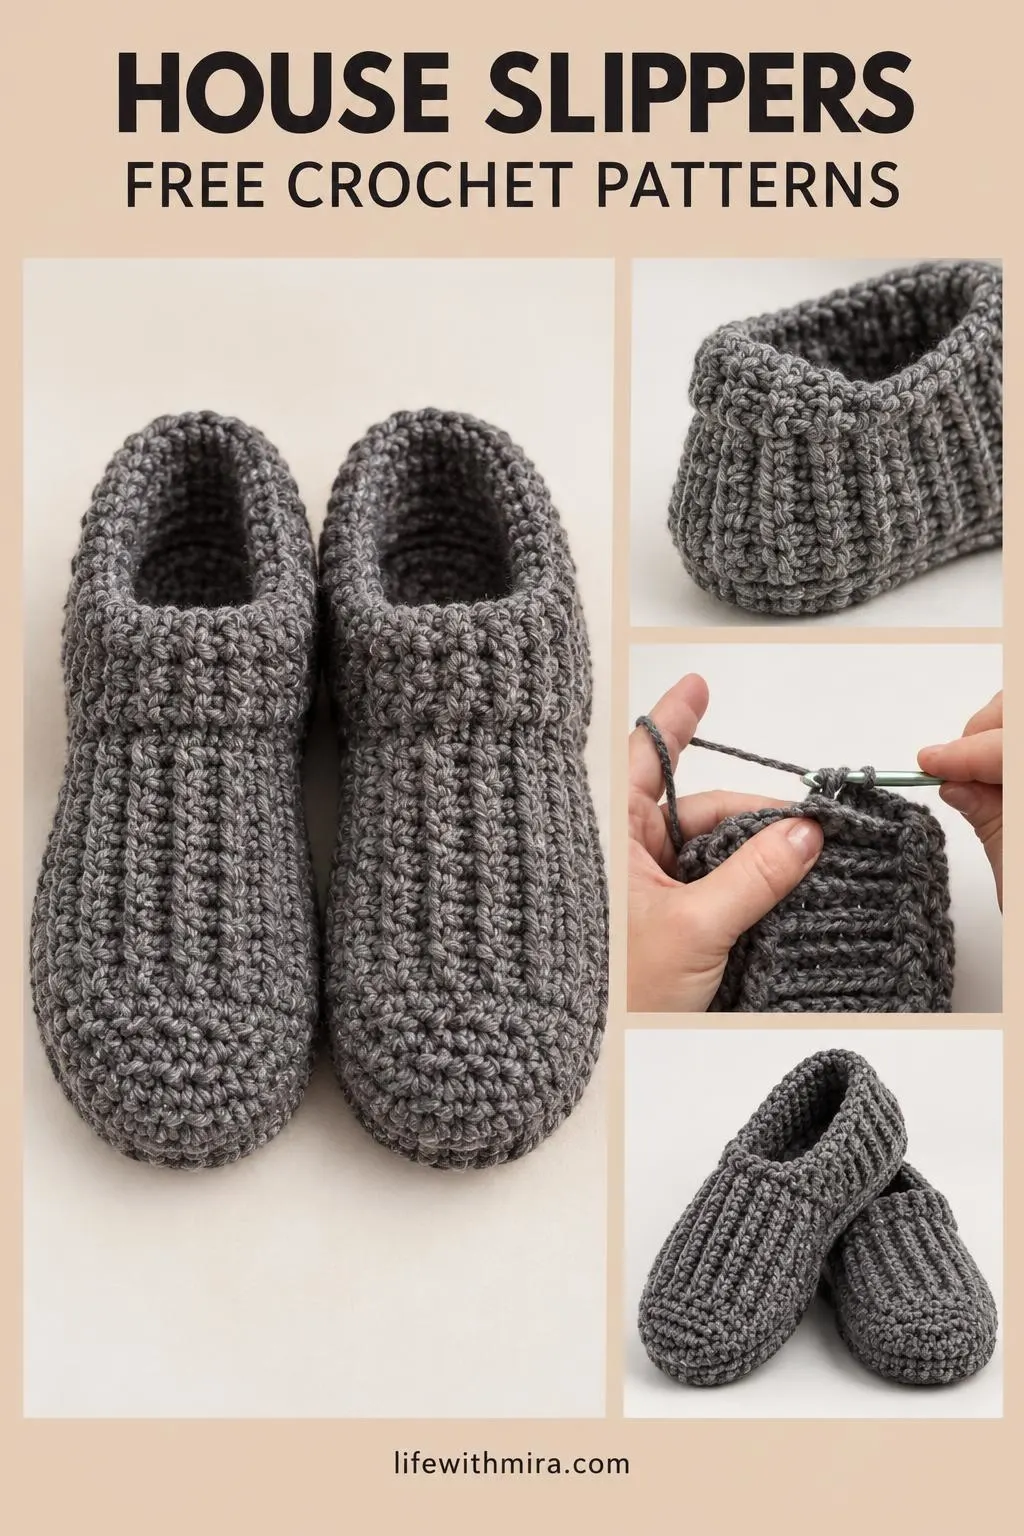
Welcome! Today we’re making a cozy pair of Crochet House Slippers that feel as good as they look.
Crochet House Slippers are one of those projects that make your floors feel warmer the moment you put them on. The sturdy, textured stitches give them a nice weight and a snug fit, and the simple shape makes them a joy to work up. Plain grey is a classic choice, but the look suits any colour you love.
These slippers are a great pick for chilly evenings, lazy weekends and anyone who likes to have a handmade pair waiting by the door. The full step-by-step tutorial is in the video, and this page will help you prepare, understand the stitches and finish with confidence.
In this post
Skill Level
Easy. The stitches are simple and repeated, and the construction is straightforward, so this is a lovely project once you are comfortable with basic crochet.
House Slippers Related Posts:
- Crochet Basic Stitch Fabric: A Simple and Versatile Foundation
- Crochet Heart Granny Square Book Cover: A Cozy and Adorable Handmade Accessory
- Crochet Phone Pouch Case: A Cozy and Practical Accessory
- Crochet Kanzashi Flower: An Elegant Handmade Accent
Materials
- Yarn: a medium or bulky weight yarn with some softness and body. Wool blends or acrylic work well for slippers because they hold their shape and wear nicely.
- Hook: a hook size suited to your chosen yarn, usually a little larger than the label suggests if you want a firmer, sturdier fabric.
- Scissors.
- A yarn or tapestry needle for weaving in ends and sewing seams.
- Stitch markers, helpful for keeping track of your place in the rounds.
Stitches and Abbreviations
- dc: double crochet. Yarn over, insert the hook, pull up a loop, yarn over and pull through two loops, yarn over and pull through the last two loops.
- BPdc: back post double crochet. Work the double crochet around the back post of the stitch below, which creates the ribbed texture you can see along the sides.
- 2 BPdc together: a decrease made by working two back post double crochets together. It helps shape the slipper so it sits neatly on the foot.
- sl st: slip stitch. Insert the hook, yarn over, and pull through both the stitch and the loop on the hook, used for joining and finishing.
Pattern Notes
- US terms are used throughout, so check that your stitch names match your pattern.
- Size is easy to adjust by working a few more or fewer rounds before shaping the toe, so try the slipper on as you go.
- Keep your tension even, since firm stitches give a more durable sole while looser stitches give a softer, more flexible slipper.
- Edges may look a little uneven before finishing, and that is completely normal.
How It’s Made
- Start with the sole, working in rounds to create a flat base shaped to your foot.
- Work up the sides, using back post stitches to build the ribbed texture.
- Shape the heel and toe with decreases so the slipper curves around your foot.
- Form the upper, usually by working the top edge so the slipper fits snugly.
- Finish the opening with a neat edging for a tidy, comfortable rim.
- Weave in your ends and check the fit before you finish.
For the exact rounds and sizing, follow the step-by-step tutorial in the video.
Assembly and Finishing Tips
Weave in your ends carefully on the inside of the slipper so they do not poke your feet. For a strong sole, work the base with firm, even stitches. If your edges curl, a gentle steam or light blocking can help them lie flat. Take your time with the decreases, since neat shaping is what makes the slippers feel well fitted.
Make It Yours
Try a two-tone look by working the sole in a darker shade and the upper in a lighter one. Choose a soft, bright colour for a cheerful pair that brightens grey mornings. You can also make a pair in a larger size as a cosy gift for a family member or friend. A contrasting edging in a single round of colour adds a simple, polished finish.
Happy crocheting! I would love to see your finished pair, so share your project and enjoy every cozy step.
Follow us on Pinterest and subscribe to the Newsletter so you don’t miss a thing!
Tutorial and photos of this house slippers by: Stephanie Zed.