The first time you open a crochet pattern, it can look like a secret code: “Row 3: ch 1, sc in each st across, turn. (12 sts)”. Once you know what each piece means, though, that same line reads like a friendly set of directions. This guide walks you through everything a beginner needs to read a crochet pattern with confidence, from the materials list at the top to the stitch counts at the end of each row.
In this post
- What a crochet pattern contains
- Crochet abbreviations: US terms with UK equivalents
- How to read gauge
- Repeats: asterisks, brackets and parentheses
- Stitch counts and why they matter
- Reading a sample pattern line by line
- Common beginner mistakes when reading patterns
- A note on crochet charts
- Frequently asked questions
- Keep learning
What a crochet pattern contains
Most written patterns, whether they come from a book, a magazine or a blog, follow the same general layout. Knowing the order helps you find what you need quickly.
- Skill level. Usually labeled beginner, easy, intermediate or experienced. Beginner patterns stick to basic stitches and simple shaping.
- Finished size. The measurements of the completed project, often with several sizes for garments.
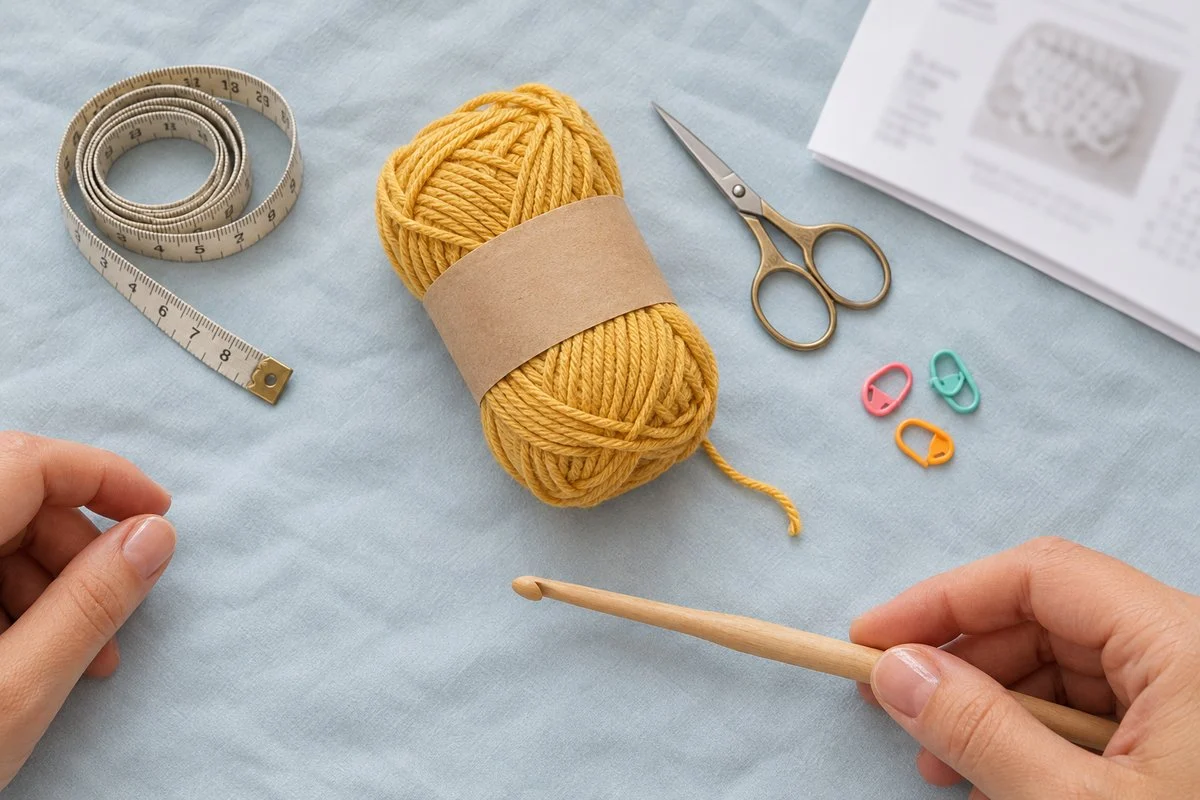
- Materials. The yarn (brand, fiber, weight and how many yards or skeins), the hook size, and extras like stitch markers, a yarn needle, buttons or stuffing.
- Gauge. How many stitches and rows should fit in a set measurement, usually 4 inches (10 cm). More on this below.
- Abbreviations and special stitches. A key to the shorthand used in the instructions, plus directions for any unusual stitch the designer uses.
- Notes. Whether the turning chain counts as a stitch, whether the pattern is worked in rows or in the round, and any tips the designer wants you to read first.
- Instructions. The row-by-row or round-by-round directions, often with a stitch count at the end of each line.
- Finishing. Seaming, weaving in ends, blocking and adding details.
Read the whole pattern once before you pick up your hook. It only takes a few minutes, and it saves you from surprises such as a special stitch in round 8 or a note that the first chain counts as a stitch.
Crochet abbreviations: US terms with UK equivalents
Patterns use abbreviations so a row of instructions fits on one line instead of a paragraph. The tricky part is that American and British patterns use different names for the same stitches, and the names overlap in a confusing way: a US single crochet is a UK double crochet, and a US double crochet is a UK treble. The table below lists the most common abbreviations you will meet.
| US abbreviation | US term | UK term (abbreviation) |
|---|---|---|
| ch | chain | chain (ch) |
| sl st | slip stitch | slip stitch (ss) |
| sc | single crochet | double crochet (dc) |
| hdc | half double crochet | half treble (htr) |
| dc | double crochet | treble (tr) |
| tr | treble crochet | double treble (dtr) |
| dtr | double treble | triple treble (trtr) |
| st / sts | stitch / stitches | same |
| sp | space | same |
| yo | yarn over | yarn round hook (yrh) |
| inc | increase (2 sts in one st) | same |
| dec / sc2tog | decrease / single crochet two together | dc2tog |
| BLO / FLO | back loop only / front loop only | same |
| rep | repeat | same |
| rnd | round | same |
| RS / WS | right side / wrong side | same |
| MR / MC | magic ring / magic circle | same |
How do you know which system a pattern uses? Look for a note near the top; most designers state “US terms” or “UK terms”. If there is no note, check for the abbreviation “sc”. UK patterns have no single crochet stitch in regular use, so if you see “sc”, you are almost certainly reading US terms. Also note that the chain and slip stitch are the same in both systems, so those will never trip you up.
How to read gauge
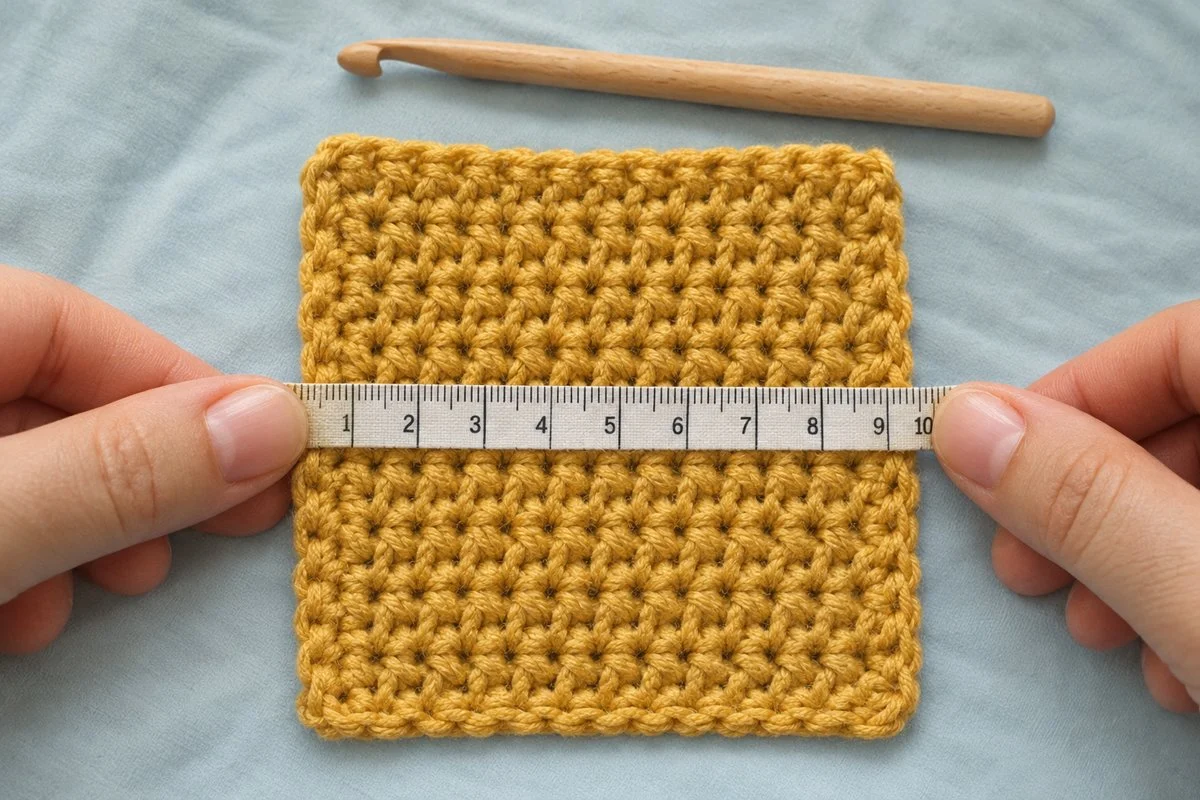
Gauge tells you how big your stitches should be. A typical gauge line looks like this: “16 sc and 18 rows = 4 in (10 cm) with a size H-8 (5 mm) hook”. In plain words, if you crochet a square of single crochet with that hook, 16 stitches should measure 4 inches across and 18 rows should measure 4 inches tall.
To check your gauge, crochet a swatch a little larger than the measurement, around 6 inches square, using the stitch pattern named in the gauge line. Lay it flat without stretching it, place a ruler or tape measure across the middle, and count the stitches in 4 inches. Then measure the rows the same way.
- Too many stitches in 4 inches? Your stitches are small. Go up a hook size.
- Too few stitches? Your stitches are big. Go down a hook size.
Gauge matters most for anything that needs to fit, such as hats, sweaters and socks. For a dishcloth or a scarf, a small difference is no big deal; your project will simply come out a bit larger or smaller. For amigurumi, the exact numbers matter less than making your stitches tight enough that stuffing does not show through.
Repeats: asterisks, brackets and parentheses
Designers use a few symbols to avoid writing the same instruction over and over. They look alarming at first, but each one has a simple job.
Asterisks (*)
An asterisk marks the start of a sequence you will repeat. The instruction will tell you how far to repeat it. For example: “*sc in next st, dc in next st; rep from * across” means you work one single crochet, then one double crochet, then go back to the asterisk and do the same thing again until you reach the end of the row. Sometimes you will see “rep from * 5 more times” instead, which means you work the sequence six times in total: once, plus five repeats.
Brackets [ ] and parentheses ( )
Brackets group a short set of stitches that are repeated a given number of times, with the number written right after the closing bracket: “[2 dc, ch 1] 3 times”. Parentheses usually do one of two jobs. They can group stitches that are all worked into the same place, as in “(2 dc, ch 2, 2 dc) in next ch-2 sp”, which is the classic granny-square corner. They can also hold extra information, such as the stitch count at the end of a row, or the numbers for different sizes: “ch 42 (46, 50, 54)”.
When brackets and asterisks appear together, work from the inside out. Finish the bracketed repeat first, then continue the longer asterisk repeat.
Stitch counts and why they matter
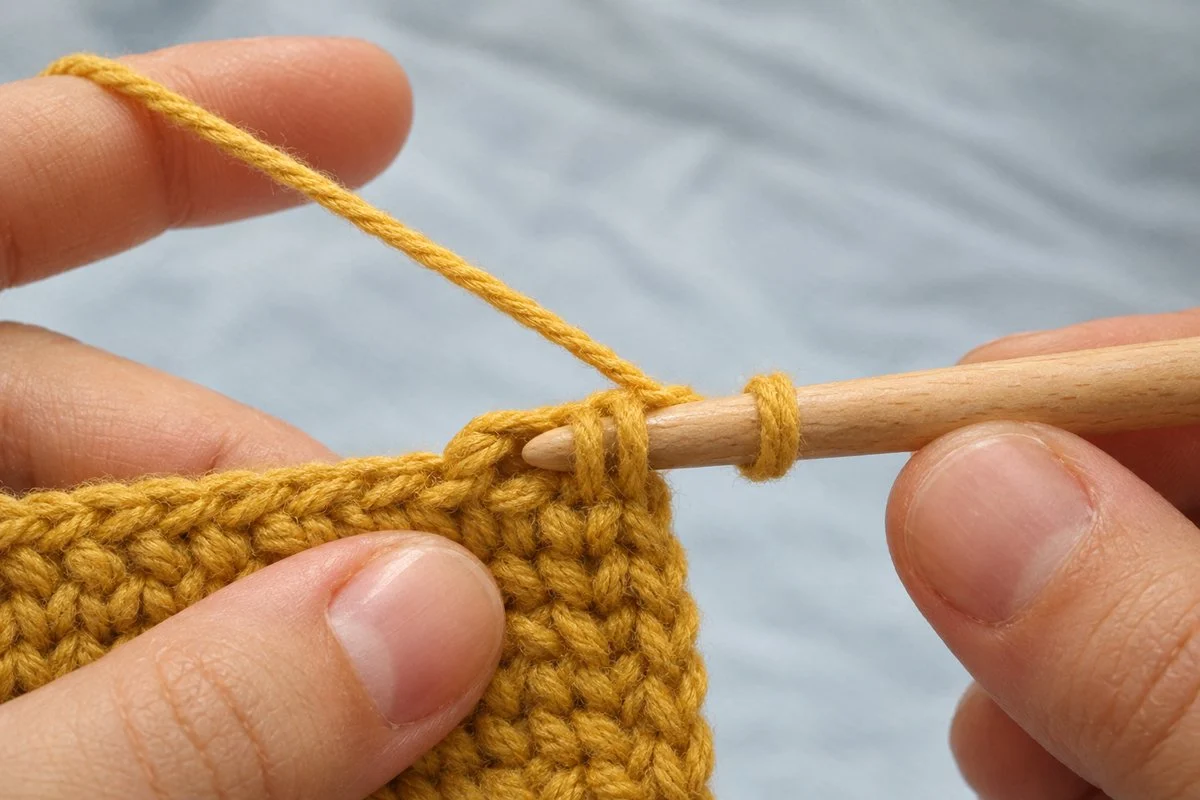
Many patterns end a row or round with a number in parentheses, like “(24 sts)” or “(24 sc)”. This is the total number of stitches you should have when that row is done. It is one of the most useful things in the whole pattern because it lets you catch a mistake right away instead of ten rows later.
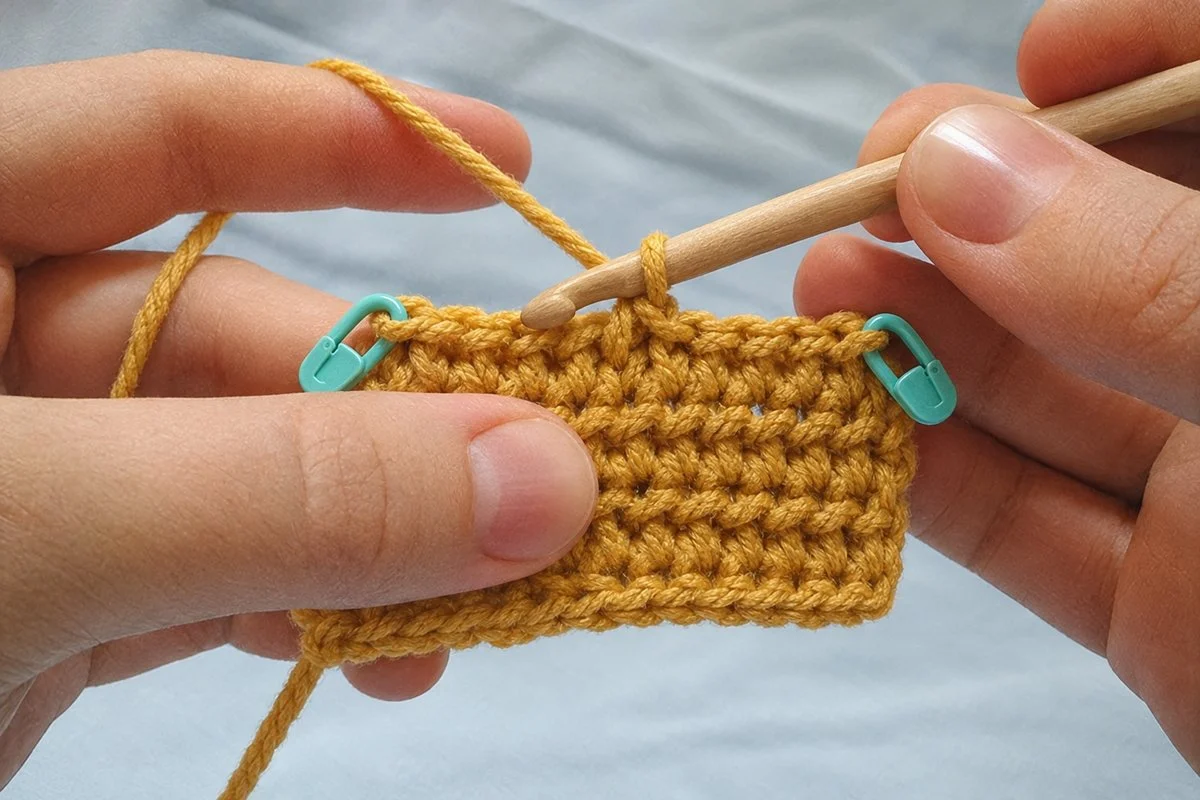
Count your stitches at the end of every row while you are learning. Each single crochet looks like a small “V” along the top of the work; count the Vs, not the posts. If your count is off by one, you most likely missed the first or last stitch of the row, or accidentally worked two stitches into the turning chain. If you are working in the round, a stitch marker in the first stitch of each round makes counting much easier.
Reading a sample pattern line by line
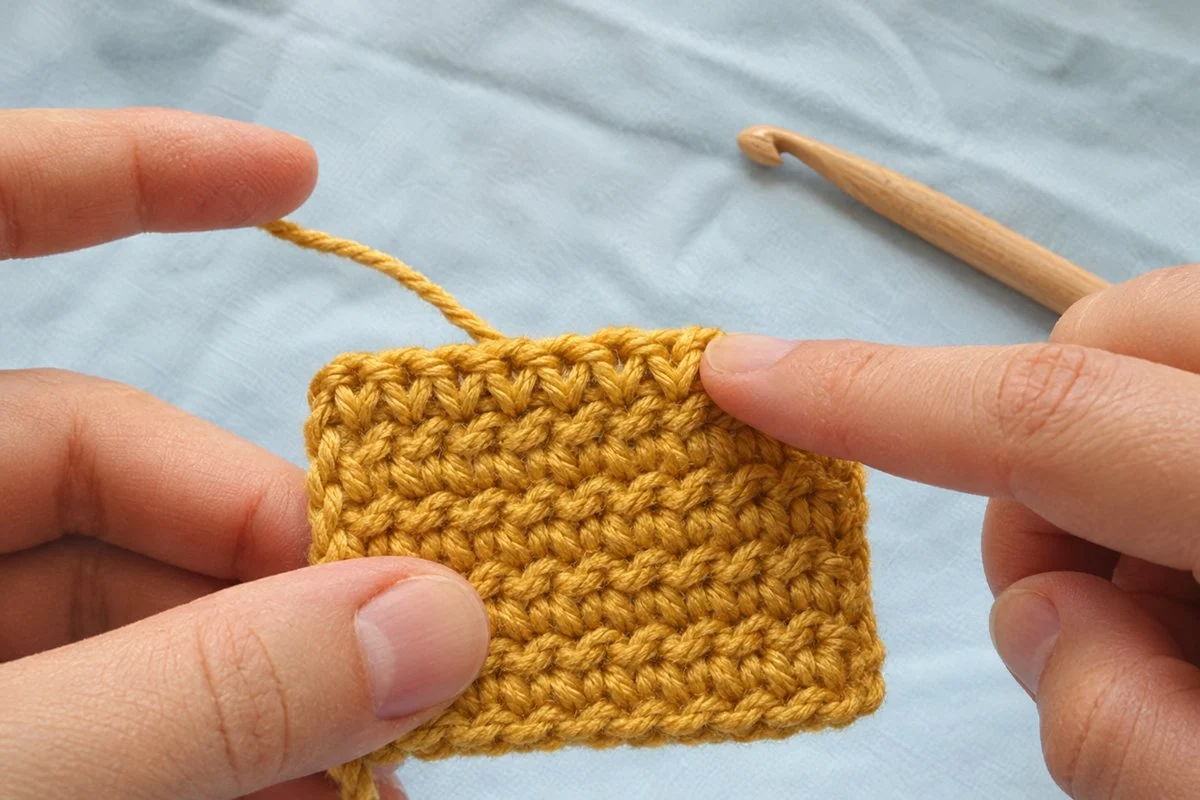
Here is a short, beginner-level pattern for a small textured square, written the way you would find it in a real pattern. We will go through every line.
Ch 13.
Row 1: Sc in 2nd ch from hook and in each ch across, turn. (12 sc)
Row 2: Ch 2 (does not count as a st), *dc in next st, sc in next st; rep from * across, turn. (12 sts)
Row 3: Ch 1, sc in each st across, turn. (12 sc)
Rows 4–9: Rep Rows 2 and 3 three more times.
Fasten off and weave in ends.
Step 1: The foundation chain
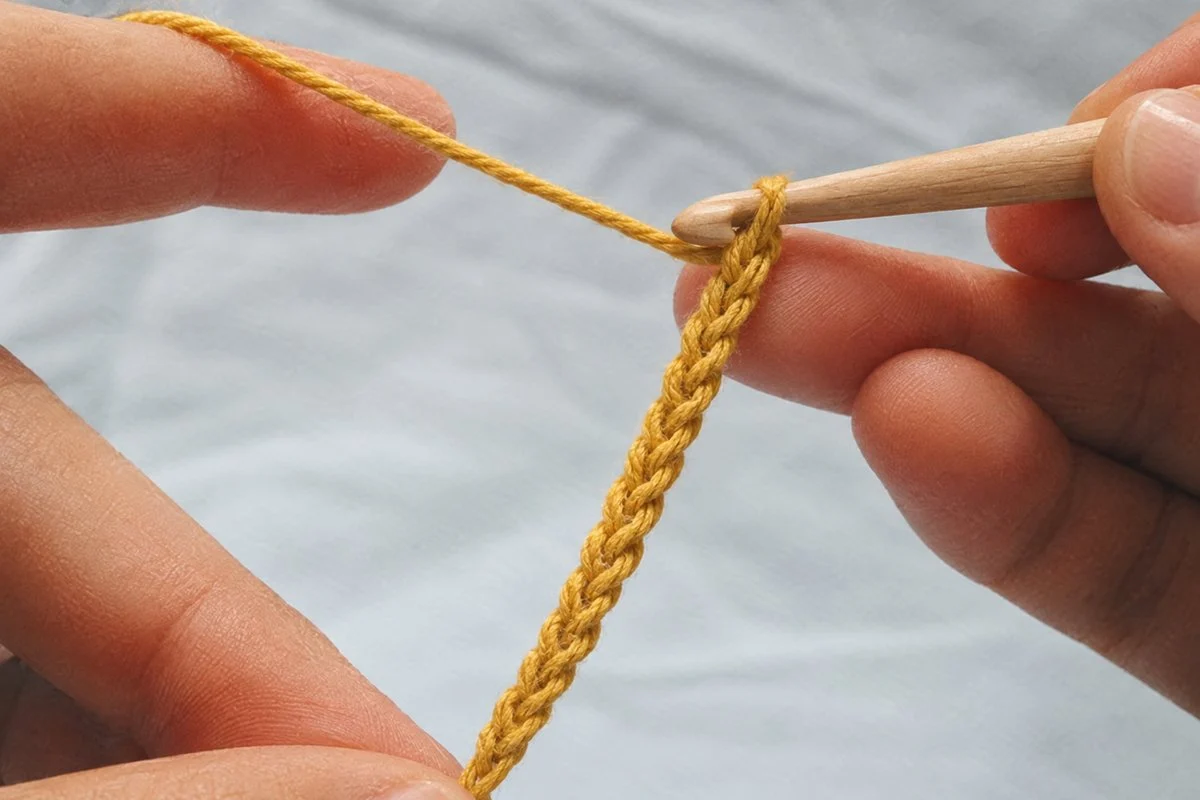
“Ch 13” means make a slip knot, then work 13 chain stitches. Do not count the slip knot or the loop on your hook; count only the finished chains.
Step 2: Row 1
“Sc in 2nd ch from hook” tells you to skip the chain right next to the hook and work your first single crochet in the next one. That skipped chain acts as the turning chain for this row. “In each ch across” means one single crochet in every remaining chain. You made 13 chains, skipped one, so you end with 12 single crochets, which matches the “(12 sc)” count. “Turn” means flip the work over so you can work back along the row you just made.
Step 3: Row 2
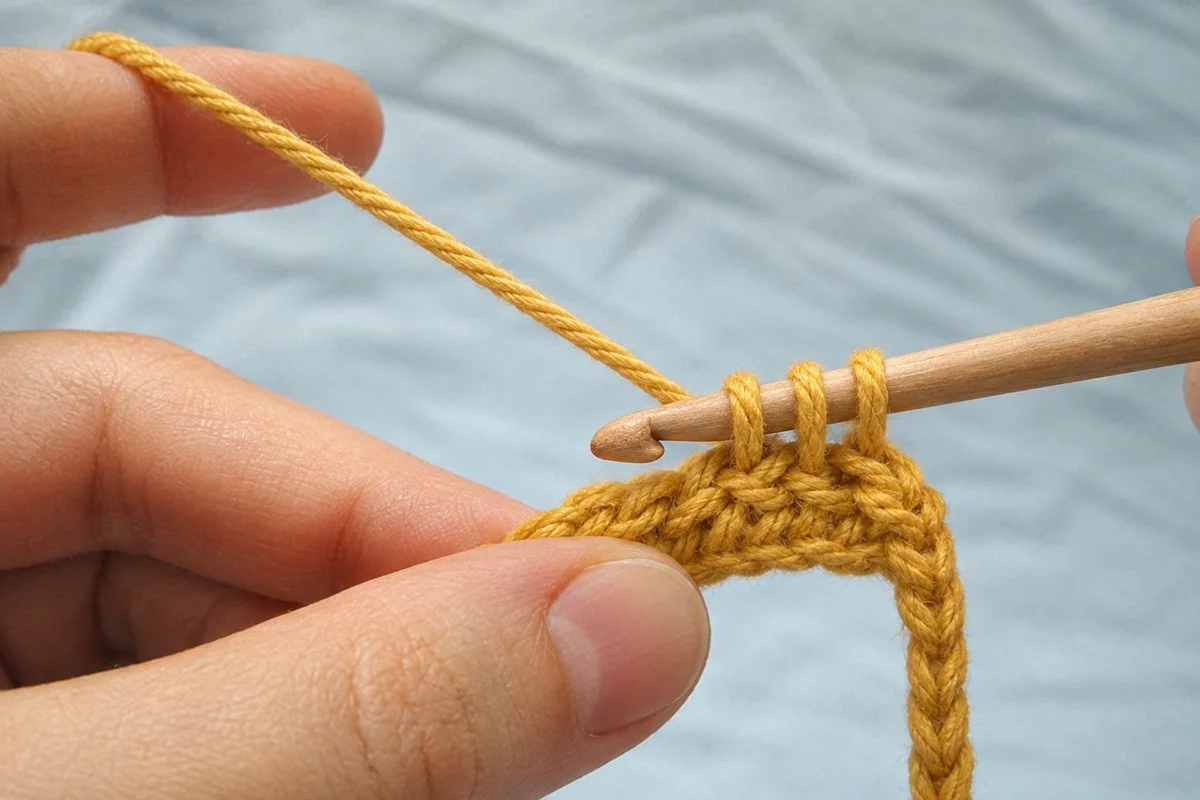
“Ch 2 (does not count as a st)” tells you to work two chains to bring your yarn up to the height of a double crochet, and that those chains are not counted as a stitch. Because of that, your first double crochet goes into the very first stitch of the row, not the second. Then the asterisk repeat begins: a double crochet in one stitch, a single crochet in the next, all the way across. With 12 stitches, you will work the two-stitch sequence six times. The count stays at 12.
Step 4: Row 3
“Ch 1” is the turning chain for single crochet, and in nearly every pattern it does not count as a stitch. Work one single crochet in each of the 12 stitches, including the last one, which sits on top of the double crochet from the previous row. Beginners often miss that last stitch because it can hide a little; a quick count fixes it.
Step 5: Rows 4 to 9
“Rep Rows 2 and 3 three more times” means work Row 2, then Row 3, and do that pair three times, giving you six more rows for nine rows total. This kind of shorthand is common, so get used to counting pairs of rows.
Step 6: Fasten off
Cut the yarn, leaving a 6-inch tail, pull it through the last loop on the hook and tug gently. “Weave in ends” means threading each tail onto a yarn needle and running it through the back of the stitches so it does not unravel.
Common beginner mistakes when reading patterns
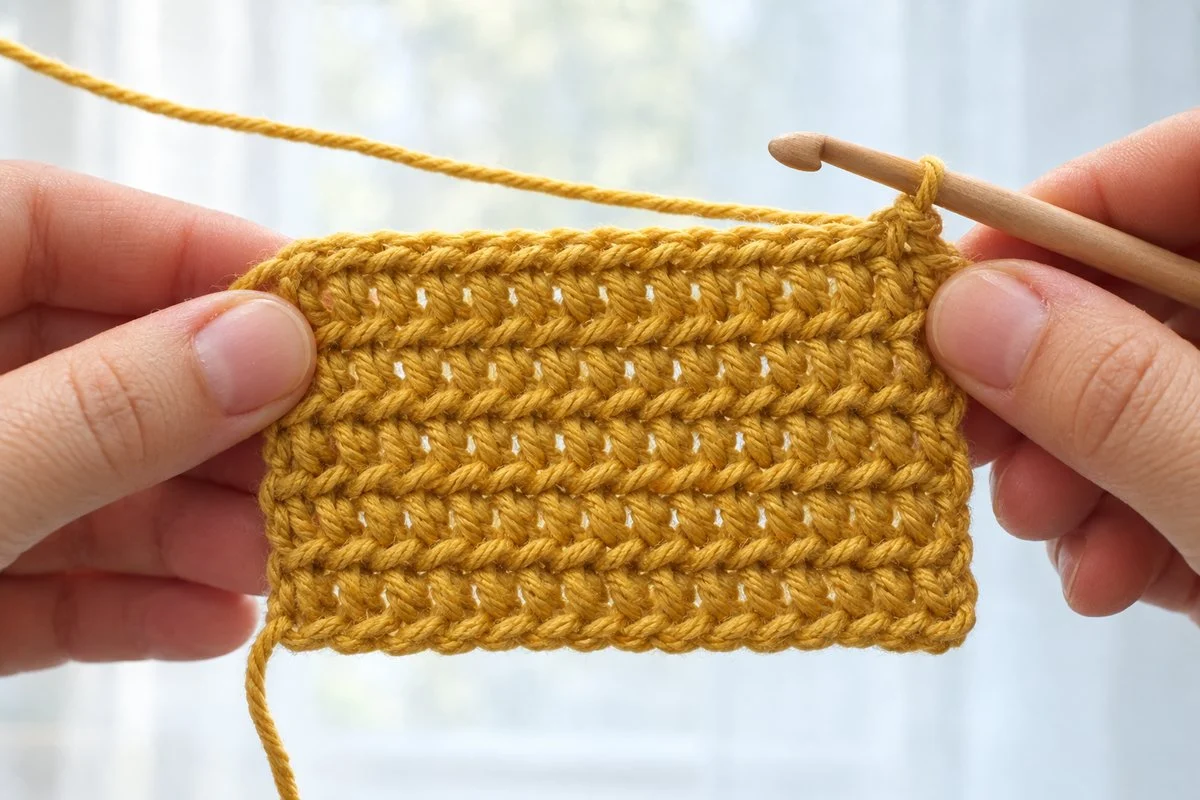
- Mixing up US and UK terms. If your stitches are coming out much taller or shorter than the picture, check which system the pattern uses.
- Miscounting the turning chain. Some patterns count a ch-3 as the first double crochet; others do not. The notes section tells you, and the stitch count confirms it.
- Working into the wrong place. “In next st” means under both top loops. “In ch-2 sp” means into the gap under a chain, not into the chain stitches themselves. “In BLO” means under the back loop only.
- Skipping the stitch count. Checking takes ten seconds. Fixing a mistake after five more rows takes much longer.
- Losing your place. Use a sticky note, a row counter, or a printed copy you can tick off. Highlighting each repeat in a different color also helps.
- Ignoring gauge on fitted items. A hat that is 10 percent too small will not stretch its way onto a head.
- Not reading the special stitches section. A designer’s “puff stitch” may use three yarn-overs while another’s uses four. Always follow the definition in the pattern you are using.
A note on crochet charts
Some patterns include a chart alongside the written instructions. A chart draws each stitch as a symbol: an oval for a chain, a cross or plus sign for a single crochet, a “T” with one crossbar for a double crochet, and so on. Charts are read from the bottom up for rows and from the center out for rounds, and they are especially handy for lace and motifs, where the written line can get long. You do not need charts to get started, but once you are comfortable with the abbreviations, give them a try; many crocheters find them faster to follow than text.
Frequently asked questions
Does the turning chain count as a stitch?
It depends on the pattern. As a general rule, a ch-1 for single crochet does not count, and a ch-3 for double crochet often does, but designers vary. Check the notes section, and use the stitch count at the end of the row to confirm.
What does “sc in each st across” mean?
Work one single crochet into every stitch of the previous row, from the first stitch to the last. You should end with the same number of stitches you started with.
What is the difference between a row and a round?
Rows are worked back and forth, turning the work at the end of each one, and make flat pieces like scarves. Rounds are worked in a circle without turning (or sometimes with turning, if the pattern says so) and make tubes and circles like hats and amigurumi.
Can I use a different yarn than the pattern calls for?
Yes, as long as you choose a yarn of the same weight (for example, worsted for worsted) and check your gauge. A different fiber will change the drape and feel, so swatch first for anything that needs to fit.
Which patterns should a beginner start with?
Look for patterns labeled beginner or easy that use only chains, single crochet and double crochet, with a clear stitch count on every row. Dishcloths, simple scarves and basic granny squares are all good first projects.
Keep learning
Many patterns worked in the round, especially amigurumi and hats, start with “MR” or “magic ring”. If that abbreviation has you stumped, our step-by-step guide on how to crochet a magic ring shows you exactly where the yarn goes, with a photo for every step.