

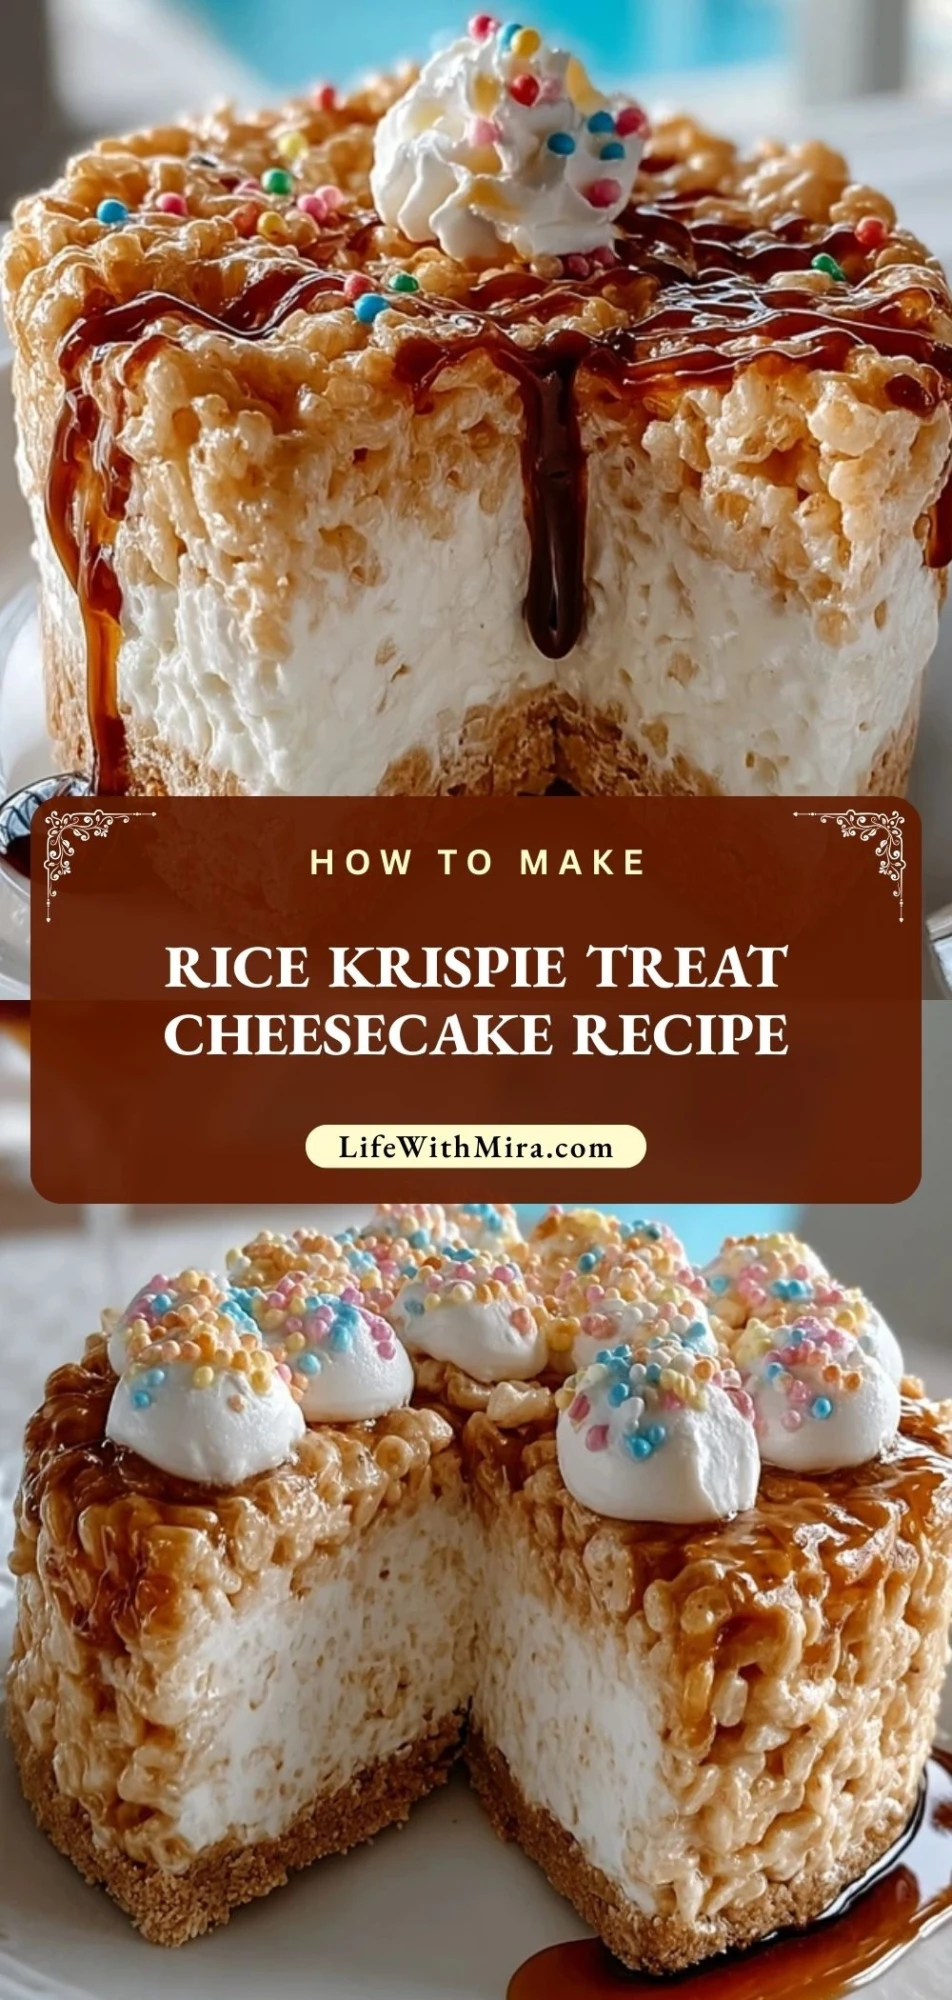
Imagine the chewy, marshmallow-y magic of classic Rice Krispie treats hugging a thick, creamy layer of no-bake cheesecake. Every bite is a mix of buttery cereal crunch, fluffy marshmallow, and tangy vanilla cheesecake that tastes like childhood sleepovers and grown‑up dessert dreams in one.
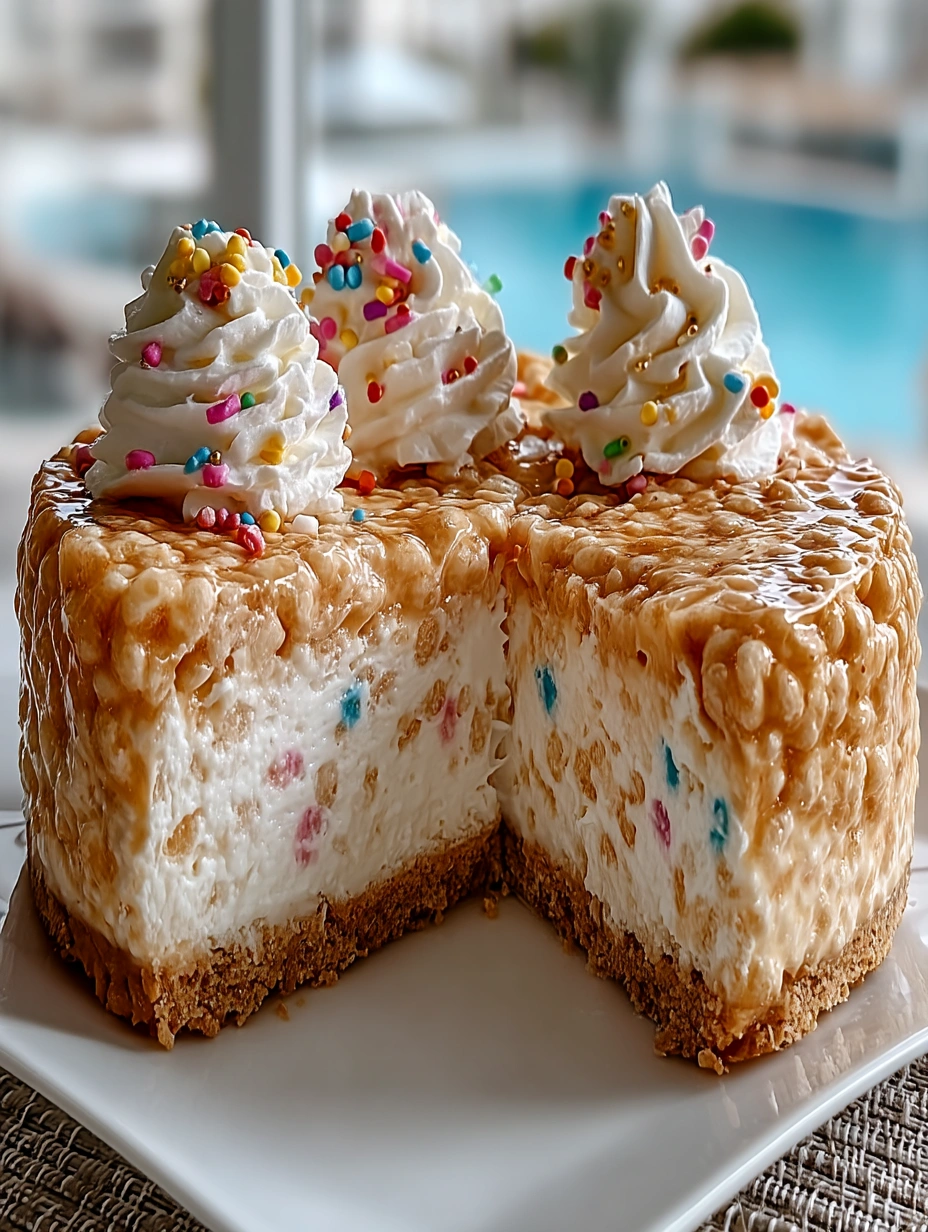
This Rice Krispie Treat Cheesecake comes together with simple pantry ingredients and feels extra fun on the table. It’s playful enough for kids’ parties, pretty enough for potlucks, and easy enough for a weeknight treat when you just want something sweet without turning on the oven for hours.
Why You’ll Love This Rice Krispie Treat Cheesecake
This dessert gives you the best of two classics in one pan: the nostalgic flavor of Rice Krispie treats and the silky richness of cheesecake. The cereal crust is chewy at the base and just crisp enough around the edges to hold that luxurious, fluffy center.
Because the cheesecake layer is no‑bake, it feels light and mousse‑like instead of dense and heavy. The marshmallows add sweetness and softness, while whipped cream and cream cheese keep everything creamy and smooth. It’s a crowd‑pleaser that looks like you spent way more time on it than you actually did.
You’ll also love how customizable it is. Swap in chocolate cereal, drizzle with caramel or chocolate sauce, or add colored sprinkles on top for birthdays and holidays. Make it a day ahead, keep it chilled, and you’ve got a ready‑to‑serve dessert that holds up beautifully.
What Makes This Rice Krispie Treat Cheesecake So Fun?
Rice Krispie Treat Cheesecake is all about texture and contrast. The bottom layer is a classic stovetop mix of cereal, butter, and marshmallows, pressed into a pan to form a sturdy but chewy crust. It cools and sets up quickly, so you can add the cheesecake layer without waiting all day.
The cheesecake filling is no‑bake, which means no water baths, no cracking, and no guessing if it’s done. Softened cream cheese, powdered sugar, vanilla, and whipped cream blend together into a smooth, cloud‑like filling that’s easy to spread over the cereal crust.
On top, more Rice Krispies and mini marshmallows add a fun, bumpy finish that tells everyone exactly what’s inside. Whether you cut it into neat slices or chunky bars, it’s the kind of dessert that disappears fast from the plate.
Ingredients for the Rice Krispie Treat Cheesecake
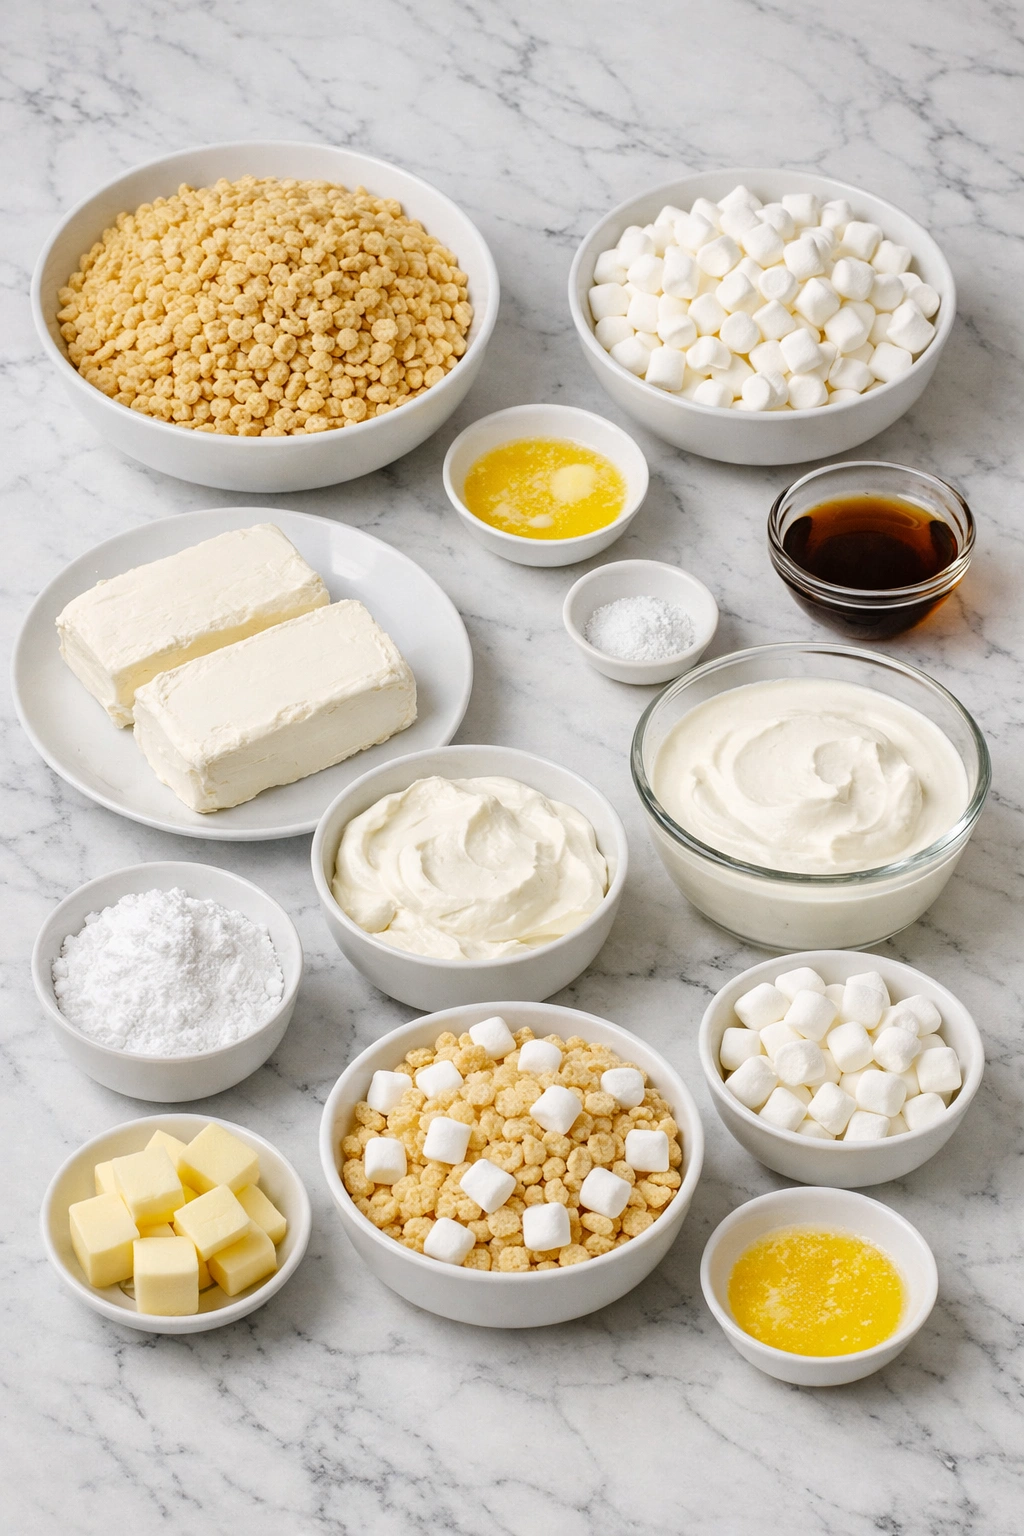
The ingredients here are simple and familiar, but each one plays a specific role in getting that perfect chewy‑crunchy crust and creamy cheesecake layer. We’ll divide them between the crust, the cheesecake filling, and the topping so you can prep in stages.
For the Rice Krispie Treat Crust
- Rice Krispies cereal – The main base of the crust, giving it that signature crispy, airy texture and classic flavor.
- Unsalted butter – Adds richness and helps the marshmallows melt smoothly so the crust holds together.
- Mini marshmallows – Melt into the butter to create a sticky, chewy mixture that binds the cereal into a solid crust.
- Fine sea salt – Balances the sweetness and brings out the toasty cereal and buttery flavors.
For the Cheesecake Layer
- Cream cheese – The heart of the cheesecake layer, giving it body, tang, and creaminess.
- Powdered sugar – Sweetens the filling while dissolving easily for a smooth, lump‑free texture.
- Vanilla extract – Adds warmth and depth to both the cheesecake and the Rice Krispie flavors.
- Heavy whipping cream – Whipped to soft peaks to lighten the cheesecake layer and give it a luscious, mousse‑like texture.
- Sour cream – Adds extra tang and silkiness, helping the filling feel rich but not overly heavy.
For the Topping
- Rice Krispies cereal – Sprinkled on top for extra crunch and a pretty, textured finish.
- Mini marshmallows – Soften slightly as the cheesecake chills, adding a pillowy top layer.
- Unsalted butter – Helps lightly bind the cereal and marshmallows on top so they don’t tumble off when you slice.
How To Make the Rice Krispie Treat Cheesecake
This recipe comes together in easy stages: make the Rice Krispie crust, whip the no‑bake cheesecake layer, add the fun topping, then chill until set. Plan ahead so it has enough time to firm up in the fridge before serving.
Step 1: Prep Your Pan
Line the bottom of a 9‑inch springform pan with parchment paper and lightly grease the sides. This makes it much easier to release the cheesecake later and keeps the cereal crust from sticking.
Step 2: Make the Rice Krispie Treat Crust
In a large pot over low heat, melt the butter until just liquefied. Add the mini marshmallows and stir continuously until they’re completely melted and smooth.
Remove the pot from the heat, sprinkle in the salt, and fold in the Rice Krispies cereal. Stir gently but thoroughly so every piece of cereal is coated in the marshmallow mixture.
Step 3: Press the Crust Into the Pan
Working quickly while the mixture is still warm, transfer it into the prepared pan. Use a lightly buttered spatula or clean, greased hands to press the cereal mixture firmly and evenly across the bottom of the pan.
Aim for a level surface without gaps so the cheesecake layer can sit flat. Let the crust cool to room temperature while you prepare the filling.
Step 4: Whip the Cheesecake Filling
In a large mixing bowl, beat the softened cream cheese until smooth and fluffy, scraping down the sides of the bowl as needed. Add the powdered sugar and vanilla and beat again until fully combined and velvety.
In a separate chilled bowl, whip the heavy cream to medium‑stiff peaks. Fold the whipped cream gently into the cream cheese mixture along with the sour cream, using a spatula to keep the mixture light and airy.
Step 5: Layer the Cheesecake Over the Crust
Once the Rice Krispie crust has cooled, spoon the cheesecake filling over the top. Spread it evenly with an offset spatula, smoothing the surface and gently pressing the filling into the edges of the pan to avoid air pockets.
Tap the pan lightly on the counter a few times to release any trapped air bubbles.
Step 6: Add the Rice Krispie Topping
In a small bowl, combine Rice Krispies cereal and mini marshmallows with a little melted butter, tossing until lightly coated. Sprinkle this mixture evenly over the cheesecake layer, pressing very gently so it adheres without sinking.
This topping adds extra crunch and makes the cheesecake look like a giant, frosted Rice Krispie treat.
Step 7: Chill Until Firm
Cover the pan with plastic wrap or foil and refrigerate for at least 4 hours, or overnight for the cleanest slices. The filling will firm up, and the flavors will meld as it chills.
When you’re ready to serve, run a thin knife around the edge of the pan before releasing the springform. Slice with a sharp knife, wiping the blade between cuts for neat layers.
Serving Rice Krispie Treat Cheesecake
Slice this Rice Krispie Treat Cheesecake into 10 to 12 wedges or bars, depending on how generous you want each serving to be. The layers are rich, so smaller slices still feel satisfying.
It’s perfect served chilled, straight from the refrigerator, when the crust is chewy and the cheesecake layer is cool and creamy. For a slightly softer bite, let it sit at room temperature for about 10 minutes before serving.
Dress each slice up with a drizzle of caramel or chocolate sauce, a dollop of whipped cream, or a sprinkle of extra Rice Krispies on the plate. It’s a fun dessert for birthdays, movie nights, potlucks, or any time you want something playful but still special.
How to Store Rice Krispie Treat Cheesecake
Because of the dairy‑rich cheesecake layer, this dessert needs to stay chilled. Store leftover slices in an airtight container or cover the pan tightly with plastic wrap and refrigerate for up to 4 days.
The Rice Krispie crust and topping will gradually soften the longer it sits, but the flavor remains delicious. If you prefer more texture, enjoy the cheesecake within the first 48 hours for the best balance of chewy crust and creamy center.
To freeze, place individual slices on a parchment‑lined tray and freeze until solid. Wrap each slice in plastic wrap and then in foil, or place them in a freezer‑safe container. Freeze for up to 1 month. Thaw overnight in the refrigerator before serving. The topping may be slightly softer after freezing, but the cheesecake layer will still taste rich and creamy.
Frequently Asked Questions
Can I use marshmallow fluff instead of mini marshmallows?
Mini marshmallows melt and set in a way that helps the Rice Krispie crust hold together firmly. Marshmallow fluff is softer and may not set as well, making the crust more gooey and less stable. If you do experiment with fluff, consider using a bit less and adding an extra handful of cereal to compensate.
Do I have to use a springform pan?
A springform pan makes it much easier to release the cheesecake in clean, tall slices, but you can also use a 9×9‑inch square pan lined with parchment that overhangs the sides. Once chilled, lift the entire cheesecake out by the parchment and cut it into bars instead of wedges.
Can I make this Rice Krispie Treat Cheesecake ahead of time?
Yes, this dessert is a great make‑ahead option. You can assemble the entire cheesecake up to 24 hours in advance and keep it covered in the refrigerator. In fact, the chilling time helps the layers set and makes slicing easier.
How can I keep the Rice Krispie crust from turning too hard?
Melt the marshmallows over low heat and avoid overcooking them, which can make the mixture stiff once cooled. Press the crust firmly but not aggressively into the pan, and don’t compress it so much that it becomes dense. Storing the cheesecake chilled but not frozen also helps keep the crust pleasantly chewy.
Can I add mix‑ins like chocolate chips or sprinkles?
Absolutely. Fold mini chocolate chips or colorful sprinkles into the cheesecake layer for a funfetti‑style dessert, or stir them into the Rice Krispie topping. Just avoid overloading the filling with heavy add‑ins so it stays light and sets properly.
Want More Cheesecake & Dessert Bar Ideas?
If this Rice Krispie Treat Cheesecake makes you smile, you’ll probably love these other sweet treats too:
- Red Velvet Cheesecake Brownies for a dramatic red-and-white cheesecake swirl in brownie form.
- No-Bake Pumpkin Lasagna Dessert when you want creamy fall flavor without turning on the oven.
- Oreo Stuffed Cinnamon Rolls for an over-the-top breakfast‑meets‑dessert mashup.
- Hot Buttered Mini Donuts whenever you’re craving bite‑sized, cinnamon‑sugar goodness.
Save these for parties, holidays, or anytime you’re in the mood for dessert bars and cheesecake‑style treats that feel fun but are simple to put together.
Save This Pin For Later
📌 Save this Rice Krispie Treat Cheesecake Recipe to your dessert or party board on Pinterest so you can come back to it whenever a sweet craving hits.
When you make it, I’d love to hear how you serve it. Did you drizzle caramel or chocolate on top? Did you add sprinkles or extra cereal for color and crunch?
Share your twists, questions, and photos—desserts like this are meant to be played with. And if you’re always looking for new dessert and snack inspiration, you can find more fun, easy ideas over on Life With Mira.
Rice Krispie Treat Cheesecake Recipe
- Total Time: 245
- Yield: 12 servings
- Diet: Vegetarian
Description
This Rice Krispie Treat Cheesecake is a fun mashup of chewy marshmallow cereal bars and creamy no-bake cheesecake, perfect when you want food ideas that feel playful but still special. It’s an easy recipe that’s ideal for quick breakfast treats, after-dinner desserts, or party snacks, and it fits right in with your favorite breakfast ideas, dinner ideas, and sweet treats for a crowd. With a no-bake cheesecake layer, simple ingredients, and make-ahead convenience, it’s the kind of easy dinner dessert you can whip up whenever you’re craving something rich, nostalgic, and impressive without much effort or stress.
Ingredients
4 cups Rice Krispies cereal
5 tablespoons unsalted butter
4 cups mini marshmallows
1/4 teaspoon fine sea salt
16 ounces cream cheese softened
2/3 cup powdered sugar
1 teaspoon vanilla extract
1 cup sour cream
1 1/4 cups heavy whipping cream cold
1 1/2 cups Rice Krispies cereal
1 1/2 cups mini marshmallows
2 tablespoons unsalted butter melted
Instructions
1. Line and prep the pan by greasing the sides of a 9-inch springform pan and lining the bottom with a round of parchment paper so the crust releases cleanly after chilling.
2. Melt butter for the crust in a large heavy-bottomed pot over low heat until just melted, making sure it does not brown.
3. Add mini marshmallows to the pot and stir constantly over low heat until the marshmallows are completely melted and the mixture is smooth and glossy.
4. Remove the pot from the heat, sprinkle in the fine sea salt, and immediately add the Rice Krispies cereal, folding gently until all of the cereal is evenly coated in the marshmallow mixture.
5. Transfer the warm cereal mixture into the prepared springform pan and, using lightly buttered hands or a greased spatula, press it firmly and evenly into the bottom to form a level crust, then let it cool to room temperature.
6. Beat the softened cream cheese in a large mixing bowl with a hand mixer or stand mixer until smooth, fluffy, and free of lumps, scraping down the bowl as needed.
7. Add powdered sugar and vanilla extract to the cream cheese and continue beating until the mixture is silky and fully combined.
8. Mix in the sour cream on low speed until just incorporated, keeping the mixture smooth and creamy without over-whipping.
9. In a separate chilled bowl, whip the cold heavy whipping cream to medium-stiff peaks using a hand mixer or whisk, taking care not to overbeat it into butter.
10. Gently fold the whipped cream into the cream cheese mixture in two or three additions, using a spatula and light motions so the filling stays airy and mousse-like.
11. Spoon the cheesecake filling over the cooled Rice Krispie crust, spreading it into an even layer and smoothing the top with an offset spatula while pressing the filling lightly into the edges of the pan.
12. Tap the pan a few times on the counter to release any trapped air bubbles and to help the filling settle into a smooth, level layer.
13. For the topping, stir together the Rice Krispies cereal and mini marshmallows in a medium bowl, then drizzle in the melted butter and toss until everything is lightly coated.
14. Sprinkle the topping mixture evenly over the cheesecake layer, pressing very gently so it adheres without sinking into the filling.
15. Cover the pan tightly with plastic wrap or foil and refrigerate the cheesecake for at least 4 hours, or overnight, until the filling is fully set and firm enough to slice cleanly.
16. When ready to serve, run a thin knife around the inside edge of the pan to loosen the cheesecake, release the springform ring, and cut into 10 to 12 slices, wiping the knife between cuts for neat layers.
Notes
For the cleanest slices, chill the cheesecake overnight and use a sharp knife wiped clean between cuts so the layers stay well defined.
Melt the marshmallows over low heat and avoid overcooking them; this keeps the Rice Krispie crust chewy rather than hard once it cools.
For extra flavor and texture, drizzle slices with caramel or chocolate sauce just before serving, or add a handful of extra Rice Krispies or sprinkles on top for special occasions.
- Prep Time: 25
- Cook Time: 5
- Category: Dessert
- Method: No-Bake
- Cuisine: American
Nutrition
- Serving Size: 1 slice
- Calories: 520
- Sugar: 40
- Sodium: 260
- Fat: 32
- Saturated Fat: 19
- Unsaturated Fat: 11
- Trans Fat: 0
- Carbohydrates: 54
- Fiber: 0
- Protein: 7
- Cholesterol: 105
Keywords: rice krispie cheesecake, rice krispie treat cheesecake, no bake cheesecake, marshmallow dessert, cereal dessert, easy dessert, party dessert, quick breakfast, breakfast ideas, dinner ideas, easy recipe, food ideas
