

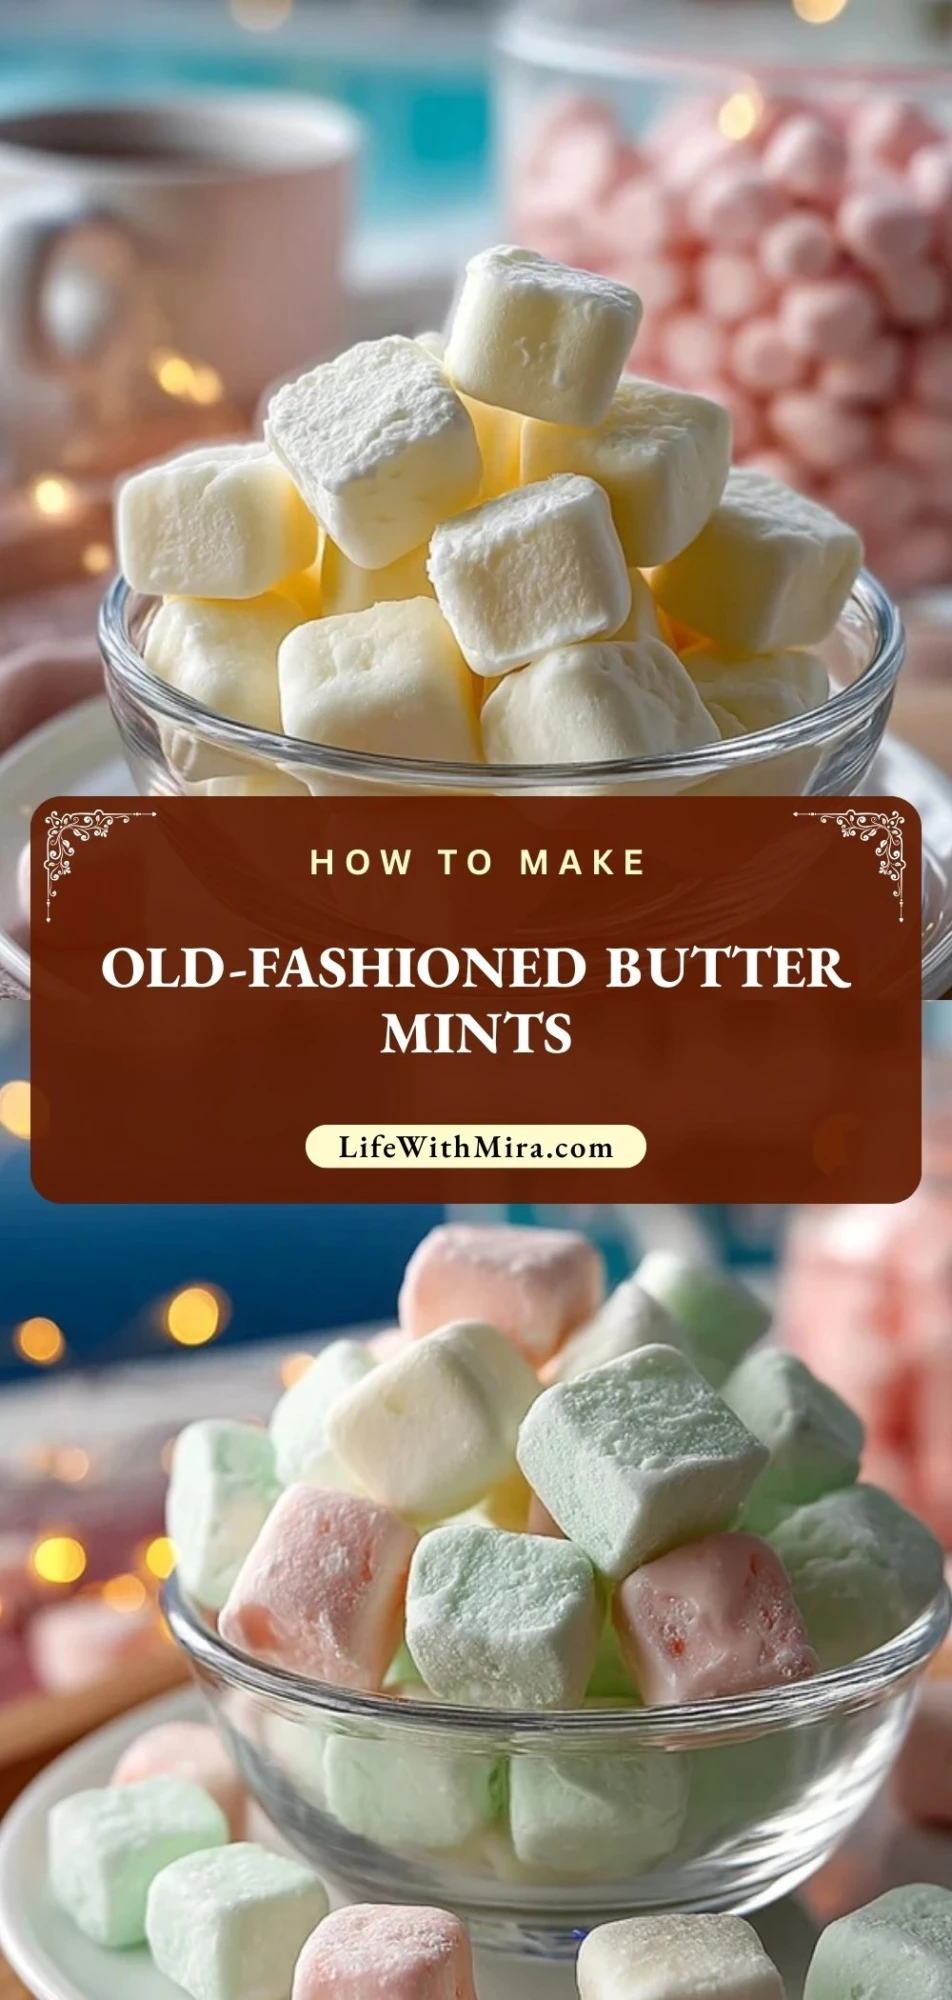
Creamy, melt-in-your-mouth and rich with buttery sweetness, these Old-Fashioned Butter Mints are a nostalgic treat that never goes out of style. Whether served at weddings, baby showers, or simply kept on hand for a delicate after-dinner bite, these pastel gems add charm and a touch of elegance to any occasion.
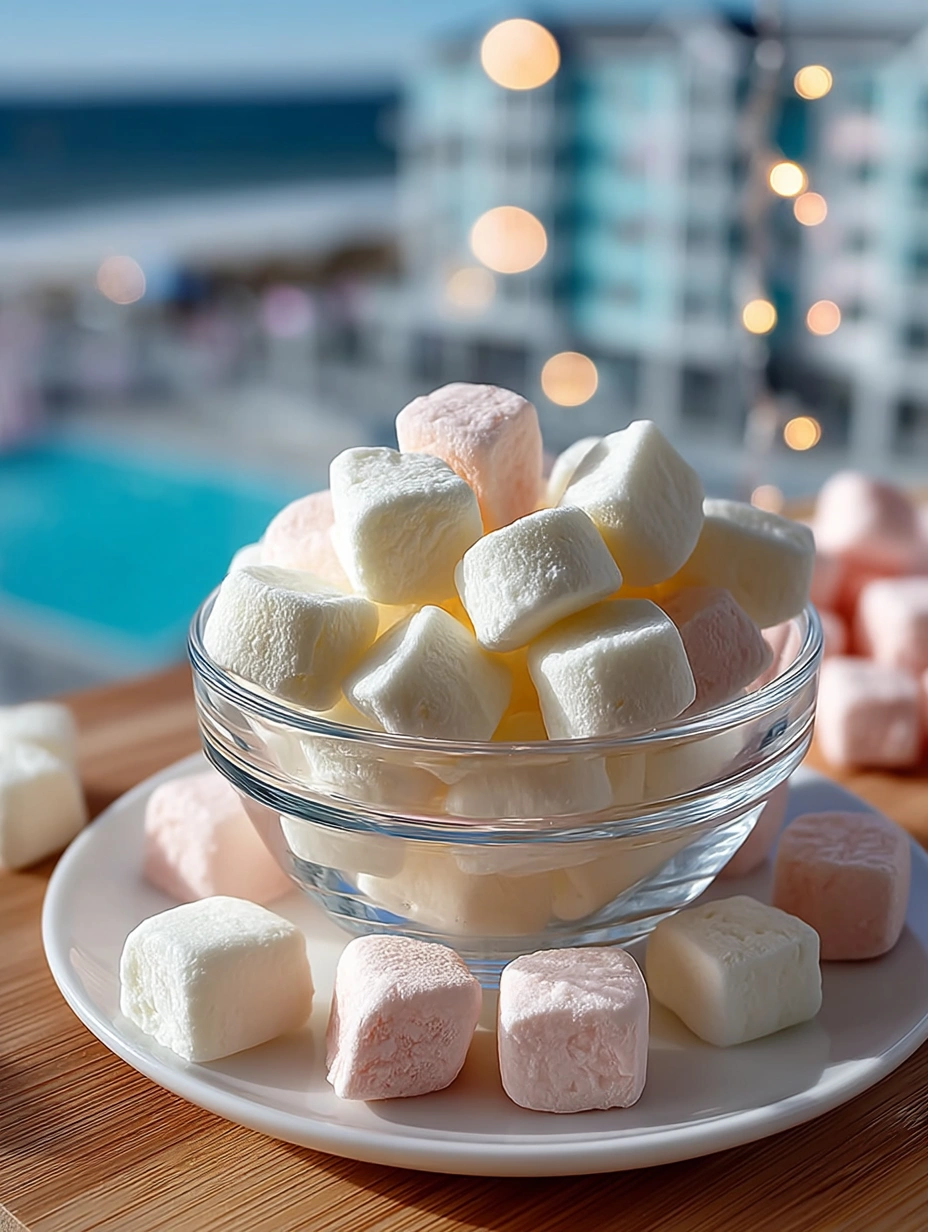
With a texture between a candy and a soft mint, they dissolve slowly on your tongue, releasing the perfect balance of butter and vanilla with a gentle pop of peppermint. You’ll only need a few pantry staples and a bit of patience, and the result is a homemade candy that’s far better than anything store-bought.
Why You’ll Love This Old-Fashioned Butter Mints Recipe
- No baking needed—just mix, shape, and dry
- Soft, creamy texture with a hint of refreshing mint
- Customizable colors for holidays, parties, or gifts
- Budget-friendly ingredients and yields a large batch
- Perfect for gifting, snacking, or decorating dessert trays
What Kind of Peppermint Flavoring Should I Use?
You can use peppermint extract or peppermint oil, but use them differently. Peppermint extract is milder and great for a classic touch. If using peppermint oil (which is much more concentrated), reduce the amount significantly—just a few drops will do. Always taste and adjust as you go!
Ingredients for the Old-Fashioned Butter Mints
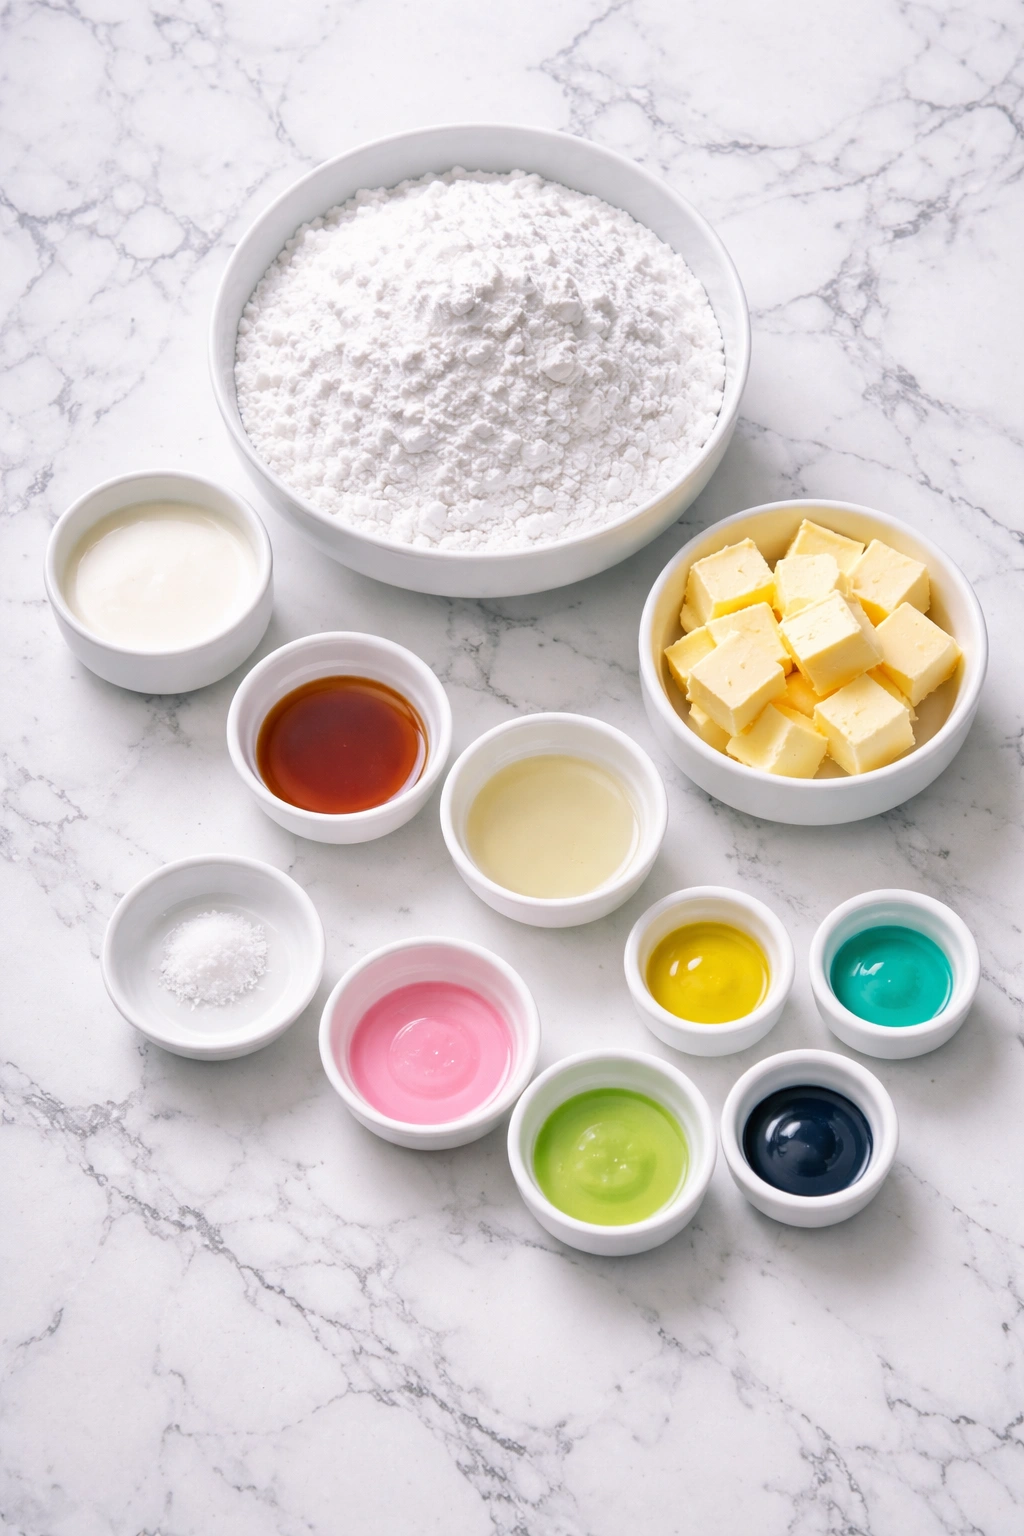
Butter: The foundation of the mints’ creamy, rich texture. Use unsalted and high-quality for the best flavor.
Powdered Sugar: Helps form the stiff, moldable dough and gives the mints their melt-in-your-mouth quality.
Heavy Cream: Adds silkiness and binds the dough.
Peppermint Extract: Provides the refreshing cool minty flavor.
Vanilla Extract: Balances the mint and rounds out the sweetness.
Salt: Just a pinch enhances all the other flavors.
Gel Food Coloring (optional): Adds a festive or seasonal touch—use pastels for weddings, green and red for Christmas, etc.
How To Make the Old-Fashioned Butter Mints
Step 1: Make the Dough
In a mixing bowl, beat 1/2 cup of softened unsalted butter until smooth and creamy. Add in 2 tablespoons of heavy cream, 1/2 teaspoon peppermint extract, 1/2 teaspoon vanilla extract, and a pinch of salt. Mix until fully incorporated.
Gradually add 4 cups of powdered sugar, one cup at a time, beating until a stiff, dough-like consistency forms. The dough should not be sticky. If it is, add a little more powdered sugar until it firms up.
Step 2: Color the Dough (Optional)
Divide the dough into 2 to 4 sections if you want multiple colors. Knead in a small amount of gel food coloring into each portion until you reach your desired pastel shade.
Step 3: Shape the Mints
On a powdered sugar-dusted surface, roll each colored section into long ropes about 1/2-inch thick. Use a knife or bench scraper to cut into 1/2-inch pieces. If you prefer, you can use small decorative molds or piping.
Step 4: Let Them Dry
Arrange the mints in a single layer on parchment paper and let them dry at room temperature for at least 12 hours, or up to 24 hours, depending on humidity. Flip halfway through to ensure even drying.
How to Serve These Mints with Style
These mints make about 200 bite-sized pieces, ideal for serving 12 to 16 guests. Present them in small bowls at parties, wrap them in clear bags as party favors, or scatter them on dessert tables for a pop of color and sweetness.
How to Store Old-Fashioned Butter Mints
Once fully dried, store the mints in an airtight container at room temperature for up to 2 weeks. For longer storage, refrigerate them for up to 1 month, or freeze for up to 3 months. Place wax paper between layers to prevent sticking.
Frequently Asked Questions
1. Can I use milk instead of heavy cream?
Heavy cream gives the best texture, but in a pinch, you can use whole milk. Just know the mints will be slightly less creamy.
2. Do I have to dry them for 24 hours?
12 hours is typically sufficient, but in humid climates, 24 hours ensures they firm up nicely.
3. Can I freeze these mints?
Yes! Freeze them in a single layer first, then transfer to a freezer-safe bag or container. Thaw uncovered to prevent condensation.
4. Can I use natural food coloring?
Absolutely. Just note that natural colors may not be as vibrant and might slightly affect the flavor depending on the source.
5. Can I make these vegan?
You can substitute vegan butter and use plant-based cream alternatives. Texture may vary slightly, but still delicious.
Want More Candy Ideas with a Twist?
If you loved these Old-Fashioned Butter Mints, check out these other nostalgic and flavorful treats:
- Browned Butter Frosting
- Fried Apple Pies
- No-Bake Pumpkin Lasagna Dessert
- Winter Wonderland Chocolate Chip Christmas Cookies
- Red Velvet Cheesecake Brownies
Save This Pin For Later
📌 Save this recipe to your Pinterest dessert board so you can come back to it any time.
And let me know in the comments how yours turned out. Did you color them for a special event? Did you go for peppermint or try a twist like lemon or almond?
I love hearing how others make these recipes their own. Questions are welcome too—let’s help each other bake smarter.
For more sweet inspiration, check out all the fun creations I share on Life With Mira.
Print Old-Fashioned Butter Mints
- Total Time: 30 minutes
- Yield: 200 mints
- Diet: Vegetarian
Description
Creamy, melt-in-your-mouth and rich with buttery sweetness, these Old-Fashioned Butter Mints are a nostalgic treat that never goes out of style. Whether you’re looking for a quick dessert, holiday party candy, or an easy make-ahead sweet, this butter mint recipe fits all. It’s a no-bake candy, perfect for weddings, baby showers, or simply to keep on hand as a refreshing and elegant bite. Plus, they’re easy to color, customizable in flavor, and surprisingly simple with pantry staples—making them one of the best food ideas for effortless homemade gifts or festive dessert trays.
Ingredients
0.5 cup unsalted butter, softened
2 tablespoons heavy cream
0.5 teaspoon peppermint extract
0.5 teaspoon vanilla extract
1 pinch salt
4 cups powdered sugar
gel food coloring (optional)
Instructions
1. In a mixing bowl, beat 0.5 cup of softened unsalted butter until smooth and creamy.
2. Add 2 tablespoons of heavy cream, 0.5 teaspoon peppermint extract, 0.5 teaspoon vanilla extract, and a pinch of salt. Mix until incorporated.
3. Gradually add 4 cups of powdered sugar, 1 cup at a time, beating until a stiff dough forms. The dough should not be sticky.
4. If desired, divide the dough and knead in gel food coloring to create pastel shades.
5. Roll dough into ropes about 0.5-inch thick. Cut into 0.5-inch pieces or shape as desired.
6. Place pieces on parchment paper and let dry for 12 to 24 hours, flipping halfway through.
7. Store in an airtight container once completely dried.
Notes
Make sure butter is softened to room temperature for a smooth dough.
Don’t skip the drying time—this step gives the mints their perfect bite.
Use gel food coloring for vibrant results without altering the dough consistency.
- Prep Time: 30 minutes
- Cook Time: 0 minutes
- Category: Dessert
- Method: No-bake
- Cuisine: American
Nutrition
- Serving Size: approx. 12 mints
- Calories: 60
- Sugar: 10g
- Sodium: 5mg
- Fat: 2.5g
- Saturated Fat: 1.5g
- Unsaturated Fat: 1g
- Trans Fat: 0g
- Carbohydrates: 11g
- Fiber: 0g
- Protein: 0g
- Cholesterol: 5mg
Keywords: old-fashioned butter mints, homemade mints, wedding mint candy, butter mint recipe, no-bake candy
