

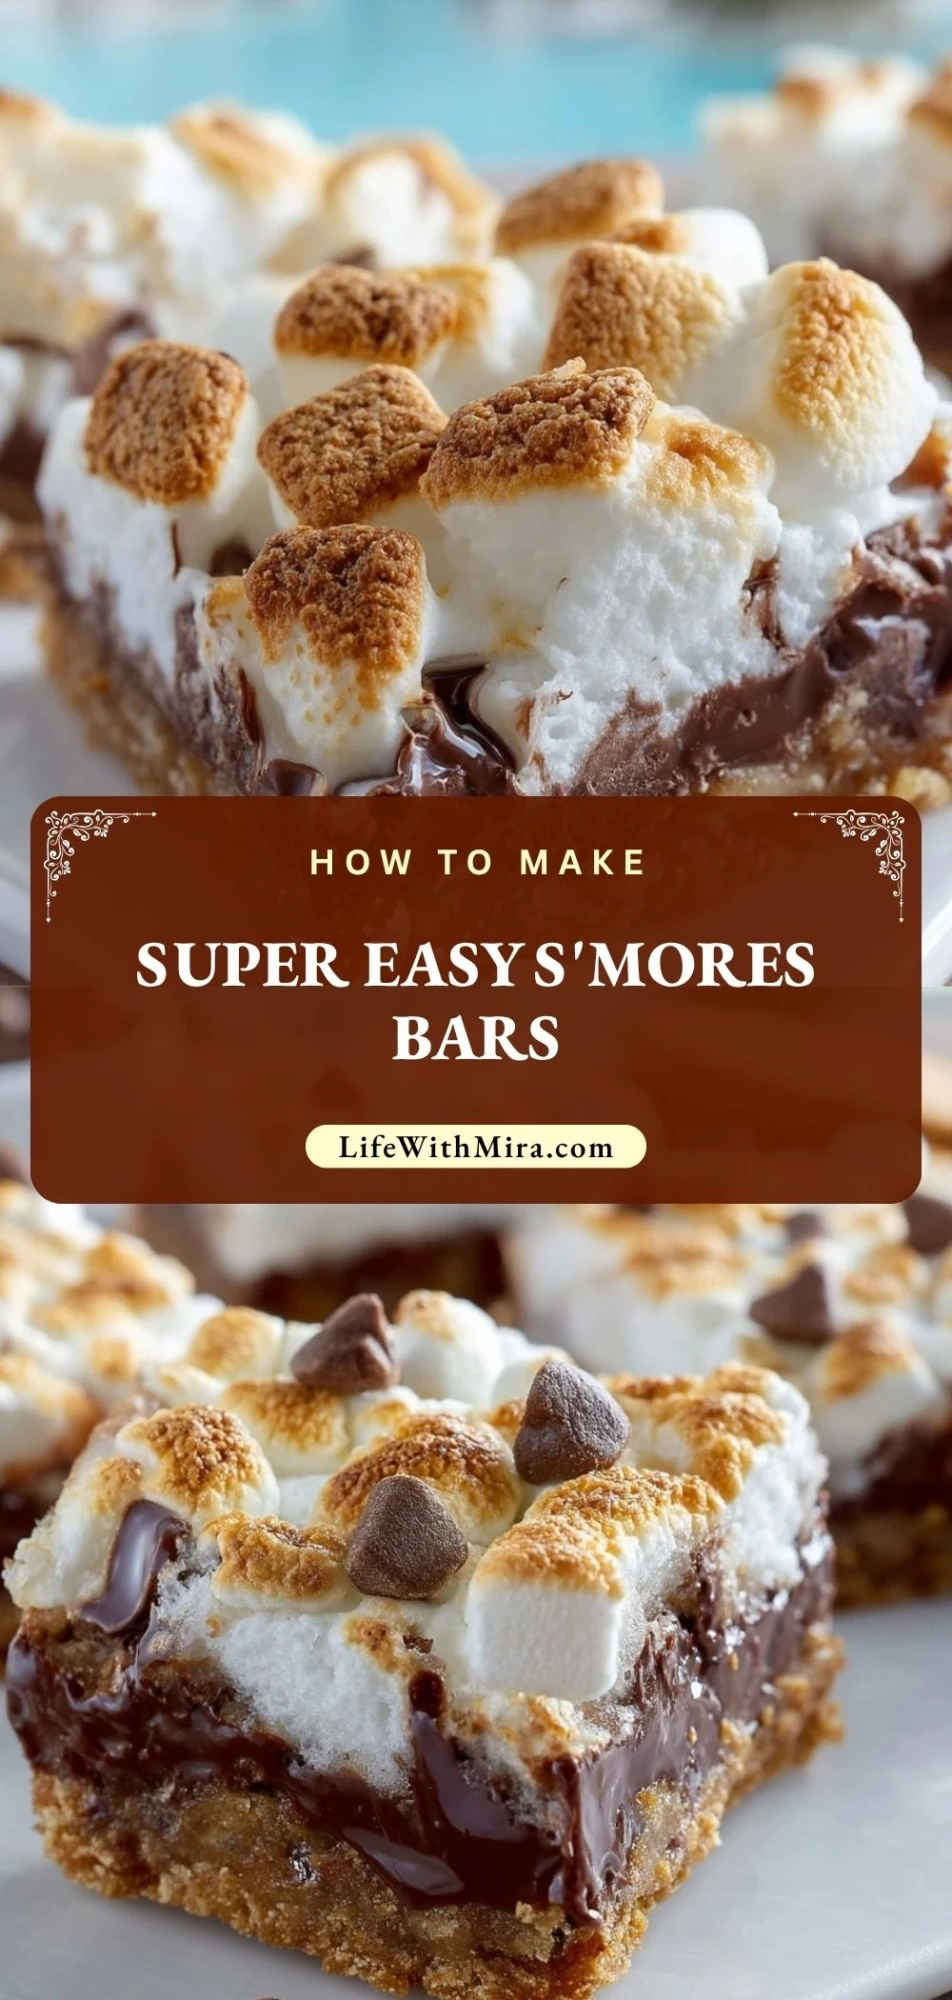
Super Easy S’mores Bars bring all the campfire flavor into one soft, gooey, chocolatey dessert you can make in your kitchen. They have a buttery graham cracker base, melted chocolate in every bite, and toasted marshmallow pockets that make them feel nostalgic without requiring a fire pit.
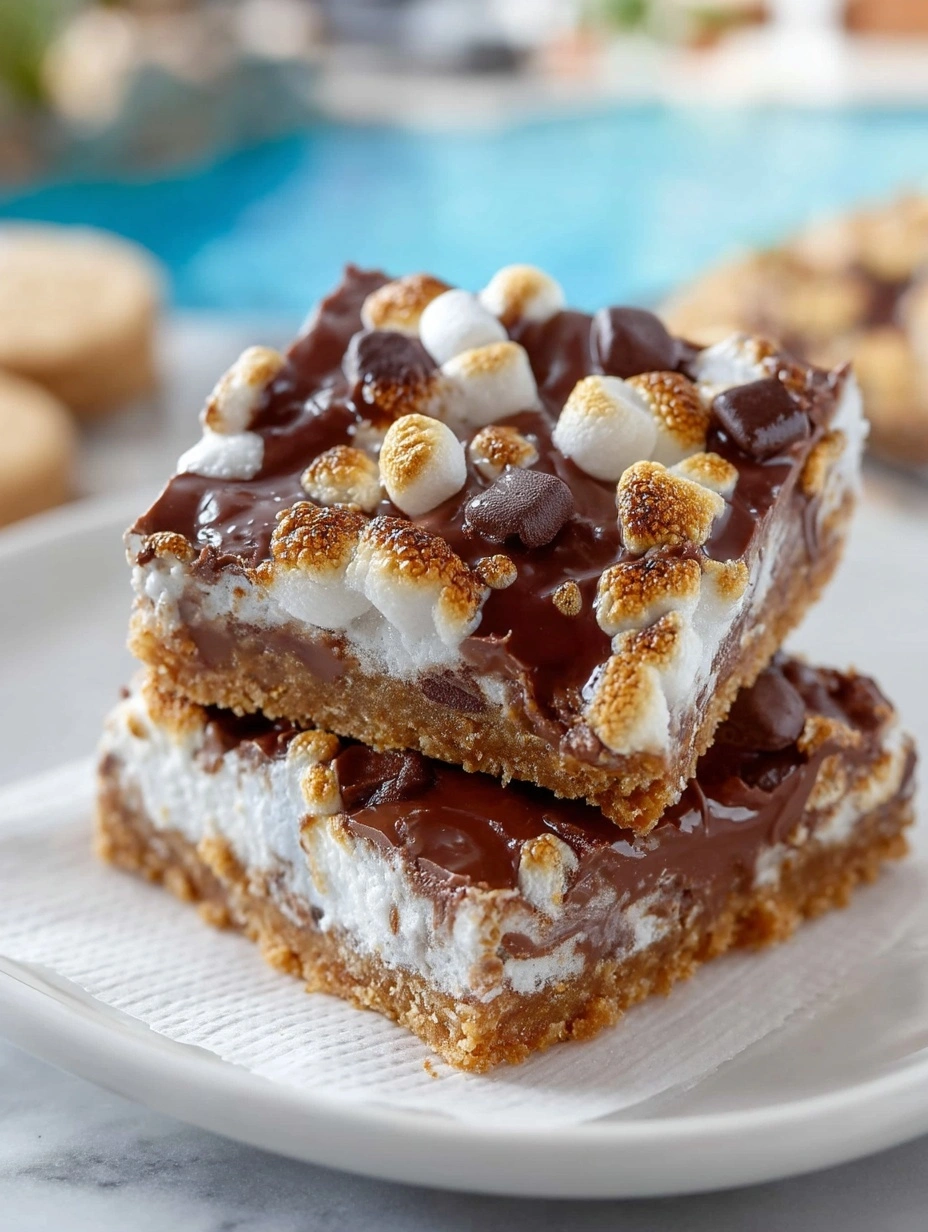
These bars are the kind of easy dessert that works for bake sales, movie nights, summer parties, lunchbox treats, and last-minute sweet cravings. They slice beautifully once cooled, but they still keep that messy, melty s’mores charm everyone loves.
Why You’ll Love This Super Easy S’mores Bars
These Super Easy S’mores Bars are simple enough for a beginner baker but fun enough to serve at a party. You get the familiar graham cracker, chocolate, and marshmallow combination in a sturdy bar form, which means no juggling skewers, sticky fingers, or unevenly toasted marshmallows around a campfire.
They are also wonderfully flexible. You can keep them classic with milk chocolate, make them richer with semi-sweet chocolate chips, or add a sprinkle of flaky salt on top for a sweet-salty finish. The texture is the best part: chewy edges, a tender graham base, soft marshmallows, and glossy melted chocolate.
Another reason to love them is how quickly they come together. The crust mixes in minutes, the toppings go on easily, and the oven does the rest. Once cooled, they cut into neat squares that are easy to pack, share, or serve with cold milk.
What Makes S’mores Bars Better Than Regular S’mores?
Regular s’mores are fun, but S’mores Bars are much easier when you want dessert for a group. Instead of assembling each one separately, you bake everything together in one pan and slice it into portions.
The graham cracker layer also holds the dessert together better than individual crackers. It gives the bars a cookie-like bite while still tasting like the classic campfire treat. The marshmallows soften and toast in the oven, while the chocolate melts into the bars rather than sliding out after the first bite.
They are especially helpful when the weather is not ideal for outdoor cooking. Rain, cold nights, or no backyard setup will not stop you from enjoying that warm s’mores flavor.
Ingredients for the Super Easy S’mores Bars
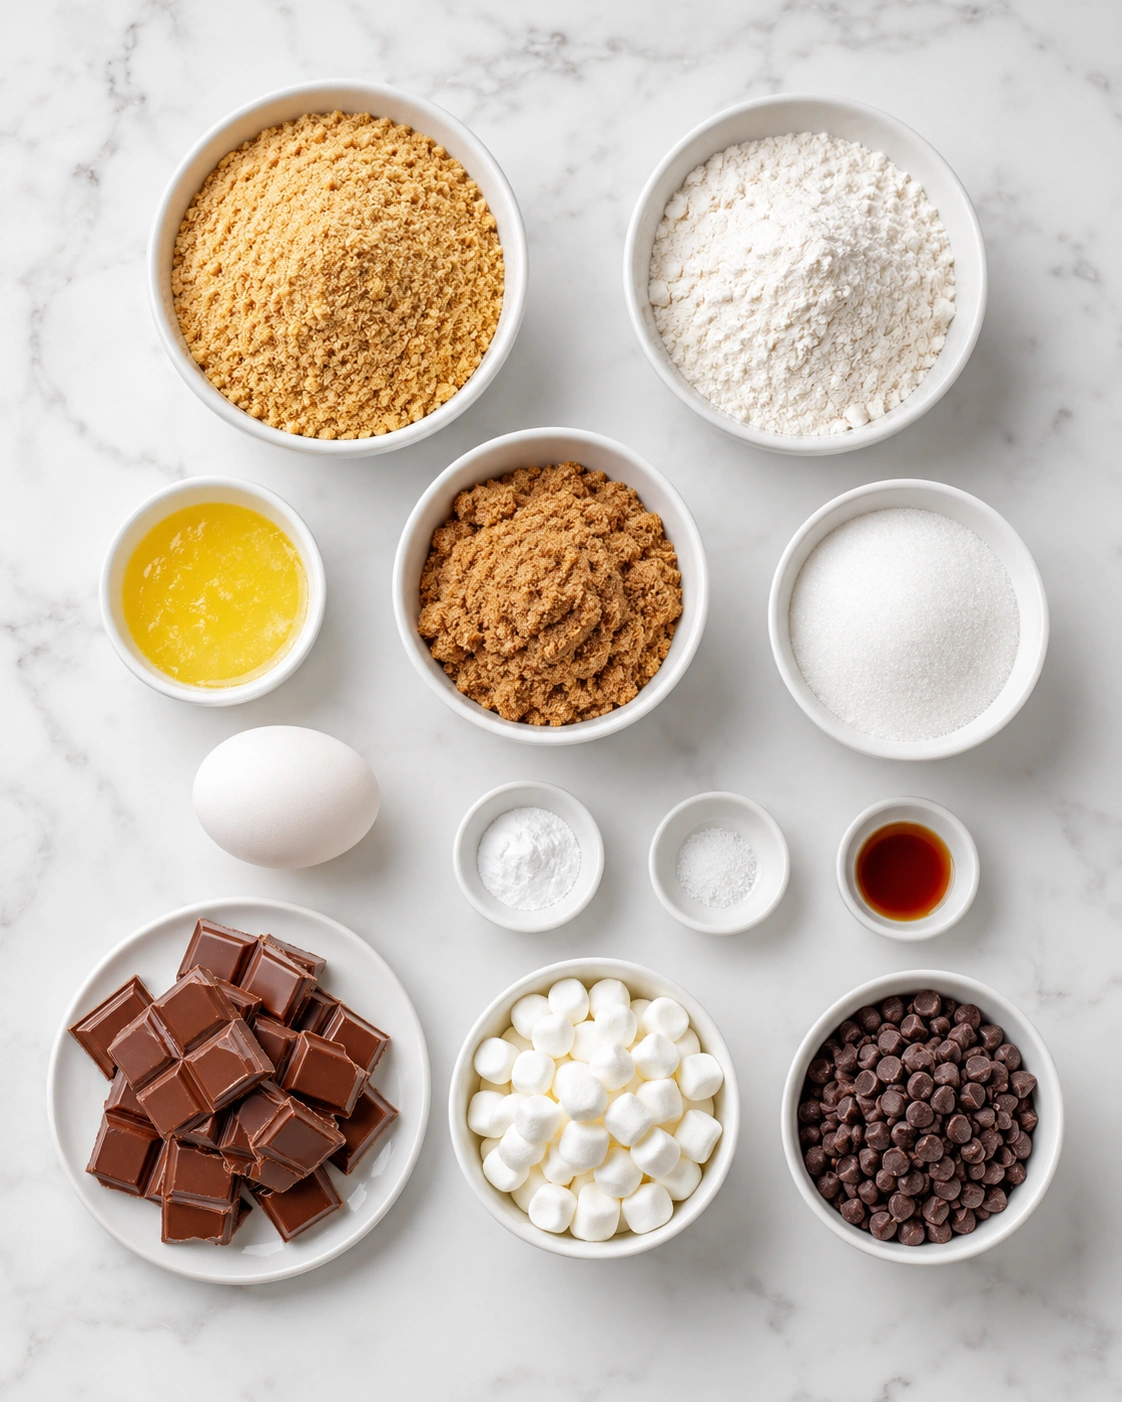
Every ingredient in these bars plays a simple but important role. The goal is to keep the flavor familiar, cozy, and easy to recognize while giving the bars enough structure to slice cleanly.
Graham cracker crumbs create the base flavor of classic s’mores. They give the bars that lightly honeyed, toasty taste and help form a sturdy bottom layer.
All-purpose flour gives the crust enough body so the bars do not crumble apart when sliced. It turns the graham mixture into more of a soft cookie crust.
Brown sugar adds sweetness and a gentle caramel flavor that works beautifully with chocolate and marshmallows.
Granulated sugar balances the brown sugar and helps create a tender, lightly crisp edge.
Unsalted butter binds the crust together and gives the bars a rich, bakery-style texture. Melted butter also helps the graham crumbs absorb flavor evenly.
Egg adds structure and helps the crust bake into a soft, chewy base instead of staying sandy.
Vanilla extract rounds out the sweetness and makes the chocolate and marshmallow flavors taste warmer.
Baking powder gives the crust a little lift so it is not too dense.
Salt keeps the bars from tasting overly sweet and makes the chocolate flavor stand out.
Milk chocolate bars bring the classic s’mores taste. The pieces melt into creamy layers and pockets throughout the bars.
Mini marshmallows are easier to distribute than large marshmallows and toast quickly in the oven, giving each slice plenty of gooey sweetness.
Chocolate chips add extra chocolate pockets and help the top look generous and inviting.
How To Make the Super Easy S’mores Bars
This method keeps everything simple: mix the crust, layer the chocolate and marshmallows, bake until golden, and let the bars cool before slicing. The hardest part is waiting long enough for clean squares.
Step 1: Prepare the Pan
Heat the oven and line a square baking pan with parchment paper, leaving some overhang on the sides. The parchment makes it much easier to lift the bars out after baking and gives you cleaner cuts.
Lightly grease the parchment and sides of the pan. Even though the bars are buttery, marshmallows can get sticky around the edges, so this small step helps a lot.
Step 2: Mix the Dry Ingredients
In a medium bowl, stir together the graham cracker crumbs, flour, baking powder, and salt. Mixing these first helps the baking powder and salt spread evenly through the crust.
Break up any larger bits of graham cracker crumb with the back of a spoon. A mostly fine crumb makes the crust hold together better.
Step 3: Combine the Butter and Sugars
In a larger bowl, whisk the melted butter, brown sugar, and granulated sugar until the mixture looks glossy and smooth. This creates the sweet base for the crust.
Add the egg and vanilla, then whisk again until everything is well combined. The mixture should look slightly thick and shiny.
Step 4: Make the Graham Cracker Dough
Add the dry ingredients to the wet ingredients and stir until a soft dough forms. It should be thicker than cake batter but softer than cookie dough.
Do not overmix once the flour is added. Stir just until no dry streaks remain so the bars stay tender.
Step 5: Press in the Bottom Layer
Press most of the dough into the prepared pan, saving a small amount for the top. Use your hands or the bottom of a measuring cup to spread it evenly.
Try to get the corners filled and the surface level. An even base helps the bars bake at the same pace from edge to center.
Step 6: Add the Chocolate and Marshmallows
Layer the milk chocolate pieces over the graham base, then scatter the mini marshmallows and chocolate chips on top. Spread them evenly so every square gets a good mix of chocolate and marshmallow.
Pinch small pieces of the reserved dough and dot them over the top. It does not need to cover everything. The gaps allow the marshmallows to puff and toast.
Step 7: Bake Until Golden and Gooey
Bake the bars until the edges look set, the top is lightly golden, and the marshmallows are soft and toasted. The center may look a little gooey, but it will firm as it cools.
Keep an eye on the marshmallows near the end of baking. They can go from golden to too dark quickly.
Step 8: Cool and Slice
Let the bars cool in the pan before lifting them out with the parchment. For the neatest slices, cool completely before cutting.
Use a sharp knife and wipe it between cuts if marshmallow sticks to the blade. For extra clean squares, chill the bars briefly before slicing, then bring them back to room temperature before serving.
How To Serve Super Easy S’mores Bars for the Best Gooey Bite
These Super Easy S’mores Bars feed about 9 generous servings or 12 smaller party-style squares. For family dessert, 9 squares feel rich and satisfying. For a dessert table, smaller pieces work well because the bars are sweet and packed with chocolate.
Serve them slightly warm if you want the chocolate soft and the marshmallows extra gooey. A quick few seconds in the microwave can bring back that fresh-from-the-oven texture. They are also delicious at room temperature, especially once the chocolate has set enough for cleaner bites.
A glass of cold milk is the classic pairing, but coffee works nicely for adults because it balances the sweetness. For parties, stack the bars on a platter with parchment between layers so they do not stick together.
You can also turn them into a bigger dessert by serving each bar with a scoop of vanilla ice cream. The warm chocolate and marshmallow with cold ice cream tastes like a campfire sundae.
How To Store Super Easy S’mores Bars Without Losing Texture
Store cooled S’mores Bars in an airtight container at room temperature for up to 3 days. Place parchment paper between layers to keep the marshmallow tops from sticking.
For longer storage, refrigerate them for up to 5 days. The texture will become firmer in the fridge, so let the bars sit at room temperature for a little while before serving if you want a softer bite.
You can also freeze these bars. Wrap individual squares tightly in plastic wrap, then place them in a freezer-safe bag or container. Freeze for up to 2 months. Thaw at room temperature before serving.
To refresh a chilled or thawed bar, warm it briefly in the microwave. Do not overheat it, because the marshmallows and chocolate can become too runny. A short warm-up is enough to soften everything.
Avoid storing the bars while they are still warm. Trapped steam can make the crust soft and sticky, and the marshmallow layer may turn wet instead of pleasantly chewy.
Frequently Asked Questions
Can I use regular marshmallows instead of mini marshmallows?
Yes, but mini marshmallows work best because they spread more evenly across the bars. If you only have large marshmallows, cut them into smaller pieces with kitchen scissors. Lightly greasing the scissors makes this easier and prevents sticking.
Do I need to use chocolate bars, or can I use only chocolate chips?
You can use only chocolate chips, but chocolate bars give a more classic s’mores texture because they melt into broader, creamier layers. Chocolate chips hold their shape a bit more, which is why using both creates a nice balance.
Why are my S’mores Bars falling apart when I cut them?
They probably need more cooling time. These bars are very gooey when warm, and the chocolate needs time to set. Let them cool completely for neat slices. If your kitchen is warm, chilling the pan for 20 to 30 minutes can help.
Can I make these bars ahead for a party?
Yes. Bake them the day before, cool them fully, and store them in an airtight container. Slice them shortly before serving for the cleanest look. If you want them softer, warm individual pieces for a few seconds before plating.
How do I keep the marshmallows from burning?
Bake the bars on the middle rack and watch closely near the end. If the marshmallows are browning too quickly while the center still needs time, loosely tent the pan with foil. Do not press the foil onto the top, because melted marshmallows will stick.
Want More Dessert Bar Ideas with a Sweet Twist?
If you love these Super Easy S’mores Bars, you’ll probably enjoy these other cozy desserts and sweet treats:
• Oatmeal Jam Bars for a buttery crumb bar with a fruity center.
• Red Velvet Cheesecake Brownies when you want rich chocolate flavor with a creamy swirl.
• Chocolate Pudding for a smooth, classic chocolate dessert that feels homemade and comforting.
• Irresistible Praline Crunch if you like sweet, crunchy treats that are easy to share.
These recipes keep dessert simple while still giving you something memorable for family nights, holidays, and casual gatherings.
Save This Pin For Later
📌 Save this Super Easy S’mores Bars recipe to your Pinterest dessert board so you can come back to it any time.
And let me know in the comments how yours turned out. Did you keep them classic with milk chocolate, add extra chocolate chips, or sprinkle a little sea salt on top?
I love hearing how others make these recipes their own. Questions are welcome too, and you can find more daily recipes from Life With Mira.
Super Easy S’mores Bars
- Total Time: 35 minutes
- Yield: 12 bars
- Diet: Vegetarian
Description
These Super Easy S’mores Bars are a quick dessert made with buttery graham cracker crumbs, melted chocolate, and gooey toasted marshmallows in every bite. They are perfect for easy recipe ideas, summer dessert ideas, party food ideas, bake sale treats, and a simple family dessert when you want all the cozy campfire flavor without building a fire.
Ingredients
1 1/2 cups graham cracker crumbs
3/4 cup all-purpose flour
1/2 teaspoon baking powder
1/4 teaspoon salt
1/2 cup unsalted butter, melted
1/2 cup packed brown sugar
1/4 cup granulated sugar
1 large egg
1 teaspoon vanilla extract
4 milk chocolate bars, broken into pieces
1 1/2 cups mini marshmallows
1/2 cup semi-sweet chocolate chips
Instructions
1. Preheat the oven to 350°F and line an 8-inch square baking pan with parchment paper. Lightly grease the parchment.
2. In a medium bowl, stir together the graham cracker crumbs, flour, baking powder, and salt.
3. In a large bowl, whisk the melted butter, brown sugar, and granulated sugar until smooth.
4. Add the egg and vanilla extract, then whisk again until fully combined.
5. Stir the dry ingredients into the wet ingredients until a soft graham cracker dough forms.
6. Press about two-thirds of the dough evenly into the prepared baking pan.
7. Layer the chocolate bar pieces over the crust, then sprinkle the mini marshmallows and chocolate chips on top.
8. Crumble the remaining dough over the marshmallow and chocolate layer.
9. Bake for 22 to 26 minutes, or until the edges are set and the marshmallows are lightly golden.
10. Cool completely in the pan before lifting out and slicing into bars.
Notes
Let the bars cool completely before slicing so the chocolate can set and the squares hold their shape.
For extra gooey bars, warm individual slices in the microwave for 8 to 10 seconds before serving.
If the marshmallows brown too quickly, loosely tent the pan with foil near the end of baking.
- Prep Time: 10 minutes
- Cook Time: 25 minutes
- Category: Dessert
- Method: Baking
- Cuisine: American
Nutrition
- Serving Size: 1 bar
- Calories: 245
- Sugar: 24g
- Sodium: 115mg
- Fat: 11g
- Saturated Fat: 7g
- Unsaturated Fat: 4g
- Trans Fat: 0g
- Carbohydrates: 36g
- Fiber: 1g
- Protein: 3g
- Cholesterol: 34mg
Keywords: Super Easy S’mores Bars, s’mores bars, easy dessert, quick dessert, dessert bars, summer dessert, party dessert, bake sale treats, food ideas
