

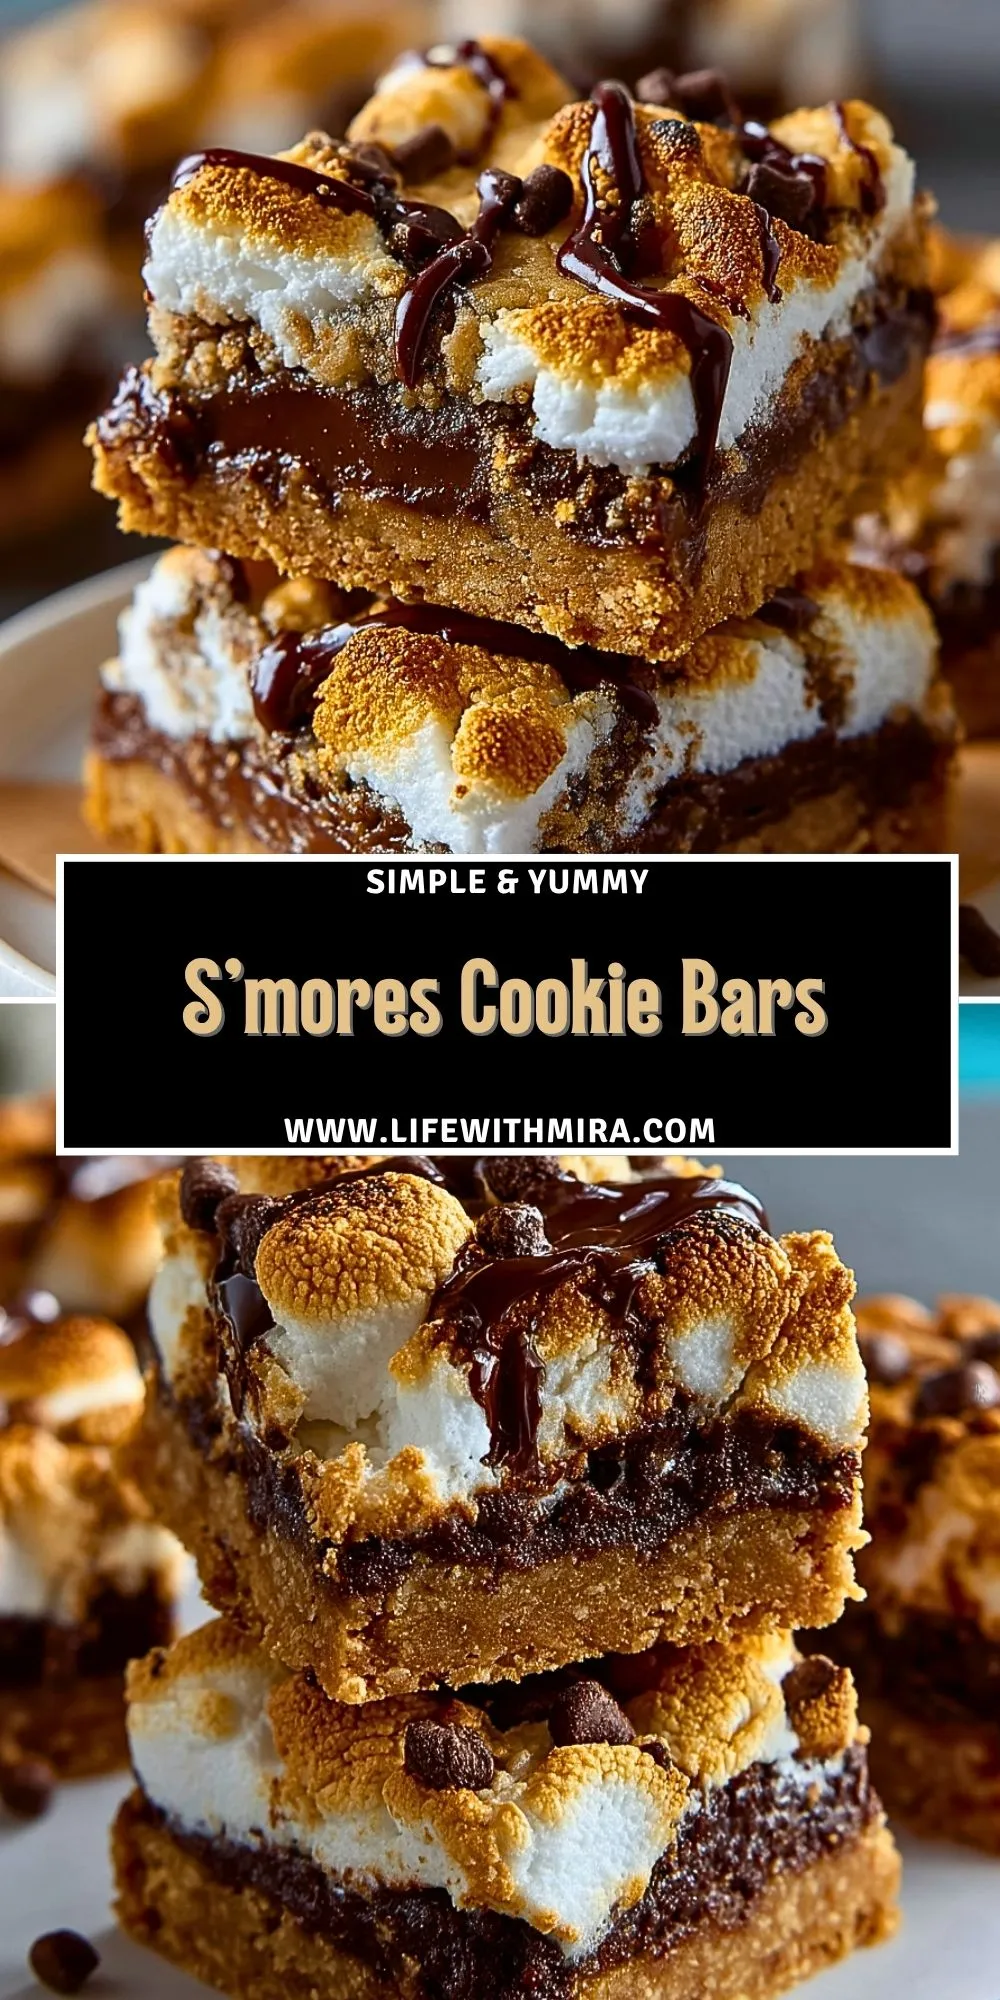
Golden graham crust, gooey marshmallow center, and melty layers of milk chocolate — these S’mores Cookie Bars pack all the campfire nostalgia into a single, easy-to-make treat. Each bite gives that signature crunch, sticky sweetness, and buttery cookie bite you crave when you’re missing the outdoors.
What makes these bars so addictive is the combination of classic textures with a dessert-bar twist. You get that toasted, almost caramelized edge from the graham cracker base, then soft chewiness from the brown sugar cookie dough. And let’s not forget the soft marshmallow pockets that melt right into the warm chocolate chunks.
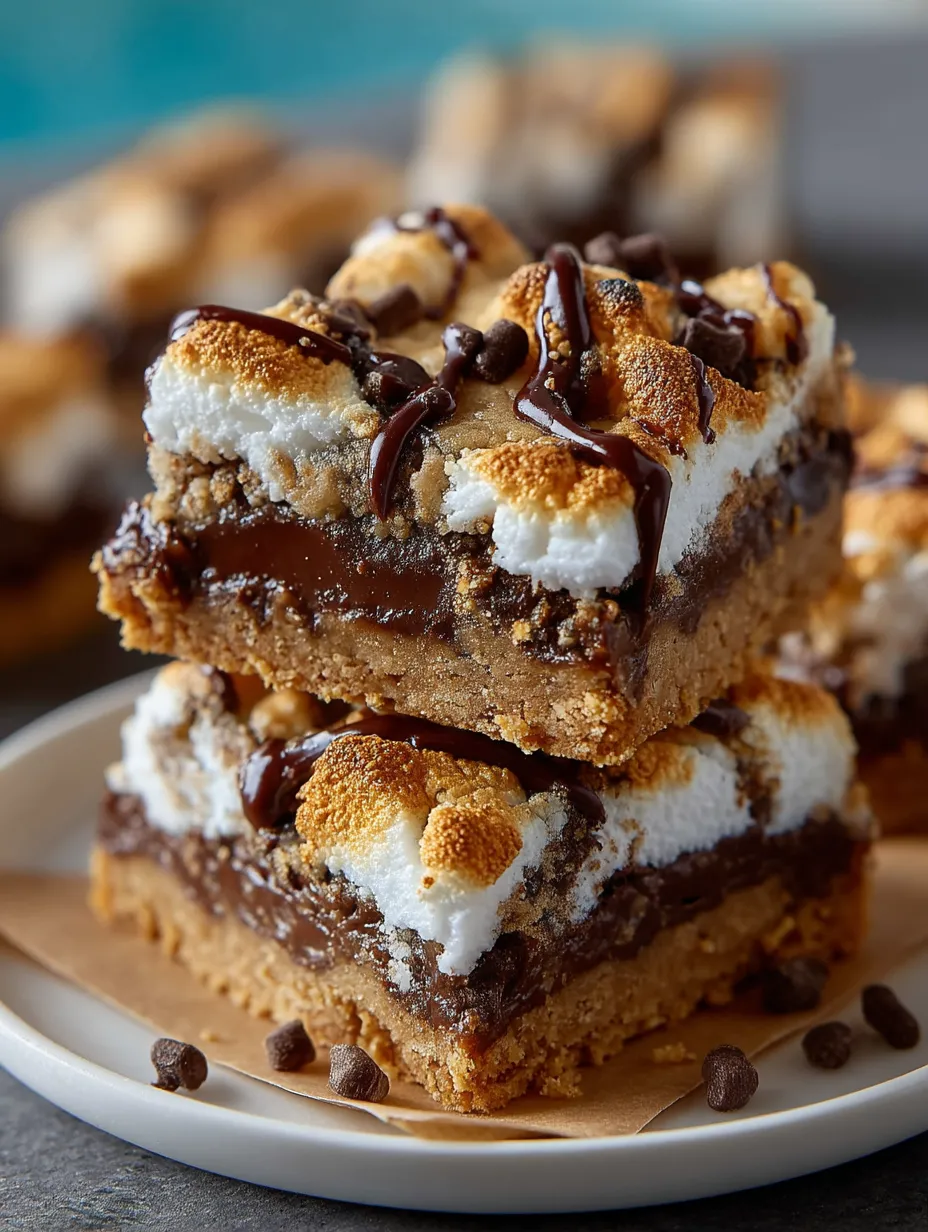
Why I Love Making These Bars at Home
I love how these bars come together without needing anything fancy — no mixer, no special pans, no chilling time. It’s the kind of recipe you can pull off on a whim when a craving hits. My kitchen smells like warm vanilla, toasted sugar, and chocolate heaven while they bake, and cutting into that cooled, golden pan is honestly the most satisfying moment. They’re familiar, yet exciting, and they always get rave reviews.
The Ingredients That Make These S’mores Cookie Bars Work
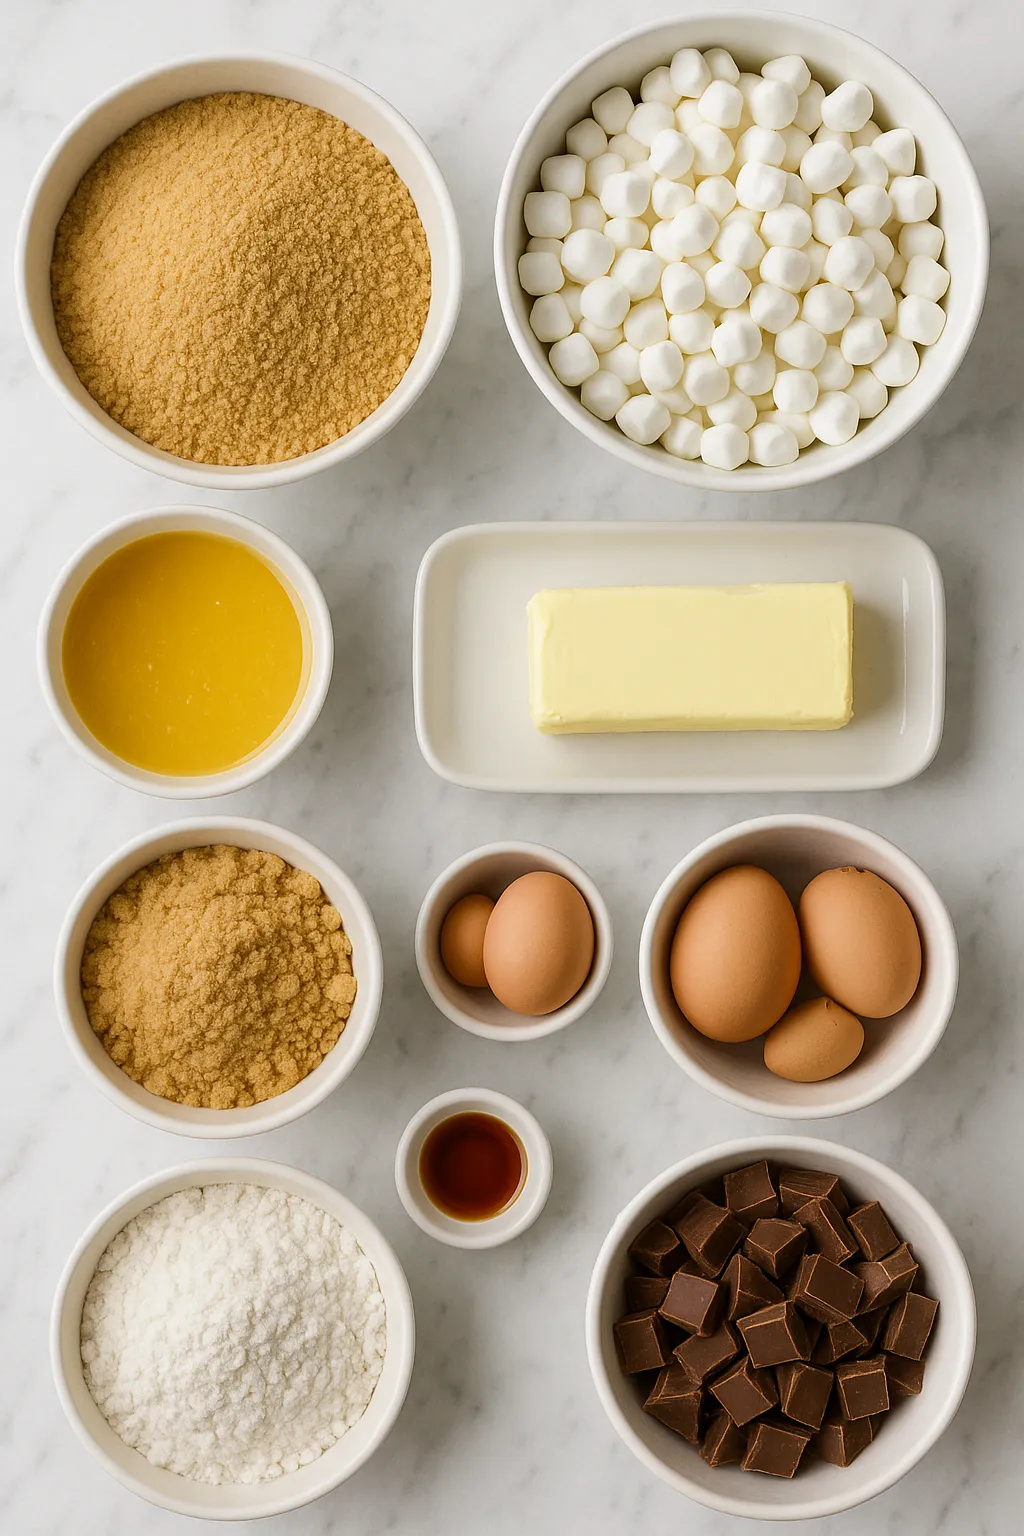
This isn’t a case where you can toss in substitutions and hope for the best. Each ingredient here plays a critical role. The graham cracker crumbs are non-negotiable — they give the crust that unmistakable campfire crunch. I use salted butter for a richer flavor and to balance the sweetness. Brown sugar makes the cookie dough moist and adds that molasses warmth you just can’t get from white sugar alone.
The eggs bind it all, while vanilla rounds out the dough with a mellow aroma. All-purpose flour gives structure, but don’t pack it in too tight or your bars will be dry. Baking soda helps lift the dough just enough so it’s chewy, not cakey. Mini marshmallows melt in dreamy pockets throughout, and milk chocolate chunks (not chips — I prefer the bar chopped by hand) spread better and melt more evenly.
How To Make the S’mores Cookie Bars
Step 1: Build the Graham Crust
Mix graham cracker crumbs with melted butter until the mixture feels like damp sand. Press it evenly into a parchment-lined 9×13 baking pan. It should hold together but not be greasy.
Step 2: Make the Cookie Dough
Cream the softened butter and brown sugar until fluffy and light. Add eggs one at a time, then vanilla. Stir in the dry ingredients until combined, but don’t overmix. Gently fold in half the marshmallows and chocolate chunks.
Step 3: Assemble the Layers
Spread half the cookie dough over the crust. Don’t worry if it doesn’t completely cover it — it will spread. Scatter the rest of the chocolate and marshmallows on top. Dot with remaining cookie dough in patches.
Step 4: Bake to Golden Gooey Perfection
Bake at 350°F for about 25–30 minutes, or until the top is golden and set. The center should still be slightly soft. Let them cool completely before cutting — I know it’s hard, but it’s worth it.
Use the Right Pan for Best Results
I’ve tested these bars in metal, glass, and ceramic pans — and metal wins, hands down. Metal conducts heat more efficiently, which helps crisp up that graham cracker base and gives you cleaner edges. Glass pans take longer to heat and often leave the crust a bit soft, and ceramic can be too thick, creating uneven baking. If you’re using glass, just know you’ll likely need a few more minutes in the oven. But if you can, go metal.
Marshmallows: Gooey Texture and Never Skipped
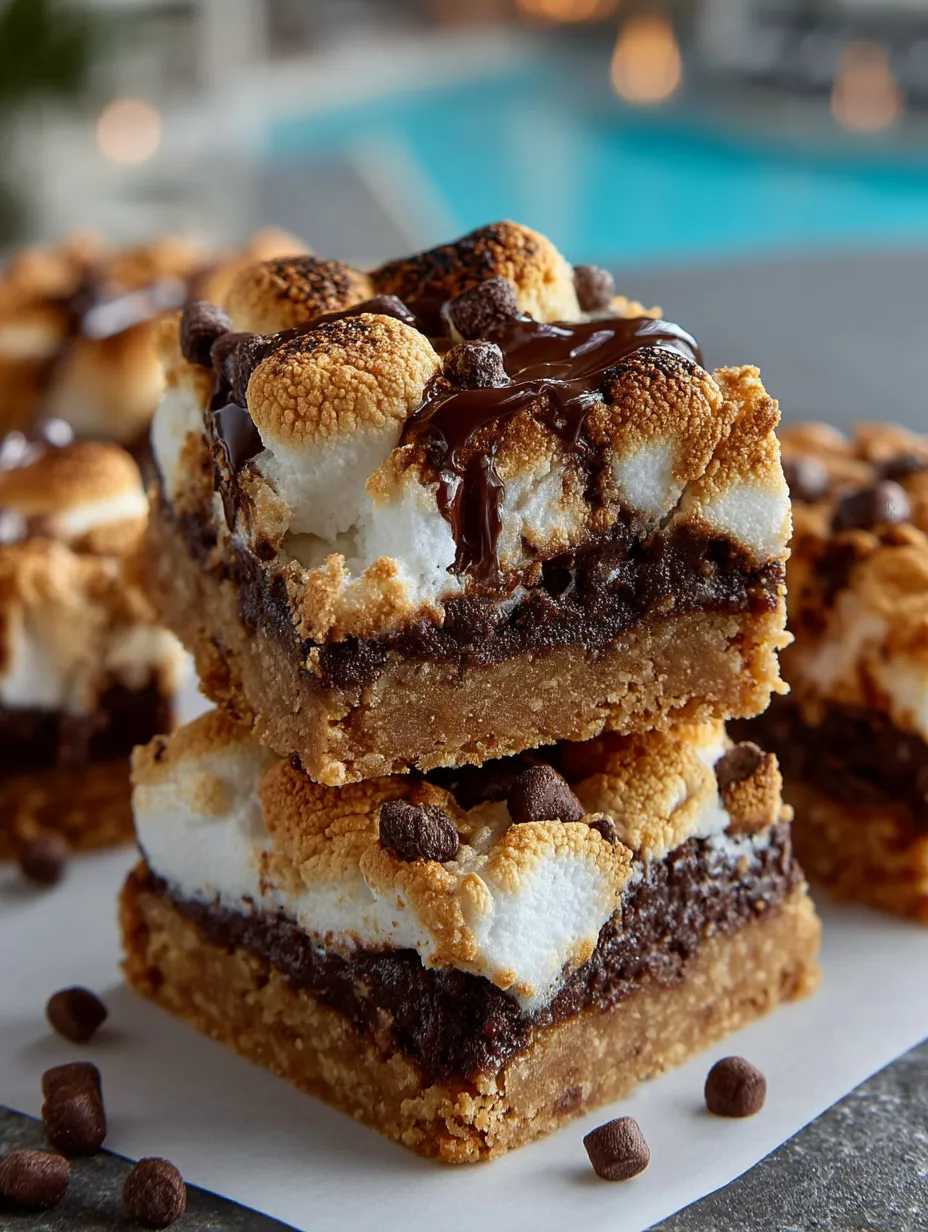
Marshmallows are the heart of these bars. I once tried leaving them out, thinking the chocolate would carry enough of that s’mores vibe. Big mistake. The result was dry and oddly one-note. The mini marshmallows puff up and melt into gooey layers that cool into chewy ribbons — they’re what make these bars magic. I always fold in some with the dough and scatter more on top for toasty, golden spots.
Serving Information
- Servings: 24 bars
- Preparation Time: 15 minutes
- Baking Time: 25–30 minutes
- Total Time: 40–45 minutes
Tips for Making the Perfect S’mores Cookie Bars
Let your butter come fully to room temp — not microwave soft, just pliable. This makes the creaming step smooth and fluffy. Don’t overbake. The bars might look a little underdone in the center when you pull them out, but they continue to set as they cool. If you wait for a totally firm center, you’ll end up with dry edges. And trust me — chill them in the fridge before cutting if you want perfectly neat squares. They slice like a dream that way.
Serving Suggestions
This dessert is wildly versatile and works for more than just campfire cravings. A few of my favorite ways to serve them:
- Summer BBQ Treat: Cut into bite-sized squares and serve chilled on a platter.
- Holiday Sweet Tray: Add them to your Christmas cookie assortment for something unexpected.
- After-School Snack: Wrap individual bars in parchment for easy grab-and-go snacks.
- Potluck Crowd-Pleaser: Double the batch and bring to any group gathering — they vanish.
- Birthday Dessert Alternative: Stack bars and drizzle with chocolate syrup in place of cake.
- Gifting Idea: Wrap three stacked bars in cellophane with twine and a cute label.
Save This Recipe & Share Your Twist!
If these gooey, chocolatey S’mores Cookie Bars made your day (or your kid’s lunchbox), don’t forget to save this recipe to your Dessert Board or Summer Treats on Pinterest. I’d love to hear what spin you put on them — did you use dark chocolate? Add peanut butter? Drop a comment below with your tweaks or questions. Let’s make this recipe even more irresistible together.
S’mores Cookie Bars
- Total Time: 45 minutes
- Yield: 24 bars
- Diet: Vegetarian
Description
These S’mores Cookie Bars combine the nostalgic taste of campfire treats with the ease of a one-pan dessert. Perfect for a quick breakfast treat, easy dessert idea, or sweet snack bar to share. Buttery graham cracker crust, rich chocolate, gooey marshmallows, and soft cookie dough come together in every chewy bite — no campfire required. Great for party trays, lunchboxes, or weekend baking ideas. If you’re after easy recipes, food ideas for kids, or a unique twist on classic cookies, this one’s for you.
Ingredients
2 cups graham cracker crumbs
10 tablespoons melted salted butter
3/4 cup brown sugar
1 cup softened butter
2 large eggs
2 teaspoons vanilla extract
2 1/4 cups all-purpose flour
1/2 teaspoon baking soda
2 cups mini marshmallows
2 cups chopped milk chocolate or chocolate chunks
Instructions
1. Preheat oven to 350°F and line a 9×13 inch metal baking pan with parchment paper.
2. Mix graham cracker crumbs and melted butter until combined, then press into the pan to form an even crust.
3. In a large bowl, cream together softened butter and brown sugar until fluffy.
4. Add eggs one at a time, beating well after each, then stir in vanilla extract.
5. In a separate bowl, whisk together flour and baking soda, then slowly add to the wet mixture.
6. Fold in half the marshmallows and chocolate chunks gently.
7. Spread half the cookie dough over the graham crust in the pan.
8. Sprinkle remaining marshmallows and chocolate over the layer.
9. Dot the rest of the cookie dough in patches over the top.
10. Bake for 25–30 minutes until golden brown and mostly set in the center.
11. Let cool completely before cutting into squares for best results.
Notes
Use a metal pan for crisp edges and even baking.
Let bars cool before slicing to avoid a gooey mess.
Chill in the fridge for cleaner cuts and firm texture.
- Prep Time: 15 minutes
- Cook Time: 30 minutes
- Category: Dessert
- Method: Baking
- Cuisine: American
Nutrition
- Serving Size: 1 bar
- Calories: 210
- Sugar: 18g
- Sodium: 95mg
- Fat: 11g
- Saturated Fat: 6g
- Unsaturated Fat: 4g
- Trans Fat: 0g
- Carbohydrates: 27g
- Fiber: 1g
- Protein: 2g
- Cholesterol: 30mg
Keywords: s’mores cookie bars, dessert ideas, easy recipe, chocolate marshmallow bars, snack bar, party treat, baking ideas, quick sweet
