

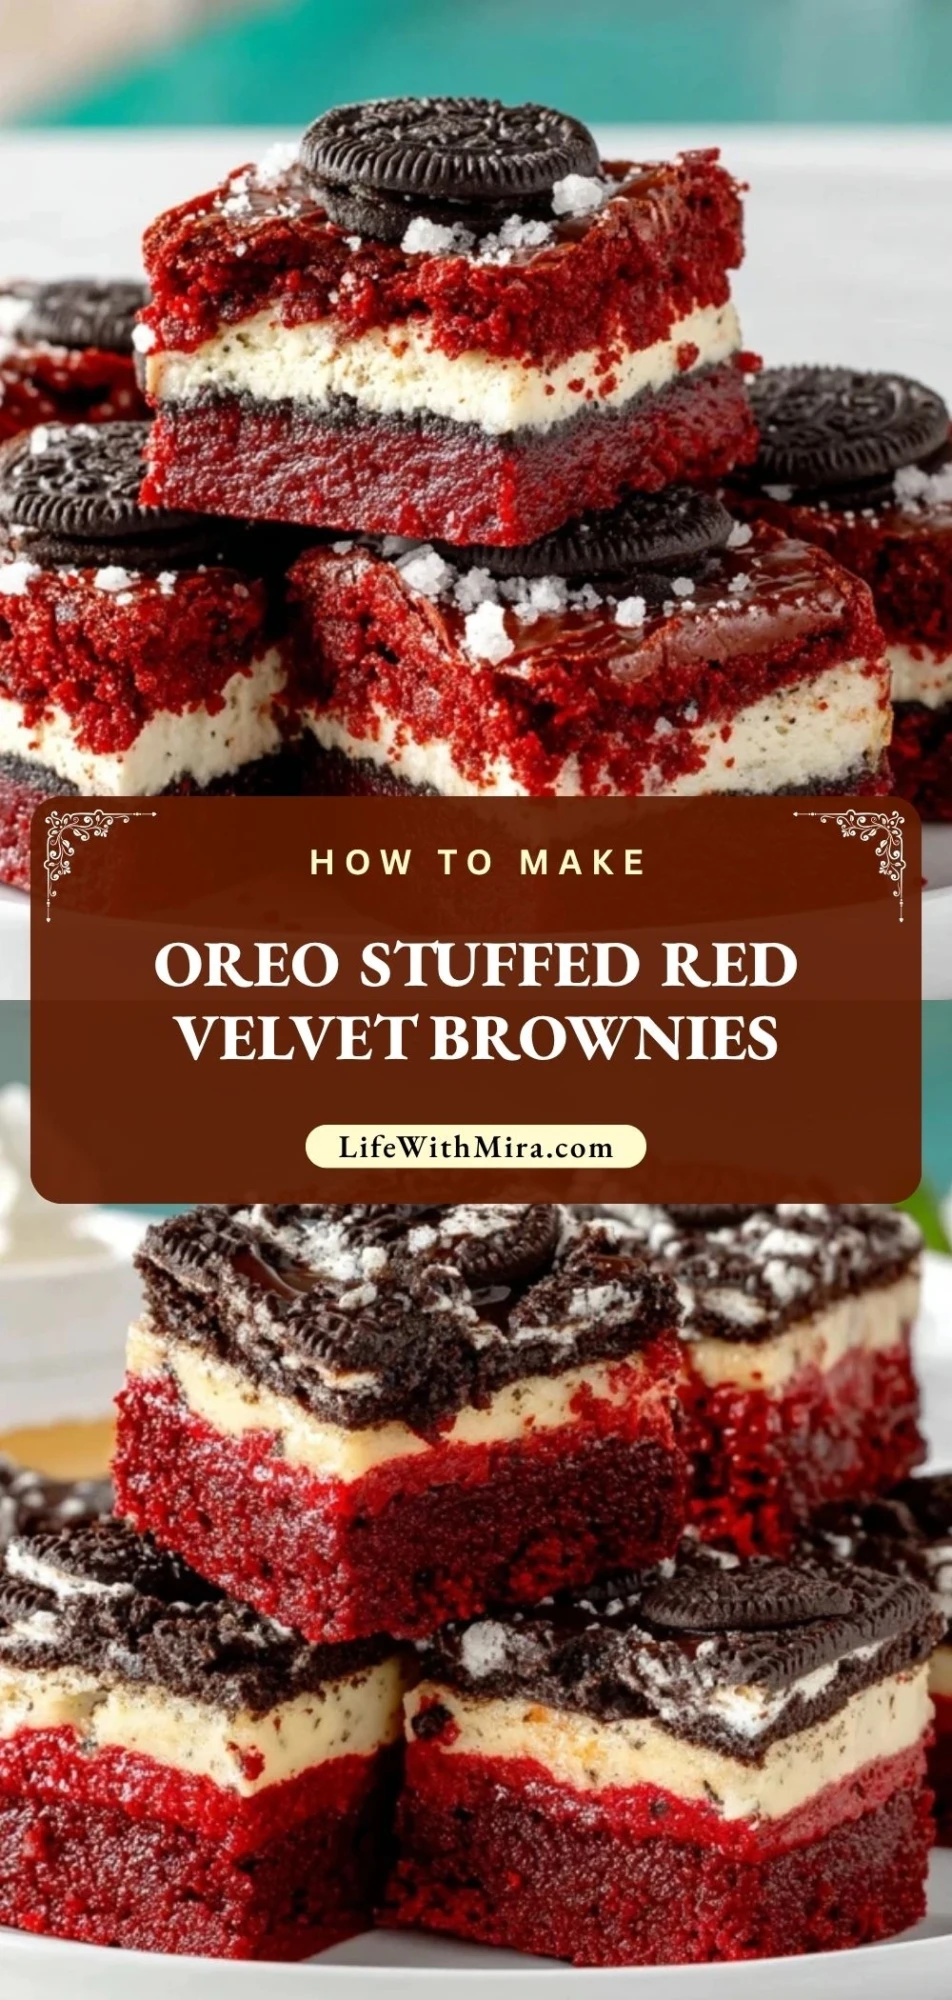
These Oreo Stuffed Red Velvet Brownies are the kind of dessert that instantly gets attention the moment you slice into them. You get a rich red velvet brownie base, a layer of chocolate sandwich cookies tucked inside, and that soft, fudgy texture that makes every bite feel extra indulgent.
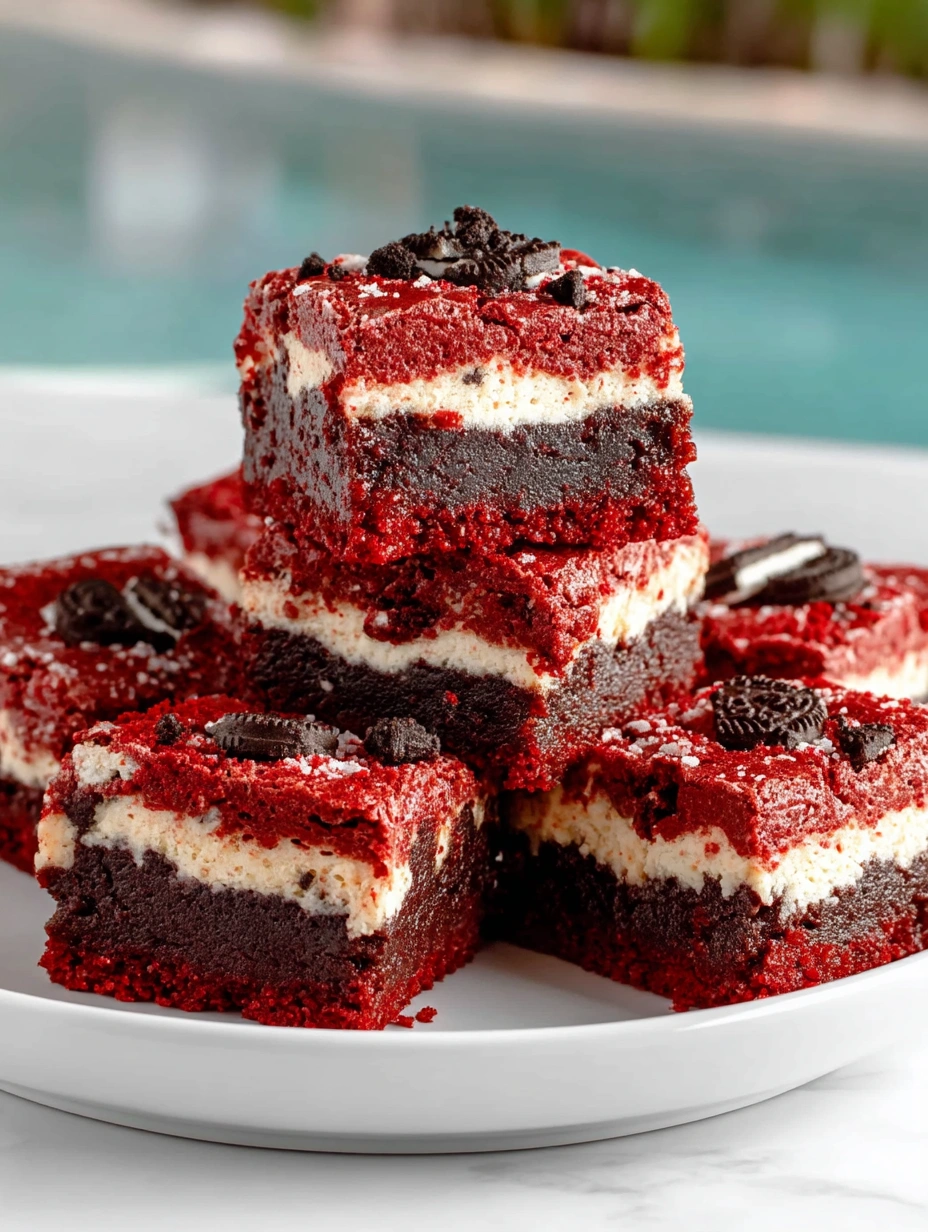
They are bold, colorful, and perfect for holidays, bake sales, birthdays, or any time you want a brownie that feels a little more special than the usual pan. The Oreo center adds a familiar cookies-and-cream crunch that pairs beautifully with the cocoa flavor and buttery crumb of the red velvet brownie.
Why You’ll Love This Oreo Stuffed Red Velvet Brownies
If you love desserts that look impressive without requiring complicated steps, this one deserves a spot in your baking rotation. The batter comes together with pantry basics, and the Oreo layer creates a fun surprise in the middle without any tricky technique.
These brownies are also wonderfully balanced. They have the mild cocoa flavor and signature color of red velvet, the dense chew of a good brownie, and the sweet crunch of Oreos baked right into the center. That combination makes them a standout dessert for anyone who loves brownies, cookies, or both.
Another reason these brownies work so well is how versatile they are. You can serve them plain, dust them lightly with powdered sugar, drizzle them with melted white chocolate, or plate them warm with a scoop of vanilla ice cream for a more decadent dessert.
Why Put Oreos Inside Red Velvet Brownies?
Oreos add texture, flavor, and a little surprise to every square. Since red velvet brownies are soft and fudgy, the cookies create a pleasant contrast in the middle that keeps each bite interesting.
They also bring an extra chocolate note without overpowering the red velvet base. Because Oreos hold their shape fairly well in the oven, they create a defined center layer that makes these brownies look just as good sliced as they taste fresh.
If you enjoy desserts with a bakery-style feel, stuffing brownies with cookies is a simple way to make them more memorable while still keeping the recipe easy enough for a casual weekend bake.
Ingredients for the Oreo Stuffed Red Velvet Brownies
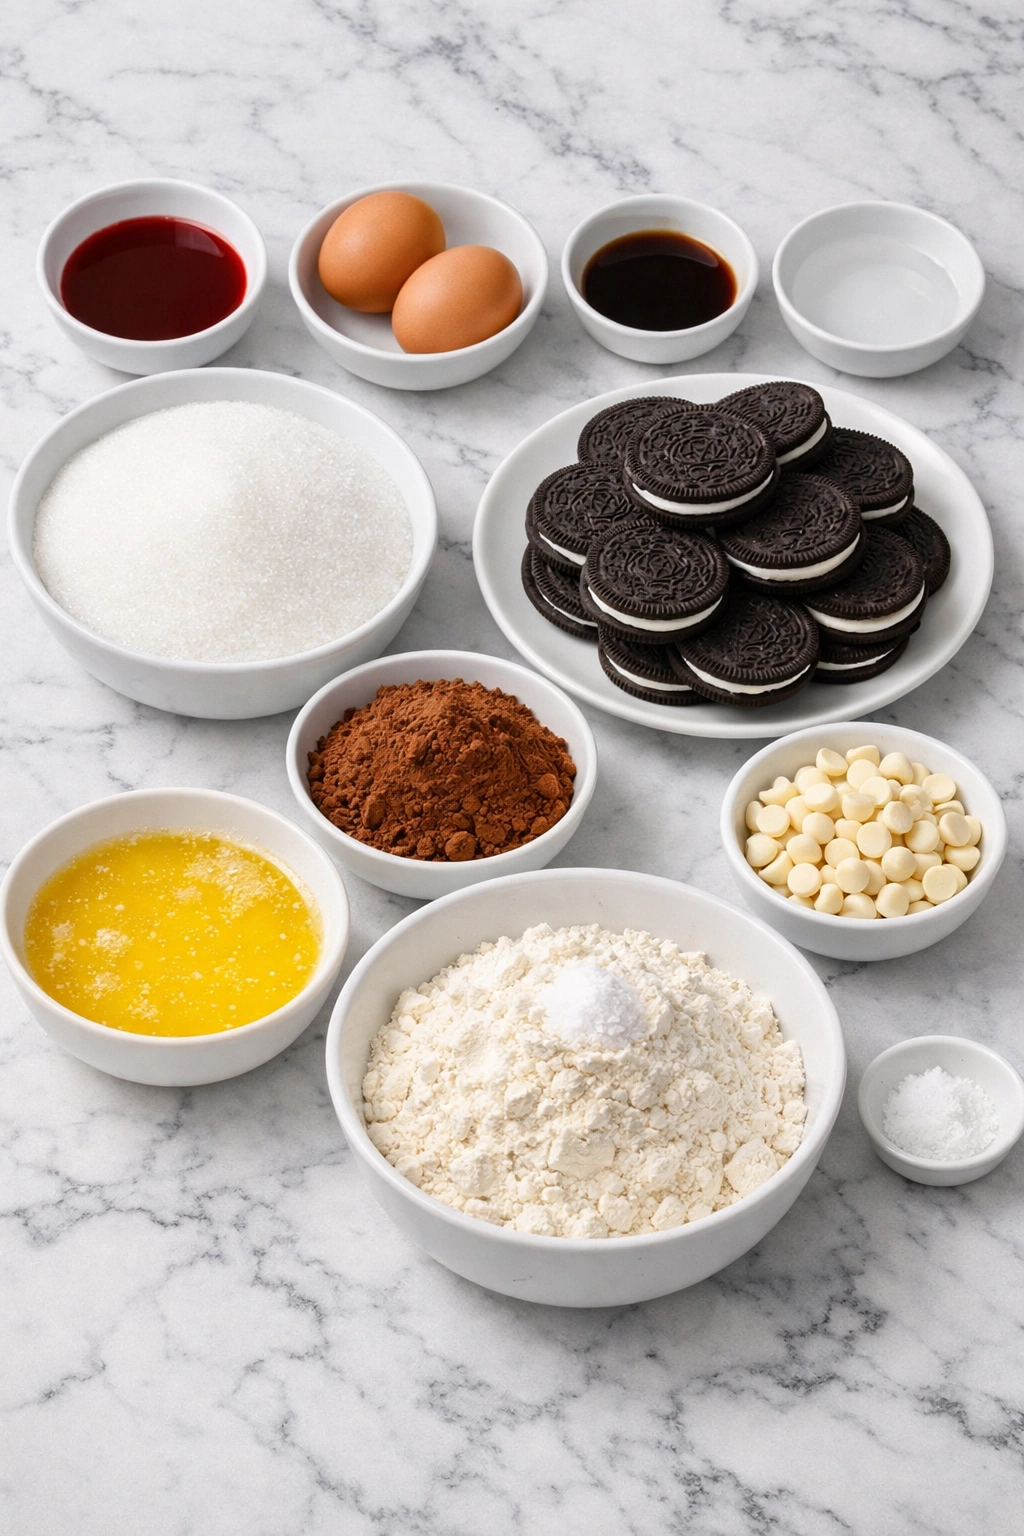
Every ingredient in this brownie recipe has a job to do, and together they create the signature texture, color, and rich flavor that make these bars so satisfying.
Unsalted butter gives the brownies richness and helps create that soft, dense crumb. Melted butter also blends easily into the batter, making the mixing process simple.
Granulated sugar sweetens the brownies and supports the glossy top that many brownie lovers look for.
Eggs give structure and help the batter bake up chewy instead of cakey. They also add richness and make the brownies hold together when sliced.
Vanilla extract rounds out the chocolate flavor and adds warmth to the overall taste.
Red food coloring gives the brownies their signature red velvet look. It turns a simple cocoa brownie into something eye-catching and festive.
Unsweetened cocoa powder brings the classic mild chocolate flavor that red velvet desserts are known for. It adds depth without making the brownies taste too dark or bitter.
All-purpose flour provides structure and keeps the batter thick enough to support the Oreo center.
Salt sharpens the flavor and keeps the sweetness from tasting flat.
White vinegar is a classic red velvet ingredient that brightens the flavor and supports the traditional profile of the dessert.
Oreo cookies are the star surprise inside these brownies. They create a cookies-and-cream middle layer that adds crunch, sweetness, and a fun contrast to the fudgy texture.
White chocolate chips are optional, but they make a beautiful finishing touch if you want to drizzle the cooled brownies for extra sweetness and a bakery-style look.
How To Make the Oreo Stuffed Red Velvet Brownies
The method is simple, but a few small details help these brownies turn out soft, even, and easy to slice.
Step 1: Prepare the Pan and Oven
Preheat your oven and line an 8×8-inch baking pan with parchment paper. Leave a little overhang on the sides so the brownies are easy to lift out after baking.
Greasing the pan lightly underneath the parchment helps keep it in place while you spread the batter.
Step 2: Mix the Wet Ingredients
In a large mixing bowl, whisk together the melted butter and sugar until smooth. Add the eggs, vanilla extract, red food coloring, and vinegar, then whisk again until the mixture looks glossy and fully combined.
This step helps dissolve the sugar and gives the batter a smooth, rich base.
Step 3: Add the Dry Ingredients
Sift in the cocoa powder, flour, and salt. Fold everything together gently just until no dry streaks remain.
Try not to overmix at this stage. Mixing only until combined helps keep the brownies dense and fudgy instead of airy.
Step 4: Build the Oreo Layer
Spread about half of the brownie batter into the prepared pan. Arrange the Oreo cookies in an even layer over the batter, pressing them down very lightly.
Spoon the remaining batter over the cookies and gently spread it to cover them as evenly as possible. It is fine if a few cookie edges peek through slightly.
Step 5: Bake Until Just Set
Bake the brownies until the top is set and a toothpick inserted near the edge comes out with a few moist crumbs. The center should look baked but still slightly soft, which helps preserve the fudgy texture.
Avoid overbaking, since that can make the brownies dry and take away the rich chewiness.
Step 6: Cool and Slice
Let the brownies cool fully in the pan before lifting them out. Once cooled, slice into squares with a sharp knife.
For cleaner cuts, chill the brownies for a short time before slicing and wipe the knife between cuts.
Step 7: Add the Optional Finishing Touch
If you want a decorative finish, drizzle melted white chocolate over the cooled brownies. Let it set before serving for a pretty contrast against the red brownie top.
The Best Ways to Serve Oreo Stuffed Red Velvet Brownies
These brownies are rich enough to serve as a standalone dessert, but they also pair beautifully with a few simple extras. A glass of cold milk, a hot coffee, or a scoop of vanilla ice cream all work especially well with the chocolatey Oreo center.
If you are serving them for a party or holiday table, cut them into 9 large squares or 12 smaller bars. That makes this recipe ideal for feeding about 9 to 12 people, depending on how generous you want each serving to be.
For a more dressed-up dessert plate, add a small drizzle of white chocolate or a dollop of whipped cream. They also look beautiful on a dessert tray next to cookies, cupcakes, and other red velvet treats.
How to Store Oreo Stuffed Red Velvet Brownies
Once the brownies have cooled completely, store them in an airtight container at room temperature for up to 3 days. Keeping them tightly covered helps prevent them from drying out.
For longer storage, refrigerate them for up to 1 week. Let them sit at room temperature for a bit before serving if you want the texture to soften again.
These brownies also freeze well. Wrap individual squares or the whole slab tightly in plastic wrap and then place them in a freezer-safe container or bag. Freeze for up to 2 months. Thaw overnight in the refrigerator or at room temperature before serving.
If you plan to stack them, place parchment paper between layers so the tops stay neat and the brownies do not stick together.
Frequently Asked Questions
Can I use double-stuffed Oreos in these brownies?
Yes, double-stuffed Oreos can work well if you want an even more decadent center. They may soften a bit more during baking because of the extra filling, but they still create a delicious cookie layer.
Do these brownies taste like classic red velvet cake?
They have the same mild cocoa flavor and signature red velvet profile, but the texture is much denser and fudgier than cake. Think of them as a brownie version of red velvet rather than a cake in bar form.
Can I make these brownies ahead of time?
Yes, they are a great make-ahead dessert. In fact, many people find the texture even better the next day once the brownies have fully set. Just store them tightly covered until you are ready to serve.
Can I add chocolate chips to the batter?
Absolutely. White chocolate chips, semi-sweet chocolate chips, or even mini chocolate chips can be folded into the batter for extra richness. Just do not overload the batter, or it may become harder to spread over the Oreo layer.
What is the best way to get clean brownie slices?
Let the brownies cool completely before cutting. For especially neat squares, chill them briefly, then slice with a sharp knife wiped clean between each cut. That helps preserve the Oreo layer and keeps the edges looking tidy.
Want More Dessert Ideas?
If you love rich treats like these Oreo Stuffed Red Velvet Brownies, you might want to try a few more sweet favorites from the site:
- Red Velvet Cheesecake Brownies for another red velvet dessert with a creamy twist.
- Oreo Stuffed Cinnamon Rolls if you love Oreo-filled bakes with a soft and gooey center.
- Chocolate Pudding for a smooth and classic chocolate dessert.
- Hot Buttered Mini Donuts when you want a cozy homemade sweet treat with bakery-style charm.
You can also browse even more dessert inspiration on Life With Mira.
Save This Pin For Later
📌 Save this recipe to your Pinterest dessert board so you can come back to it any time.
And let me know in the comments how yours turned out. Did you keep the brownies classic, or did you finish them with a white chocolate drizzle? Did you use regular Oreos or try a flavored version?
I love hearing how others make these recipes their own. Questions are welcome too, and sharing your favorite twist might help someone else bake an even better batch.
Oreo Stuffed Red Velvet Brownies
- Total Time: 45 minutes
- Yield: 9 brownies
Description
Oreo Stuffed Red Velvet Brownies are a rich, fudgy dessert packed with classic red velvet flavor and a surprise Oreo center in every bite. This easy recipe is perfect for holiday baking, dessert ideas, party treats, and sweet food ideas when you want a colorful homemade brownie that feels extra special.
Ingredients
1 cup unsalted butter, melted
1 1/4 cups granulated sugar
2 large eggs
1 tablespoon red food coloring
2 teaspoons vanilla extract
1 teaspoon white vinegar
1/4 cup unsweetened cocoa powder
1 cup all-purpose flour
1/4 teaspoon salt
16 Oreo cookies
1/2 cup white chocolate chips, melted optional for drizzle
Instructions
1. Preheat the oven to 350°F and line an 8×8-inch baking pan with parchment paper.
2. In a large bowl, whisk together the melted butter and granulated sugar until smooth.
3. Add the eggs, red food coloring, vanilla extract, and white vinegar, then whisk until glossy and fully combined.
4. Add the cocoa powder, all-purpose flour, and salt. Fold gently until no dry streaks remain.
5. Spread half of the brownie batter into the prepared pan.
6. Arrange the Oreo cookies in a single even layer over the batter.
7. Spoon the remaining batter over the Oreo layer and smooth the top gently.
8. Bake for 28 to 32 minutes, or until the top is set and a toothpick inserted near the edge comes out with a few moist crumbs.
9. Let the brownies cool completely in the pan.
10. Lift them out using the parchment, slice into squares, and drizzle with melted white chocolate if desired.
Notes
Do not overmix the batter once the flour is added or the brownies can lose their fudgy texture.
Let the brownies cool fully before slicing for cleaner edges and a more defined Oreo layer.
For extra neat cuts, chill the brownies for 20 to 30 minutes and wipe the knife clean between slices.
- Prep Time: 15 minutes
- Cook Time: 30 minutes
- Category: Dessert
- Method: Baking
- Cuisine: American
Nutrition
- Serving Size: 1 brownie
- Calories: 365
- Sugar: 29g
- Sodium: 220mg
- Fat: 19g
- Saturated Fat: 10g
- Unsaturated Fat: 7g
- Trans Fat: 0g
- Carbohydrates: 46g
- Fiber: 1g
- Protein: 3g
- Cholesterol: 68mg
Keywords: oreo stuffed red velvet brownies, red velvet brownies, oreo brownies, easy dessert, holiday baking, brownie recipe, dessert ideas, party treats, sweet food ideas
