

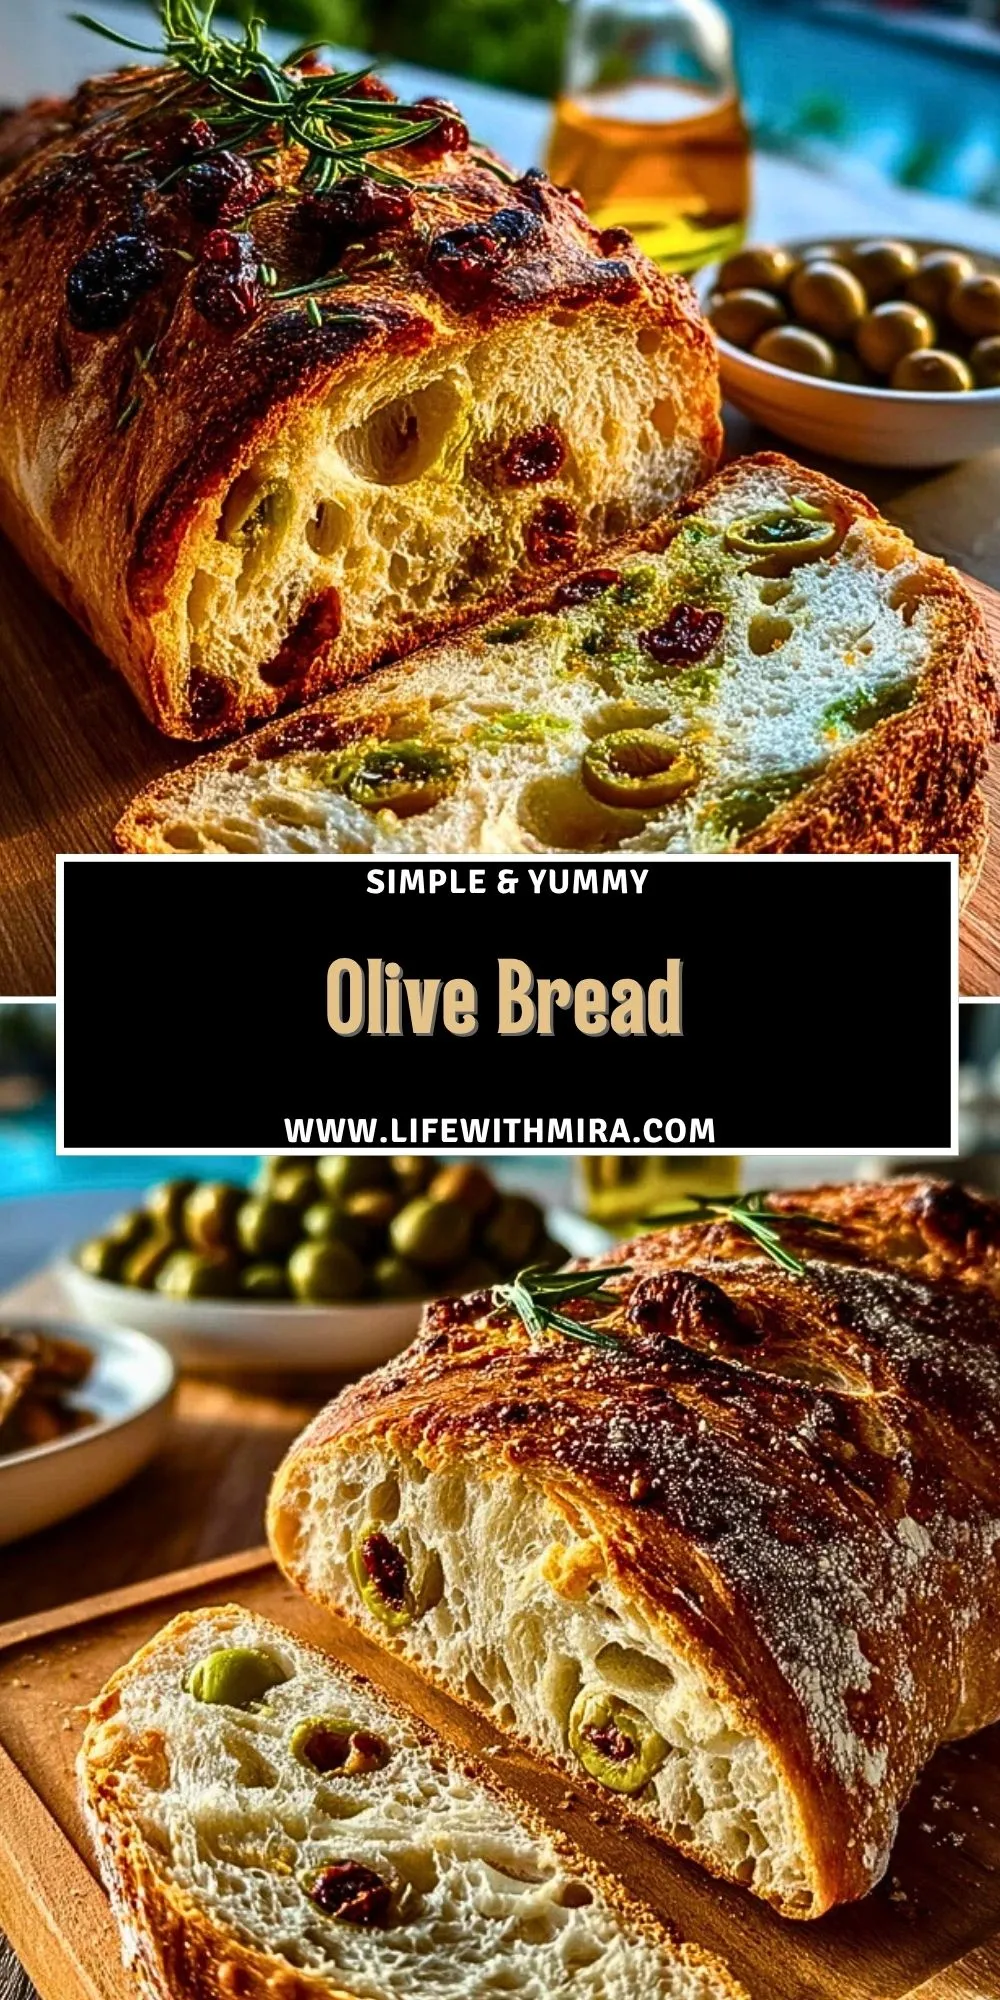
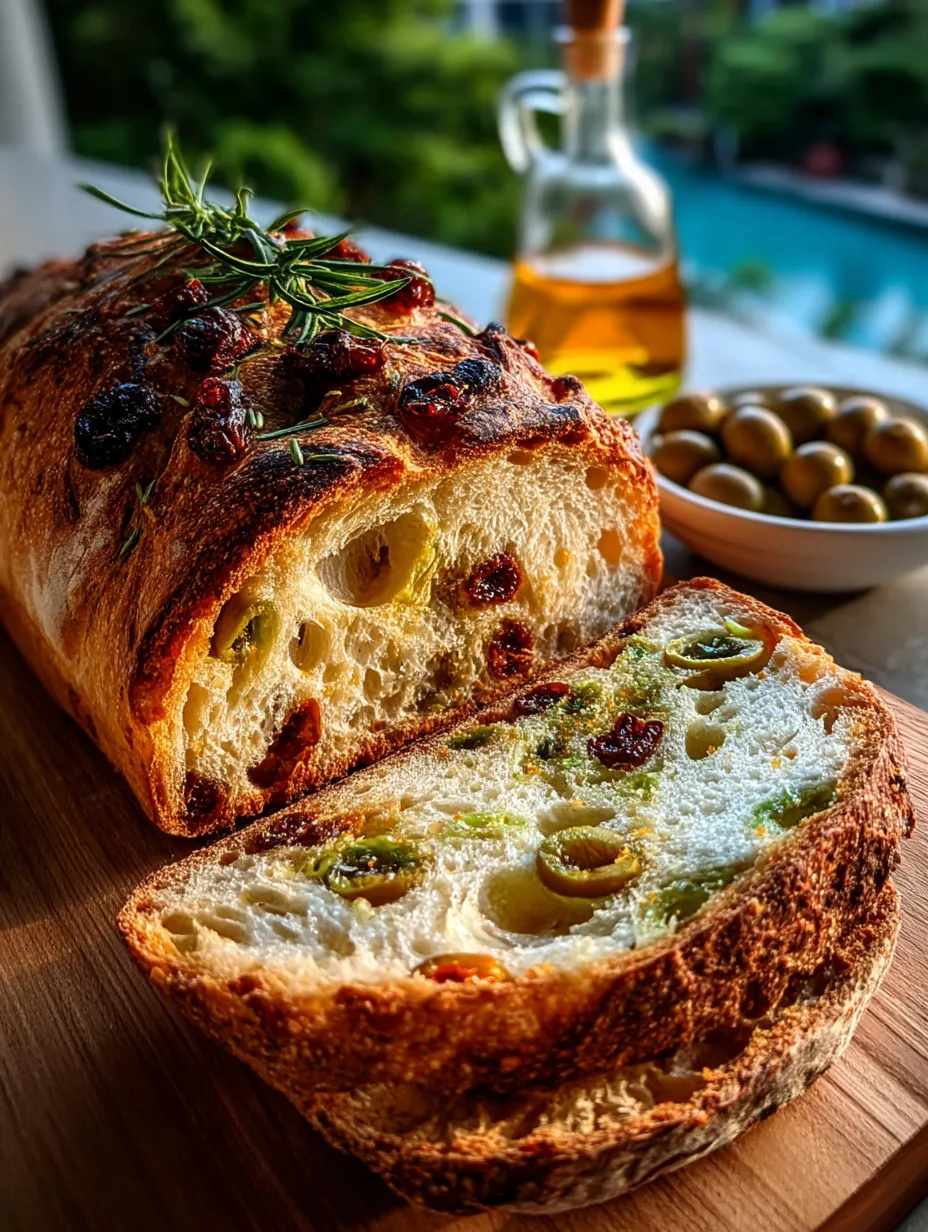
Olive bread brings together a chewy, airy crumb with the salty punch of brined olives and a shatteringly crisp crust. It smells like a bakery nestled next to an olive grove. That golden crust crackles when you tear into it, revealing a beautifully open crumb speckled with tangy green and black olives. Every bite is savory, slightly sour, and full of character.
What sets this olive bread apart is how it treats fermentation like an art form. The slow, cold rise develops complex flavor and that gorgeous structure inside, while folding the olives in during bulk fermentation keeps them intact and well distributed. You won’t get soggy pockets or collapsed bubbles—just an even, briny presence in each slice.
What Makes It Special
This isn’t your average olive bread that tastes like dry sandwich filler. The dough has high hydration, which means more steam and more bubbles inside the loaf. That texture makes it perfect for dipping, spreading, or just enjoying on its own. The combination of kalamata and green olives offers a mix of sharpness and depth, instead of one-note saltiness. I’ve tested it with only one kind of olive before, and it came out flat and boring. Trust me—the mix is non-negotiable.
The long ferment also helps the flavor develop complexity. Even if you’re a beginner, this bread rewards patience, not perfection. You don’t need fancy scoring tools or a baking stone—just a heavy pot and the will to wait.
The Ingredients That Make This Olive Bread Work
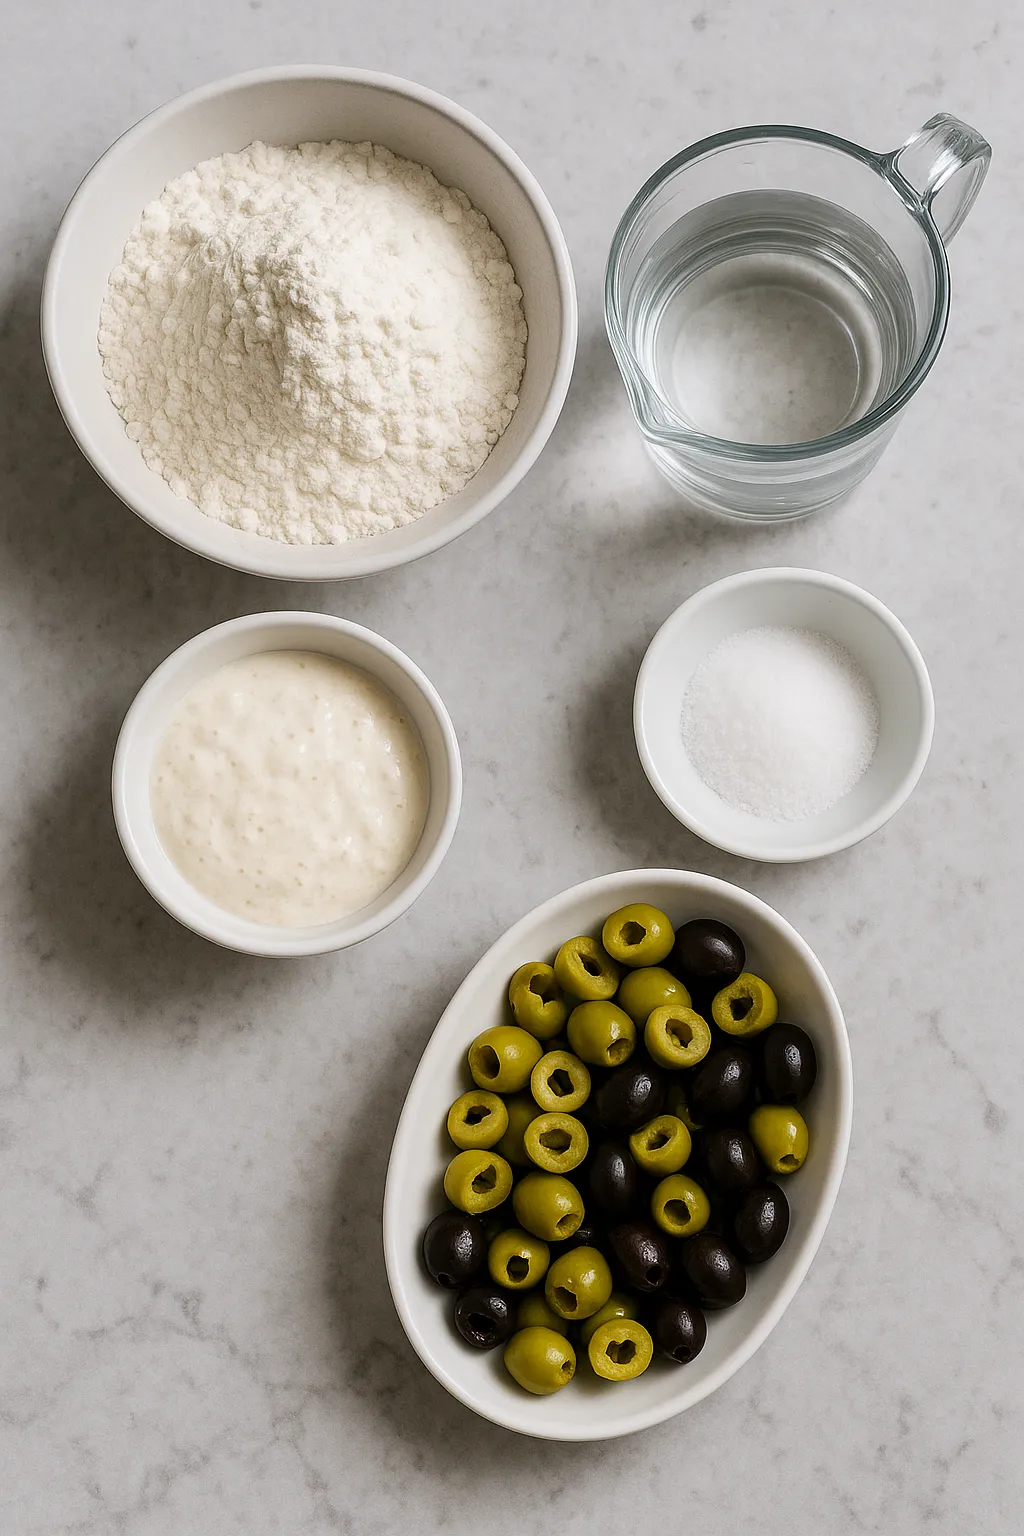
Each component has a purpose in creating this crusty loaf with the perfect chew and flavor balance. I use strong bread flour to give the dough structure and help support the open crumb. It’s got the protein necessary to create that webby interior that holds air so well. Water is what brings the dough to life and helps form gluten. I always use filtered water for consistency. Salt sharpens the flavor and keeps fermentation in check—it’s subtle but essential.
Active sourdough starter is what gives this bread its tang and rise. It’s the wild yeast that breathes personality into each loaf. And of course, olives: I like a mix of green Castelvetrano and oil-cured black olives. The contrast in flavor and texture keeps every bite interesting. Pitting and halving them is worth the extra minute, trust me.
How To Make the Olive Bread
Step 1: Build the Dough
Start by mixing bread flour, water, and a spoonful of sourdough starter in a large bowl until everything is shaggy and combined. Cover and rest for 30 minutes for autolyse. This step helps the gluten begin forming before we even knead.
Step 2: Add Salt and Begin Fermentation
After resting, add salt and gently fold it in. Once it’s incorporated, leave the dough at room temperature and perform a series of stretch-and-folds every 30 minutes for the first two hours. This strengthens the dough without kneading.
Step 3: Add Olives Gently
On your second fold, add the olives. Don’t dump them in all at once—spread them evenly and fold the dough over them to keep the crumb light. The dough will look bumpy but hold together.
Step 4: Bulk Ferment and Cold Proof
After folding, let the dough finish fermenting until it’s puffy and airy. Shape into a boule or batard, place in a floured proofing basket, cover, and refrigerate overnight. This long proof builds flavor and structure.
Step 5: Bake to Crispy Perfection
Bake the dough straight from the fridge in a ripping-hot Dutch oven. I go for 25 minutes covered at 475°F, then another 15-20 uncovered. The crust should be deep golden, and the bottom should sound hollow when tapped.
Use the Right Dutch Oven for Best Results
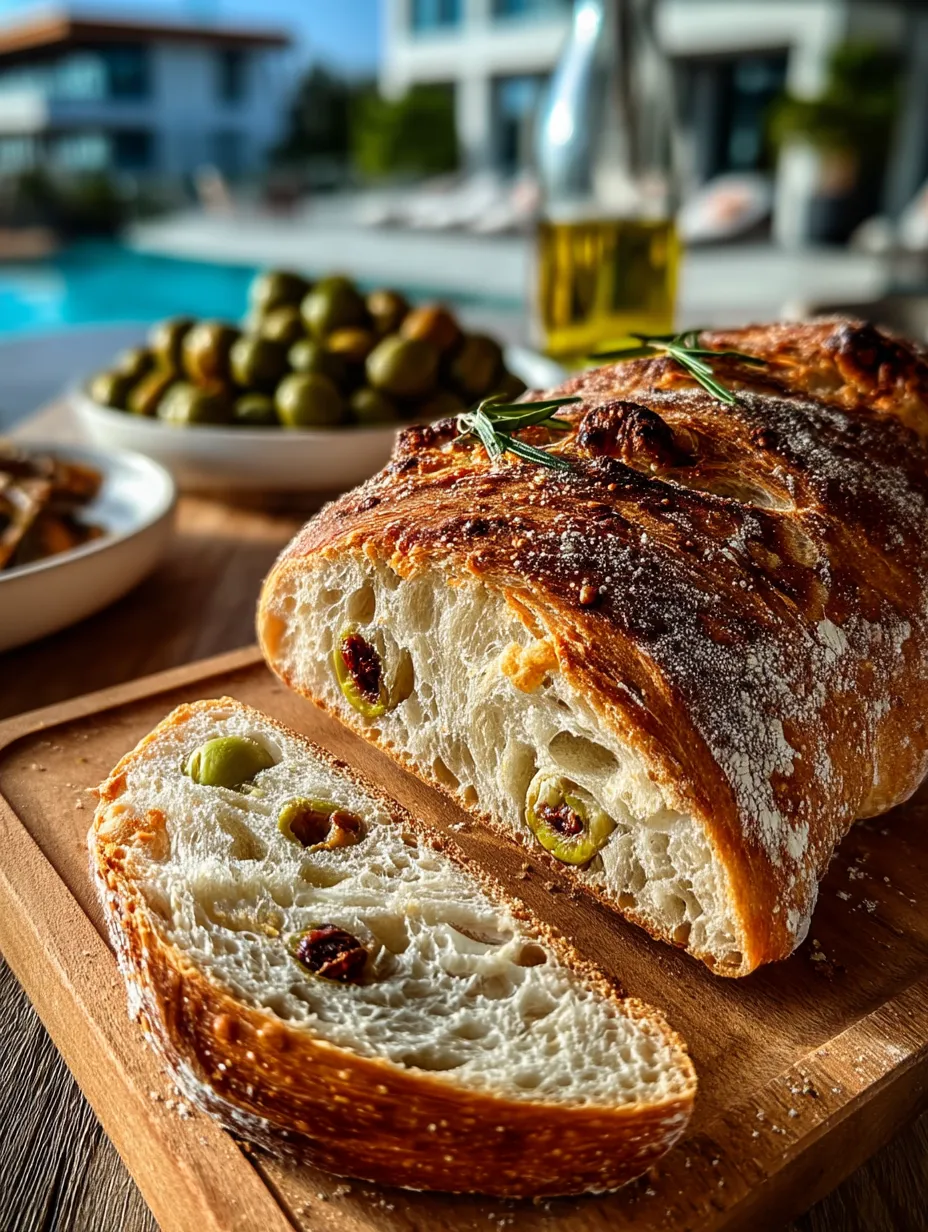
I’ve baked this in everything from a cheap enameled pot to a high-end cast iron Dutch oven. The heavy-duty ones with tight-fitting lids always give me the crispiest crust and best oven spring. They trap steam like nothing else. Glass and ceramic just don’t hold heat as well, and I found the bread came out paler and flatter. If your Dutch oven isn’t preheated or sealed well, you’ll miss that crackly crust and beautiful lift.
Olives: Salty Gems That Can’t Be Skipped
I’ve tried making this bread without olives once. Never again. It loses all its character. The olives bring those deep salty punches and little moist bursts inside the crumb. I always pit them myself and press them dry with a paper towel so they don’t weigh down the dough or make wet spots. The folding method really helps distribute them so you get balance in every slice.
Serving Information
- Servings: One large loaf (8-10 thick slices)
- Preparation Time: 25 minutes active, plus resting
- Baking Time: 40-45 minutes total
- Total Time: About 20 hours including cold proof
Tips for Making the Perfect Olive Bread
Your starter should be active and bubbly—if it’s sluggish, the bread won’t rise properly. Keep your dough covered while resting to avoid skin forming. Don’t rush the fermentation; the dough needs that time to build flavor. Scoring deeply lets the bread open properly in the oven, and steam is your best friend for that crust. Always let the bread cool fully before slicing—the crumb needs to set.
Serving Suggestions
This bread is more versatile than you might expect. It works across the board, from breakfast to a dinner party. A few ways I love to serve it:
- Savory Toast with Avocado: The salty olives pair beautifully with creamy toppings
- Bread Basket Star: Slice and serve with good olive oil and sea salt for dipping
- Picnic Sandwich Base: Use it for paninis with roasted vegetables and goat cheese
- Holiday Appetizer Platter: Cut into cubes and pair with cheeses and cured meats
- Gift-Worthy Loaf: Wrap in parchment and twine as a rustic hostess gift
- Soup Companion: Thick slices toasted and served with tomato or lentil soup
Save This Recipe on Pinterest and Share Your Thoughts
If this olive bread made your kitchen smell like a dream, pin it to your “Baking Projects,” “Rustic Breads,” or “Sourdough Adventures” boards so you can find it again easily. Have a twist on this recipe? Maybe you use kalamata instead? I’d love to hear your variations, questions, or how it turned out—drop a comment below and let’s talk bread!
Print Olive Bread with a Golden Crust and Briny Bite
- Total Time: 20 hours
- Yield: 1 loaf
- Diet: Vegetarian
Description
This golden crusted Olive Bread is the perfect blend of chewy interior and tangy, briny bursts from green and black olives. Naturally leavened with a sourdough starter, this artisan-style loaf is great for a quick breakfast, healthy snack, or dinner idea. Its airy crumb and crispy crust make it one of the easiest food ideas to elevate any meal.
Ingredients
450g bread flour
315g water
90g sourdough starter (active)
9g salt
100g mixed olives (green and black, pitted and halved)
Instructions
1. Mix flour, water, and sourdough starter until shaggy. Cover and let rest for 30 minutes.
2. Add salt and incorporate with gentle folds.
3. Perform stretch and folds every 30 minutes for 2 hours.
4. Add olives during the second fold, spreading them evenly.
5. Let the dough finish bulk fermentation until puffy.
6. Shape into a boule or batard, place in a floured proofing basket, and refrigerate overnight.
7. Preheat Dutch oven to 475°F. Bake loaf straight from the fridge, covered for 25 minutes, then uncovered for 15-20 minutes.
8. Cool on a wire rack at least 1 hour before slicing.
Notes
Use pitted olives and press them dry to avoid wet spots.
Always preheat your Dutch oven for the best crust.
Let the bread cool fully before slicing to preserve crumb texture.
- Prep Time: 25 minutes
- Cook Time: 45 minutes
- Category: Bread
- Method: Baking
- Cuisine: Mediterranean
Nutrition
- Serving Size: 1 slice
- Calories: 170
- Sugar: 0g
- Sodium: 320mg
- Fat: 3g
- Saturated Fat: 0.5g
- Unsaturated Fat: 2g
- Trans Fat: 0g
- Carbohydrates: 30g
- Fiber: 2g
- Protein: 5g
- Cholesterol: 0mg
Keywords: olive bread, sourdough, easy bread recipe, rustic loaf, healthy snack, quick breakfast
