

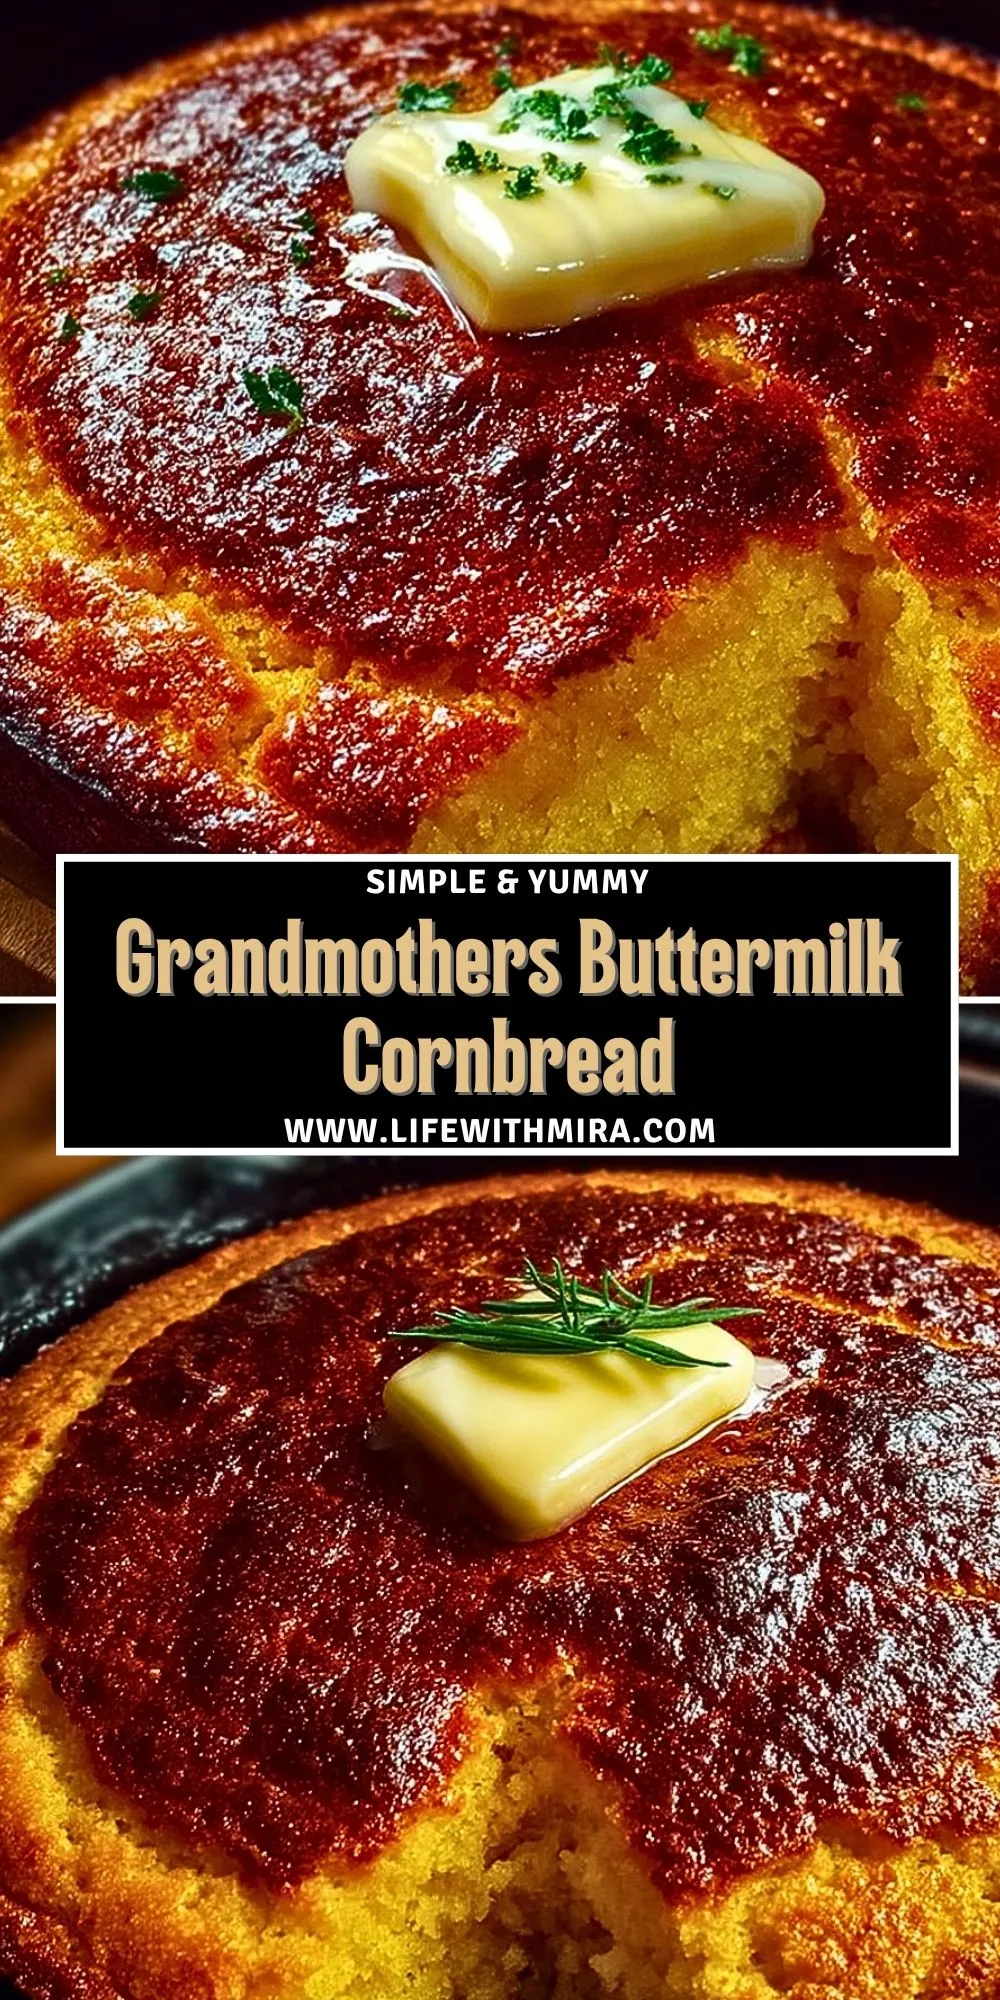
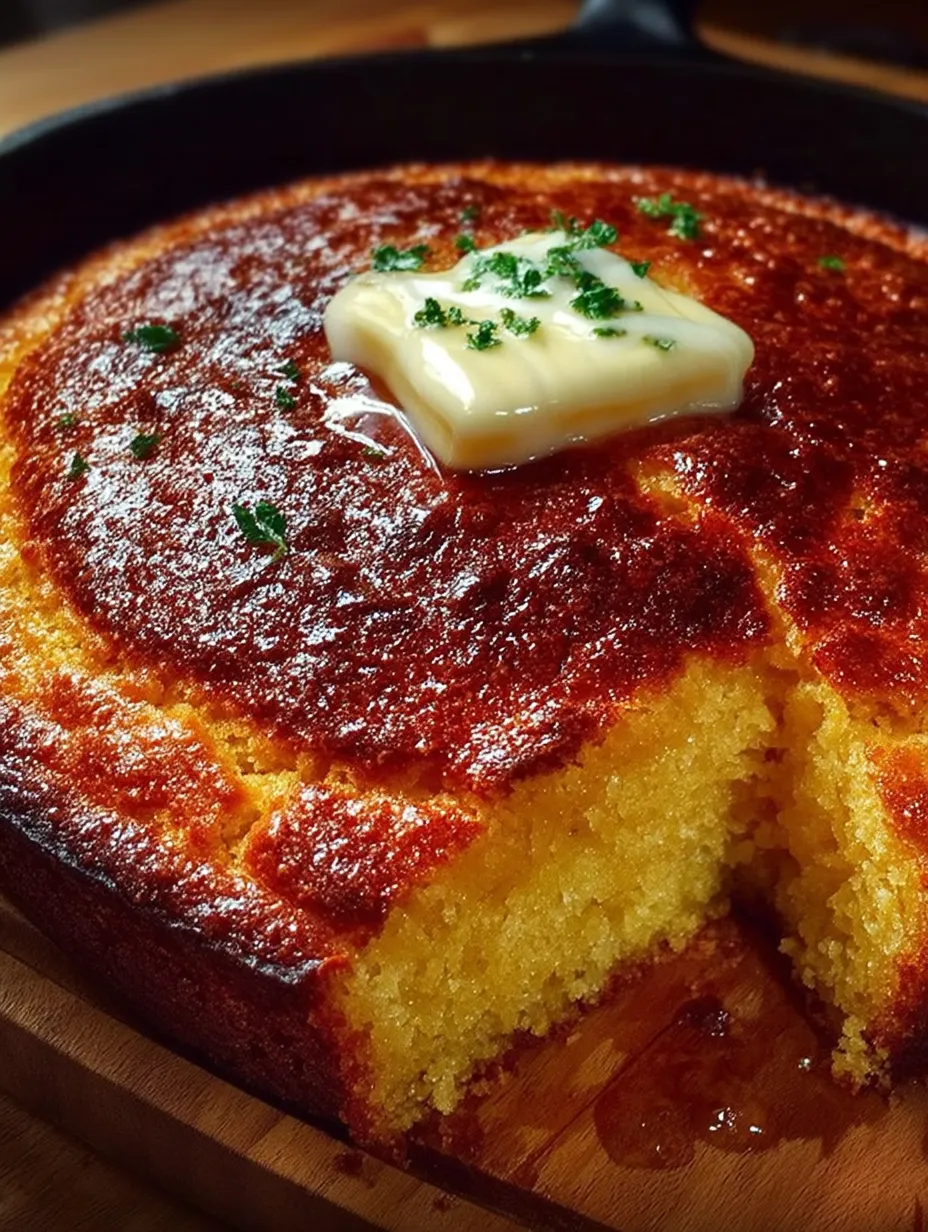
Golden on the outside, tender and moist inside—this Grandmother’s Buttermilk Cornbread brings together buttery richness and a slightly tangy bite from real buttermilk. The top bakes to a glossy, caramelized crust while the center stays soft and comforting, almost like a warm hug in every slice. It balances a soft crumb texture with just enough structure to hold together, perfect for pairing with chili or enjoying solo with a drizzle of honey.
What makes this cornbread special is its deep Southern roots and the simplicity of its ingredients. There are no shortcuts here—no box mix, no fancy flours. It’s the same method my grandmother used in her black cast iron skillet, and it’s stayed in our family for generations. The use of real buttermilk is key, adding both flavor and tenderness. And baking it in a preheated cast iron pan gives it those irresistibly crisp edges that you just can’t get from glass or ceramic.
The Ingredients That Make This Cornbread Irresistible
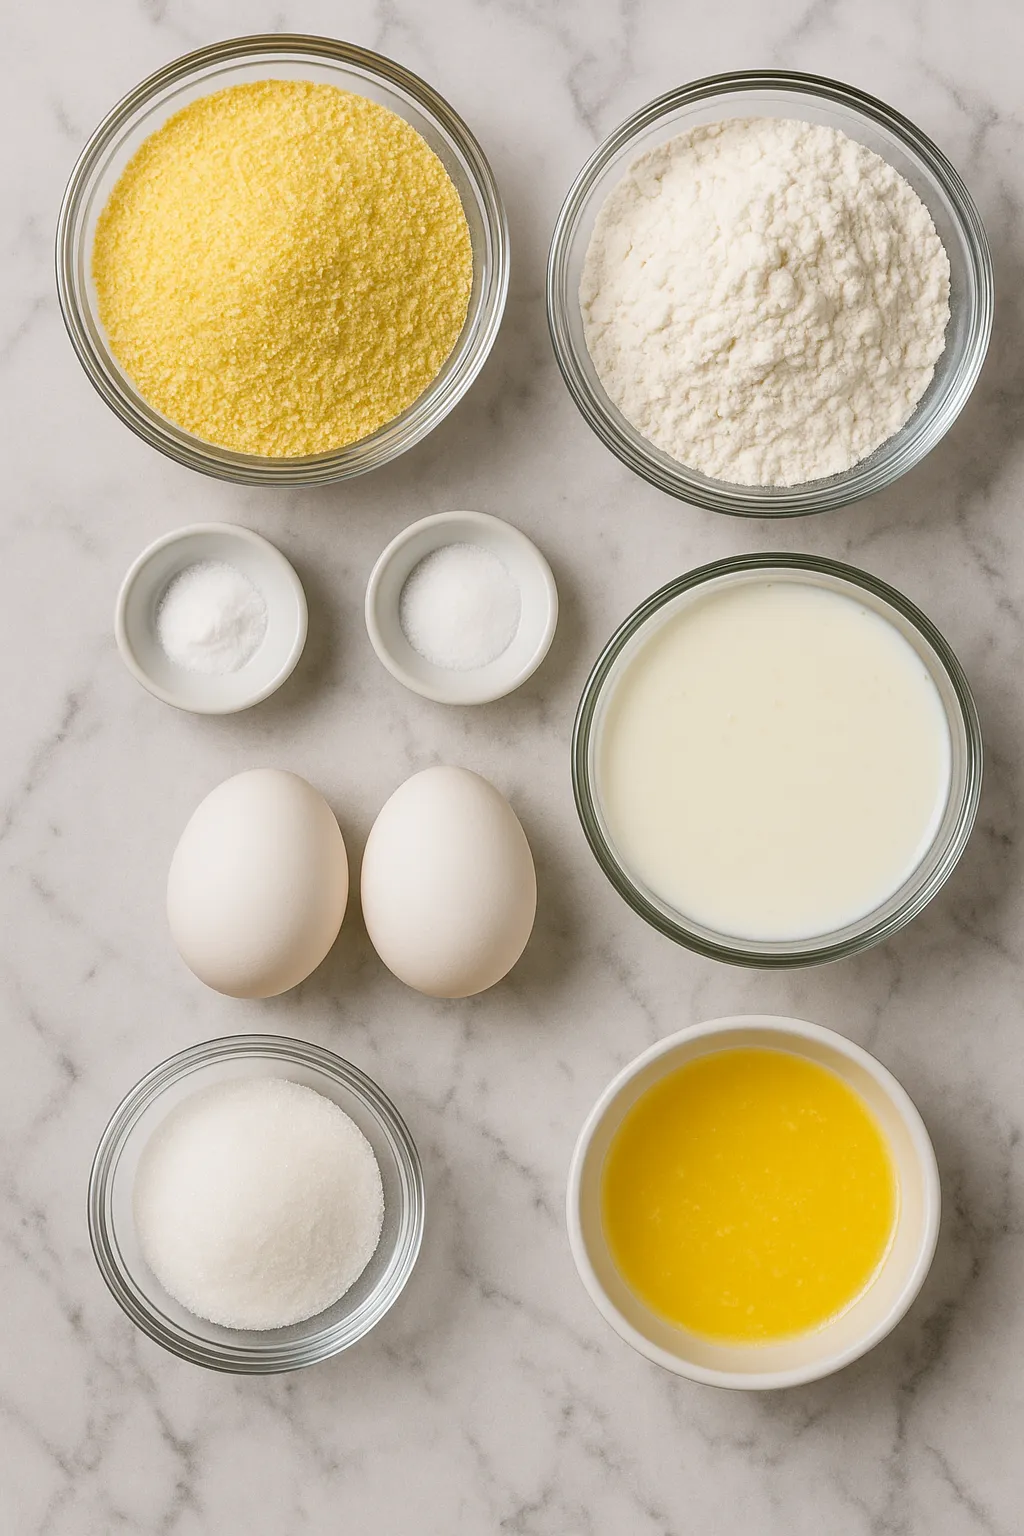
Cornmeal forms the heart of this recipe, giving it its rustic texture and signature flavor. I always use stone-ground cornmeal for more body and character.
All-purpose flour is added to soften the crumb slightly. Cornbread made with only cornmeal can be too gritty or crumbly for my taste.
Baking soda gives it the lift it needs, reacting perfectly with the acidity of the buttermilk.
Salt sharpens all the other flavors. Even in sweet cornbread, it makes a difference.
Sugar adds just a touch of sweetness—not too much. This isn’t cake, but I do like a little contrast.
Eggs bring moisture and structure, helping it rise and hold together without falling apart.
Buttermilk is the soul of this cornbread. Its creamy tang makes the texture tender and the flavor stand out.
Butter, melted and folded in, gives richness and that nostalgic flavor that reminds me of my grandmother’s kitchen.
How To Make the Grandmother’s Buttermilk Cornbread
Step 1: Preheat Your Skillet
Set your oven to 425°F and place a cast iron skillet inside to heat up. A hot skillet is what gives the crust its golden, crispy magic.
Step 2: Mix the Dry Ingredients
In a large bowl, whisk together cornmeal, flour, baking soda, salt, and sugar until everything is evenly combined.
Step 3: Add the Wet Ingredients
In a separate bowl, beat the eggs, then whisk in the buttermilk and melted butter. Stir just until mixed.
Step 4: Combine Everything
Pour the wet mixture into the dry ingredients. Gently stir until just combined. Don’t overmix—the batter should be a little lumpy.
Step 5: Pour and Bake
Carefully remove the hot skillet from the oven and grease it with a little butter. Pour in the batter; it should sizzle a bit. Bake for 20-25 minutes or until the top is golden brown and a toothpick comes out clean.
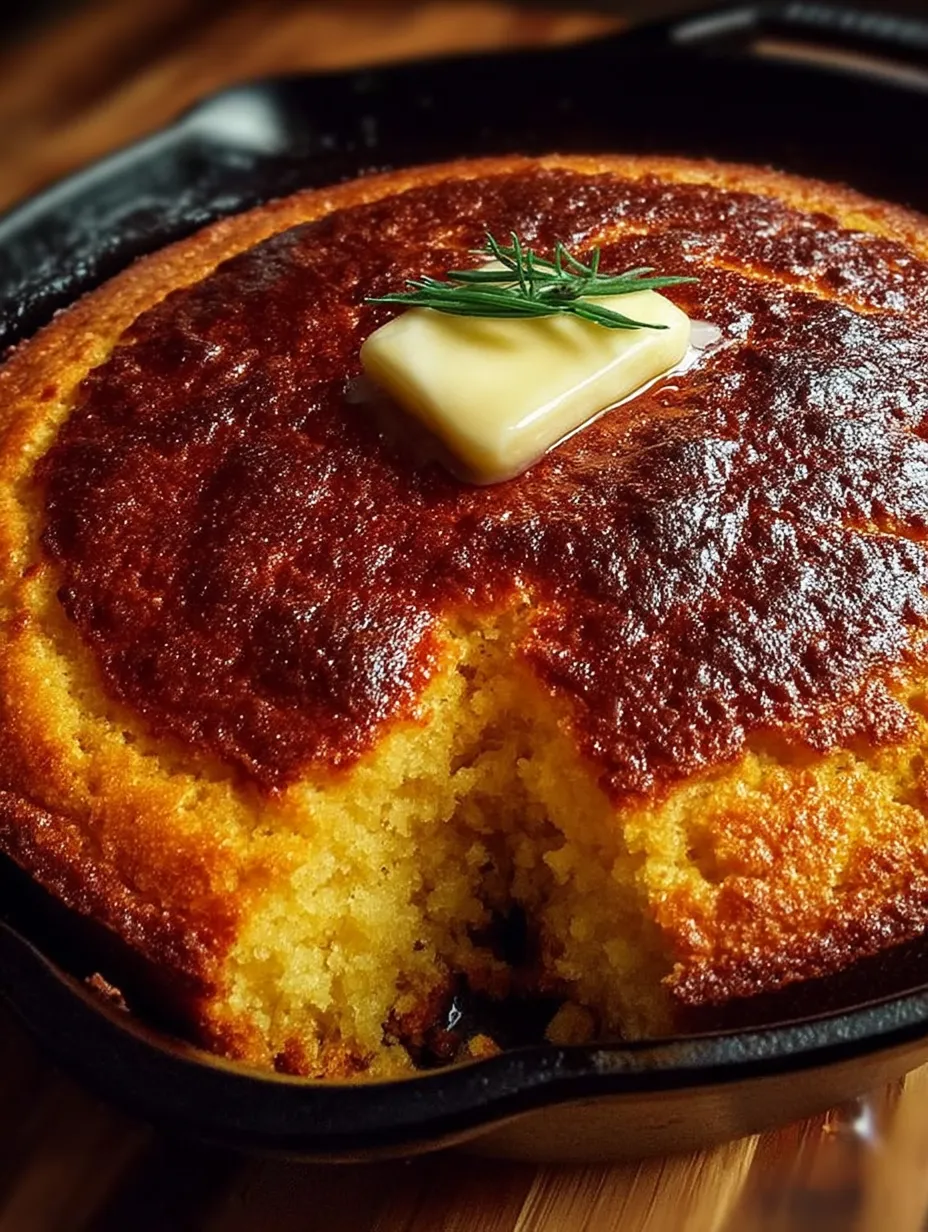
Use the Right Skillet for Best Results
I’ve tried baking this in glass, metal, and ceramic pans—nothing compares to cast iron. The way it holds and distributes heat creates the best crust, hands down. Glass doesn’t get hot enough for the crispy edges, and metal often browns too quickly without that deep, even golden top. A well-seasoned cast iron skillet creates a flavor and texture you can’t replicate otherwise. If you skip it, you’ll get a pale, soft-sided cornbread that’s more muffin than Southern staple.
Buttermilk: Tangy, Creamy, and Never Skipped
The buttermilk is what binds this whole recipe together. I tried making it once with regular milk and vinegar as a substitute. It technically worked, but the flavor was flat, and the crumb just didn’t have that same melt-in-your-mouth tenderness. Proper buttermilk makes the batter silky and gives the bread its character. If you want the real deal, this is the one ingredient you can’t compromise on.
Serving Information
- Servings: 8 generous slices
- Preparation Time: 10 minutes
- Baking Time: 20-25 minutes
- Total Time: About 35 minutes
Tips for Making the Perfect Cornbread
Use room-temperature eggs and buttermilk so they blend smoothly into the batter. Don’t skip preheating the skillet—that initial sizzle is where the magic starts. And always let it cool just a bit before slicing so it sets up and doesn’t crumble. If you want to reheat leftovers, wrap them in foil and warm in the oven, not the microwave—it keeps the edges crispy.
Serving Suggestions
Cornbread fits into so many meals effortlessly, from hearty dinners to sweet breakfasts. I like to rotate how I serve it depending on the season or the crowd.
- With Chili or Stews: That slightly sweet, crumbly texture soaks up savory, spicy broths perfectly
- Topped With Honey Butter: Warm it up and let a pat of honey butter melt right into the center
- As a Side at Holiday Meals: It’s a Southern must-have on Thanksgiving or with a baked ham
- Cut Into Cubes for Stuffing: Let it dry out slightly and turn it into an unforgettable cornbread dressing
- Wrapped in a Tea Towel in a Bread Basket: Makes a homey addition to any casual family dinner table
- Gifted in Mini Loaves: Wrap in parchment, tie with twine, and you’ve got a cozy, edible gift
Pin and Share Your Thoughts!
Love classic Southern recipes? Save this Grandmother’s Buttermilk Cornbread to your “Comfort Food,” “Cast Iron Favorites,” or “Family Recipes” boards on Pinterest so you can find it fast when you’re craving a slice. I’d love to hear how yours turns out—do you like it with extra sugar? Jalapeños? Let me know in the comments!
Print Grandmother’s Buttermilk Cornbread
- Total Time: 35 minutes
- Yield: 8 slices
Description
Golden, buttery, and tender in every bite, Grandmother’s Buttermilk Cornbread is a comforting classic that brings warmth and nostalgia to your table. This easy recipe is perfect for any occasion, from quick breakfast sides to hearty dinner pairings. With its crisp edges from a hot cast iron skillet and rich, tangy flavor from real buttermilk, it’s a standout in your collection of easy dinner ideas, Southern food favorites, and cozy baking recipes.
Ingredients
1 cup stone-ground cornmeal
1 cup all-purpose flour
1/2 teaspoon baking soda
1/2 teaspoon salt
2 tablespoons sugar
2 large eggs
1 1/2 cups buttermilk
1/4 cup melted butter
Instructions
1. Preheat the oven to 425°F and place a cast iron skillet inside to heat.
2. In a large bowl, whisk together cornmeal, flour, baking soda, salt, and sugar.
3. In a separate bowl, beat the eggs, then add in the buttermilk and melted butter.
4. Pour the wet ingredients into the dry and gently stir until just combined.
5. Carefully remove the hot skillet from the oven and grease it with butter.
6. Pour the batter into the skillet and bake for 20-25 minutes until golden brown and a toothpick comes out clean.
7. Let it cool slightly before slicing and serving.
Notes
For best results, use a cast iron skillet for that signature crust.
Room-temperature ingredients blend better and help the cornbread rise evenly.
Leftovers can be wrapped in foil and reheated in the oven to keep the edges crisp.
- Prep Time: 10 minutes
- Cook Time: 25 minutes
- Category: Side Dish
- Method: Baking
- Cuisine: Southern
Nutrition
- Serving Size: 1 slice
- Calories: 220
- Sugar: 4g
- Sodium: 290mg
- Fat: 9g
- Saturated Fat: 5g
- Unsaturated Fat: 3g
- Trans Fat: 0g
- Carbohydrates: 28g
- Fiber: 2g
- Protein: 5g
- Cholesterol: 60mg
Keywords: easy cornbread, cast iron cornbread, Southern side dish, buttermilk cornbread, classic cornbread

I made cornbread tonight using this recipe. I have to say that it is the best cornbread that I have ever made. Highly recommend this recipe!
★★★★★
Thank you so much, Rick! I’m thrilled to hear you loved the cornbread and that it turned out to be the best you’ve ever made. Your recommendation truly means a lot, happy baking! 😊