

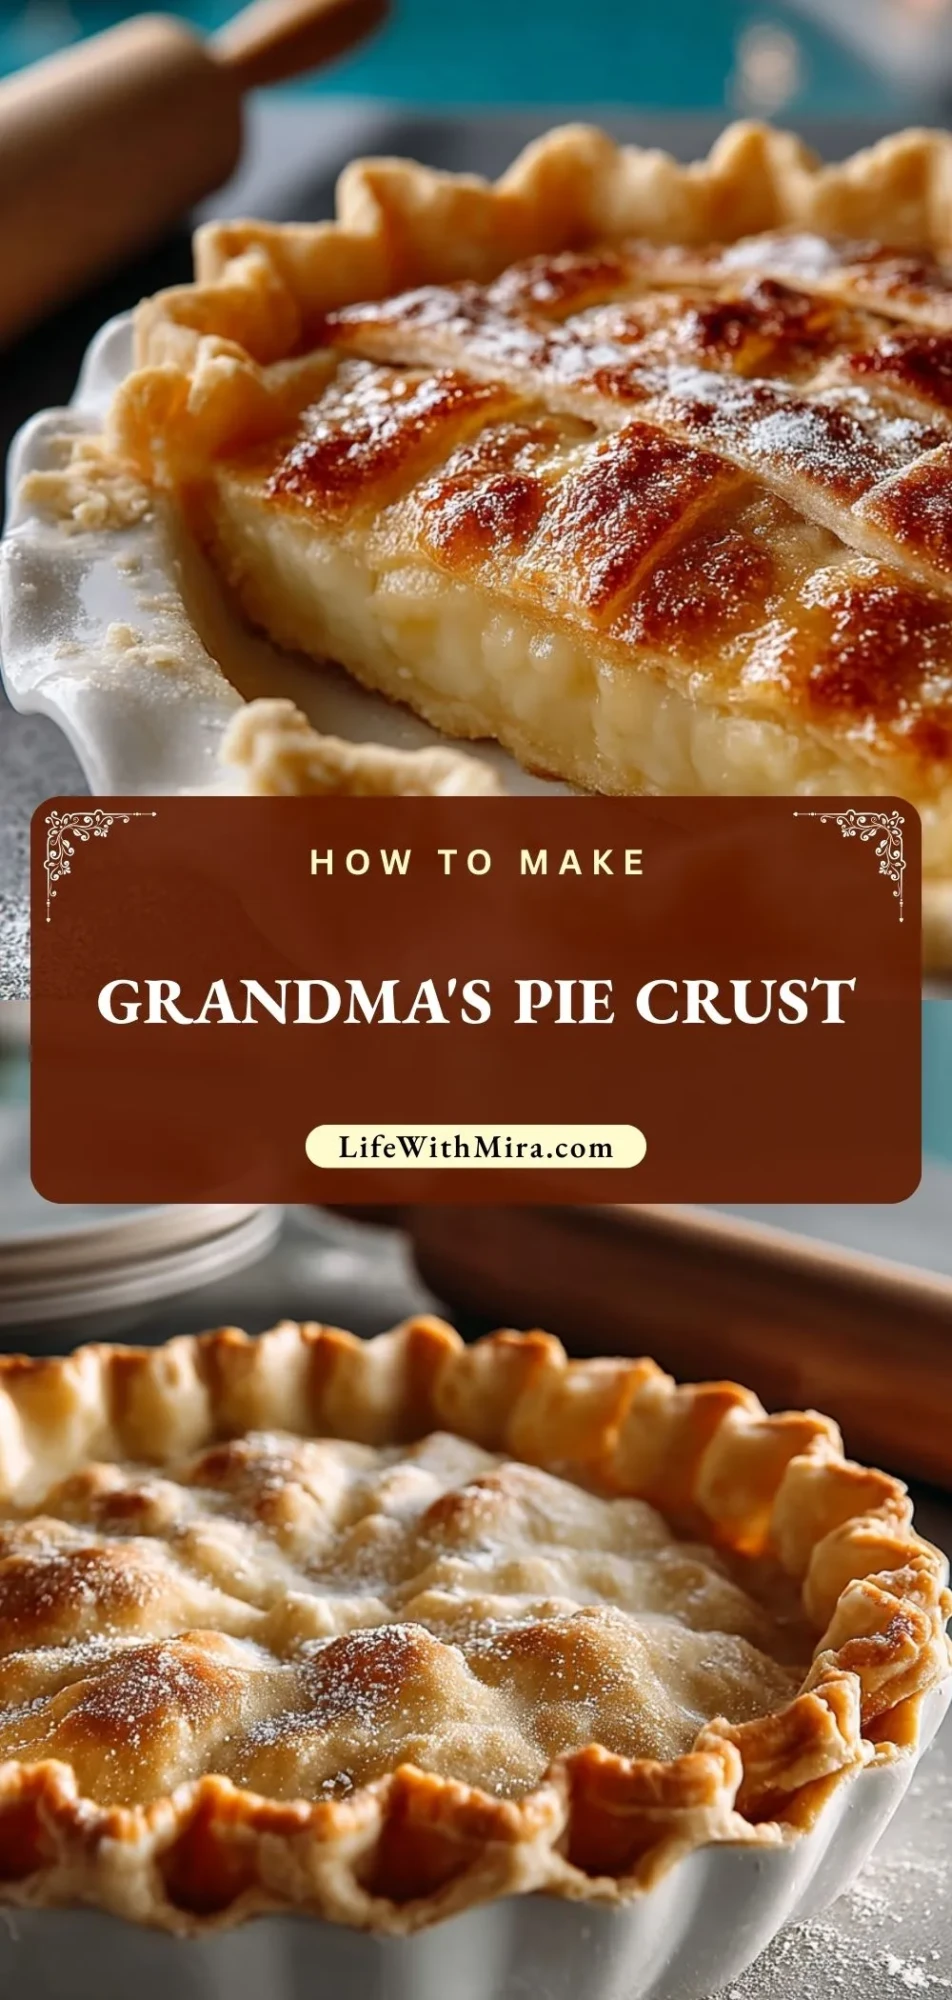
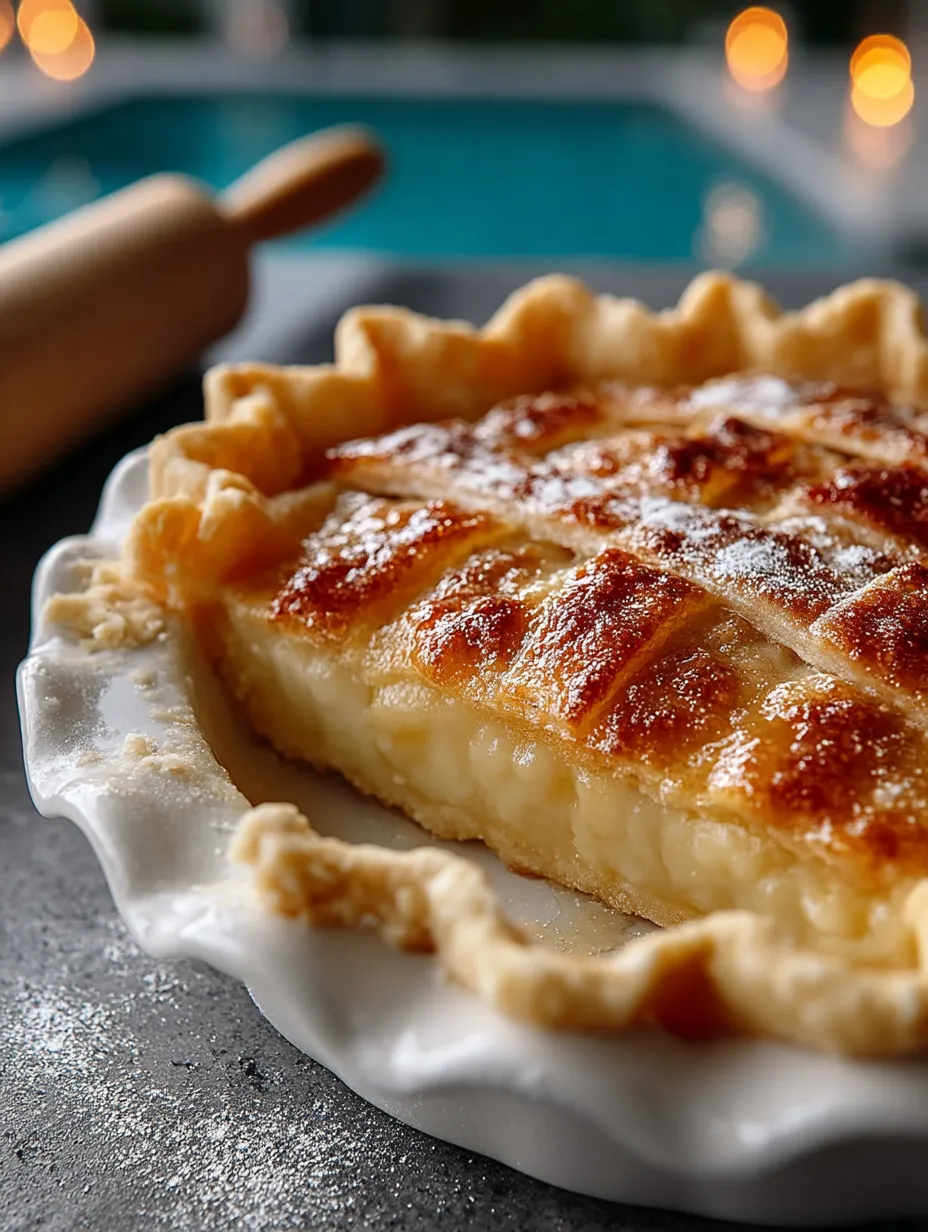
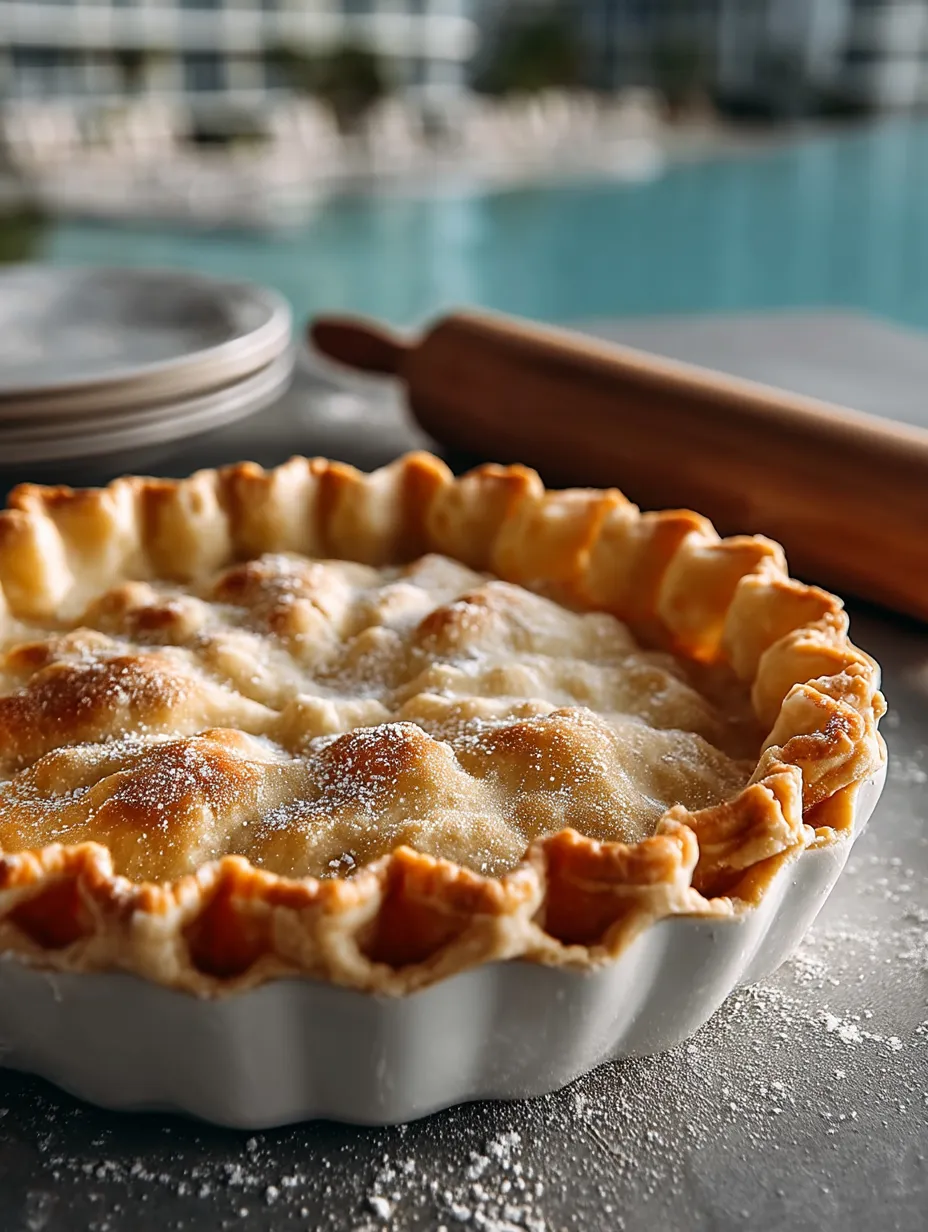
Flaky, buttery, and tender in all the right places—this pie crust brings the kind of comfort you only get from something that’s been passed down through generations. It shatters just slightly under your fork but holds its shape around any filling you throw at it, sweet or savory.
What I love most about this pie crust is its flexibility. It isn’t fussy. You don’t need a food processor or ice water measured down to the milliliter. It relies on feel, on touch, on getting to know your dough. That’s why it works so well.
What Sets This Pie Crust Apart
This isn’t the kind of pie crust that flakes into dust or turns tough overnight. The secret? A perfect balance of fat to flour with just enough liquid to bring it all together. You’re not aiming for a smooth dough—you want those butter pockets.
You’ll notice this recipe uses both butter and shortening. That duo gives you the best of both worlds: flavor from the butter and structure from the shortening. And yes, chilling really does matter—it’s the difference between a crust that slouches and one that stands proud with layers.
The Secret Behind Perfect Pie Crust
Keep your ingredients cold, your hands light, and don’t overthink it. The more you touch and knead, the more you risk melting the fat or activating too much gluten.
When it comes to rolling out, I like to do it between two sheets of parchment. No mess, no sticking, and way less flour everywhere.
Three Reasons This Pie Crust Works Every Time
- Butter + Shortening combo: unbeatable texture and taste
- Flexible dough: easy to roll and patch without cracking
- No fancy tools: just a bowl, a fork, and your hands
Why This Isn’t Your Average Pie Crust
It behaves. Whether I’m making an apple pie or a tomato tart, I know this crust will stay crisp and flaky without burning or shrinking.
The Ingredients That Make This Pie Crust Work
Each ingredient in this crust brings something essential. I never skip or swap unless I’m in a pinch.
- All-purpose flour – The base structure. It needs to be scoop-and-level accurate.
- Unsalted butter – For that rich, unmistakable flavor and golden flake.
- Vegetable shortening – Stabilizes the dough and helps hold shape when baked.
- Salt – Wakes everything up. Don’t skip it.
- Ice water – Just enough to bring the dough together without over-hydrating.
How to Make the Grandma’s Pie Crust
Step 1: Cut the Fats In
Cube your butter and shortening and toss them in the freezer for a few minutes. In a large bowl, combine flour and salt, then cut in the fats using a pastry cutter or your fingers until the mixture resembles coarse crumbs.
Step 2: Add Cold Water Slowly
Drizzle in a tablespoon of ice water at a time, gently stirring with a fork. Stop when the dough just starts to come together—no more, no less.
Step 3: Press and Chill
Gather the dough into a ball, divide in two, flatten into disks, wrap tightly, and refrigerate for at least an hour (overnight is even better).
Step 4: Roll and Shape
Roll out on a lightly floured surface or between parchment sheets. Work quickly, patch cracks with your fingers, and fit into your pie plate.
Step 5: Blind Bake if Needed
For pre-baked crusts, dock with a fork and bake with pie weights at 375°F until lightly golden.
Serving Notes and Simple Ways to Store Leftovers
I usually bake this crust for fruit pies, quiches, and savory galettes. It’s especially magical under juicy peach filling or silky custards.
Once baked, the texture stays crisp for a good two days at room temp. If filled, I keep pies refrigerated, and the crust softens slightly but doesn’t go soggy—especially if you blind bake.
Unbaked dough keeps great in the fridge up to 3 days or in the freezer for 3 months. Thaw overnight before rolling.
Why You’ll Love This Recipe
This is not one of those pie crusts that demand perfection or punish you for being human. It forgives you if you don’t roll in a perfect circle or if the butter isn’t cut just-so.
It has structure but remains melt-in-your-mouth tender. Layers puff gently, butter melts into the filling, and the base stays strong enough to lift a slice without collapse.
You don’t need special gear—a bowl, a fork, your fridge, and a rolling pin do the trick. Skill level? Beginner. Confidence level after making it? Expert.
Want More Pie Ideas with a Twist?
If you love mastering crusts, you’ll enjoy diving into these recipes next:
- Fried Apple Pies for a hand-held treat with a golden crisp.
- Raspberry Pie Recipe for fruity, summery bliss.
- Blueberry Pie Bombs (Air Fryer) if you want to go mini.
- Pumpkin Coffee Cake with Cinnamon Streusel for a fall crusty twist.
- Donut Cake Tower if you’re craving a playful presentation.
Before You Go, Pin and Comment Below
Save this pie crust to your “Holiday Baking,” “Pie Perfection,” or “Vintage Recipes” Pinterest boards so it’s ready when you are.
And if you bake it—I’d love to know: did it hold up under your apple filling? Did you try it with something savory?
Come follow me on Life With Mira for daily recipe drops, tips, and nostalgic flavors that make home feel like home.
Grandma’s Pie Crust
- Total Time: 1 hour 35 minutes (includes chilling)
- Yield: 2 crusts
Description
This flaky, buttery, and tender pie crust is the perfect base for all your pie ideas—from easy dinners to nostalgic desserts. It’s the kind of quick baking recipe you can pull together without fancy equipment, and it’s versatile enough for sweet or savory dishes. If you’re looking for classic baking inspiration or old-fashioned food ideas, this easy recipe belongs in your kitchen routine.
Ingredients
2 1/2 cups all-purpose flour
1 cup unsalted butter, cold and cubed
1/2 cup vegetable shortening, cold
1 teaspoon salt
6 tablespoons ice water (add more if needed)
Instructions
1. In a large mixing bowl, combine flour and salt.
2. Add cold cubed butter and shortening, cutting it into the flour using a pastry cutter or fingers until crumbly.
3. Drizzle in ice water a tablespoon at a time, stirring gently with a fork until dough begins to form.
4. Divide dough in half, press each into a disk, wrap in plastic wrap, and refrigerate for at least 1 hour.
5. Roll out dough on lightly floured surface or between parchment sheets until 1/8 inch thick.
6. Transfer to pie dish, trim and crimp edges as desired.
7. For blind baking: prick bottom with fork, add parchment and pie weights, and bake at 375°F for 15-20 minutes until golden.
Notes
Keep all your ingredients extra cold for best flakiness.
Don’t overwork the dough—leave visible butter streaks for better layering.
Freeze extra dough for up to 3 months to save time later.
- Prep Time: 15 minutes
- Cook Time: 20 minutes
- Category: baking
- Method: mixing, chilling, baking
- Cuisine: American
Nutrition
- Serving Size: 1 slice (1/8 of crust)
- Calories: 220
- Sugar: 0g
- Sodium: 160mg
- Fat: 16g
- Saturated Fat: 7g
- Unsaturated Fat: 8g
- Trans Fat: 1g
- Carbohydrates: 16g
- Fiber: 1g
- Protein: 2g
- Cholesterol: 20mg
Keywords: pie crust, baking, old-fashioned, easy recipe, buttery crust, flaky pie dough, homemade pie, holiday baking
