

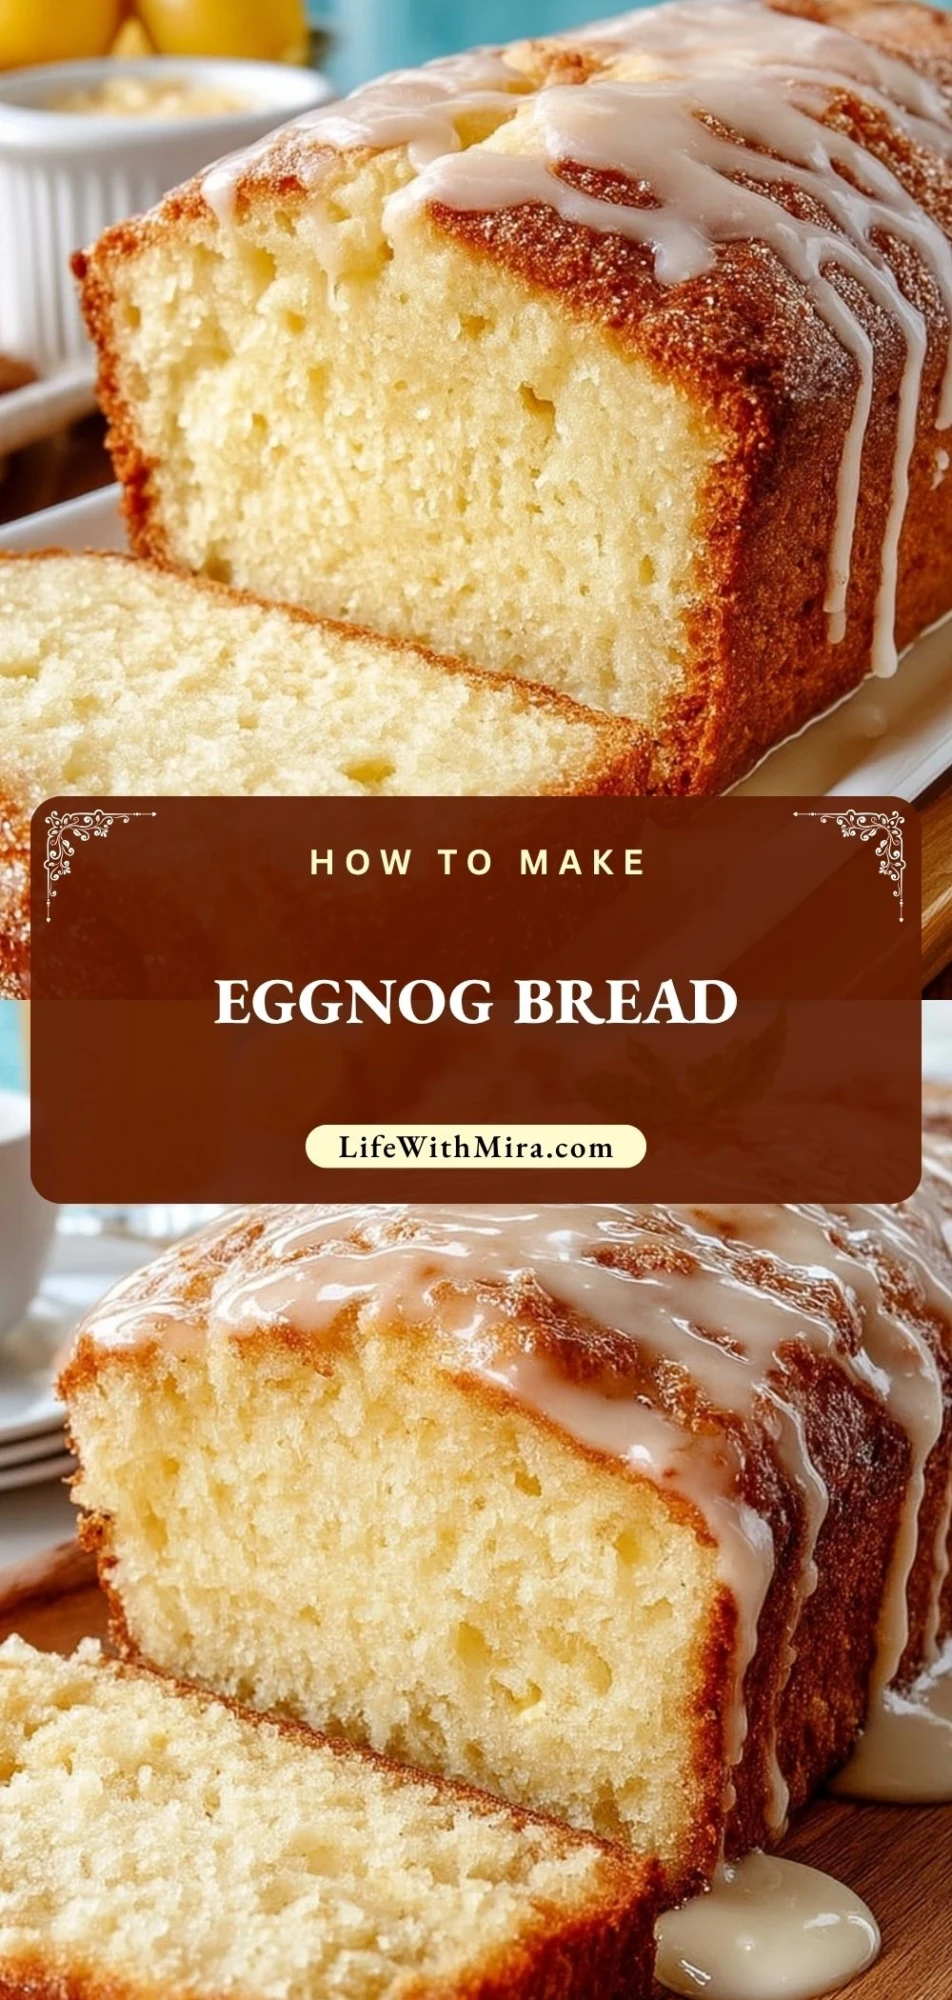
Eggnog Bread is the kind of cozy holiday loaf that makes the whole kitchen smell like nutmeg, vanilla, and sweet cream. It bakes up tender and rich, with a soft crumb that feels special enough for Christmas morning but simple enough for a quiet weekend treat.
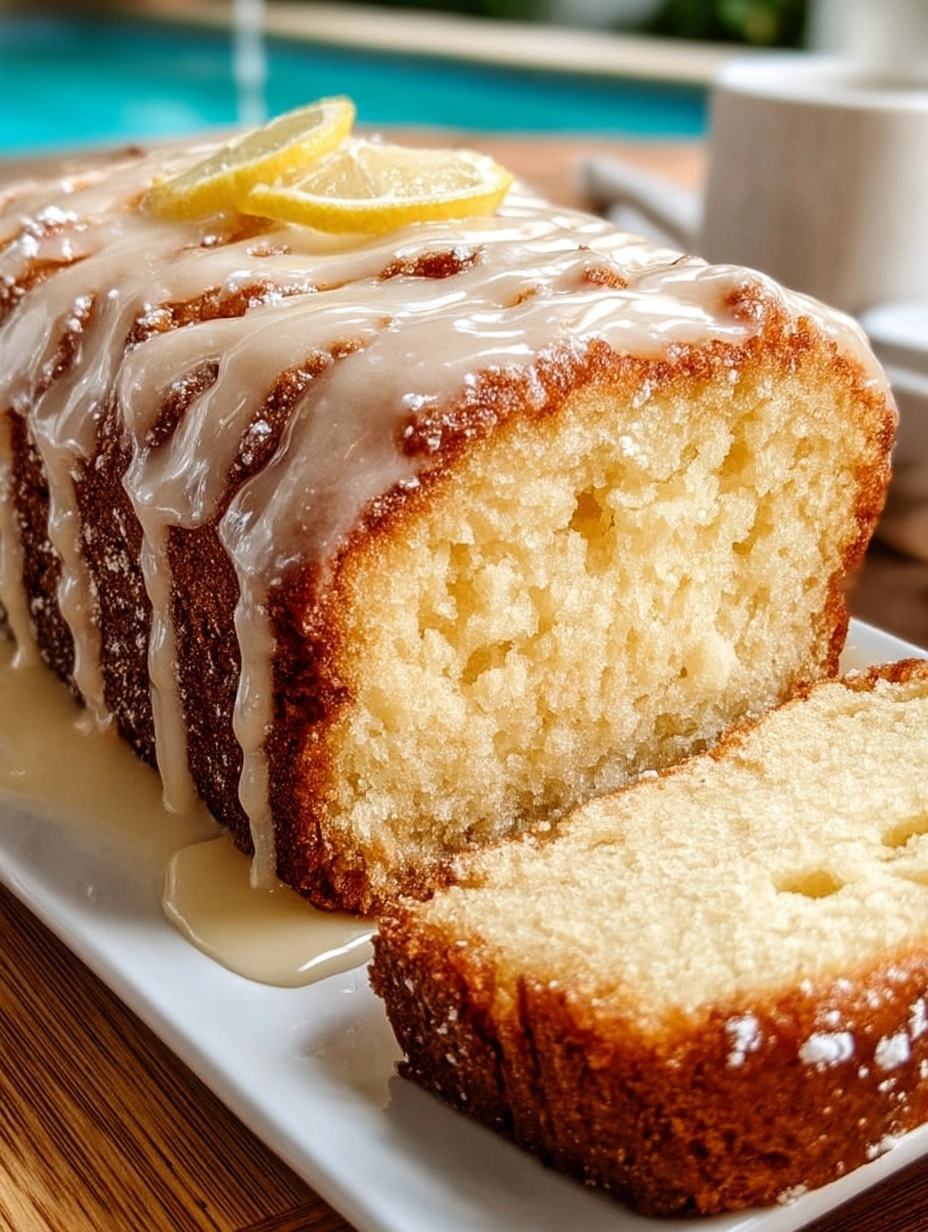
This loaf is a beautiful way to use eggnog in baking because it brings moisture, spice, and that nostalgic holiday flavor all in one pour. Slice it for breakfast, wrap it as a homemade gift, or serve it with coffee after dinner when everyone wants something sweet but not too heavy.
Why You’ll Love This Eggnog Bread
Eggnog Bread gives you all the warm flavor of the season without needing yeast, special equipment, or complicated steps. The batter comes together like a classic quick bread, which means you can mix it, bake it, and let the oven do the rest.
You’ll love the tender texture, the sweet vanilla spice, and the way a simple glaze turns it into something bakery-worthy. It also keeps well, so you can make it a day ahead and still enjoy a moist, flavorful loaf.
This Eggnog Bread is great for holiday brunch, dessert trays, neighbor gifts, and cozy snacking. It tastes festive without being fussy, which is exactly what a seasonal bake should be.
What Makes Eggnog Bread So Moist?
Eggnog adds both flavor and richness to this bread. Since it is creamy and lightly spiced, it works almost like a flavored milk in the batter while giving the loaf extra softness.
The key is not overmixing once the flour goes in. Stir just until the dry ingredients disappear, then stop. That gentle mixing keeps the crumb soft instead of dense.
Another helpful trick is letting the loaf cool before slicing. Warm quick bread can seem fragile at first, but once it rests, the texture settles and each slice comes out tender and neat.
Ingredients for the Eggnog Bread
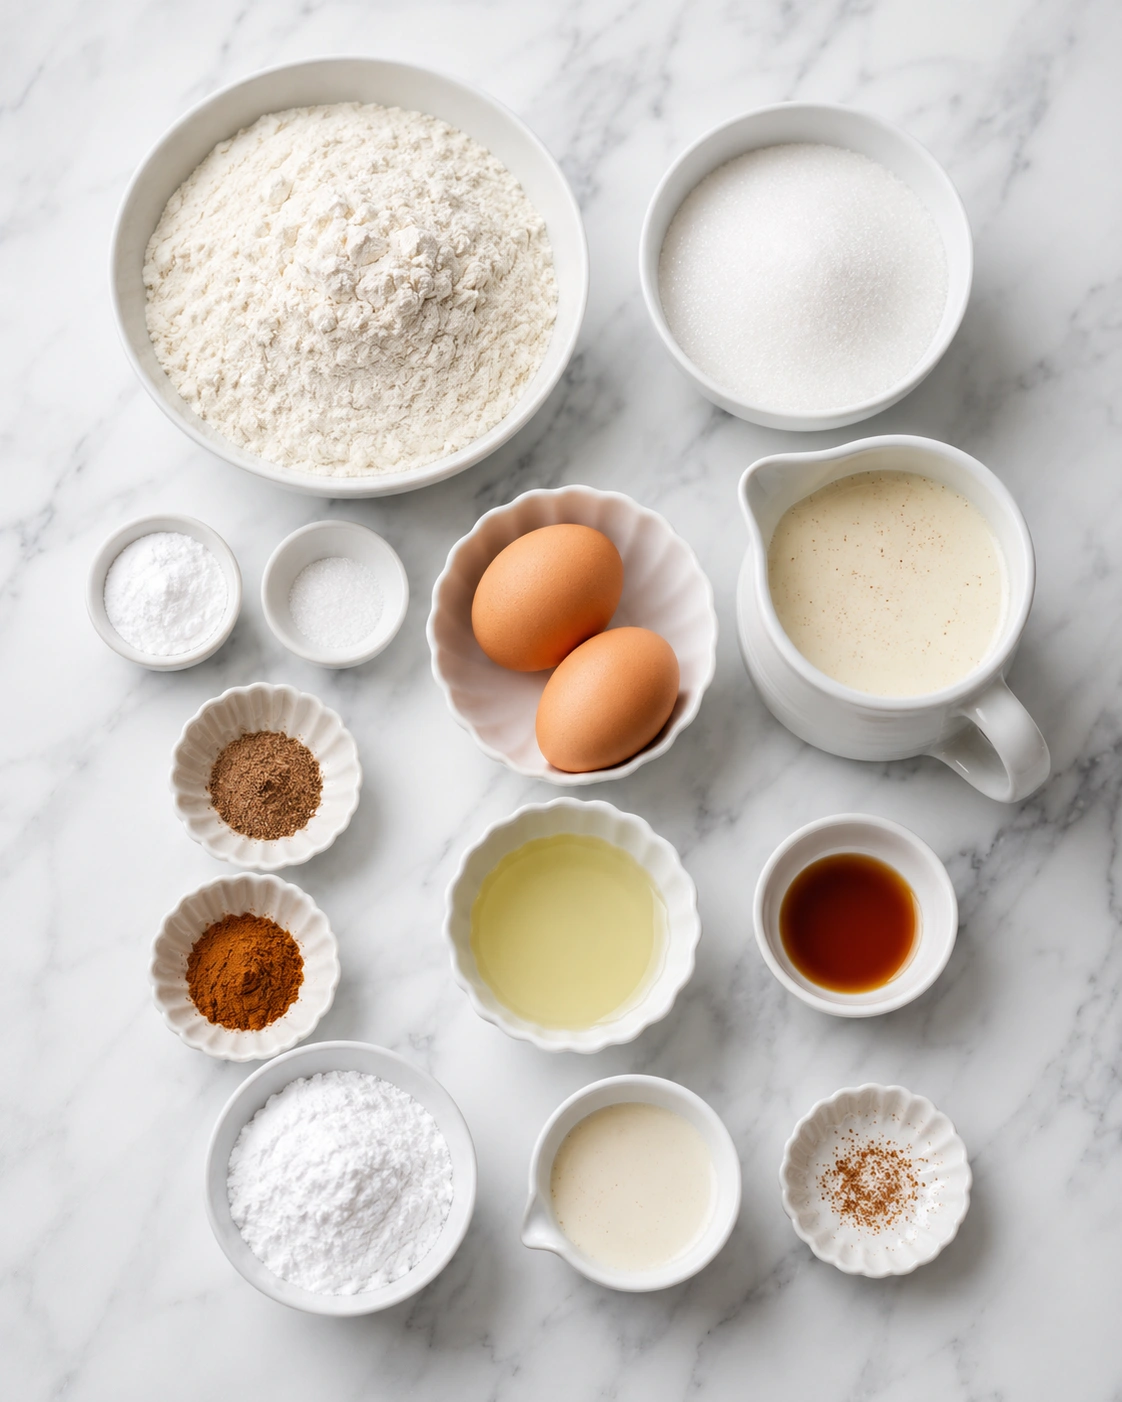
These ingredients work together to create a tender holiday quick bread with creamy eggnog flavor, warm spice, and a sweet finish. This section explains why each ingredient matters, while the exact amounts are saved for the printable recipe card below.
All-purpose flour gives the loaf structure and helps it slice cleanly once cooled.
Granulated sugar sweetens the bread and balances the warm spice and rich eggnog.
Baking powder helps the loaf rise so it bakes light instead of heavy.
Salt sharpens the sweet flavors and keeps the bread from tasting flat.
Ground nutmeg gives Eggnog Bread its classic holiday personality. Freshly grated nutmeg is lovely, but ground nutmeg works well too.
Ground cinnamon adds warmth and makes the loaf smell extra cozy as it bakes.
Eggs bind the batter and help create a soft, cake-like crumb.
Eggnog brings moisture, creaminess, sweetness, and signature holiday flavor.
Vegetable oil keeps the bread soft for more than one day. It also helps the loaf stay moist after slicing.
Vanilla extract rounds out the flavor and brings out the sweetness in the eggnog.
Powdered sugar makes the glaze smooth and sweet without feeling heavy.
Milk or eggnog for the glaze loosens the powdered sugar into a drizzleable topping. Using eggnog gives the glaze even more seasonal flavor.
How To Make the Eggnog Bread
This Eggnog Bread is made like a classic quick bread, so the process is simple: whisk the dry ingredients, mix the wet ingredients, combine gently, bake, cool, and glaze. A light hand with the batter is the secret to a soft loaf.
Step 1: Prepare the Pan
Heat the oven and grease a loaf pan well. You can also line the pan with parchment paper, leaving a little overhang on the sides. This makes it easier to lift the bread out after baking.
Step 2: Mix the Dry Ingredients
In a large bowl, whisk together the flour, sugar, baking powder, salt, nutmeg, and cinnamon. Whisking helps distribute the leavening and spices evenly, so every slice has the same warm flavor.
Step 3: Combine the Wet Ingredients
In a separate bowl, whisk the eggs, eggnog, oil, and vanilla extract until smooth. The mixture should look creamy and well blended before it goes into the dry ingredients.
Step 4: Bring the Batter Together
Pour the wet mixture into the dry mixture. Stir gently with a spatula just until no dry streaks remain. The batter may look slightly thick, and that is perfect. Avoid beating it, because overmixing can make the bread tough.
Step 5: Bake Until Golden
Spread the batter into the prepared loaf pan and smooth the top. Bake until the loaf is golden and a toothpick inserted into the center comes out clean or with a few moist crumbs. If the top browns too quickly, loosely tent it with foil near the end of baking.
Step 6: Cool Before Glazing
Let the bread cool in the pan for a short time, then transfer it to a wire rack. The loaf should be completely cool before adding glaze so the topping sets nicely instead of melting into the bread.
Step 7: Add the Sweet Glaze
Whisk powdered sugar with a small splash of eggnog or milk until smooth. Drizzle it over the cooled loaf, then let it set before slicing. A little extra nutmeg over the top makes it look even more festive.
Serving Eggnog Bread for Holiday Mornings and Sweet Snacks
Eggnog Bread serves about 10 people, depending on how thick you cut the slices. For a brunch table, thinner slices work well alongside fruit, eggs, coffee, and other holiday breakfast dishes. For dessert, thicker slices feel more indulgent and can be served with whipped cream or a scoop of vanilla ice cream.
This loaf is delicious slightly warm, at room temperature, or lightly toasted. A little butter on a warm slice makes it feel extra cozy, while a drizzle of glaze keeps it sweet enough to enjoy as a dessert.
For gifting, let the glaze fully set, then wrap the loaf tightly in parchment and ribbon. You can also bake it in mini loaf pans for smaller homemade gifts.
How To Store Eggnog Bread So It Stays Moist
Store Eggnog Bread tightly covered at room temperature for up to 2 days. Keep it in an airtight container or wrap it well so the cut sides do not dry out.
For longer storage, refrigerate it for up to 5 days. Since the loaf contains a sweet glaze and dairy-rich flavor, chilling is a good choice if your kitchen is warm or if you want to make it ahead for holiday gatherings.
You can also freeze Eggnog Bread. Wrap the whole loaf or individual slices in plastic wrap, then place them in a freezer-safe bag or container. Freeze for up to 2 months. Thaw overnight in the refrigerator or at room temperature until soft.
If freezing the full loaf, it is best to freeze it without glaze and add the glaze after thawing. If freezing slices that are already glazed, separate them with parchment so they do not stick together.
Frequently Asked Questions
Can I use homemade eggnog for Eggnog Bread?
Yes, homemade eggnog works well as long as it has a pourable consistency. If it is very thick, the batter may become heavier, so you can thin it slightly with milk before using it. Store-bought eggnog is usually consistent and easy, but homemade gives the loaf a lovely from-scratch flavor.
Can I make Eggnog Bread without the glaze?
Absolutely. The bread is flavorful on its own because the eggnog, nutmeg, cinnamon, and vanilla are already in the batter. The glaze adds sweetness and a pretty finish, but you can skip it for a simpler breakfast loaf.
Why did my Eggnog Bread sink in the middle?
A sunken center can happen if the bread is underbaked, if the batter was overmixed, or if the oven temperature was too low. Make sure a toothpick comes out clean or with only moist crumbs. If the top browns early, cover it loosely with foil and continue baking until the center is set.
Can I add mix-ins to Eggnog Bread?
Yes. White chocolate chips, chopped pecans, walnuts, dried cranberries, or a little orange zest all pair nicely with eggnog flavor. Keep mix-ins moderate so the loaf still bakes evenly and does not become too heavy.
Can I turn this Eggnog Bread into muffins?
Yes, you can bake the batter in a lined muffin pan. Muffins will bake faster than a loaf, so start checking early. They are done when the tops spring back lightly and a toothpick comes out clean.
Want More Holiday Baking Ideas?
If this Eggnog Bread puts you in a cozy baking mood, you’ll probably enjoy these other sweet and seasonal favorites:
• Eggnog Souffle with Holiday Spices for a festive dessert that feels light, warm, and special.
• Eggnog Cheesecake when you want a creamy holiday dessert with classic eggnog flavor.
• Pumpkin Bread for another soft quick bread with cozy spice and a tender crumb.
• Classic Coffee Cake if you love sweet breakfast bakes with coffee or tea.
Save This Pin For Later
📌 Save this Eggnog Bread to your Pinterest holiday baking board so you can come back to it when eggnog season arrives.
And let me know in the comments how yours turned out. Did you keep the glaze simple, add extra nutmeg, or tuck in white chocolate chips?
I love hearing how others make these bakes their own. Questions are welcome too, because a good loaf always gets better when we share what works.
For more daily recipes and cozy kitchen ideas, follow Life With Mira on Pinterest.
Eggnog Bread
- Total Time: 45 minutes
- Yield: 6 servings
Description
This Chicken Enchilada Rice Casserole is a cozy, cheesy, easy dinner packed with shredded chicken, fluffy rice, black beans, corn, enchilada sauce, and melted cheese. It is perfect for busy weeknights, family dinner ideas, quick meal prep, comfort food cravings, and anyone who loves an easy recipe with bold Tex-Mex flavor.
Ingredients
2 tablespoons olive oil
1 small yellow onion, diced
3 cloves garlic, minced
3 cups cooked shredded chicken
3 cups cooked long-grain white rice
2 cups red enchilada sauce, divided
1 can black beans, drained and rinsed
1 cup corn kernels
1 can diced green chiles
1 tablespoon taco seasoning
1/2 cup sour cream
2 1/2 cups shredded Mexican blend cheese, divided
1/4 cup chopped fresh cilantro
1 tablespoon lime juice
1/2 teaspoon salt, or to taste
1/4 teaspoon black pepper
Instructions
1. Preheat the oven to 375°F and lightly grease a 9×13-inch baking dish.
2. Heat olive oil in a skillet over medium heat, then cook the diced onion for 3 to 4 minutes until softened.
3. Stir in the garlic and cook for 1 minute until fragrant.
4. In a large bowl, combine shredded chicken, cooked rice, black beans, corn, green chiles, taco seasoning, sour cream, 1 1/2 cups cheese, 1 1/2 cups enchilada sauce, cilantro, lime juice, salt, and black pepper.
5. Spread the remaining 1/2 cup enchilada sauce across the bottom of the baking dish.
6. Spoon the chicken and rice mixture into the dish and spread it into an even layer.
7. Sprinkle the remaining 1 cup shredded cheese over the top.
8. Bake uncovered for 25 to 30 minutes, until hot, bubbly, and melted on top.
9. Let the casserole rest for 5 to 10 minutes before serving.
10. Garnish with extra cilantro, sour cream, avocado, jalapeños, or crushed tortilla chips if desired.
Notes
Use day-old cooked rice if possible because it absorbs the sauce without becoming mushy.
Rotisserie chicken works well and makes this casserole faster for weeknight dinners.
Add extra enchilada sauce before reheating leftovers if the rice has absorbed too much moisture.
- Prep Time: 15 minutes
- Cook Time: 30 minutes
- Category: Dinner
- Method: Baked
- Cuisine: Tex-Mex
Nutrition
- Serving Size: 1 serving
- Calories: 485
- Sugar: 5g
- Sodium: 890mg
- Fat: 21g
- Saturated Fat: 10g
- Unsaturated Fat: 9g
- Trans Fat: 0g
- Carbohydrates: 43g
- Fiber: 6g
- Protein: 32g
- Cholesterol: 88mg
Keywords: Chicken Enchilada Rice Casserole, chicken casserole, rice casserole, easy dinner, weeknight dinner, Tex-Mex casserole, family dinner ideas, comfort food
