

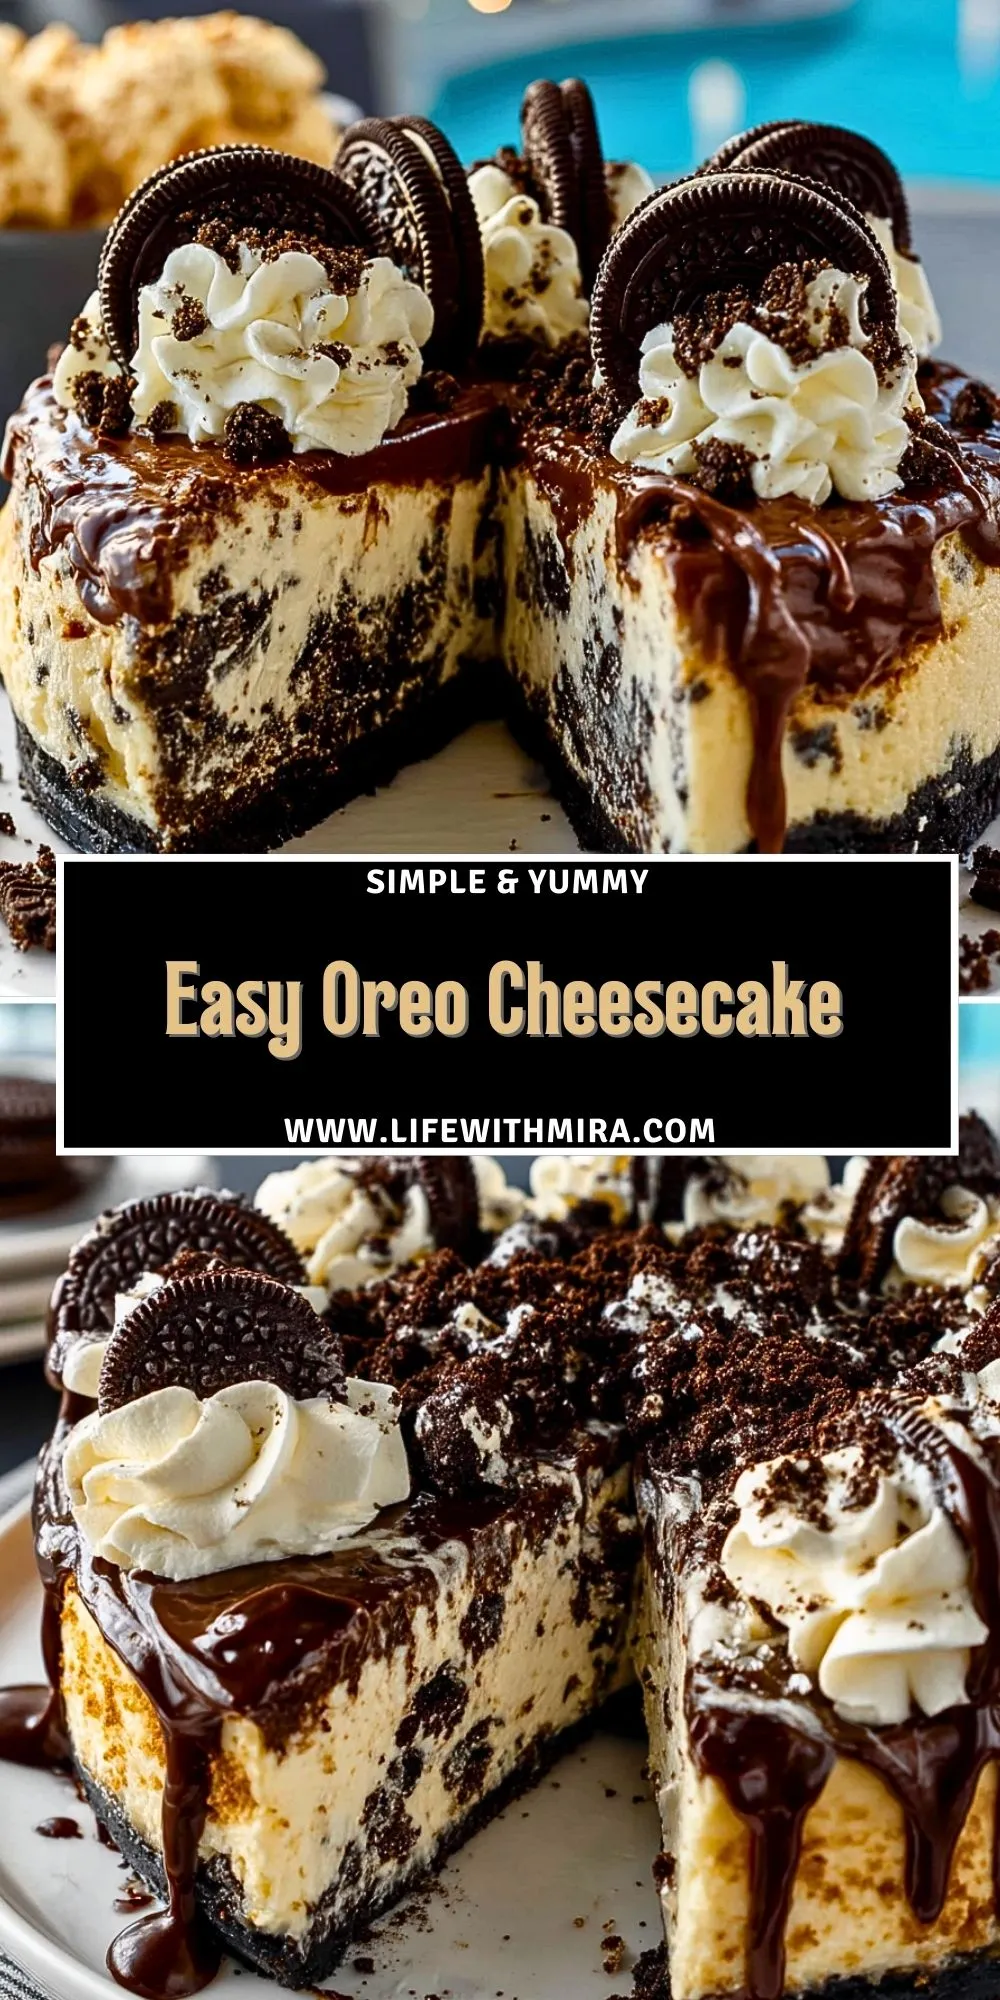
This Easy Oreo Cheesecake delivers the dream combo of creamy richness and that nostalgic crunch from Oreo cookies. It’s a no-bake dessert with a mousse-like texture, layered with whipped filling and Oreo crumbles that soften into something magical in the fridge.
What makes it such a standout is how effortless it is. No water baths, no worrying about cracks, no waiting for the oven to preheat. Just chill, layer, and let time do the work. You get a beautifully indulgent dessert that tastes like it took way more effort than it actually did.
What Makes It Special
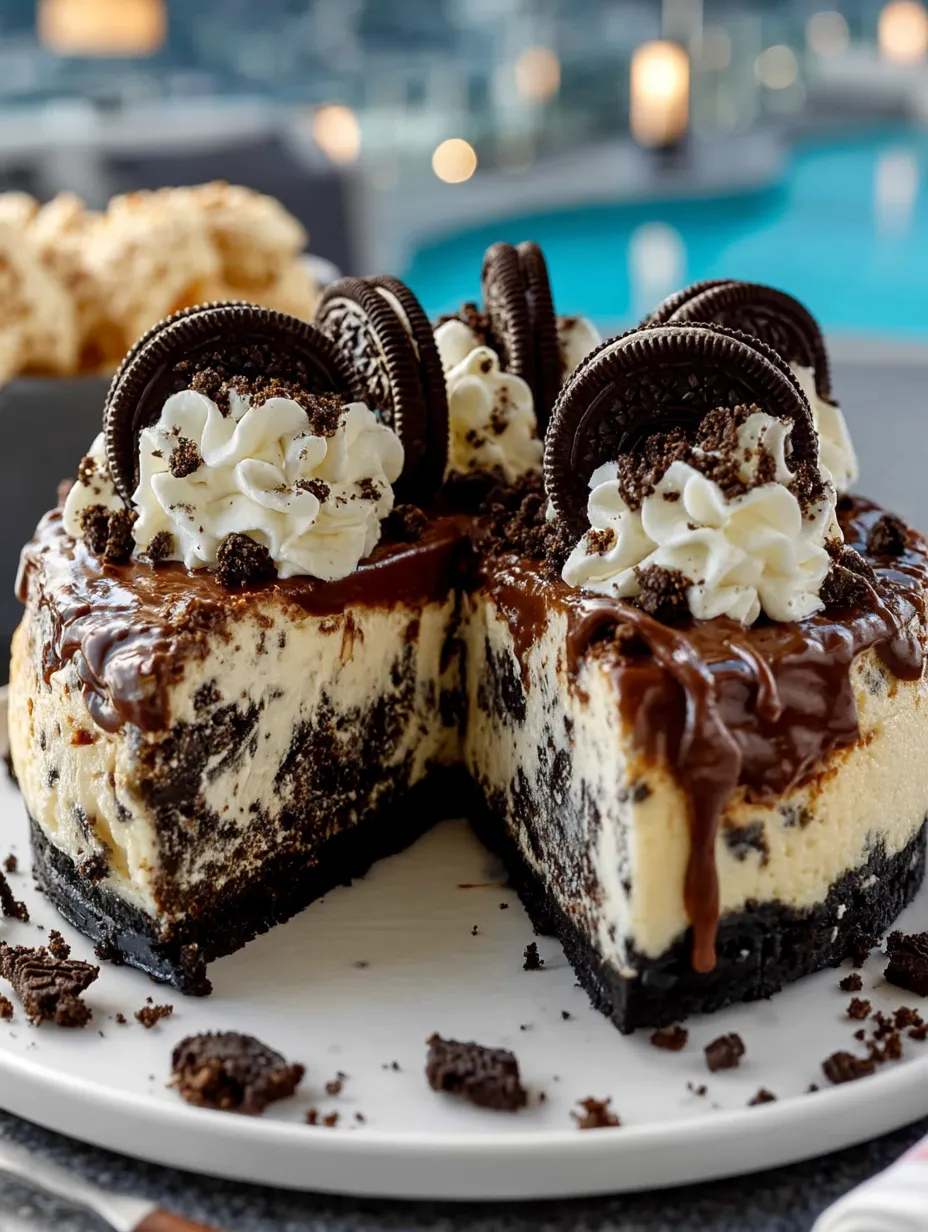
Unlike traditional cheesecakes, this one skips baking entirely, which means zero stress over texture or temperature. The crust is made from crushed Oreos—no buttered graham crackers here—giving it a deeper, chocolatey crunch that balances the light, whipped cream cheese layer perfectly. The filling is folded with crushed Oreos too, so every bite has a mix of smooth, tangy, sweet, and just enough crunch.
Compared to baked cheesecakes, this version is way lighter but still deeply satisfying. And you don’t need a springform pan—though it helps—because it sets beautifully in any deep dish or cake pan. Whether you’re a beginner or just low on time, you’ll still pull off something show-stopping.
The Ingredients That Make This Oreo Cheesecake Work
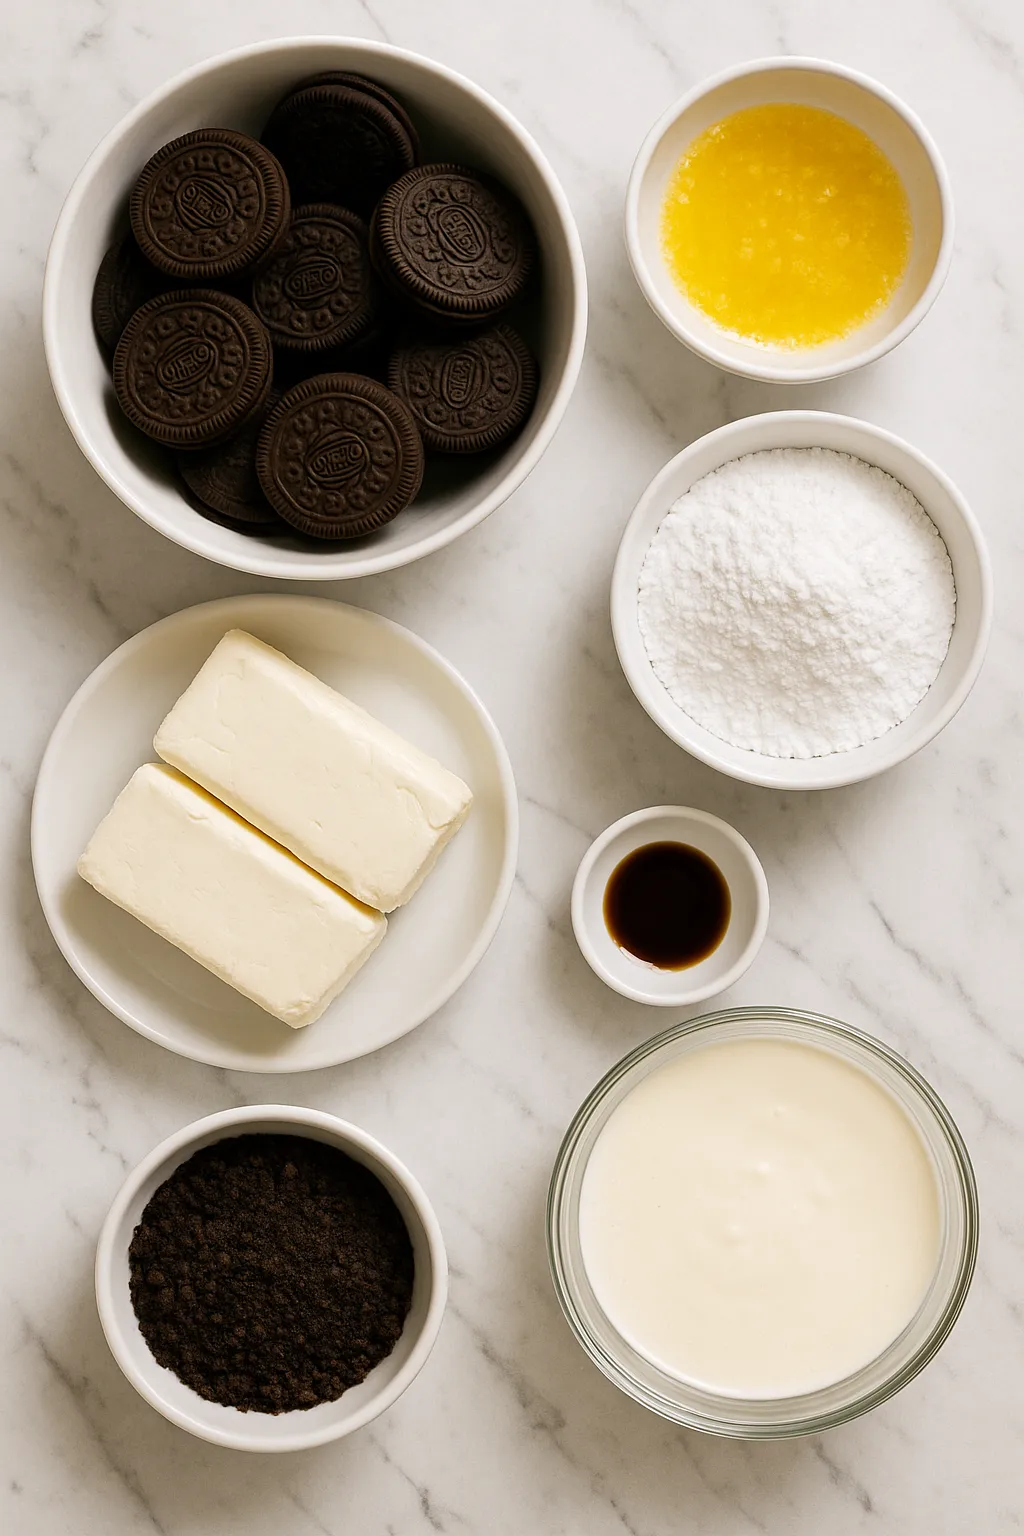
Cream cheese is the heart of the filling, so go for full-fat if you want it to taste rich and luscious. Whipped cream gives the mousse-like texture and makes the whole thing feel lighter than it looks. Oreos, of course, are the star—used in the crust, folded into the filling, and sprinkled on top for that perfect cookie cream vibe.
Butter helps bind the crushed cookies into a crust that holds its shape. Vanilla adds depth and rounds out the sweetness, while powdered sugar keeps things smooth without any gritty texture. Each ingredient serves a purpose, and together they create a no-fuss dessert with max impact.
How To Make the Easy Oreo Cheesecake
Step 1: Crush the Cookies
Start by crushing the Oreos. You’ll want a food processor for a fine crumb, but a zip-top bag and rolling pin work too. Set aside about 1/4 cup for topping later.
Step 2: Make the Crust
Mix the majority of the crushed Oreos with melted butter. Press this mixture firmly into the bottom of a 9-inch springform pan. I use the back of a measuring cup to get a tight, even layer. Chill this in the fridge while you work on the filling.
Step 3: Whip the Cream
In a separate bowl, whip the heavy cream until stiff peaks form. This is what gives the filling its airy texture. Don’t overdo it—you want soft but firm peaks, not butter.
Step 4: Mix the Filling
In another bowl, beat the cream cheese until smooth. Add powdered sugar and vanilla, mixing until creamy. Then gently fold in the whipped cream and the reserved crushed Oreos. Fold slowly so you don’t lose the air.
Step 5: Assemble and Chill
Pour the filling into the chilled crust. Smooth the top with a spatula and sprinkle with the reserved crushed Oreos. Cover with plastic wrap and refrigerate at least 6 hours, but overnight is better. The longer it chills, the better the texture.
Use the Right Pan for Best Results
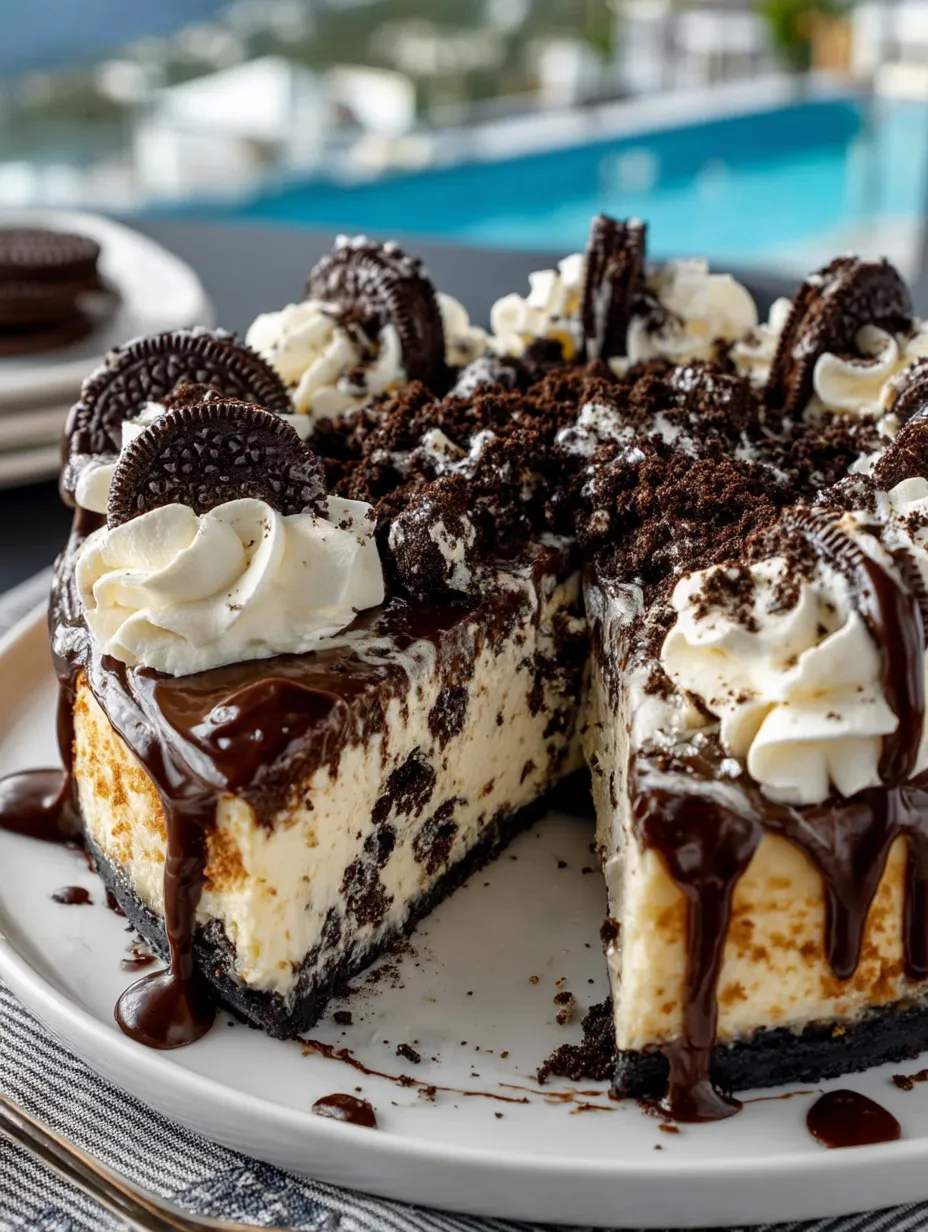
I’ve made this cheesecake in springform, glass pie plates, and even a ceramic dish. Nothing beats a springform pan for that clean, show-off-the-layers look. The removable sides make slicing a breeze, and the crust stays intact. With glass or ceramic, you’ll get the same taste, but serving’s messier and the crust might crumble more easily.
Skip aluminum foil pans—they flex too much and don’t chill evenly. If a springform pan intimidates you, don’t worry. Once you use it once, you’ll never go back. It really makes this cheesecake feel bakery-worthy.
Whipped Cream: Light and Never Skipped
Whipping the cream yourself is key. I’ve tried using store-bought whipped topping in a pinch, and while it worked, it lost that silky, airy feel that fresh cream gives. The texture just isn’t the same. Fresh whipped cream makes the cheesecake feel like a cloud—soft, cool, and melt-in-your-mouth.
Once, I skipped the whipped cream entirely and thought I could make up for it by adding more cream cheese. Big mistake. It turned out too dense and overly tangy. Never again. The balance comes from that blend of soft peaks and rich cheese.
Serving Information
- Servings: 10–12 slices
- Preparation Time: 25 minutes
- Chilling Time: At least 6 hours (overnight preferred)
- Total Time: 6 hours 25 minutes
Tips for Making the Perfect Cheesecake
Don’t overwhip the cream—just until stiff peaks, nothing more. Let the cream cheese sit out until room temp before mixing so it blends smoothly without lumps. Press the crust down firmly or it’ll crumble when sliced. And seriously, give it enough fridge time—rushing it will ruin the texture.
Taste it before pouring into the crust; you can add a pinch of salt or more sugar if needed. It should taste slightly tangy, sweet, and rich even before setting. If using generic cream cheese, check that it’s not too watery—you want dense, spreadable texture.
Serving Suggestions
This Oreo Cheesecake is crazy versatile—you can dress it up or keep it super simple.
- Drizzle of Chocolate Ganache: Melt chocolate and cream for a glossy topping
- Birthday-Ready with Whipped Cream Swirls: Pipe rosettes on top for a celebration vibe
- Holiday Dessert Tray Centerpiece: Decorate with mini Oreos and crushed candy canes
- Perfect for Potlucks: Slice ahead and layer with parchment for grab-and-go servings
- After-Dinner Treat with Coffee: It’s just rich enough to satisfy, not weigh you down
- Jar Desserts for Gifts: Layer in mason jars and tie with a ribbon—personal and cute
Save This Cheesecake to Your Favorite Pinterest Board
If you love no-bake desserts that wow without the work, save this Oreo Cheesecake to your Dessert Goals, Easy Sweets, or No-Bake Favorites board. Trust me—you’ll want it again for birthdays, holidays, or whenever you’re craving something cold, creamy, and Oreo-loaded.
Have your own twist on it? Add peanut butter? Try it with golden Oreos? Leave a comment—I’m always down to hear your delicious ideas!
Print Easy Oreo Cheesecake
- Total Time: 6 hours 25 minutes
- Yield: 10–12 slices
- Diet: Vegetarian
Description
This Easy Oreo Cheesecake is a no-bake dessert dream with a rich cream cheese filling, crushed Oreo crust, and whipped cream folded in for a mousse-like texture. It’s quick to prepare, doesn’t require an oven, and is perfect for parties or a decadent treat at home. Whether you’re looking for a quick breakfast treat, easy dinner dessert, or healthy snack alternative (with a little indulgence), this is one of the best food ideas you’ll ever try. Great for breakfast ideas, dinner ideas, and easy recipe lovers.
Ingredients
24 Oreo cookies, crushed
6 tablespoons unsalted butter, melted
16 ounces full-fat cream cheese, softened
3/4 cup powdered sugar
1 teaspoon vanilla extract
1 1/2 cups heavy whipping cream
6 Oreo cookies, crushed for filling
4 Oreo cookies, crushed for topping
Instructions
1. Crush the Oreos into fine crumbs using a food processor or by placing them in a zip-top bag and crushing with a rolling pin. Reserve 1/4 cup for topping.
2. Combine the remaining crushed cookies with melted butter until evenly mixed. Press into the bottom of a 9-inch springform pan. Chill in the fridge.
3. Whip the heavy cream until stiff peaks form and set aside.
4. Beat the cream cheese until smooth. Add powdered sugar and vanilla extract, mixing until creamy.
5. Gently fold in the whipped cream and 6 crushed Oreos into the cream cheese mixture until well combined.
6. Pour the filling over the chilled crust and smooth the top. Sprinkle reserved Oreo crumbs over the top.
7. Cover and refrigerate for at least 6 hours, preferably overnight, before serving.
Notes
Let cream cheese come to room temperature before mixing to avoid lumps.
Do not overwhip the cream or the texture will become grainy.
Use a springform pan for easiest slicing and best presentation.
- Prep Time: 25 minutes
- Cook Time: 6 hours
- Category: Dessert
- Method: No-Bake
- Cuisine: American
Nutrition
- Serving Size: 1 slice
- Calories: 420
- Sugar: 26g
- Sodium: 280mg
- Fat: 30g
- Saturated Fat: 18g
- Unsaturated Fat: 10g
- Trans Fat: 0g
- Carbohydrates: 32g
- Fiber: 1g
- Protein: 5g
- Cholesterol: 90mg
Keywords: easy oreo cheesecake, no-bake cheesecake, dessert ideas, oreo dessert, quick desserts, cheesecake recipe, no oven
