


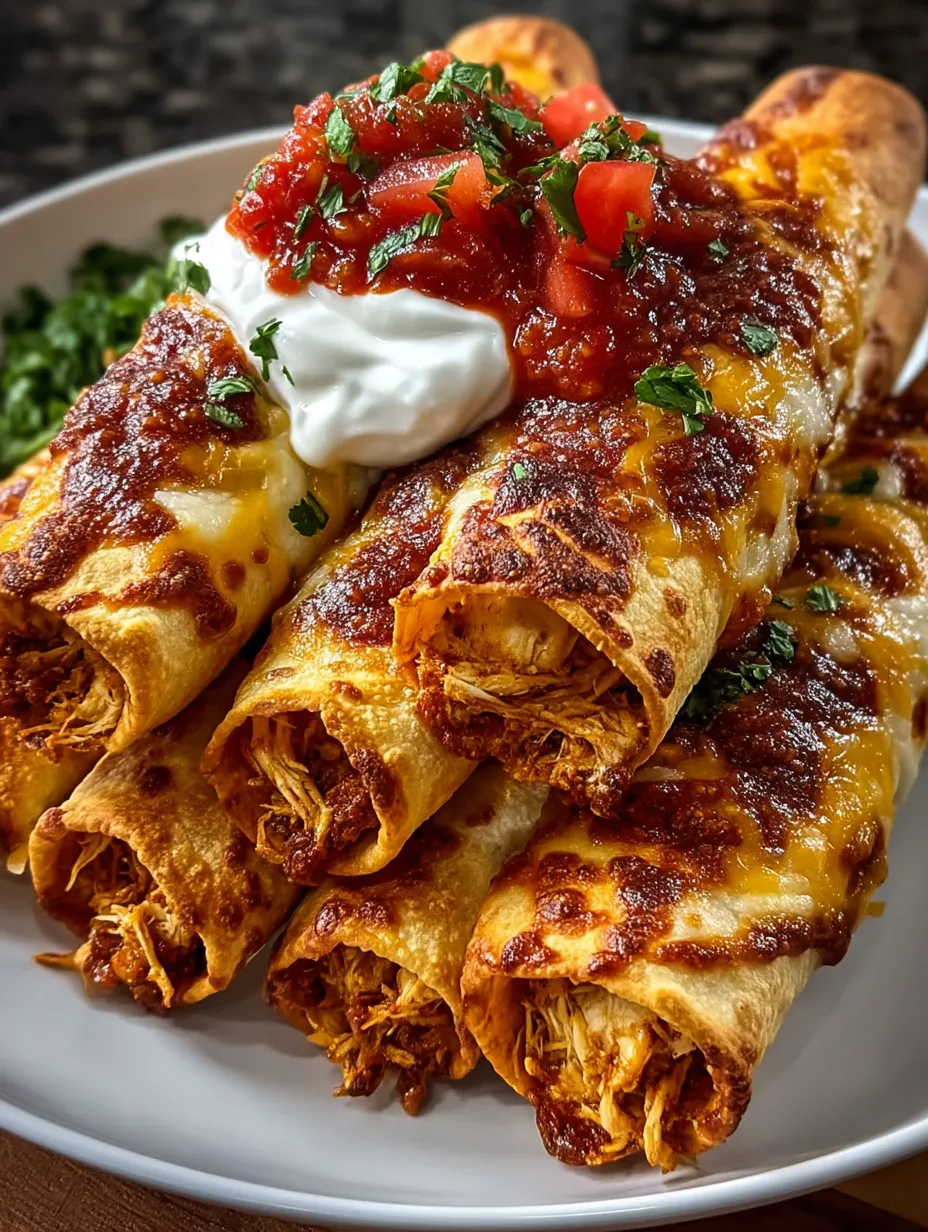
Crispy on the outside, creamy and savory on the inside—these Easy Baked Chicken Taquitos bring together everything I love about a satisfying meal: flavor, texture, and that blissful contrast of a crunchy shell wrapped around a warm, cheesy filling. They’re baked instead of fried, but you’d never guess from the golden crispness and satisfying crunch with every bite.
What makes them a standout is the mix of creamy shredded chicken, melty cheese, and zesty seasoning all rolled up in a toasty tortilla. It’s not just another taco night—this is a handheld explosion of flavor, and the oven does most of the work for you.
What Makes It Special
These taquitos aren’t your average baked roll-ups. I use a blend of seasoned, shredded rotisserie chicken with cream cheese and sharp cheddar so the filling stays juicy and flavorful without falling apart. Each roll is brushed with oil before baking so the tortilla crisps up beautifully—no soggy bottoms here.
Most chicken taquitos I’ve tried fall flat because the filling dries out or the tortilla cracks. Not with this method. The creamy filling holds everything together, and the baking method means you can cook a big batch at once—no frying mess or watching over hot oil.
If you’re just getting into home cooking, this recipe is forgiving and beginner-friendly. All you need is a mixing bowl, a baking sheet, and a hot oven. I line my tray with parchment paper for easy cleanup and even cooking.
The Ingredients That Make These Chicken Taquitos Work
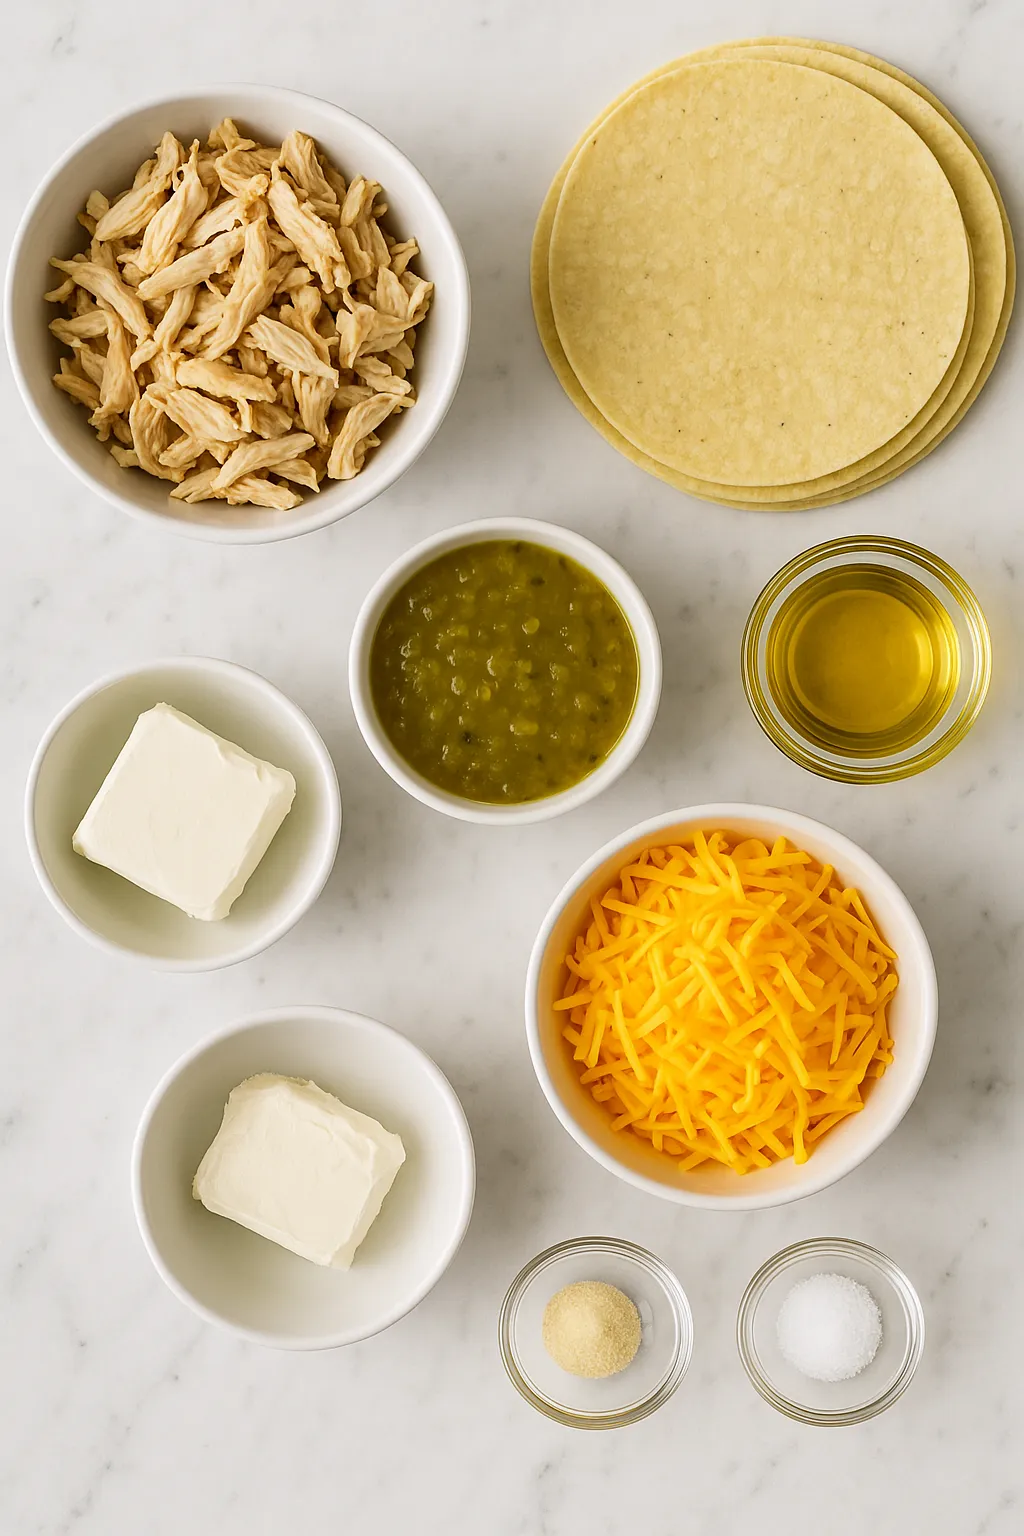
Every ingredient in this recipe plays its part in building flavor, texture, or structure. I start with cooked rotisserie chicken—it saves time and has great flavor. Cream cheese adds richness and helps bind the filling, while shredded cheddar brings sharpness and gooey meltiness. I also toss in a few spoonfuls of salsa verde for tang and brightness.
Tortillas are key, of course—flour tortillas give a softer bite, while corn tortillas crisp up beautifully. I use corn most of the time for that authentic taquito crunch. A light brush of oil before baking ensures they get golden and crunchy.
How To Make the Easy Baked Chicken Taquitos
Step 1: Prep the Filling
In a bowl, I mix shredded rotisserie chicken with cream cheese, shredded cheddar, a little salsa verde, garlic powder, and a pinch of salt. Everything should be evenly coated and creamy—this is the heart of your taquito.
Step 2: Roll ‘Em Up
I warm the tortillas briefly so they’re pliable, then spoon a bit of the filling near one edge and roll them tightly. You want a snug roll so the filling doesn’t escape during baking.
Step 3: Bake to Crisp
I line a baking sheet with parchment and place the rolled taquitos seam-side down. After brushing each one lightly with oil, I bake them at 425°F for about 18–20 minutes until crisp and golden brown on the edges.
Use the Right Baking Sheet for Best Results
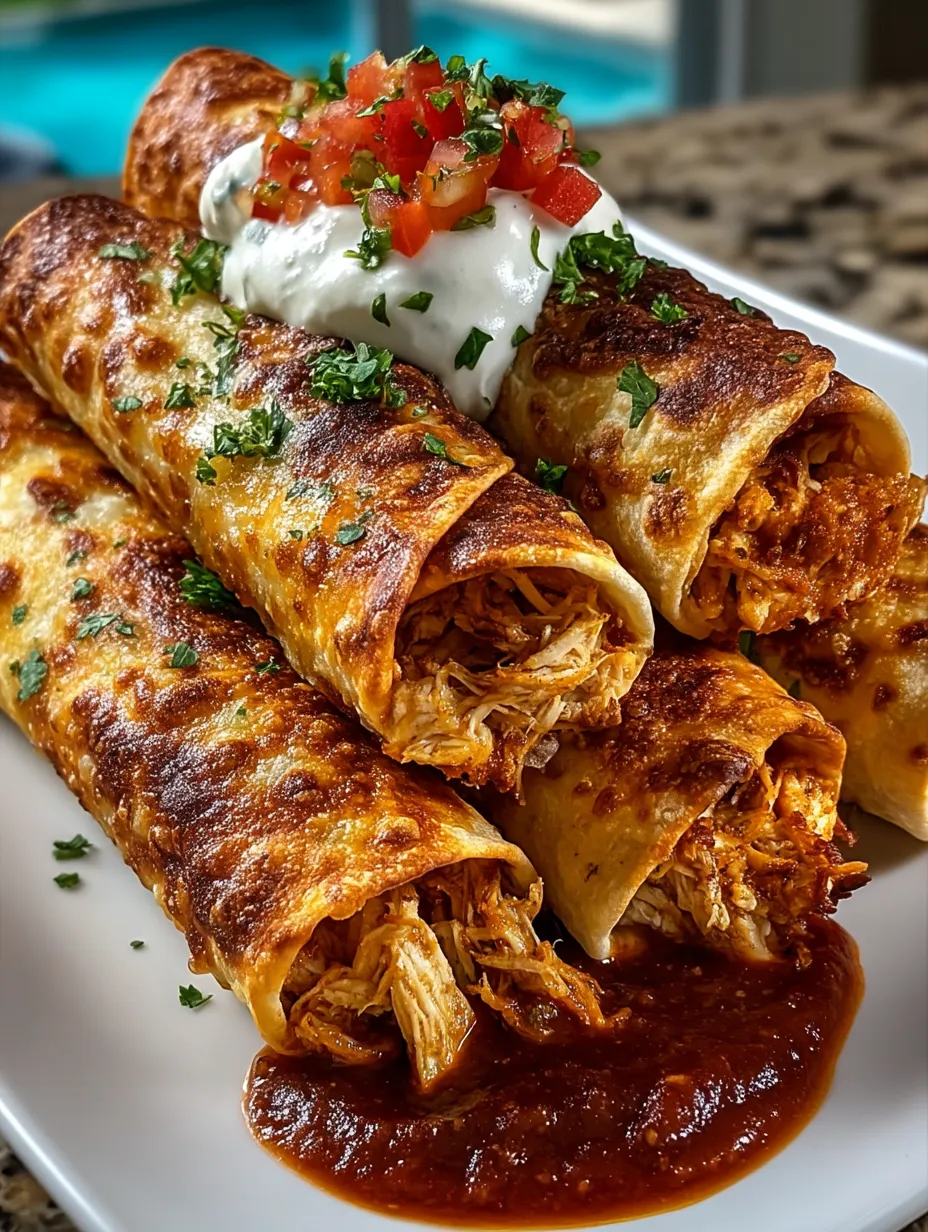
I’ve tested these on metal, ceramic, and even glass pans, and metal baking sheets always give the best results. The heat conducts evenly and helps the underside of the taquitos crisp up, especially when lined with parchment. Ceramic dishes tend to hold moisture underneath, which softens the bottom. And glass? It looks nice, but it just doesn’t get hot enough to deliver the crunch you’re looking for.
Once, I tried baking these on a silicone mat—it was a mistake. The bottoms stayed pale and soft, and the whole texture was off. Stick with a metal baking sheet for the win.
Cream Cheese: The Secret to Creamy, Juicy Filling
I’ve tried skipping the cream cheese, thinking I could get away with just shredded cheese and salsa. Big mistake. Without that creamy element, the filling turned dry and crumbly. Cream cheese holds everything together and adds that indulgent richness that makes each bite feel complete.
I mix it in while it’s still soft so it blends easily with the warm shredded chicken. Don’t skip this—once you try it this way, you’ll never go back.
Serving Information
- Servings: Makes about 12 taquitos
- Preparation Time: 15 minutes
- Baking Time: 18–20 minutes
- Total Time: Around 35 minutes
Tips for Making the Perfect Chicken Taquitos
Make sure your tortillas are warm before you roll them—they’re far less likely to crack. I wrap them in a damp paper towel and microwave them for about 30 seconds. Don’t overfill the taquitos; a few tablespoons of filling per tortilla is plenty. And always place them seam-side down on the baking sheet so they stay tightly rolled as they bake. Brushing the tops with oil or even a light spray of cooking spray ensures that perfect golden crunch.
Serving Suggestions
These taquitos are incredibly versatile, making them perfect for everything from weeknight dinners to game-day snacks. If you’re wondering how to serve them up, here are a few of my favorite ideas:
- Dunked in Guacamole: The creamy, rich avocado balances the tang of the salsa verde in the filling.
- Drizzled with Sour Cream and Hot Sauce: For a little extra kick and cooling contrast.
- Packed in Lunchboxes: They reheat well and stay crisp if wrapped in foil.
- Perfect for Game Night: Stack them high on a platter with dips in the center.
- Wrapped as Party Favors: Tie them in parchment with twine for a rustic, edible gift.
- Served as a Main Dish: With a big side salad or Mexican rice and beans.
Save This Recipe to Pinterest & Share Your Twist
Planning your next snack attack or taco Tuesday? Be sure to save these Easy Baked Chicken Taquitos to your “Quick Dinners”, “Family Favorites”, or “Party Appetizers” Pinterest boards so you can find them fast.
Tried it with a different cheese blend? Used leftover turkey instead of chicken? I’d love to hear how you made it your own. Drop your questions, swaps, or results in the comments—I always check in and reply!
Print Easy Baked Chicken Taquitos
- Total Time: 35 minutes
- Yield: 12 taquitos
Description
Crispy, golden, and packed with flavor, these Easy Baked Chicken Taquitos are your new go-to for quick dinners, family meals, and irresistible snacks. Made with rotisserie chicken, cream cheese, cheddar, and salsa verde, they’re rolled in corn tortillas and baked until perfectly crisp. This is a healthy snack or dinner idea that comes together in under 40 minutes—perfect for busy weeknights or casual entertaining.
Ingredients
2 cups shredded rotisserie chicken
4 ounces cream cheese, softened
1 cup shredded cheddar cheese
1/4 cup salsa verde
1/2 teaspoon garlic powder
1/2 teaspoon salt
12 small corn tortillas
2 tablespoons oil for brushing
Instructions
1. Preheat oven to 425°F and line a baking sheet with parchment paper.
2. In a large bowl, mix chicken, cream cheese, cheddar, salsa verde, garlic powder, and salt until well combined.
3. Warm the tortillas until pliable, either in the microwave wrapped in a damp paper towel or on a skillet.
4. Spoon 2–3 tablespoons of filling near the edge of each tortilla and roll tightly.
5. Place seam-side down on the baking sheet.
6. Brush each taquito lightly with oil.
7. Bake for 18–20 minutes or until golden and crispy.
8. Let cool slightly before serving.
Notes
Warming the tortillas before rolling helps prevent cracking.
Don’t overfill the tortillas; a snug roll helps them bake evenly.
Brushing with oil before baking ensures the taquitos get crispy.
- Prep Time: 15 minutes
- Cook Time: 20 minutes
- Category: Snack
- Method: Baking
- Cuisine: Mexican
Nutrition
- Serving Size: 1 taquito
- Calories: 165
- Sugar: 1g
- Sodium: 320mg
- Fat: 10g
- Saturated Fat: 4g
- Unsaturated Fat: 5g
- Trans Fat: 0g
- Carbohydrates: 10g
- Fiber: 1g
- Protein: 9g
- Cholesterol: 35mg
Keywords: easy dinner, chicken taquitos, baked taquitos, healthy snack, quick dinner, family meal
