

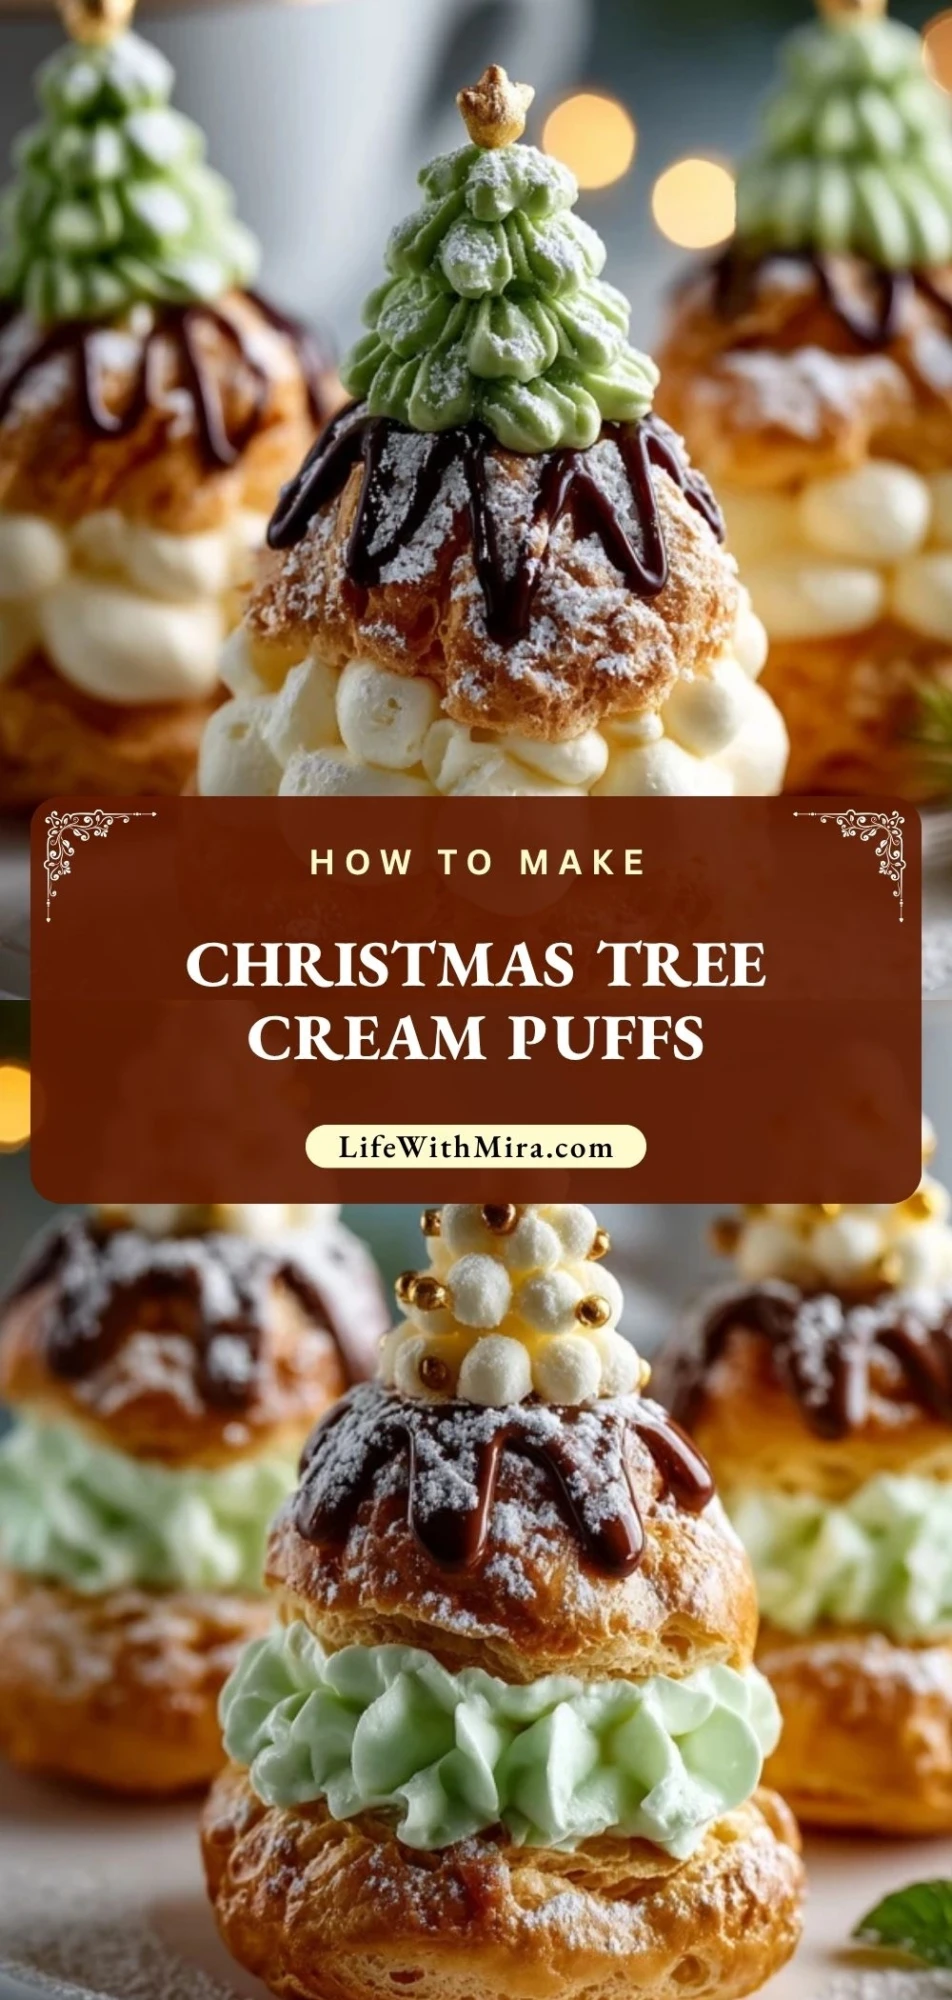
Christmas Tree Cream Puffs bring a festive touch to the dessert table with their delicate pastry shells, cloud-like filling, and charming tree-shaped presentation. They look elegant enough for a holiday centerpiece, yet they still have that playful homemade warmth that makes people smile the moment they see them.
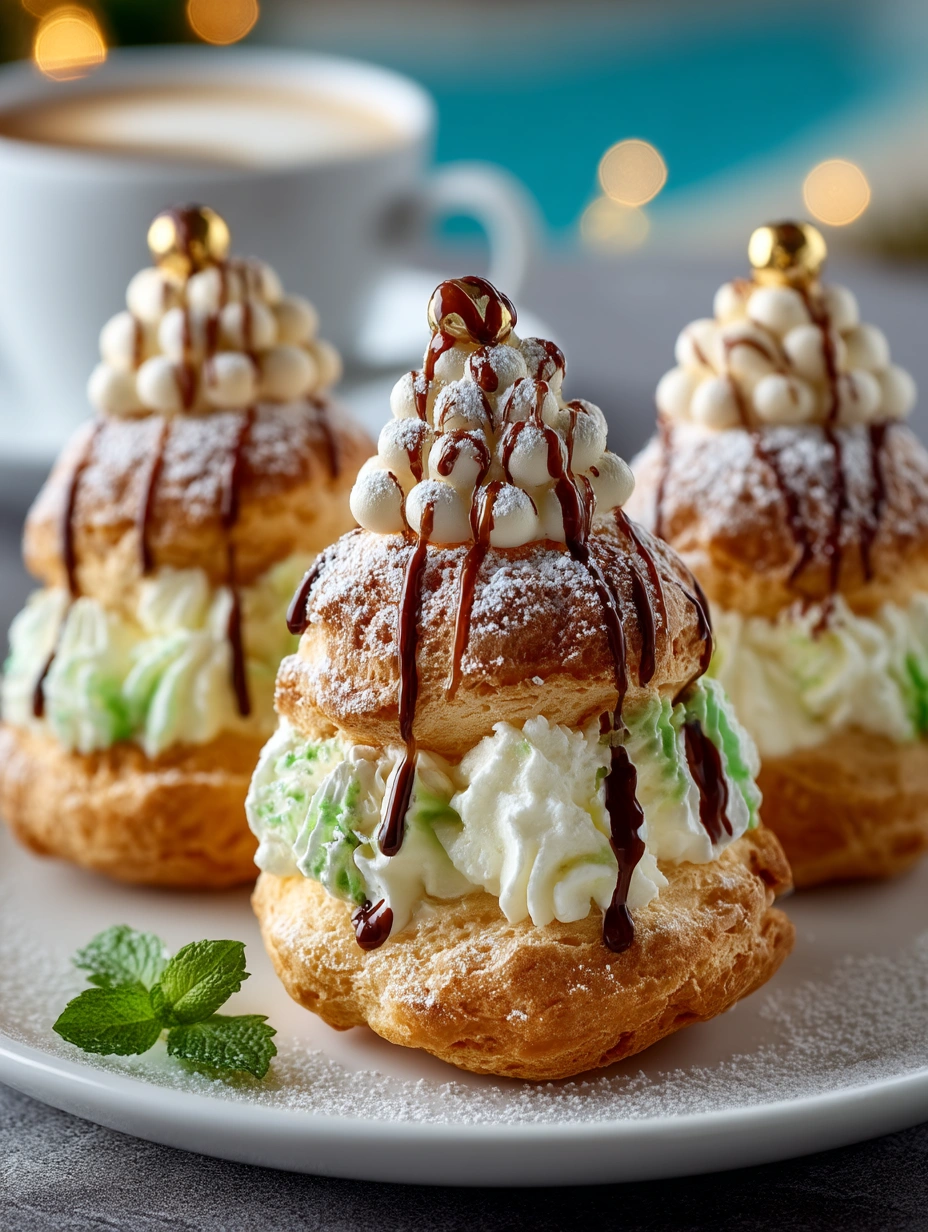
Each bite is light, creamy, and just sweet enough, with a beautiful contrast between crisp choux pastry and luscious filling. Whether you’re planning a Christmas party, a winter brunch, or a cozy family gathering, this dessert feels special without being overly fussy.
Why You’ll Love This Christmas Tree Cream Puffs
This dessert is a holiday showstopper that feels much more impressive than it is difficult. The cream puffs can be baked ahead, filled later, and stacked into a festive tree that instantly makes the table look celebration-ready.
You’ll also love how versatile they are. You can keep the filling classic with whipped cream, add pastry cream for a richer bite, or finish everything with powdered sugar, chocolate drizzle, berries, or sparkling sugar for extra Christmas charm.
What Makes Christmas Tree Cream Puffs So Perfect for the Holidays?
It is the combination of beauty and balance. These cream puffs are airy instead of heavy, which makes them a lovely choice after a rich holiday meal. Their tree shape also turns a familiar French-style pastry into something seasonal, memorable, and fun to serve.
Because they can be dressed up in different ways, they work for casual dessert boards, Christmas dinners, cookie exchange tables, and festive brunch spreads alike.
Ingredients for the Christmas Tree Cream Puffs
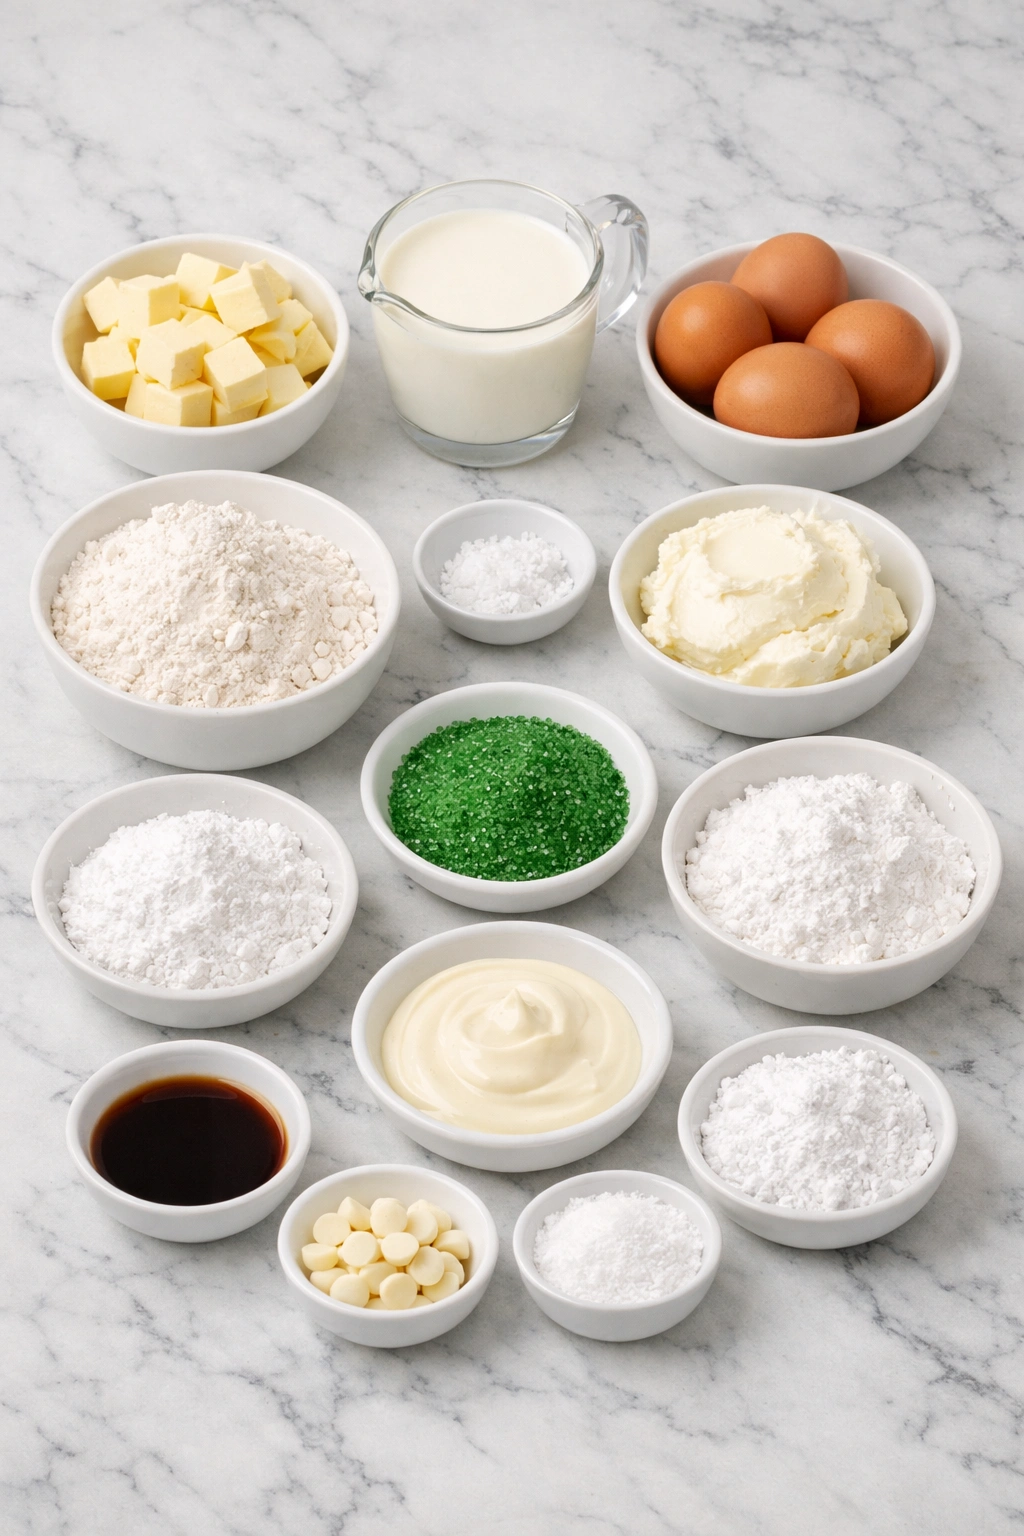
The ingredients for Christmas Tree Cream Puffs are simple, but each one plays an important role in creating the right texture and flavor.
Water helps create steam in the dough, which is what gives cream puffs their signature hollow centers.
Butter adds richness and helps the pastry develop flavor while keeping the dough smooth and cohesive.
Salt sharpens the flavor and keeps the pastry from tasting flat.
All-purpose flour gives the choux structure so the puffs rise properly and hold their shape after baking.
Eggs are essential for elasticity, lift, and that glossy pastry dough texture that bakes into a crisp shell.
Heavy cream creates a soft, fluffy filling that pairs beautifully with the delicate shells.
Powdered sugar sweetens the filling gently and is also perfect for finishing the tree with a snowy look.
Vanilla extract gives the filling a warm bakery-style flavor that makes the dessert feel complete.
Cream cheese can be added to the filling if you want a slightly tangy, more stable center.
Green sanding sugar or festive sprinkles help emphasize the Christmas tree theme and make the final dessert look extra cheerful.
White chocolate or melted chocolate can be used as a decorative drizzle or as a way to help toppings stick.
How To Make the Christmas Tree Cream Puffs
This recipe comes together in stages, which makes it feel much easier to manage. Once the shells are baked and cooled, the rest is all about filling and decorating.
Step 1: Prepare the Choux Base
In a saucepan, bring the water, butter, and salt to a gentle boil. Once the butter is fully melted, stir in the flour all at once. Keep mixing until the dough pulls away from the sides of the pan and forms a smooth ball.
Step 2: Cool and Add the Eggs
Transfer the dough to a mixing bowl and let it cool for a few minutes so the eggs do not scramble. Add the eggs one at a time, beating well after each addition until the dough becomes glossy, thick, and pipeable.
Step 3: Pipe the Puffs
Spoon the dough into a piping bag and pipe small rounds onto a parchment-lined baking sheet. Try to keep them fairly even in size so they stack neatly into a tree later.
Step 4: Bake Until Golden and Hollow
Bake the puffs until they are puffed, golden, and dry on the outside. Avoid opening the oven too early, since that can cause them to collapse. Once done, let them cool completely before filling.
Step 5: Make the Filling
Whip the heavy cream with powdered sugar and vanilla until soft peaks form, then continue until the mixture is thick and fluffy. If using cream cheese, beat it until smooth first, then fold or whip it with the cream mixture for a richer filling.
Step 6: Fill the Cream Puffs
Use a piping bag fitted with a small tip to pipe the filling into each cooled cream puff. You can fill them from the bottom or side, depending on the look you prefer.
Step 7: Assemble the Christmas Tree
Arrange the filled cream puffs in a tree shape on a serving platter. Start with a wide base and work upward, narrowing the rows as you go until you reach the top.
Step 8: Decorate and Finish
Dust with powdered sugar for a snowy effect, add green sugar or sprinkles for a festive look, and finish with a drizzle of white chocolate if you like. A small star decoration or sugared berry on top makes a beautiful final touch.
How to Serve Christmas Tree Cream Puffs
Christmas Tree Cream Puffs are best served chilled or slightly cool, when the filling is fresh and the pastry still has a bit of light crispness. They make a beautiful centerpiece dessert, but they also work well as a passed party sweet or part of a larger holiday dessert table.
This recipe typically feeds about 8 to 10 people, depending on how large you make the puff tree and what else is being served. For parties, smaller cream puffs are often the best choice because they are easier to pick up and enjoy in one or two bites.
Pair them with coffee, hot cocoa, spiced tea, or even a simple berry sauce on the side. Their light texture makes them especially lovely after a heavier Christmas meal.
How to Store Christmas Tree Cream Puffs
Unfilled cream puff shells can be stored at room temperature in an airtight container for up to 1 day, though they are best the day they are baked. For longer storage, freeze the baked shells and refresh them briefly in the oven before cooling and filling.
Filled cream puffs should be kept in the refrigerator and enjoyed within 1 to 2 days for the best texture. Since the filling adds moisture, the shells will gradually soften over time.
If you want the freshest presentation, bake the shells in advance, prepare the filling the day you plan to serve, and assemble the tree shortly before bringing it to the table. That way the dessert keeps its shape and its delicate texture.
Frequently Asked Questions
Can I make Christmas Tree Cream Puffs ahead of time?
Yes. You can bake the shells a day ahead or freeze them even earlier. The filling can also be made in advance and kept chilled. For the best texture, fill and assemble the tree as close to serving time as possible.
Why did my cream puffs collapse?
Cream puffs usually collapse if they were underbaked or the oven was opened too soon. They need enough time to dry out and set their structure. Make sure they are deeply golden and feel light before removing them.
Can I use pastry cream instead of whipped cream?
Absolutely. Pastry cream gives the dessert a richer and more traditional bakery-style filling. You can also combine pastry cream with whipped cream for a lighter texture that still feels luxurious.
How do I keep the tree shape from sliding apart?
Using evenly sized puffs helps a lot. You can also add a little melted white chocolate between layers as a gentle edible glue. Chilling the assembled tree for a short time before serving makes it more stable.
Can I decorate these in different holiday styles?
Yes. You can keep them simple with powdered sugar, turn them extra festive with green sanding sugar and red sprinkles, or make them elegant with white chocolate and sugared cranberries. The base idea is flexible, so you can match the dessert to your holiday table.
Want More Christmas Dessert Ideas?
If you love festive sweets that look just as fun as they taste, these other ideas are worth saving too:
- Winter Wonderland Chocolate Chip Christmas Cookies for a cozy, bakery-style holiday cookie.
- Hot Buttered Mini Donuts for a warm and nostalgic party treat.
- No-Bake Pumpkin Lasagna Dessert when you want an easy make-ahead holiday dessert.
- Christmas Tree Pizza for another festive tree-shaped favorite that is perfect for parties.
Save This Pin For Later
📌 Save this recipe to your Pinterest dessert board so you can come back to it any time.
And let me know in the comments how yours turned out. Did you go with classic whipped cream, or did you add your own festive twist with chocolate, berries, or sprinkles?
I love hearing how others make these recipes their own. Questions are welcome too, and you can always find more daily recipe inspiration on Life With Mira.
Christmas Tree Cream Puffs
- Total Time: 1 hour
- Yield: 8 servings
- Diet: Vegetarian
Description
Christmas Tree Cream Puffs are a festive holiday dessert that looks stunning on any Christmas table. These light and airy cream puffs are filled with sweet vanilla whipped cream and stacked into a beautiful tree shape, making them perfect for Christmas dessert ideas, holiday party food, easy recipe inspiration, and fun food ideas for winter gatherings.
Ingredients
1 cup water
1/2 cup unsalted butter
1/4 teaspoon salt
1 cup all-purpose flour
4 large eggs
2 cups heavy whipping cream
1/3 cup powdered sugar
1 teaspoon vanilla extract
4 ounces cream cheese, softened
2 tablespoons green sanding sugar
2 tablespoons white chocolate, melted
Extra powdered sugar for dusting
Instructions
1. Preheat the oven to 400°F and line a baking sheet with parchment paper.
2. Add water, butter, and salt to a saucepan over medium heat and bring to a gentle boil.
3. Stir in the flour all at once and mix until the dough pulls away from the sides and forms a smooth ball.
4. Transfer the dough to a bowl and let it cool for 5 minutes.
5. Beat in the eggs one at a time until the dough is glossy and thick.
6. Spoon the dough into a piping bag and pipe small rounds onto the prepared baking sheet.
7. Bake for 25 to 30 minutes until puffed and golden brown.
8. Cool the cream puff shells completely on a wire rack.
9. Beat the cream cheese until smooth, then add heavy whipping cream, powdered sugar, and vanilla extract and whip until fluffy and firm.
10. Pipe the filling into each cooled cream puff.
11. Arrange the filled cream puffs in layers on a serving platter to form a Christmas tree shape.
12. Drizzle with melted white chocolate, add green sanding sugar, and dust lightly with powdered sugar before serving.
Notes
Use room temperature eggs for a smoother choux dough and better puffing in the oven.
Do not open the oven door too early or the cream puffs may deflate before they set.
For the best texture, fill and decorate the cream puffs shortly before serving.
- Prep Time: 30 minutes
- Cook Time: 30 minutes
- Category: Dessert
- Method: Baked
- Cuisine: French-inspired holiday dessert
Nutrition
- Serving Size: 1 serving
- Calories: 320
- Sugar: 12g
- Sodium: 140mg
- Fat: 24g
- Saturated Fat: 15g
- Unsaturated Fat: 7g
- Trans Fat: 0.5g
- Carbohydrates: 19g
- Fiber: 0g
- Protein: 6g
- Cholesterol: 150mg
Keywords: Christmas Tree Cream Puffs, holiday dessert, Christmas dessert ideas, cream puffs, easy recipe, party dessert, food ideas, festive dessert, whipped cream dessert
