

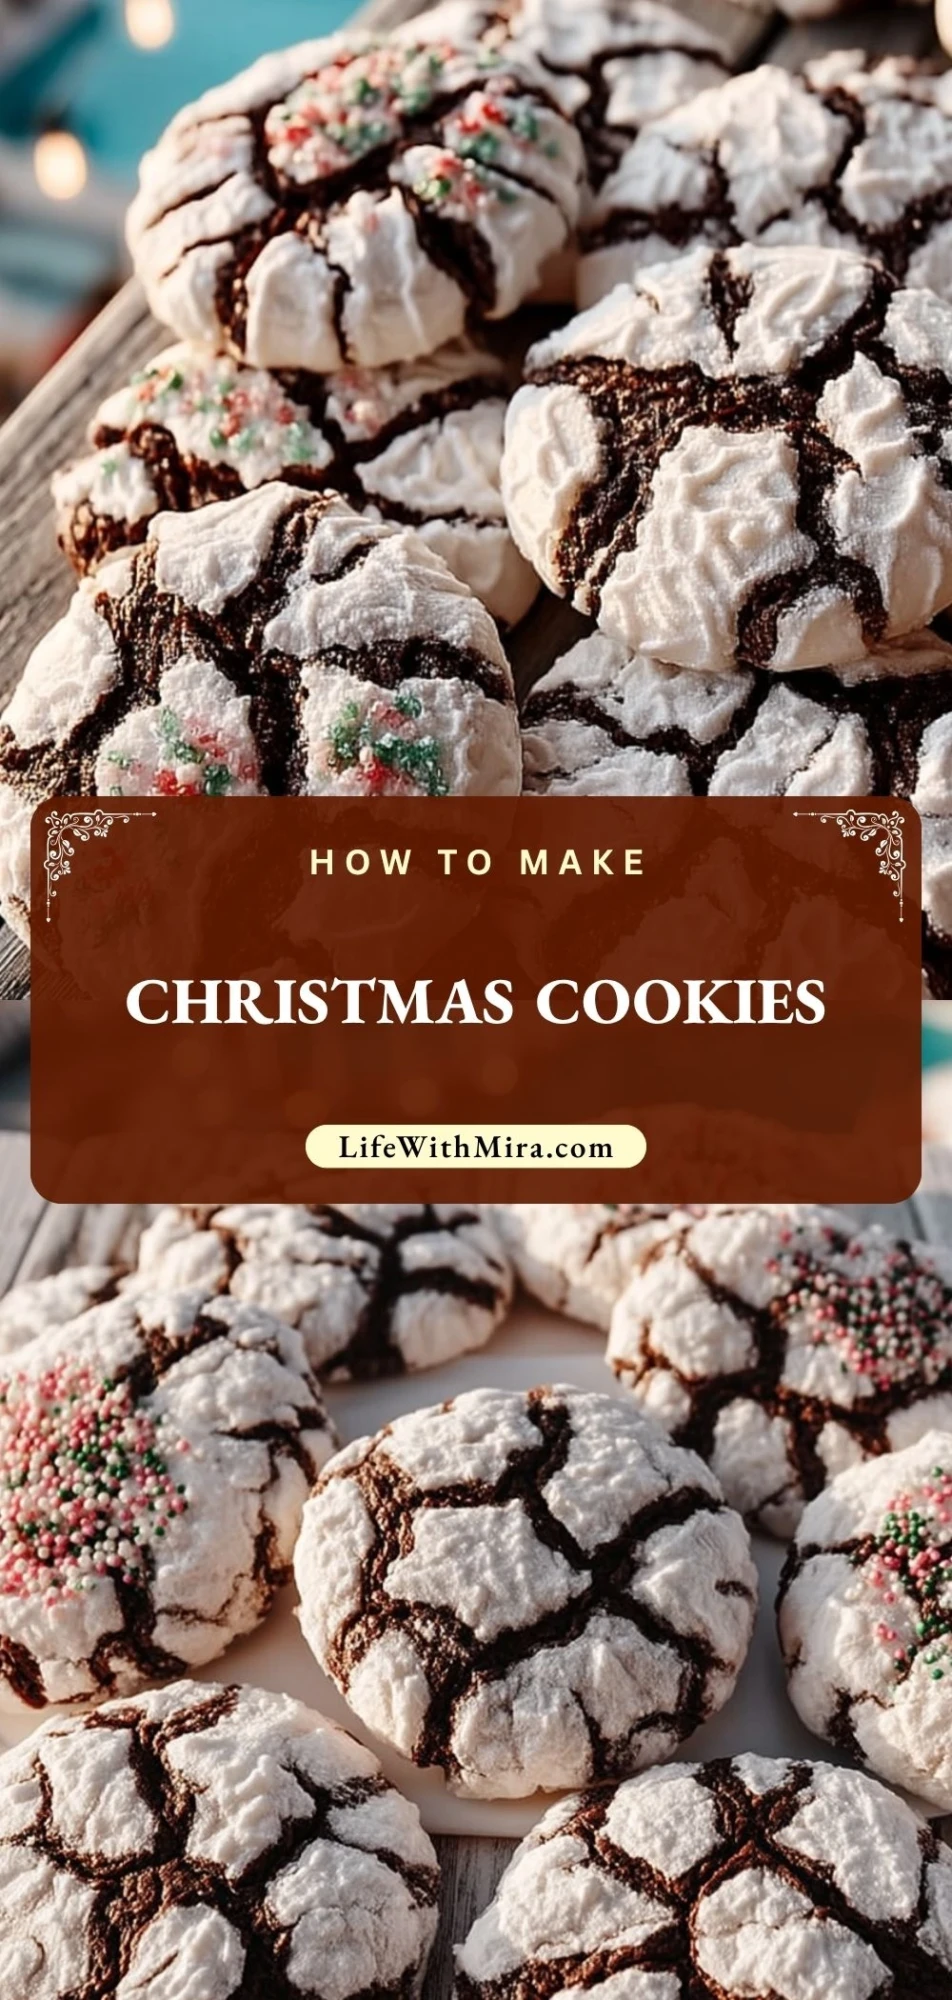
Christmas cookies bring the kind of joy that makes the kitchen feel instantly warmer. These soft, buttery cookies are sweet, colorful, and easy to decorate, making them perfect for cookie swaps, holiday trays, classroom treats, Christmas movie nights, and cozy baking afternoons with family.
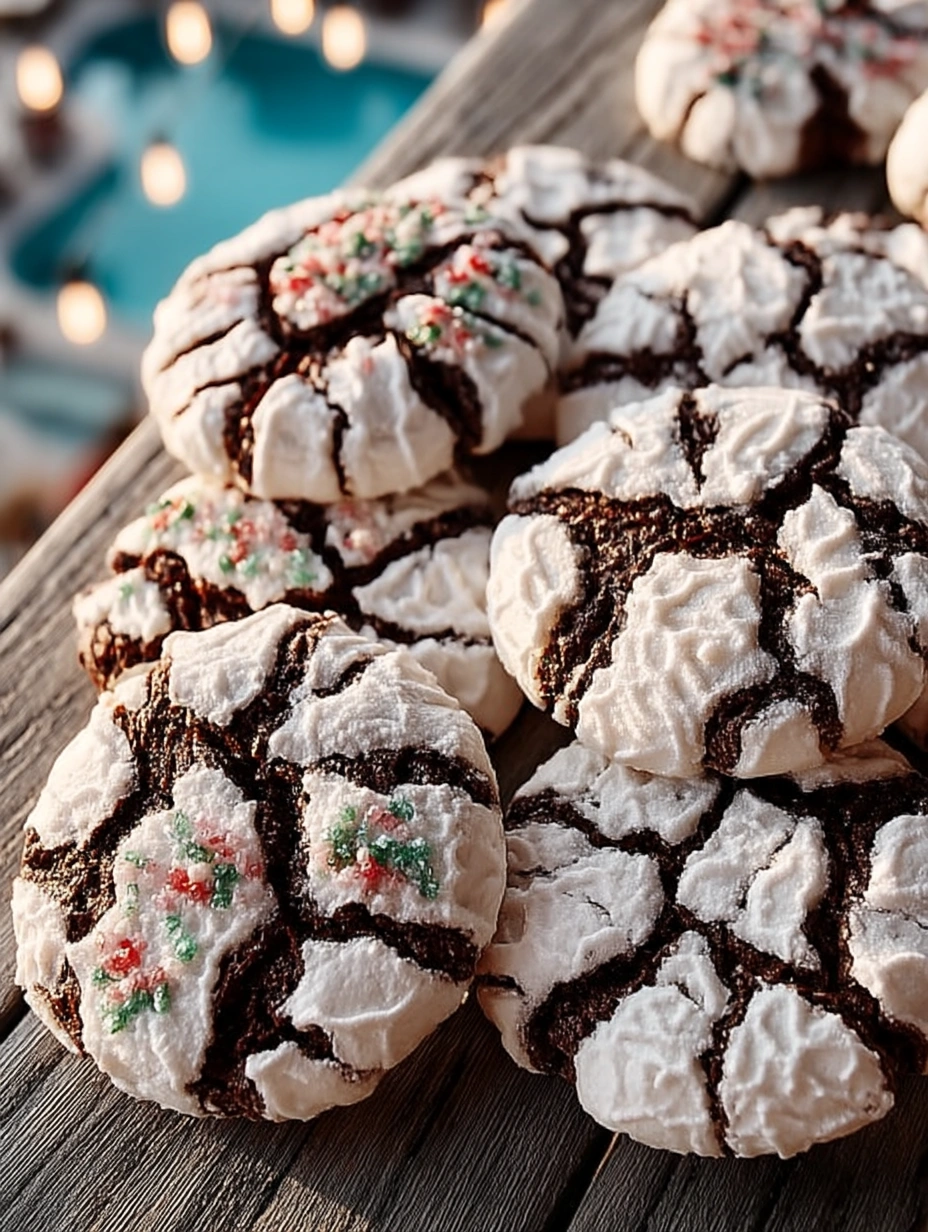
This version keeps the dough simple and reliable, with vanilla flavor, tender centers, lightly crisp edges, and plenty of festive sparkle. You can cut them into trees, stars, snowflakes, stockings, or simple rounds, then finish them with icing, sprinkles, sanding sugar, or a soft dusting of powdered sugar.
Why You’ll Love These Christmas Cookies
These Christmas cookies are the kind you can make once and use in a dozen different ways. The dough is easy to roll, holds its shape well, and bakes into cookies that are soft enough to enjoy plain but sturdy enough for decorating. That makes them a great choice for both beginner bakers and anyone preparing a big holiday dessert table.
They also fit beautifully into busy December schedules. You can prepare the dough ahead, chill it, cut the shapes later, and decorate when you have time. The flavor is classic and familiar, with butter, vanilla, and just enough sweetness to pair well with icing without becoming too sugary.
Another reason to keep this Christmas cookie idea close is how customizable it is. Use red and green sprinkles for a traditional look, blue and silver sugar for a winter wonderland feel, or natural-colored icing for a softer homemade style. One dough can become a whole platter of different holiday cookies.
What Makes Christmas Cookies Soft, Festive, and Easy to Decorate?
The best Christmas cookies start with a balanced dough. Butter gives richness, sugar helps the edges turn lightly golden, and eggs add structure so the cookies stay tender without crumbling. A little baking powder gives lift, while chilling the dough keeps the shapes neat as they bake.
For decorating, the key is letting the cookies cool completely before adding icing. Warm cookies can melt glaze or make colors bleed. Once cooled, they become the perfect blank canvas for royal icing, simple powdered sugar glaze, buttercream, melted chocolate, or a quick sprinkle finish.
If you want cookies that stay softer for longer, avoid overbaking. Pull them from the oven when the edges are just set and the tops look matte, not deeply browned. They will continue to firm up on the baking sheet as they cool.
Ingredients for the Christmas Cookies
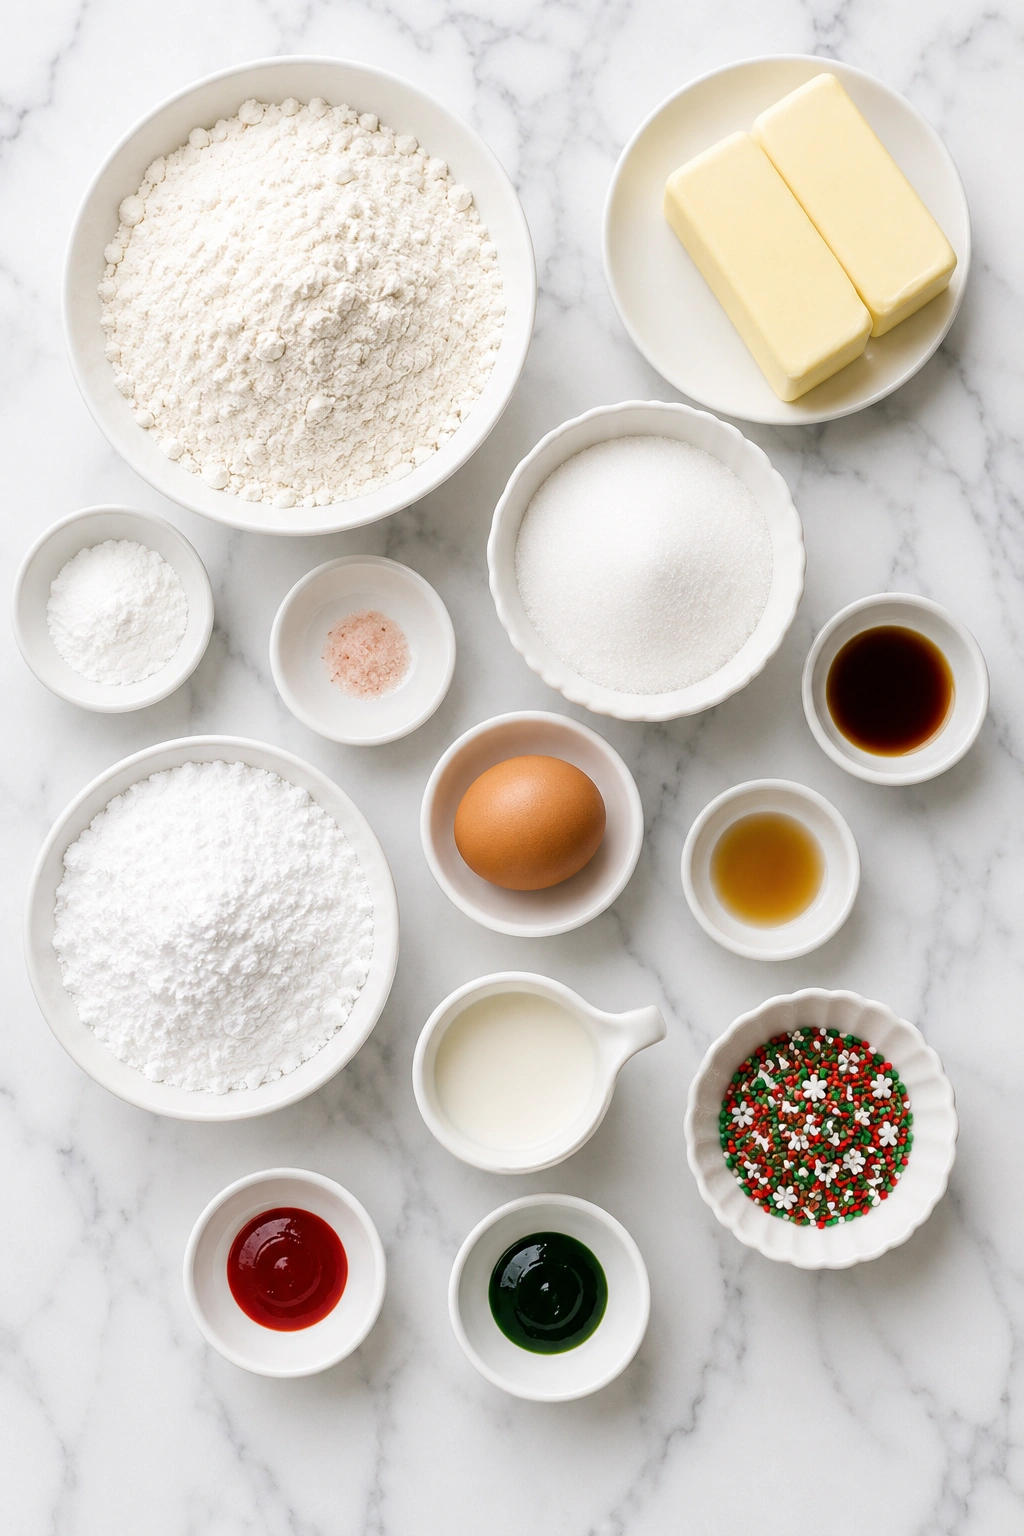
These ingredients work together to create tender, buttery Christmas cookies that roll smoothly, bake evenly, and taste delicious with or without icing.
All-purpose flour gives the cookies structure and helps the dough hold its shape when cut into festive designs.
Baking powder adds a gentle lift so the cookies do not bake up too dense or heavy.
Salt balances the sweetness and brings out the buttery vanilla flavor.
Unsalted butter creates rich flavor, soft texture, and that classic homemade cookie taste.
Granulated sugar sweetens the dough and helps the edges bake with a delicate finish.
Egg binds the dough together and gives the cookies the right amount of tenderness.
Vanilla extract adds warm, bakery-style flavor that works beautifully with holiday decorations and icing.
Almond extract is optional, but it gives the cookies a subtle nostalgic flavor that many people associate with classic Christmas baking.
Powdered sugar is useful for making a simple glaze or dusting finished cookies.
Milk or cream thins the glaze until it becomes smooth, spreadable, and easy to drizzle.
Holiday sprinkles or sanding sugar add color, crunch, and a festive look without needing complicated decorating skills.
Food coloring can be used to tint the icing red, green, white, gold, or any holiday shade you love.
How To Make the Christmas Cookies
The process is simple, but a few small details make the cookies easier to roll, cut, bake, and decorate beautifully.
Step 1: Mix the Dry Ingredients
Whisk the flour, baking powder, and salt in a medium bowl. This helps the leavening distribute evenly, so every cookie bakes with the same soft texture. Set the dry mixture aside while you prepare the butter and sugar.
Step 2: Cream the Butter and Sugar
In a large mixing bowl, beat the softened butter and granulated sugar until the mixture looks pale, creamy, and slightly fluffy. This step helps create a tender cookie because it works a little air into the dough before the flour is added.
Step 3: Add the Egg and Flavoring
Beat in the egg, vanilla extract, and almond extract if using. Scrape down the sides of the bowl so everything blends evenly. The dough should look smooth and creamy before you add the dry ingredients.
Step 4: Bring the Dough Together
Add the flour mixture gradually, mixing on low speed just until the dough forms. Do not overmix once the flour goes in, because too much mixing can make the cookies tougher. The dough should be soft but not sticky.
Step 5: Chill the Dough
Divide the dough into two discs, wrap them tightly, and chill until firm. Chilling makes the dough easier to roll and helps the cookies keep their shapes in the oven. If the dough chills for a long time and becomes very firm, let it sit at room temperature for a few minutes before rolling.
Step 6: Roll and Cut the Cookies
Lightly flour your work surface and rolling pin. Roll one disc of dough at a time to an even thickness, then cut out your Christmas shapes. Transfer the cookies to a parchment-lined baking sheet, leaving a little space between each one.
Step 7: Bake Until Just Set
Bake the cookies in a preheated oven until the edges are set and barely beginning to turn golden. Avoid waiting for the tops to brown. Soft Christmas cookies should look pale in the center when they come out of the oven.
Step 8: Cool Before Decorating
Let the cookies rest on the baking sheet briefly, then move them to a wire rack. Cool completely before icing or decorating. This keeps the glaze smooth and prevents sprinkles from sliding around.
Step 9: Decorate and Let Set
Whisk powdered sugar with a small amount of milk or cream until smooth, then tint with food coloring if desired. Spread, drizzle, or pipe the icing over cooled cookies and add sprinkles before the icing sets. Let the cookies rest until the tops are dry enough to stack.
The Sweetest Ways to Serve Christmas Cookies
These Christmas cookies are made for sharing, and one batch feeds about 24 people if you serve one cookie per person. If you are preparing a dessert board or cookie exchange, plan on two to three cookies per person, especially if they are smaller cutout shapes.
Serve them on a holiday platter with hot cocoa, coffee, tea, or cold milk. For a festive cookie tray, mix different shapes and icing colors so the platter feels full and cheerful. You can also wrap a few cookies in clear treat bags with ribbon for edible gifts.
For parties, arrange the cookies in layers with parchment between them. Add peppermint candies, chocolate truffles, sugared cranberries, or small bowls of sprinkles around the tray for a bakery-style presentation. They also make a lovely dessert after Christmas dinner because they are light, familiar, and easy to enjoy even after a big meal.
How to Store Christmas Cookies So They Stay Fresh
Store plain or decorated Christmas cookies in an airtight container at room temperature. Once the icing is fully set, place parchment paper between layers to protect the designs. They usually stay fresh for 4 to 5 days, though softer decorated cookies are best enjoyed within the first few days.
If you want to make them ahead, the dough can be refrigerated for up to 3 days. Wrap it tightly so it does not dry out or absorb fridge odors. When ready to bake, let the dough soften slightly, then roll and cut as usual.
Baked cookies also freeze well. Freeze undecorated cookies in an airtight freezer-safe container for up to 2 months. Place parchment between layers so they do not stick together. Thaw at room temperature before decorating.
You can freeze the dough too. Shape it into discs, wrap tightly in plastic wrap, then place in a freezer bag. Thaw overnight in the refrigerator before rolling. For the neatest decorated finish, freeze cookies before icing rather than after icing.
Frequently Asked Questions
Can I make Christmas cookie dough ahead of time?
Yes, this dough is great for make-ahead baking. Prepare the dough, divide it into discs, wrap it tightly, and refrigerate it for up to 3 days. When you are ready to bake, let it sit at room temperature for a few minutes if it feels too firm to roll. You can also freeze the dough for longer storage, then thaw it overnight in the refrigerator.
Why did my Christmas cookies spread in the oven?
Spreading usually happens when the dough is too warm, the butter is too soft, or the baking sheet is hot from a previous batch. Chill the dough before cutting and place cut shapes back in the refrigerator for a few minutes if they become soft. Always bake on a cool, parchment-lined sheet for cleaner edges.
Can I decorate these Christmas cookies without royal icing?
Absolutely. A simple powdered sugar glaze works well and is easier for casual decorating. You can also use buttercream, melted white chocolate, colored sanding sugar, or sprinkles pressed onto the dough before baking. For detailed designs, royal icing gives the sharpest lines, but it is not required.
How do I keep cutout cookies from getting dry?
The most important step is not overbaking. Remove the cookies when the edges are set and the centers still look pale. Store them in an airtight container once cooled. If you are making them a day ahead, wait to leave the container open for serving until shortly before guests arrive.
Can I add different flavors to the dough?
Yes, this dough is easy to flavor. Try peppermint extract for a candy cane style, orange zest for a bright citrus note, cinnamon for warmth, or a little almond extract for classic bakery flavor. Start with small amounts because extracts can become strong quickly.
Want More Christmas Dessert Ideas?
If you love these Christmas cookies, you’ll probably enjoy these other festive treats and cozy sweets:
• Winter Wonderland Chocolate Chip Christmas Cookies for a colorful cookie tray with chocolate chips and holiday charm.
• Christmas Tree Pizza when you want a playful holiday appetizer before dessert.
• Red Velvet Cheesecake Brownies for a bold red dessert that fits beautifully on a Christmas table.
• Irresistible Praline Crunch for a sweet, crunchy snack that works well for gifting and party bowls.
Save This Pin For Later
📌 Save these Christmas cookies to your Pinterest dessert board so you can come back to them whenever holiday baking season begins.
And let me know in the comments how yours turned out. Did you use classic vanilla icing, add almond extract, or decorate them with extra sprinkles?
I love hearing how others make these holiday bakes their own. For even more daily cooking and baking inspiration, follow Life With Mira on Pinterest.
Christmas Cookies
- Total Time: 1 hour 35 minutes
- Yield: 24 cookies
- Diet: Vegetarian
Description
Bake a batch of soft, buttery Christmas cookies that make holiday baking feel easy, festive, and fun. These classic cutout cookies are perfect for Christmas dessert trays, cookie swaps, holiday food ideas, easy baking projects, and make-ahead treats for family gatherings. With tender centers, lightly crisp edges, vanilla flavor, and colorful icing, this easy Christmas cookie recipe is one of those simple dessert ideas you’ll want to make every December.
Ingredients
2 3/4 cups all-purpose flour
1 teaspoon baking powder
1/2 teaspoon salt
1 cup unsalted butter, softened
1 cup granulated sugar
1 large egg
2 teaspoons vanilla extract
1/2 teaspoon almond extract, optional
2 cups powdered sugar
2 to 3 tablespoons milk or heavy cream
Gel food coloring, optional
1/3 cup holiday sprinkles or sanding sugar
Instructions
1. Whisk the flour, baking powder, and salt together in a medium bowl, then set aside.
2. In a large bowl, beat the softened butter and granulated sugar until creamy, pale, and fluffy.
3. Add the egg, vanilla extract, and almond extract if using, then mix until smooth.
4. Gradually add the dry ingredients and mix on low speed just until a soft dough forms.
5. Divide the dough into two discs, wrap tightly, and chill for at least 1 hour.
6. Preheat the oven to 350°F and line baking sheets with parchment paper.
7. Roll the chilled dough on a lightly floured surface to about 1/4-inch thickness.
8. Cut into Christmas shapes and place the cookies on prepared baking sheets.
9. Bake for 8 to 10 minutes, until the edges are set and barely golden.
10. Cool on the baking sheet for 5 minutes, then transfer to a wire rack to cool completely.
11. Whisk powdered sugar with milk or cream until smooth, then tint with food coloring if desired.
12. Decorate the cooled cookies with icing and sprinkles, then let the icing set before serving or storing.
Notes
Chill the dough before rolling so the cookies keep their clean holiday shapes while baking.
Do not overbake. The cookies should look pale in the center with just-set edges for the softest texture.
Let the cookies cool completely before icing so the glaze stays smooth and the decorations do not melt or slide.
- Prep Time: 25 minutes
- Cook Time: 10 minutes
- Category: Dessert
- Method: Baking
- Cuisine: American
Nutrition
- Serving Size: 1 cookie
- Calories: 158
- Sugar: 15g
- Sodium: 58mg
- Fat: 8g
- Saturated Fat: 5g
- Unsaturated Fat: 3g
- Trans Fat: 0g
- Carbohydrates: 21g
- Fiber: 0.5g
- Protein: 2g
- Cholesterol: 28mg
Keywords: Christmas cookies, holiday cookies, cutout cookies, easy dessert, Christmas dessert ideas, holiday baking, cookie swap cookies
