

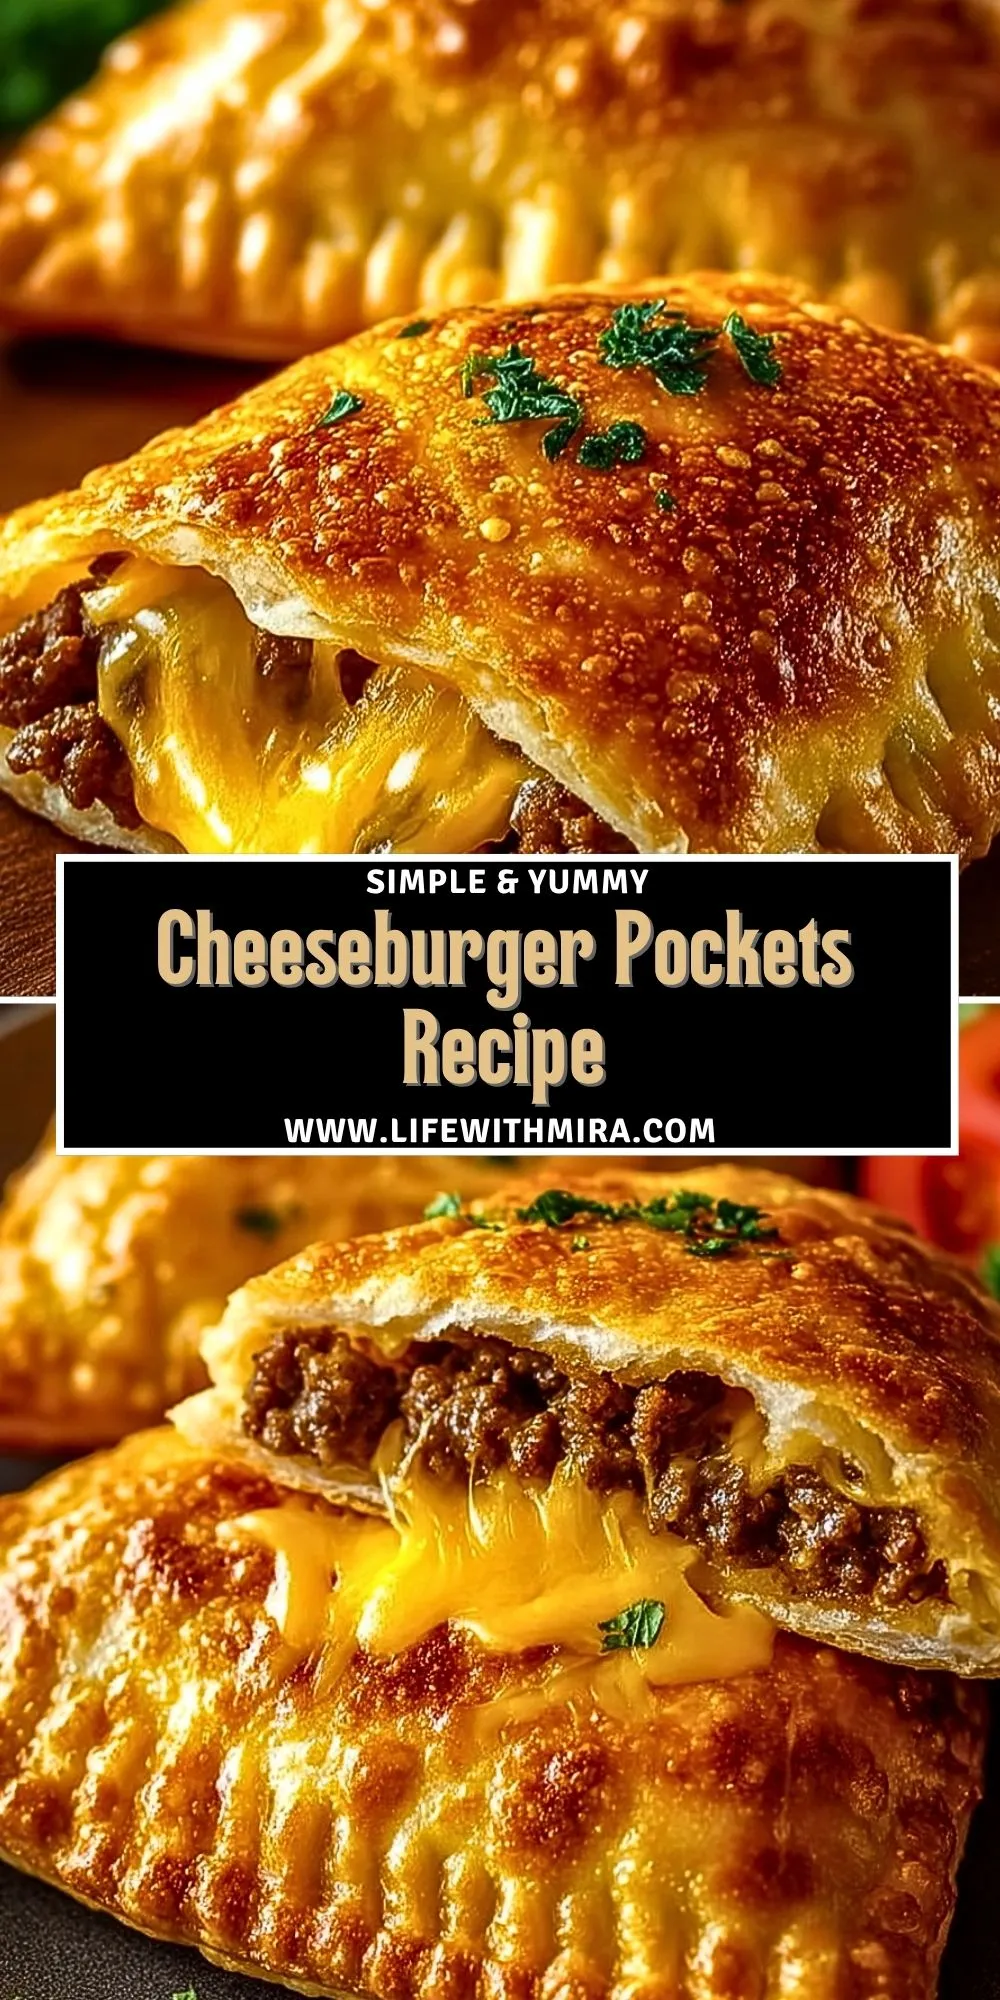
Golden, crispy on the outside, gooey and savory on the inside—these Cheeseburger Pockets deliver everything I love about a cheeseburger but wrapped up in a flaky, hand-held pastry. The buttery puff pastry melts in your mouth, while the beef and cheese filling brings that bold, juicy flavor you’d expect from a fresh-off-the-grill cheeseburger.
What makes these pockets extra special is the combination of textures and the unexpected ease of prep. We’re not just stuffing meat and cheese into dough—we’re layering sharp cheddar with creamy American cheese, mixing in just the right amount of seasoned ground beef, and baking it all until golden perfection. It’s basically comfort food in a portable package.
What Makes It Special
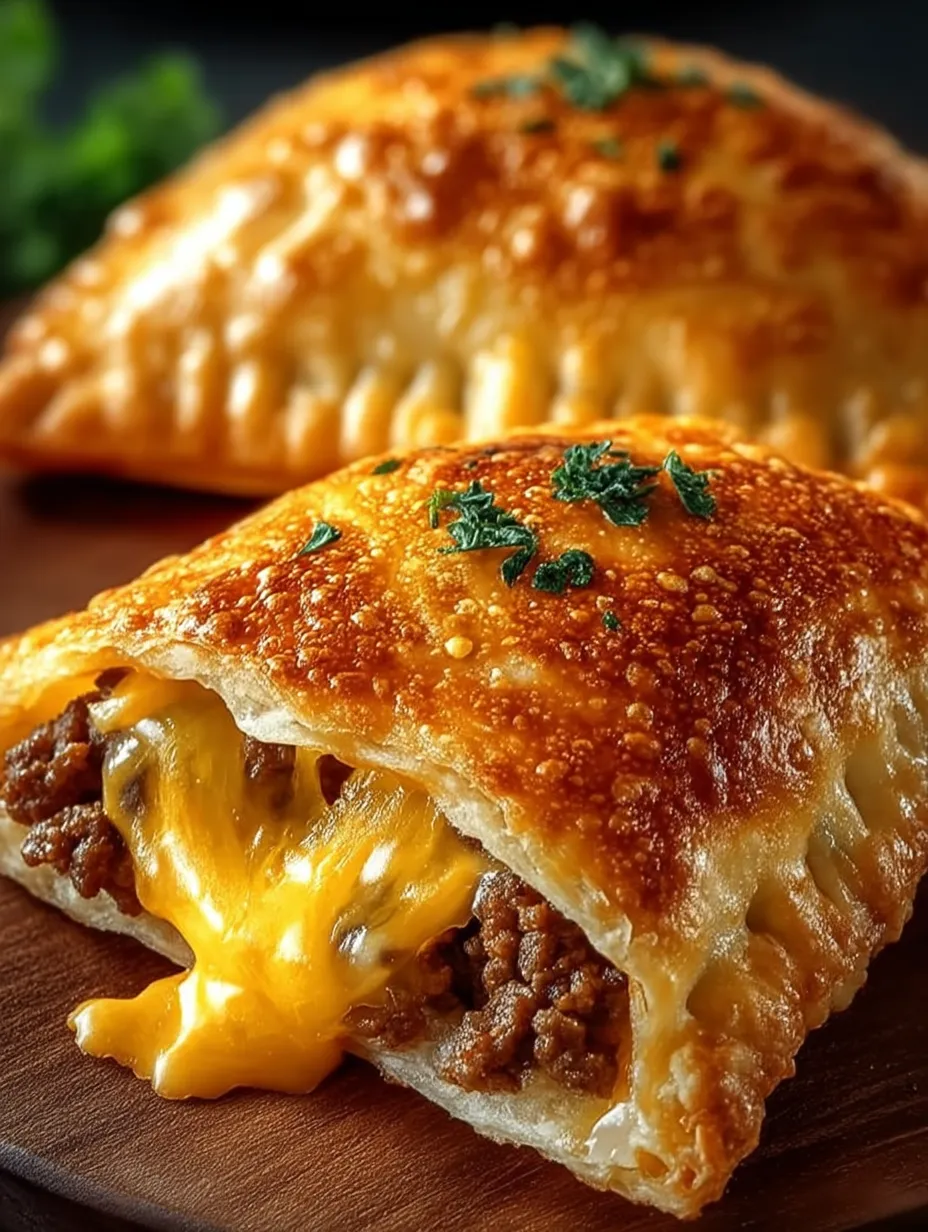
This isn’t your average meat pie or empanada. These cheeseburger pockets are all about indulgence without the mess. Instead of using a traditional dough or bread base, I go for puff pastry because it bakes into the flakiest, most tender shell. It turns each bite into a buttery, crisp crunch that contrasts beautifully with the molten cheese and beef inside.
You don’t need to be a professional baker to nail this either. The filling is a one-pan wonder and the puff pastry does most of the heavy lifting. I use pre-rolled pastry sheets from the frozen section, and a fork to seal the edges. A baking tray, parchment paper, and a basting brush for the egg wash are all the equipment you really need.
Compared to fast food burger hand pies or store-bought versions, these have none of that artificial aftertaste or rubbery cheese. Instead, you get fresh ingredients, full control over the flavors, and a texture you just can’t buy.
The Ingredients That Make These Cheeseburger Pockets Work
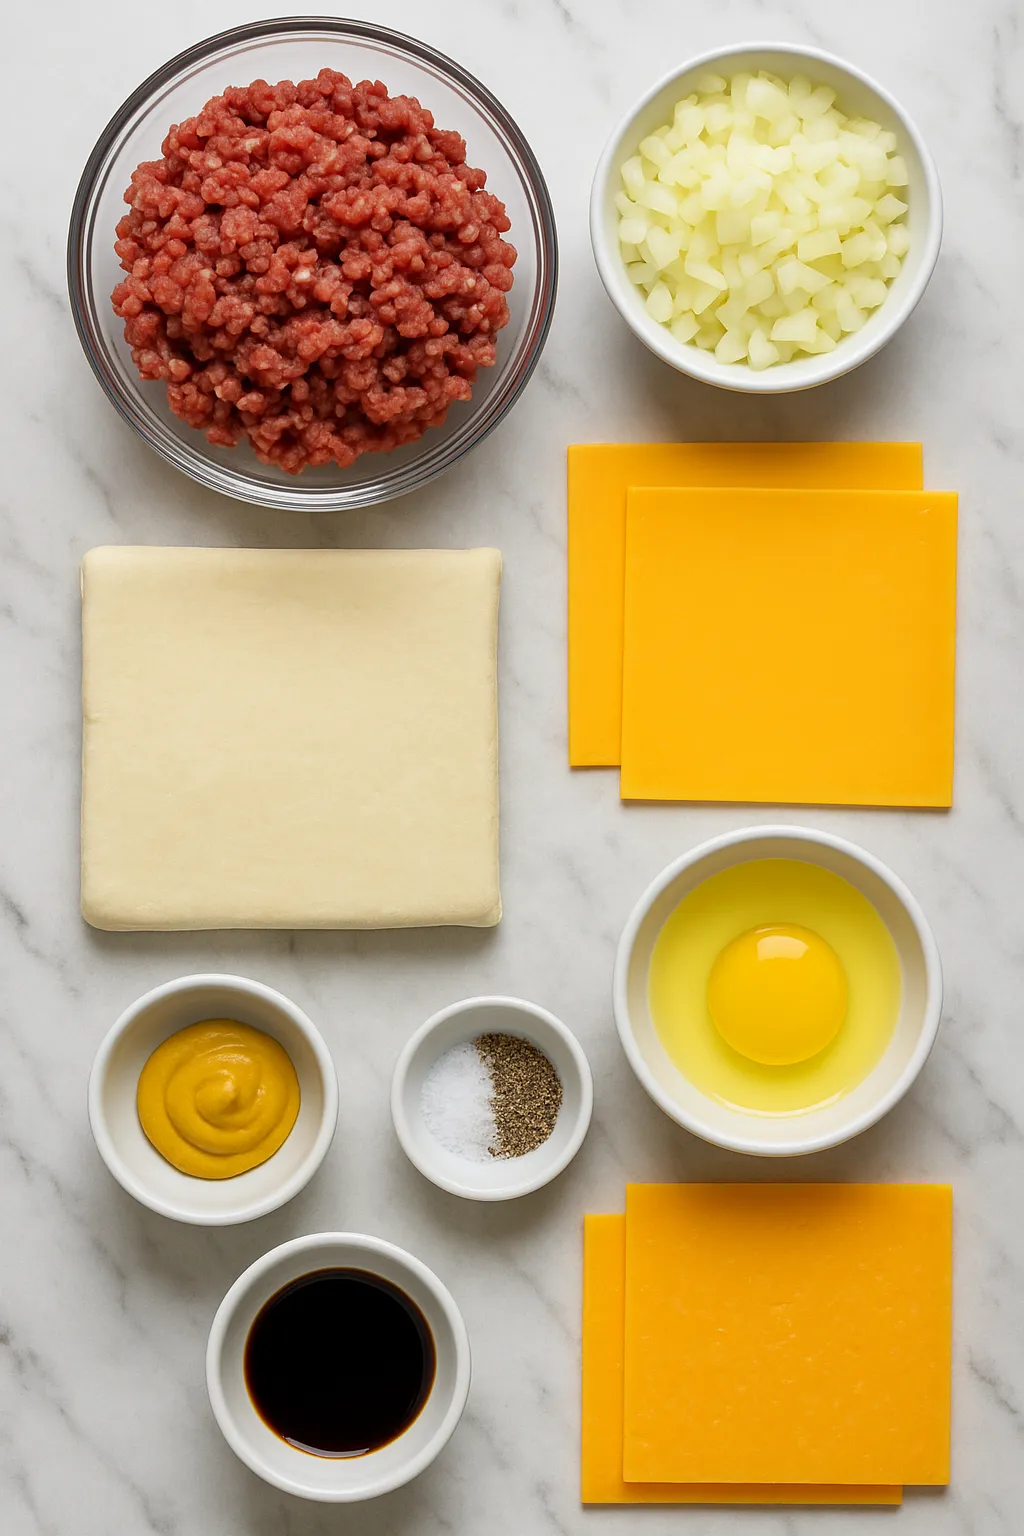
The heart of this recipe lies in the contrast between rich, melty cheese and savory beef, all encased in buttery pastry. Ground beef is the main protein here, and I always use 80/20 for flavor and moisture. The cheddar adds sharpness while the American cheese brings that classic creamy melt that just screams cheeseburger. I toss in diced onions for a hint of sweetness and depth, and mustard to round it all out with a little tang.
The puff pastry is crucial—not pie dough, not biscuit mix—because it bakes up airy and crisp without getting soggy. I finish each pocket with a light egg wash, which gives that shiny, golden brown crust that looks as good as it tastes.
How To Make the Cheeseburger Pockets
Step 1: Brown the Beef
In a skillet over medium heat, I cook the ground beef with diced onion until browned and fragrant. The smell alone is worth it. Once the beef is cooked, I drain off the extra fat and stir in mustard, salt, and pepper. If I’m feeling extra, I’ll toss in a dash of Worcestershire sauce for that deep umami hit.
Step 2: Prep the Pastry
While the beef cools slightly, I roll out my thawed puff pastry and cut each sheet into equal squares. Usually, one sheet makes two pockets.
Step 3: Add the Cheese and Fill
On each square, I lay down a slice of cheddar and half a slice of American cheese. Then I spoon the beef mixture right on top. The cheese melts into the meat as it bakes, creating the best kind of cheesy chaos.
Step 4: Seal and Bake
I top each filled square with another pastry square, press the edges with a fork to seal, and brush with egg wash. They go into a 400°F oven for about 18–20 minutes or until puffed and deep golden.
Use the Right Pan for Best Results
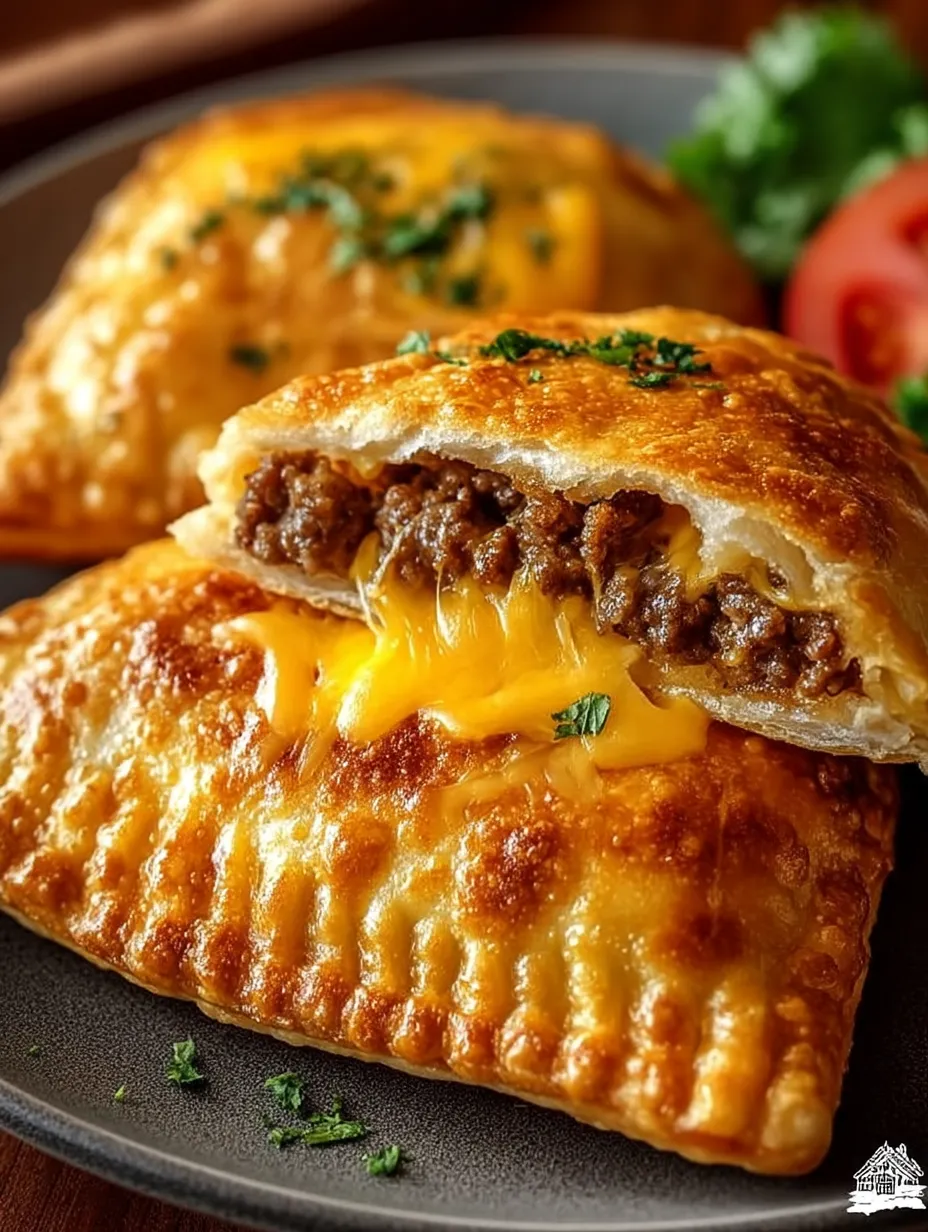
I’ve tested these on both a metal baking sheet and a ceramic one, and I can tell you—the metal sheet wins every time. The bottoms get a nice crisp finish that the ceramic tray just can’t deliver. Ceramic tends to keep things a bit softer, which isn’t what I’m going for in a recipe like this. I line the tray with parchment so nothing sticks, and I rotate the tray halfway through baking for even browning.
I once tried baking them on foil, and the pastry stuck terribly, tearing the bottoms right off. Lesson learned. Stick with parchment on a metal baking sheet, and you’re golden.
The Cheese Combo: Melty, Gooey, and Never Skipped
The cheese isn’t just a topping—it’s the soul of the pocket. I’ve made these with just cheddar or just American before, but they didn’t have the same magic. Cheddar brings sharpness, but American melts into that perfect, creamy goo. Skipping either one means sacrificing flavor or texture.
Once, I tried replacing the American with mozzarella thinking it’d be fun to mix things up. Big mistake. It was too stringy, and the flavor didn’t stand out. Trust me on this: cheddar and American together are unbeatable.
Serving Information
Servings: Makes 6 full-size cheeseburger pockets
Preparation Time: 15 minutes
Baking Time: 18–20 minutes
Total Time: 35 minutes
Tips for Making the Perfect Cheeseburger Pockets
The key to flakiness is starting with cold pastry and hot filling that’s not too wet. Let the beef cool just slightly before adding it in, or you’ll melt the pastry before it even hits the oven. Don’t overfill, either—less is more when you want that seal to hold and keep all the goodness inside. And definitely take the time to brush with egg wash. That’s where the golden, bakery-style finish comes from.
Serving Suggestions
These Cheeseburger Pockets are incredibly versatile, whether you’re serving them hot out of the oven or packing them up for later. Here are a few ways I love to use them:
- Perfect for Game Day: Serve with ketchup, mustard, and pickle slices for dipping
- Lunchbox Hero: Wrap in foil and toss in a lunchbox—they stay warm for hours
- Freezer-Friendly Dinner: Bake a double batch and freeze for quick weeknight meals
- Party Platter Star: Cut into halves or quarters and serve as finger food at parties
- Savory Brunch Option: Serve with a fried egg on top and hot sauce on the side
- Giftable Goodies: Stack in a box lined with parchment and gift them as homemade comfort food
Save This to Your Pinterest & Let’s Chat!
If you’re anything like me, you’re always on the lookout for delicious make-ahead meals and comfort food classics. Save this Cheeseburger Pockets recipe to your Comfort Food or Family Dinners board on Pinterest so it’s ready when that craving hits. And if you try them, I’d love to hear what you added or changed! Drop a comment—tell me how yours turned out or if you came up with a fun variation!
Print Cheeseburger Pockets Recipe
- Total Time: 35 minutes
- Yield: 6 pockets
Description
These Cheeseburger Pockets are a flaky, golden, oven-baked twist on the classic cheeseburger—perfect for a quick lunch, an easy dinner, or a make-ahead snack. Packed with seasoned beef and a blend of melty cheddar and American cheese, each bite is gooey, savory comfort food at its best. Whether you’re after a healthy snack idea, fun dinner option, or just looking for delicious food ideas that are freezer-friendly and kid-approved, this easy recipe hits every mark.
Ingredients
1 pound ground beef
1 small onion, finely diced
1 tablespoon yellow mustard
Salt and pepper to taste
1 tablespoon Worcestershire sauce (optional)
1 sheet puff pastry, thawed
3 slices cheddar cheese
3 slices American cheese
1 egg, beaten for egg wash
Instructions
1. Cook the ground beef and diced onions in a skillet over medium heat until browned. Drain excess fat.
2. Stir in mustard, salt, pepper, and Worcestershire sauce. Let it cool slightly.
3. Roll out puff pastry and cut into six equal squares.
4. Place half a slice of cheddar and a quarter slice of American cheese on each square.
5. Spoon beef mixture over the cheese.
6. Top with another pastry square, seal edges with a fork, and brush with egg wash.
7. Bake at 400°F for 18–20 minutes until golden and puffed.
8. Let cool slightly before serving.
Notes
Always start with cold pastry to ensure flakiness.
Avoid overfilling the pockets to prevent leaks during baking.
Rotate the baking sheet halfway through for even browning.
- Prep Time: 15 minutes
- Cook Time: 20 minutes
- Category: Dinner
- Method: Baking
- Cuisine: American
Nutrition
- Serving Size: 1 pocket
- Calories: 420
- Sugar: 2g
- Sodium: 490mg
- Fat: 27g
- Saturated Fat: 12g
- Unsaturated Fat: 13g
- Trans Fat: 0.5g
- Carbohydrates: 25g
- Fiber: 1g
- Protein: 18g
- Cholesterol: 80mg
Keywords: cheeseburger pockets, easy dinner, kid friendly, freezer meal, healthy snack, quick lunch, food ideas
