

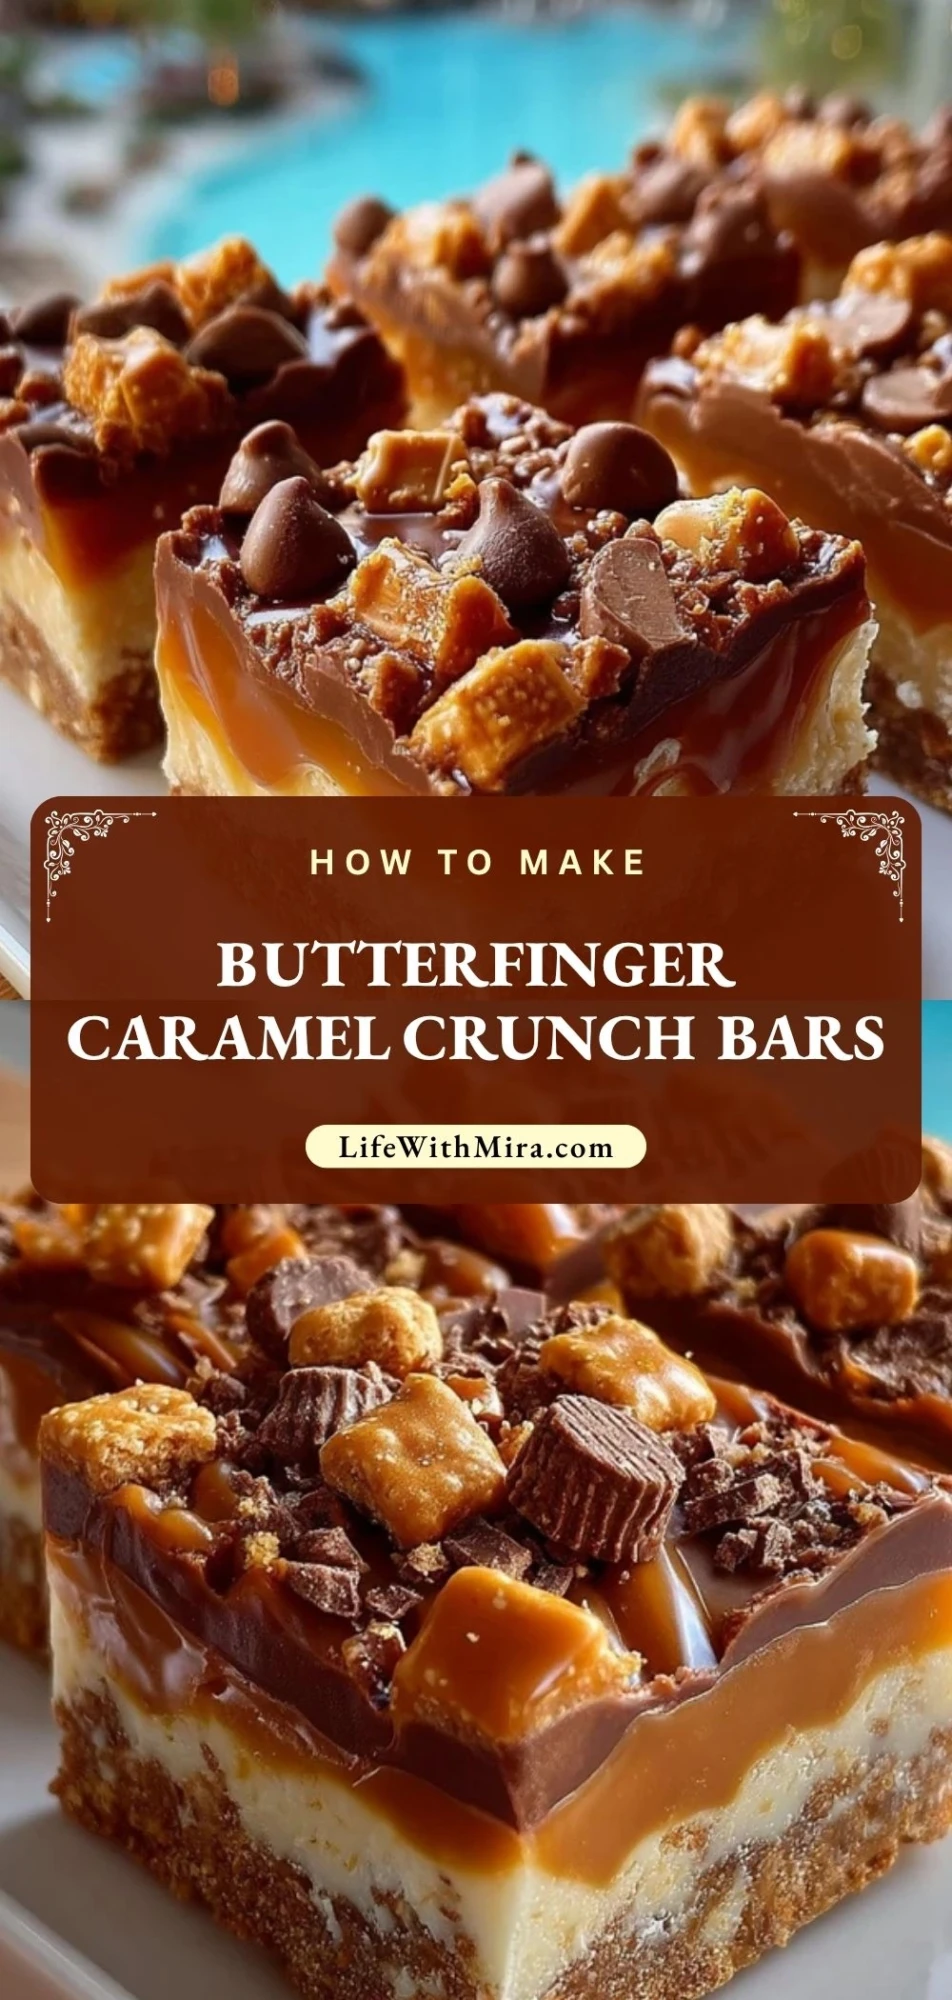
Butterfinger Caramel Crunch Bars are the kind of dessert bars that make people hover near the pan before they are even fully set. They bring together buttery graham cracker crust, gooey caramel, creamy chocolate, and that unmistakable crispy peanut butter candy crunch in every bite.
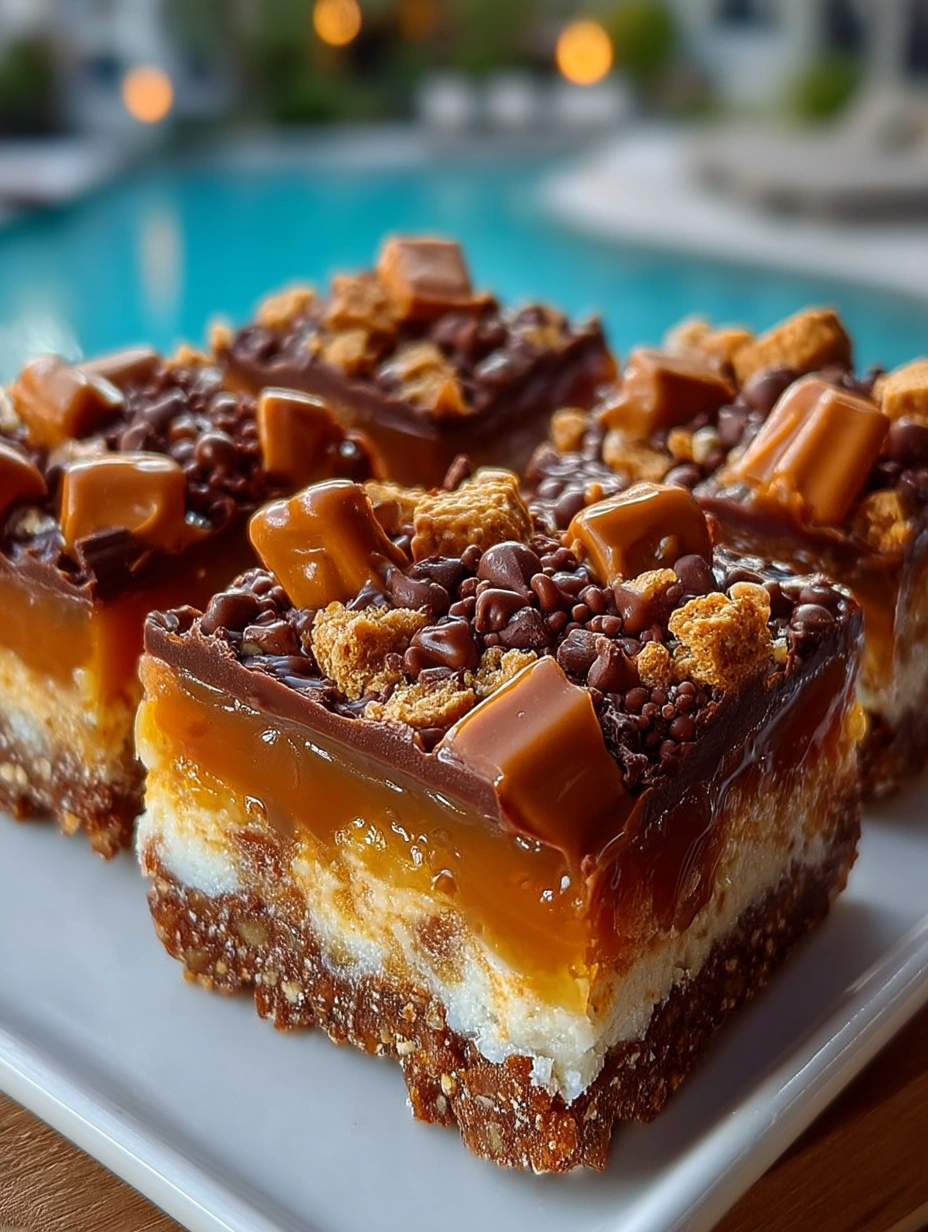
These bars are sweet, chewy, crunchy, and incredibly satisfying, which makes them perfect for bake sales, potlucks, movie nights, holiday trays, or any time you want a no-fuss dessert that still feels exciting. They slice beautifully once chilled, but they never last long on the plate.
Why You’ll Love This Butterfinger Caramel Crunch Bars
You get the best parts of a candy bar dessert without needing complicated baking skills. The base is simple and buttery, the caramel layer turns soft and rich, and the crushed Butterfinger topping gives every square a crisp, flaky crunch.
These bars are also easy to make ahead. A little chilling time helps the caramel and chocolate settle into clean layers, so you can prepare them before guests arrive or the night before a party.
They are sweet enough to feel special, but the salty crunch from the crackers and candy keeps them from feeling flat. That balance is what makes people reach for a second square.
What Makes Butterfinger Caramel Crunch Bars So Crunchy?
The crunch comes from layering textures instead of relying on just one ingredient. The graham cracker crust gives the bottom a firm, cookie-like bite, while crushed Butterfinger candy adds flaky peanut butter crispiness on top.
For the best texture, do not crush the candy into dust. A mix of small crumbs and little chunks gives the bars more personality. The smaller pieces cling to the chocolate, while the bigger bits create that fun candy crunch when you bite in.
Chilling is also important. When the chocolate and caramel firm up, the bars slice cleaner and the crunch stands out more against the soft, chewy center.
Ingredients for the Butterfinger Caramel Crunch Bars
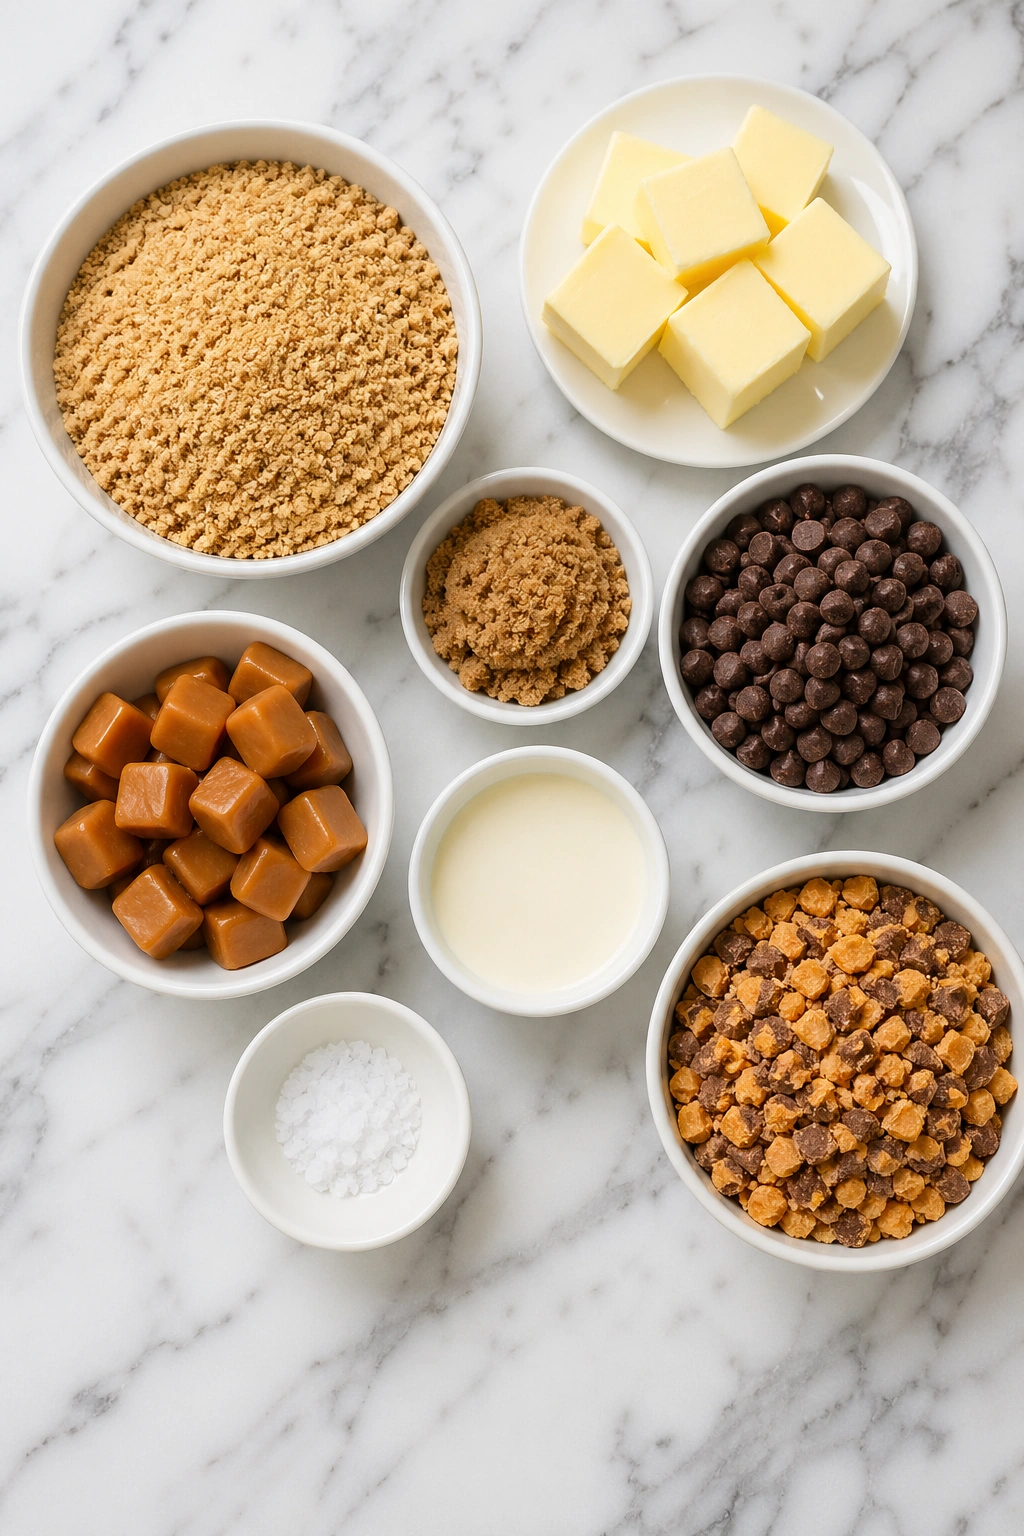
These ingredients work together to create a layered dessert bar with a buttery base, gooey center, chocolate finish, and crisp candy topping.
Graham cracker crumbs create the crust. They bring a lightly sweet, toasty flavor that holds the caramel layer without becoming too heavy.
Unsalted butter binds the crumbs and gives the crust richness. It also helps the base bake into a firm layer that slices well.
Brown sugar adds deeper caramel flavor to the crust and helps the base taste warm and buttery.
Caramel bits or soft caramels melt into the gooey layer. They create the chewy sweetness that makes these bars feel extra indulgent.
Heavy cream loosens the caramel so it melts smoothly and spreads evenly over the crust.
Semi-sweet chocolate chips balance the sweetness with a richer chocolate flavor. They melt into a glossy layer that holds the candy topping.
Butterfinger candy bars are the signature crunch. They add crispy peanut butter flakes, candy sweetness, and the classic Butterfinger texture.
Flaky sea salt is optional, but it makes the caramel and chocolate taste deeper. A tiny sprinkle keeps the bars from feeling overly sweet.
How To Make the Butterfinger Caramel Crunch Bars
These bars are simple to assemble, but each layer needs a little attention so the finished dessert sets neatly and slices cleanly.
Step 1: Prepare the Pan
Line a square baking pan with parchment paper, leaving a little overhang on the sides. This makes it easier to lift the chilled bars out later. Lightly grease the parchment so the caramel does not stick.
Step 2: Make the Graham Cracker Crust
Stir the graham cracker crumbs, melted butter, and brown sugar together until the mixture looks like damp sand. Press it firmly into the bottom of the pan. Use the bottom of a measuring cup to compact it evenly, especially around the corners.
Step 3: Bake the Base
Bake the crust until it smells buttery and looks lightly set. This short bake helps the crust hold its shape under the caramel. Let it cool slightly while you melt the caramel.
Step 4: Melt the Caramel
Add the caramel and heavy cream to a saucepan over low heat. Stir slowly until the mixture becomes smooth and pourable. Keep the heat gentle so the caramel does not scorch or turn grainy.
Step 5: Add the Caramel Layer
Pour the warm caramel over the crust and spread it into an even layer. Work carefully because the caramel will be hot. Let it settle for a few minutes before adding the chocolate.
Step 6: Melt and Spread the Chocolate
Melt the chocolate chips until smooth, then spread the chocolate over the caramel. Use an offset spatula or the back of a spoon to smooth the top without mixing it into the caramel layer.
Step 7: Add the Butterfinger Crunch
Sprinkle the crushed Butterfinger candy over the melted chocolate while it is still soft. Gently press the candy into the chocolate so it sticks once the bars set.
Step 8: Chill and Slice
Chill the pan until the chocolate and caramel are firm. Lift the bars out using the parchment paper, then slice with a sharp knife. For cleaner cuts, wipe the knife between slices.
Serving Butterfinger Caramel Crunch Bars for Parties and Dessert Trays
Butterfinger Caramel Crunch Bars are rich, so small squares go a long way. One 8-inch pan usually makes about 16 dessert bars, which can feed 12 to 16 people depending on how generously you slice them.
Serve them chilled for the cleanest layers and firmest bite. For a softer caramel pull, let them sit at room temperature for 10 to 15 minutes before serving. They look especially nice on a dessert board with brownies, cookies, fresh strawberries, or salty pretzels.
For parties, cut them into bite-size pieces and place each square in a mini cupcake liner. This keeps fingers clean and makes the bars easier to grab from a tray.
Storing Butterfinger Caramel Crunch Bars Without Losing Texture
Store the bars in an airtight container in the refrigerator for up to 5 days. Place parchment paper between layers so the chocolate topping does not stick to the bottoms of other bars.
For the best texture, keep them chilled until shortly before serving. The caramel softens as it warms, which tastes wonderful, but the bars are easier to handle when cold.
You can also freeze them for up to 2 months. Wrap individual bars in parchment, place them in a freezer-safe container, and thaw them in the refrigerator before serving. The Butterfinger topping may soften slightly after freezing, but the flavor will still be delicious.
Avoid storing them near strong-smelling foods in the fridge, since chocolate and butter-based crusts can absorb odors.
Frequently Asked Questions
Can I make Butterfinger Caramel Crunch Bars without baking?
You can make a no-bake version by chilling the pressed crust instead of baking it, but the baked crust holds together better. If skipping the oven, press the crust very firmly and chill it for at least 30 minutes before adding caramel.
Can I use homemade caramel instead of store-bought caramels?
Yes, homemade caramel works beautifully as long as it is thick enough to set. Use a soft caramel sauce rather than a thin ice cream topping. If the caramel is too runny, the bars may be messy when sliced.
Do Butterfinger bars melt into the chocolate?
They will soften slightly where they touch the melted chocolate, but they should still keep plenty of crunch. Add the crushed candy right after spreading the chocolate so it sticks, then chill the bars soon after.
Can I use milk chocolate instead of semi-sweet chocolate?
Yes, but the bars will taste sweeter. Semi-sweet chocolate gives better balance against the caramel and candy. If using milk chocolate, a small sprinkle of flaky salt on top helps keep the flavor balanced.
Why are my bars hard to cut?
They may be too cold straight from the refrigerator. Let the pan sit at room temperature for a few minutes, then use a sharp knife. Warming the knife under hot water and wiping it dry can also help make cleaner slices.
Want More Dessert Bar and Sweet Treat Ideas?
If you love the crunchy caramel candy-bar flavor in these Butterfinger Caramel Crunch Bars, you’ll probably enjoy these other sweet favorites from the site:
• Irresistible Praline Crunch for another buttery, crunchy dessert that disappears fast.
• Red Velvet Cheesecake Brownies when you want a rich chocolate dessert with a creamy swirl.
• Chocolate Pudding for a smooth, classic chocolate treat that pairs well with whipped cream.
• Oreo Stuffed Cinnamon Rolls if you love playful desserts with a cookies-and-cream twist.
Save This Pin For Later
📌 Save these Butterfinger Caramel Crunch Bars to your Pinterest dessert board so you can come back to them whenever you need an easy candy bar dessert.
And let me know in the comments how yours turned out. Did you add extra Butterfinger on top, sprinkle in peanuts, or keep the layers classic?
I love hearing how others make these sweet recipes their own. For more daily dessert and comfort food ideas, follow Life With Mira on Pinterest.
Butterfinger Caramel Crunch Bars
- Total Time: 2 hours 25 minutes
- Yield: 16 bars
- Diet: Vegetarian
Description
These Butterfinger Caramel Crunch Bars are an easy dessert bar loaded with buttery graham cracker crust, gooey caramel, melted chocolate, and crispy candy crunch. This easy recipe is perfect for party dessert ideas, holiday food ideas, bake sale treats, quick dessert cravings, and make-ahead sweet snacks when you want something rich, chewy, crunchy, and unforgettable.
Ingredients
1 1/2 cups graham cracker crumbs
1/2 cup unsalted butter, melted
1/4 cup packed brown sugar
11 ounces caramel bits or soft caramels
3 tablespoons heavy cream
1 1/2 cups semi-sweet chocolate chips
1 1/2 cups crushed Butterfinger candy bars
1/4 teaspoon flaky sea salt, optional
Instructions
1. Preheat the oven to 350°F and line an 8-inch square baking pan with parchment paper.
2. Stir the graham cracker crumbs, melted butter, and brown sugar together until evenly moistened.
3. Press the crumb mixture firmly into the bottom of the prepared pan.
4. Bake the crust for 8 to 10 minutes, then let it cool slightly.
5. Add the caramel bits and heavy cream to a saucepan over low heat. Stir until smooth and melted.
6. Pour the warm caramel over the crust and spread it evenly.
7. Melt the chocolate chips in the microwave in short intervals, stirring until smooth.
8. Spread the melted chocolate over the caramel layer.
9. Sprinkle the crushed Butterfinger candy over the soft chocolate and gently press it in.
10. Add flaky sea salt if using, then chill the bars for at least 2 hours.
11. Lift the bars from the pan using the parchment paper and slice into squares.
Notes
Use parchment paper with overhang so the chilled bars lift out cleanly before slicing.
Crush the Butterfinger candy into a mix of crumbs and small chunks for the best crunchy texture.
Let the bars sit at room temperature for 5 to 10 minutes before slicing if the caramel feels too firm.
- Prep Time: 15 minutes
- Cook Time: 10 minutes
- Category: Dessert
- Method: Bake and Chill
- Cuisine: American
Nutrition
- Serving Size: 1 bar
- Calories: 265
- Sugar: 25g
- Sodium: 145mg
- Fat: 14g
- Saturated Fat: 8g
- Unsaturated Fat: 5g
- Trans Fat: 0g
- Carbohydrates: 34g
- Fiber: 1g
- Protein: 3g
- Cholesterol: 20mg
Keywords: Butterfinger Caramel Crunch Bars, easy dessert bars, candy bar dessert, caramel chocolate bars, party dessert ideas, bake sale treats, make-ahead dessert
